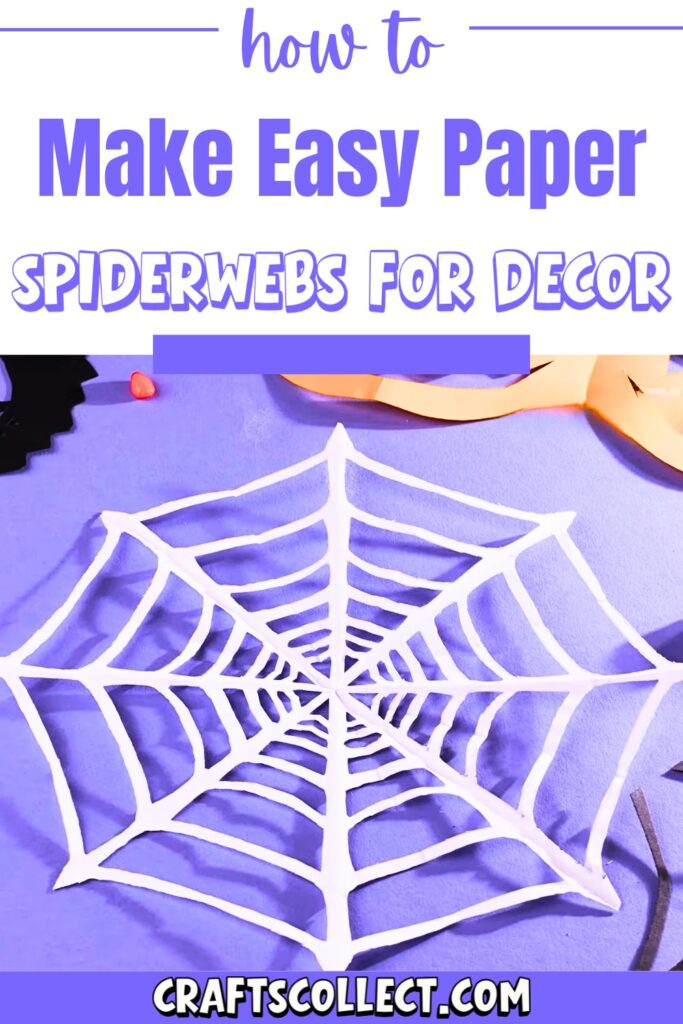
Paper spiderwebs are a fantastic way to step up your Halloween decorations! They’re special because they’re super easy to make and require only basic supplies, making them perfect for all ages—even kids can join in the fun. Use these web designs to add a spooky touch to windows, walls, doors, or even tables. Whether you’re hosting a Halloween gathering or just setting the mood at home, paper spiderwebs are an affordable and creative option to breathe life into your party decor.
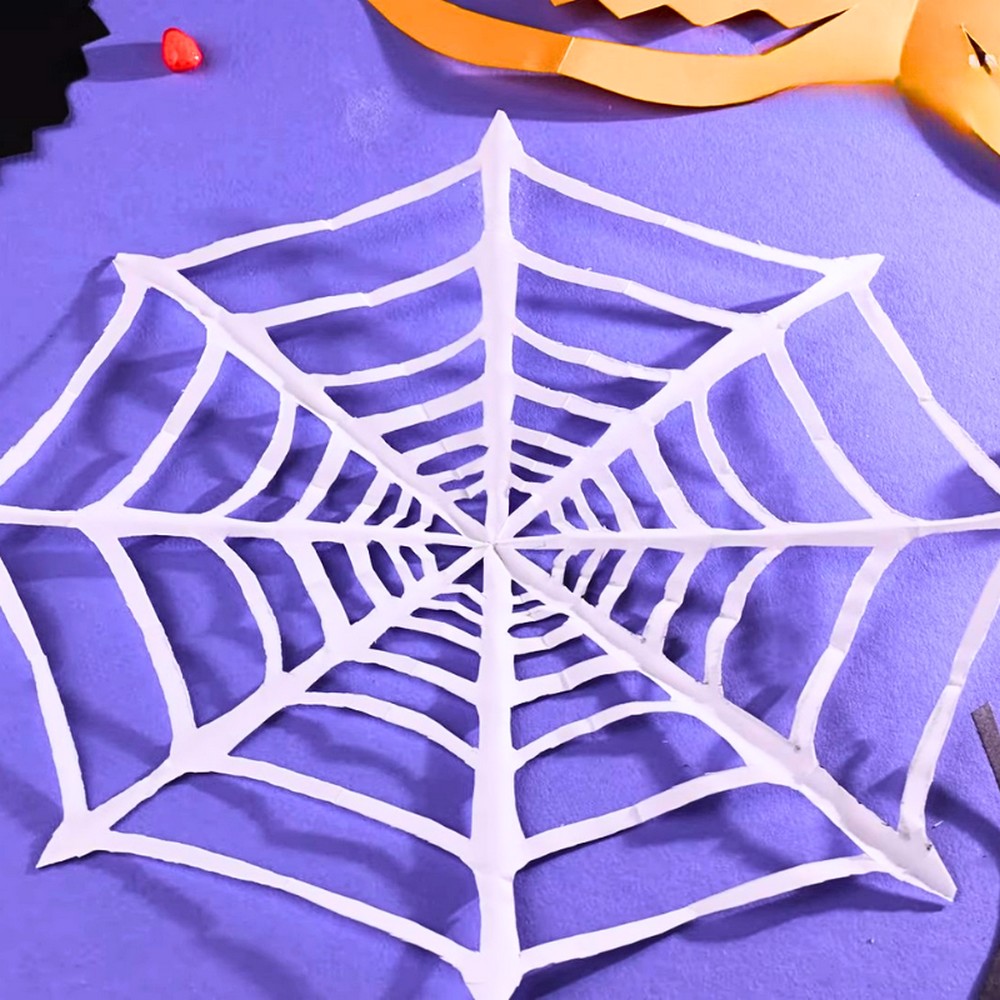
Make Paper Spiderwebs for Halloween
Crafting these spiderwebs is simple yet satisfying. All you need is a piece of paper, a pencil, and scissors. Start by folding the paper in a structured way, then carefully cut out pieces from it to create a unique web-like shape. The moment you unfold the paper, a detailed spiderweb pattern appears—it’s like unveiling a surprise! Kids will especially love how a plain piece of paper transforms into something special. You don’t need artistic skills, making this fun and accessible for everyone.
Credit Helpful Arts & Crafts
Once your spiderwebs are complete, there’s so much you can do with them. Hang them in open spaces like windows or doors, pair them with spooky lights, or mix them with other decorations like pumpkins and bats. They’re lightweight and easy to handle, so you can experiment with different placements. For a fun twist, create webs in various sizes or colors to match your theme—you can go traditional with black or add pops of Halloween oranges and purples.
Flat spiderwebs are great for framing furniture or sticking onto surfaces, while layered spiderwebs can add dimension. If you want a polished look, press them under a heavy book to flatten the folds. Whether you’re creating one spiderweb or an entire haunted house, these paper creations are guaranteed to add a playful, eerie charm to your space. Get crafting and let your creativity shine this Halloween!
Required Materials:
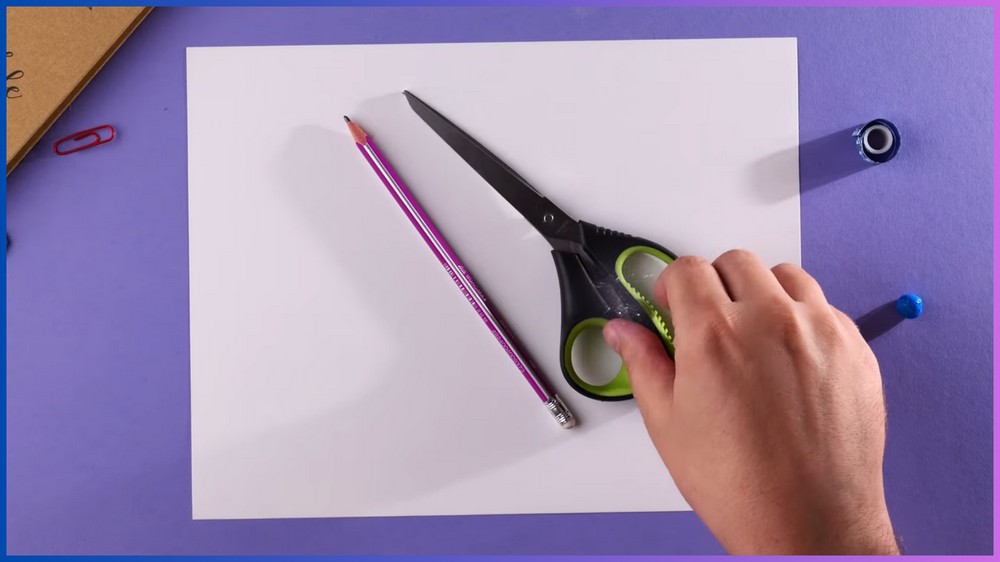
- A rectangular piece of paper.
- Scissors.
- A simple pencil (optional, for sketching the spiderweb pattern).
Important Notes:
- Be precise when folding and pressing the paper to ensure a symmetrical spiderweb design.
- Take extra care when cutting along the spiderweb lines to avoid tearing the paper.
- After unfolding, place a heavy object (such as a book) on the spiderweb to flatten it out for the best results.
How to Make a Spooky Paper Spiderweb
Step 1: Create a Square From Your Paper
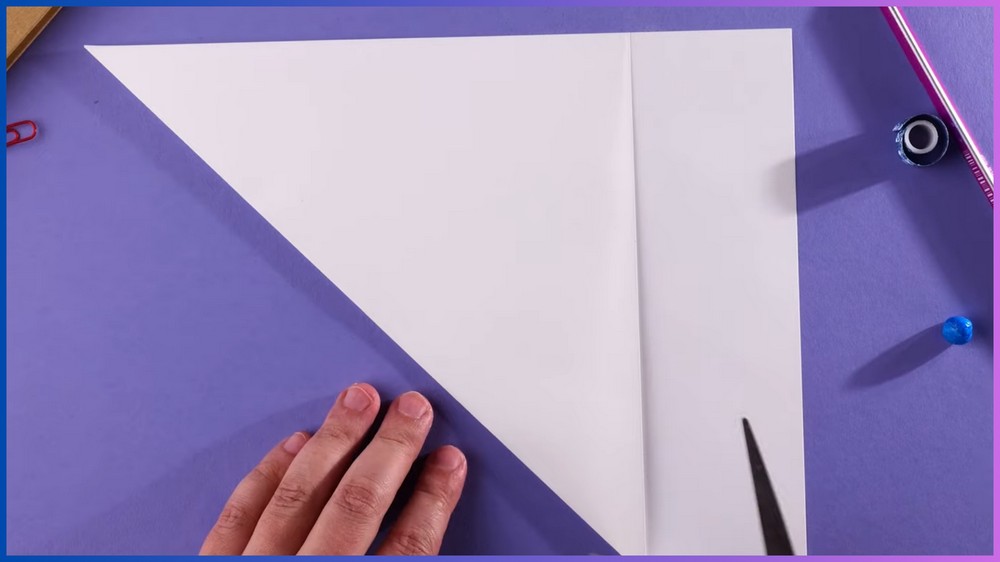
To begin, take your rectangular piece of paper and lay it flat on a clean surface. Fold one of the shorter sides diagonally to meet the longer side, creating a right-angled triangle. Press firmly along the fold to ensure the crease is sharp and precise. You will notice an extra strip of paper extending beyond the triangle’s edge. Use scissors to carefully trim off this excess section.
Once trimmed, you’ll be left with a perfect square folded into a triangle shape. Smooth the crease with your fingers to keep the fold clean and sharp.
Step 2: Fold the Paper Into Smaller Sections
Take the triangle and fold it in half again, aligning one corner to meet its opposite corner, forming a smaller triangle. Press along the fold to refine the crease. Now, position your smaller triangle so that the long edge (the hypotenuse) faces you. From here, fold the top corner down to meet the bottom-right corner, creating yet another smaller triangle.
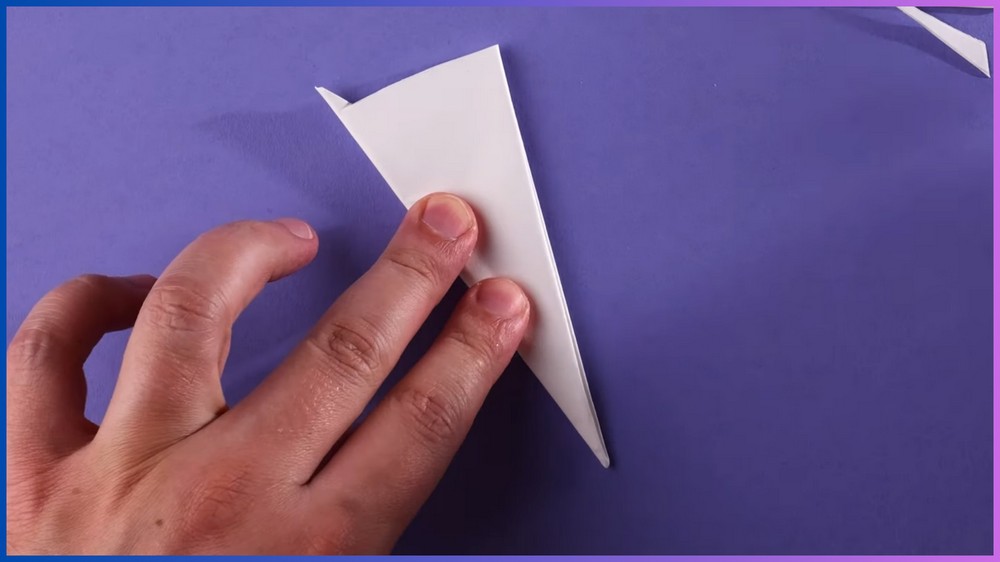
Flip the folded paper so that the longest edge is now on your right-hand side. Finally, fold the bottom-left corner diagonally upward to align with the long edge on the right, creating a tapered triangular shape resembling a cone. Press down firmly on all folds to secure them neatly.
Step 3: Sketch the Spiderweb Design (Optional)
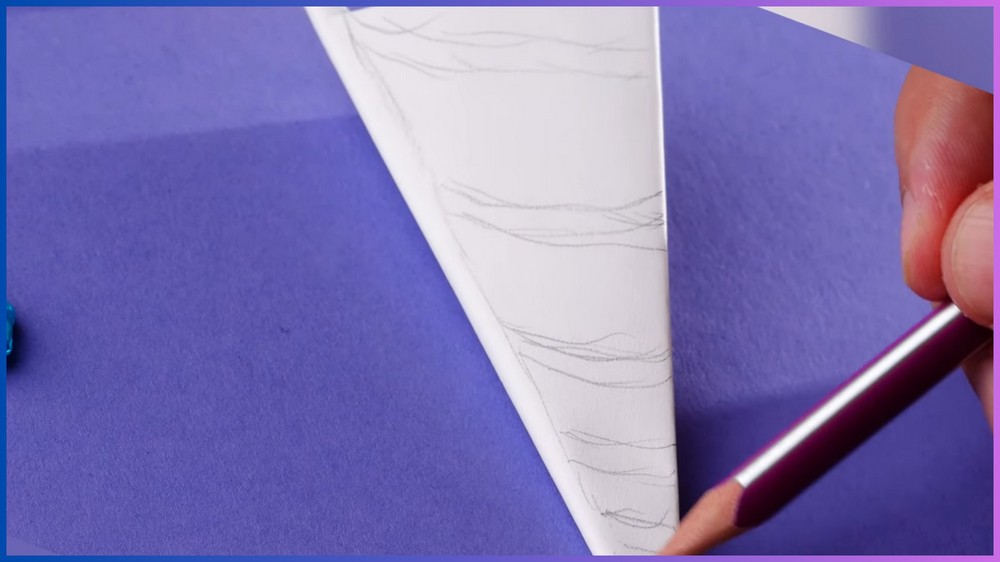
Now that your paper is folded, you can sketch the spiderweb design to guide your cuts. Hold the pointed end of the folded paper at the top. Using a pencil, draw curved lines across the folded surface, starting from the top and moving down toward the wide base. These lines should mimic the curved arches of a spiderweb and be evenly spaced.
Ensure that each line stops short of the folded edges so the spiderweb holds together when you unfold it. Additionally, sketch small triangular cut-outs along the curved lines. You can skip this step if you’re feeling confident and prefer to cut freehand.
Step 4: Carefully Cut the Spiderweb
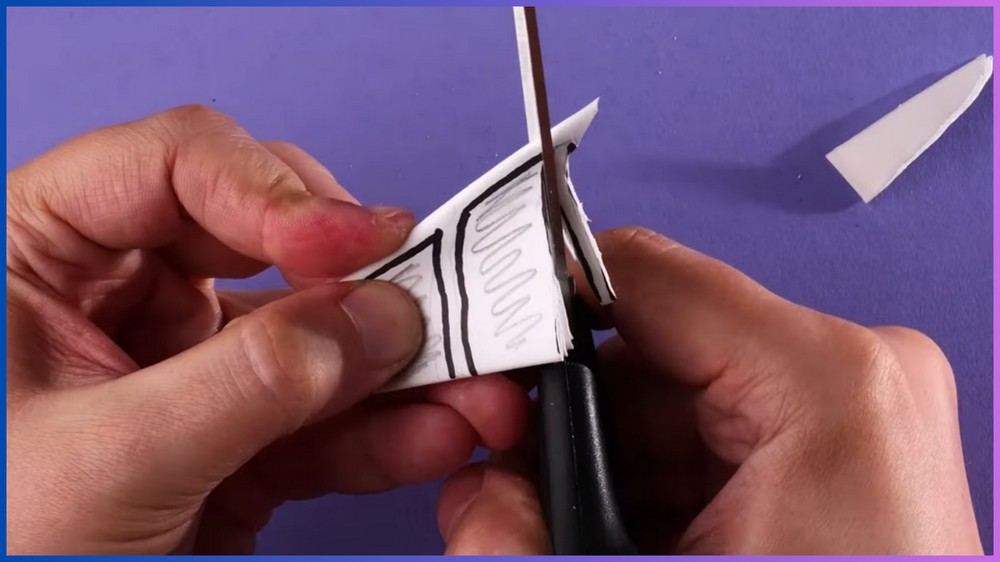
Next, grab your scissors and carefully cut along the drawn lines. Start with the curved lines, followed by the smaller triangular cut-outs you sketched earlier. Work slowly and gently to avoid ripping the paper, as the multiple layers can make some sections thicker and more difficult to cut. Be sure not to cut through the edges or across the folds, as this will cause the web to fall apart when unfolded. Patience is key here—precise cuts will result in an intricate spiderweb design.
Note: If you face any hurdles in creating this project, then you can watch the tutorial here.
Step 5: Unfold the Spiderweb
Once you’ve finished cutting, begin unfolding the paper carefully. Start by opening the larger folds, one layer at a time, until the full spiderweb is revealed. Be gentle during this process to prevent tearing the delicate design. If your spiderweb appears a little crumpled, you can smooth it out carefully with your fingers to restore its shape.
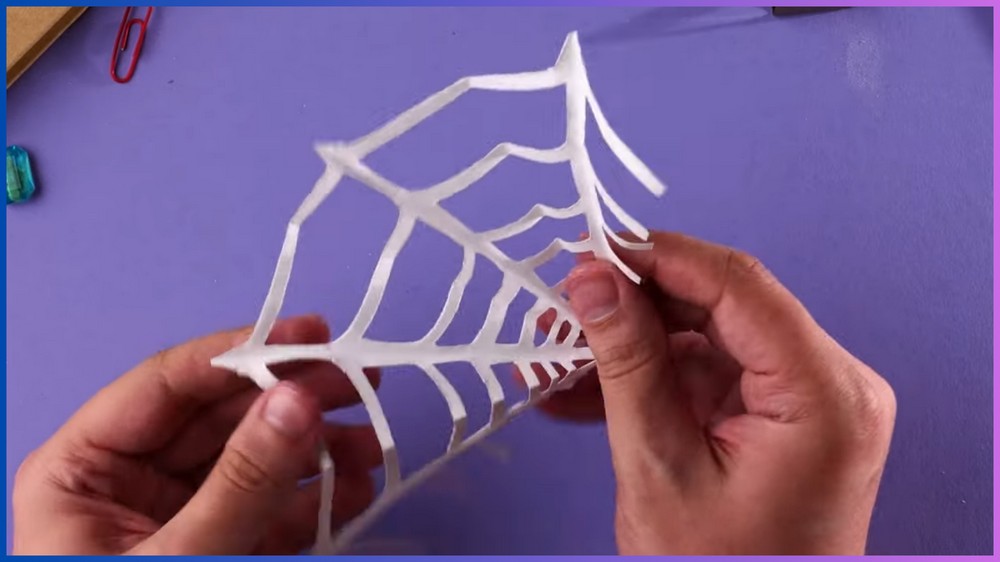
Step 6: Flatten the Spiderweb
To help your spiderweb lay flat and look polished, place it under a heavy object like a book for a few minutes. Flattening the web ensures that the folds are smoothed out and the design displays beautifully. If needed, gently press individual sections to fix any small creases that remain.
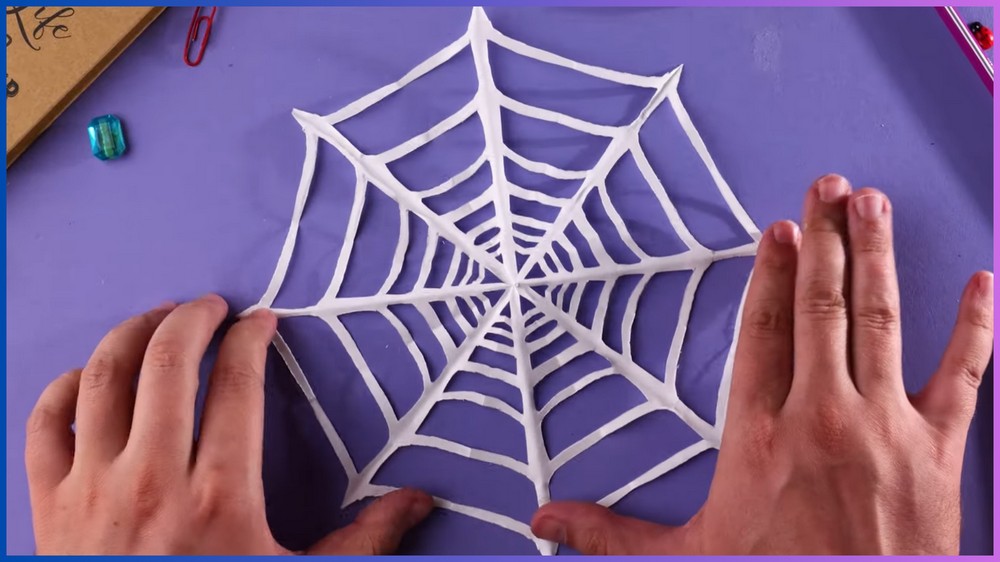
Step 7: Decorate Your Space
With your spiderweb complete, you can now use it as part of your Halloween decorations! Attach it to walls, doors, or windows with tape, or place it flat on tables as a centerpiece. To enhance your design, consider layering multiple spiderwebs of different sizes or colors. You could also sprinkle glitter on your spiderweb or add small decorative spiders for an extra-spooky effect.