
Create a dimensional Christmas tree from folded paper, with simple tips for keeping the sections aligned, the base steady, and the finished shape neat.

A handmade Christmas tree does not have to start with a large collection of supplies. With paper, scissors, glue, and a few simple folds, you can create a dimensional tree that adds a festive touch to a shelf, mantel, or tabletop.
The most important part is getting the folded sections to meet neatly. The folds give the tree its depth, while the way the pieces are joined determines whether the finished shape looks even from different angles.
You can keep the tree traditional with green paper and a brown trunk, or change the colors to suit your holiday decorations. Patterned paper, metallic shades, or softer winter colors can give the same basic shape a completely different character.

The instructions below focus on building the tree gradually, checking its balance as you go, and adding the trunk only after the green sections have taken their final shape.
Things that you need before crafting:
- Green paper: For the main tree sections
- Brown paper: For the trunk
- Scissors: For cutting the paper shapes and trimming where needed
- Glue: A glue stick, craft glue, or double-sided tape
- Ruler and pencil: For measuring and marking guidelines
- Optional decorations: A small paper star, stickers, glitter, gems, or other lightweight embellishments
Because the source instructions allow the tree size to be customized, choose your paper dimensions according to the size you want to make rather than relying on one fixed measurement.
How To Make:
Prepare the Tree Pieces
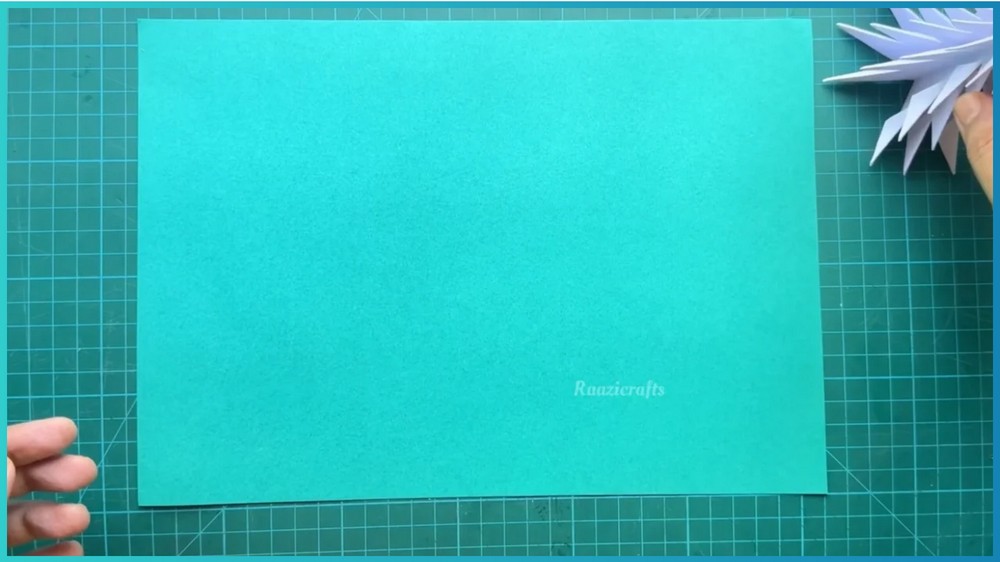
Begin with the green paper.
Measure and cut the paper shapes needed for your chosen tree design. If you are following a visual template, use that layout to determine the shape and proportions of the pieces.
Before adding any adhesive, place the cut pieces together loosely. This gives you a chance to see how the sections will meet and whether the overall proportions look right.
Fold for Dimension
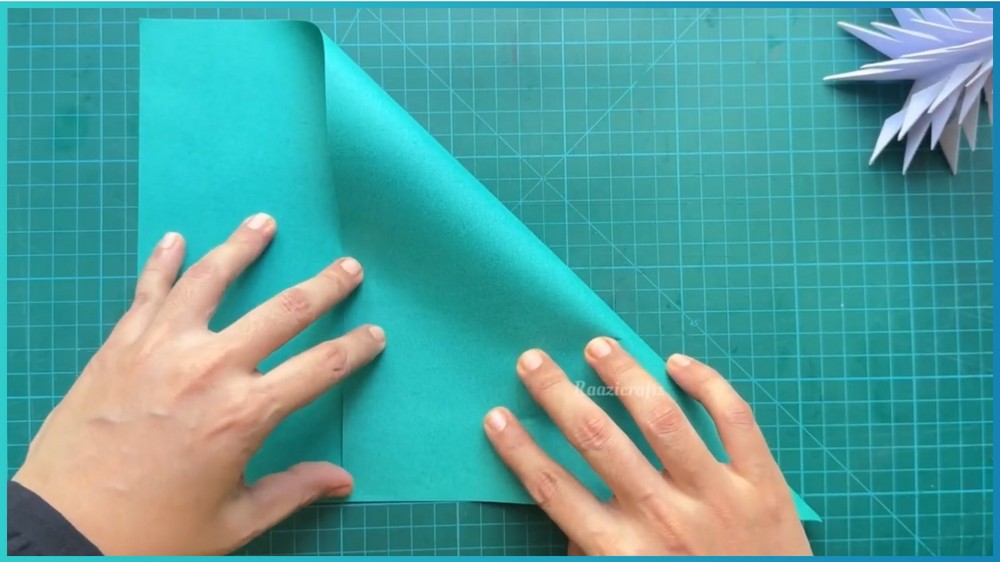
Fold the prepared green pieces down the center.
Run your finger, fingernail, or the edge of a ruler along each fold to create a firm crease. Clean folds help the paper hold its dimensional shape rather than collapsing flat.
Try to keep corresponding pieces folded in the same direction. When several sections will be joined together, consistent folds make the final tree easier to align.
Join the Folded Sections
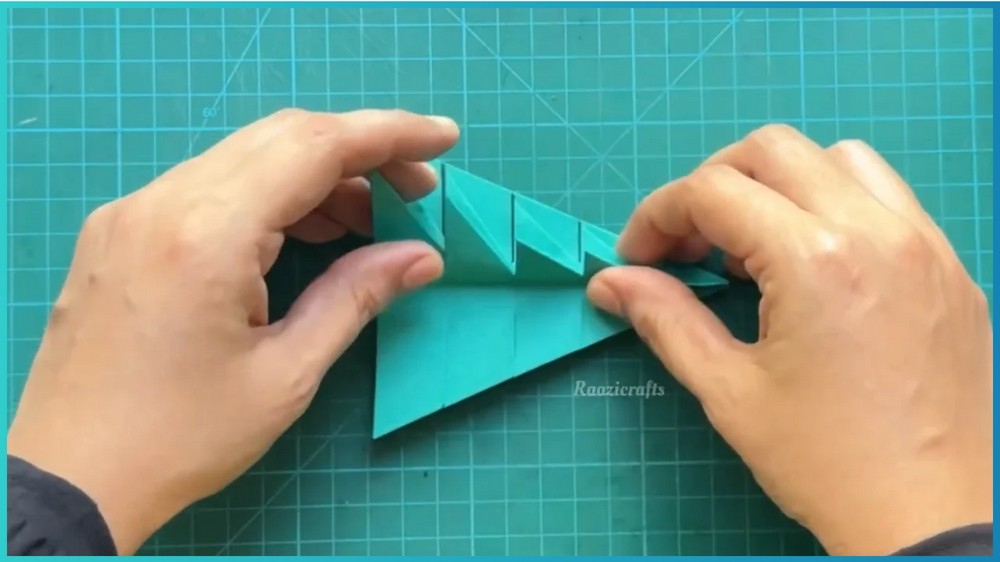
Start bringing the folded pieces together.
Apply a modest amount of adhesive along the areas where the sections are meant to connect. Press the pieces together carefully and give the adhesive a moment to grip before moving on.
Avoid covering large areas with wet glue. Lightweight paper can soften or curl when too much adhesive is applied, and slippery layers are harder to align.
Continue joining the sections until the green tree begins to open into its three-dimensional form.
Check the Shape While It Is Still Easy to Adjust
Before attaching the trunk, place the partially assembled tree upright on a flat surface.
Look at it from the front and then from another angle. Check whether the folded sections are opening evenly and whether the base is sitting flat.
If the tree leans, gently adjust the joined sections while the adhesive is still workable. It is much easier to correct the balance now than after the trunk and decorations have been attached.
Once the tree stands the way you want, allow the joined sections to dry securely.

Make the Paper Trunk
Cut a small rectangle from brown paper.
Fold or roll the rectangle into a simple trunk shape and secure it with glue.
The trunk should be sturdy enough to support the bottom of the paper tree. Keep the shape compact rather than making it unnecessarily bulky.
Attach the Trunk
When the green tree structure is secure, attach the brown trunk to its base.
Position it centrally so it supports the tree without pulling the paper structure to one side.
Press the connection gently and allow the glue to set before lifting or moving the tree.

Shape the Branches
Now open and arrange the folded green sections.
Fluff the layers gradually so the tree develops an even three-dimensional appearance. If one section is flatter than another, gently reinforce its existing crease rather than creating random new folds.
Take another look at the tree from several directions. A balanced shape should look intentional whether it is viewed from the front or side.
Add a Festive Topper
A small paper star makes a simple finishing detail.
Cut a tiny star from paper and attach it to the top of the tree. You can also leave the tree plain if you prefer a cleaner appearance.
For extra decoration, add a few lightweight stickers, gems, or touches of glitter.
Keep embellishments light so they do not pull the folded paper out of shape.

Tips for Cleaner Results
Make the creases crisp
The folds are responsible for much of the tree’s dimensional effect. Take time to press each crease firmly before assembling the pieces.
Use adhesive sparingly
A thin amount of glue is usually easier to control than a heavy application. Too much wet adhesive can make lightweight paper curl or shift.
Let sections settle
If two pieces have just been glued together, give them time to hold before manipulating the folds again. Moving them too soon can loosen the connection.
Check the base
The tree needs a reasonably even base to stand properly. If it begins tipping, adjust the lower folded sections before adding more decorations.
Choose Your Own Color Scheme
Green is an easy choice for a traditional Christmas tree, but there is no need to stop there.
Try snowy white for a winter-inspired look, metallic gold for a more decorative finish, or pastel colors for a softer holiday display.
Patterned paper can also add interest without requiring additional decoration.

Note: If you face any hurdles in creating this project, then you can watch the tutorial here.
Make a Small Paper Forest
Once you know how the folded shape works, you can make trees in different sizes.
Place several trees together to create a simple miniature forest display. Varying the heights and paper colors can make the arrangement feel more layered and decorative.
A few small stars, stickers, or touches of sparkle can then be added selectively rather than covering every tree with decorations.
Your finished paper tree is ready to stand as a handmade holiday accent wherever you want a little extra Christmas detail.——
