
A pleated cupcake liner makes the perfect feather fan for this Thanksgiving turkey, finished with a simple paper face and a craft-stick handle.
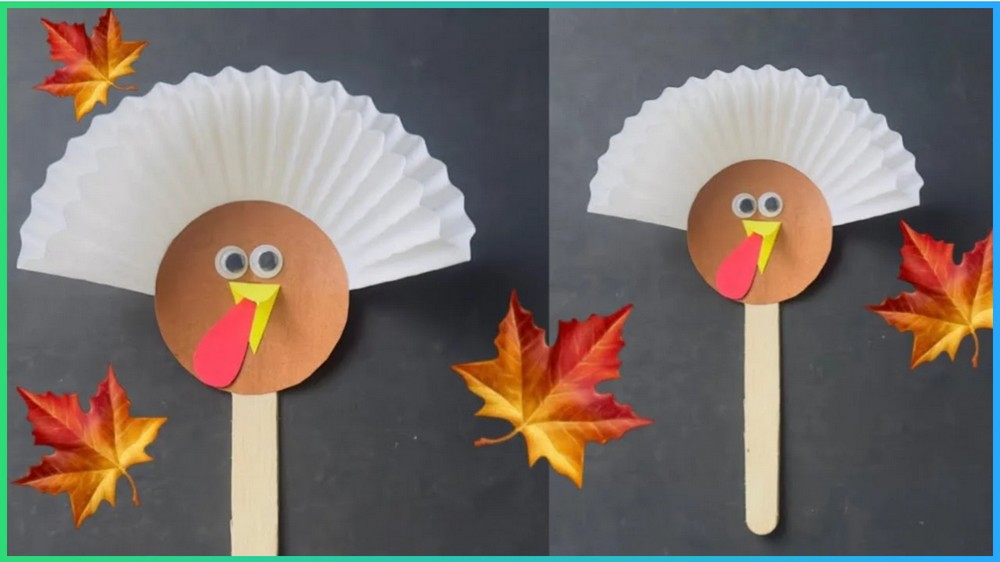
A cupcake liner can become much more than something used for baking. Folded in half, its natural pleats create a ready-made feather fan for a cheerful Thanksgiving turkey.
This craft keeps the rest of the design simple. A brown paper circle becomes the head, while googly eyes, a yellow beak, and a red wattle give the bird its character. A craft stick at the back then turns the finished turkey into something easy to hold.
The most important detail is the placement of the head and handle. Because the cupcake liner already has a curved, pleated shape, keeping these pieces centered helps the turkey look balanced instead of pulling toward one side.
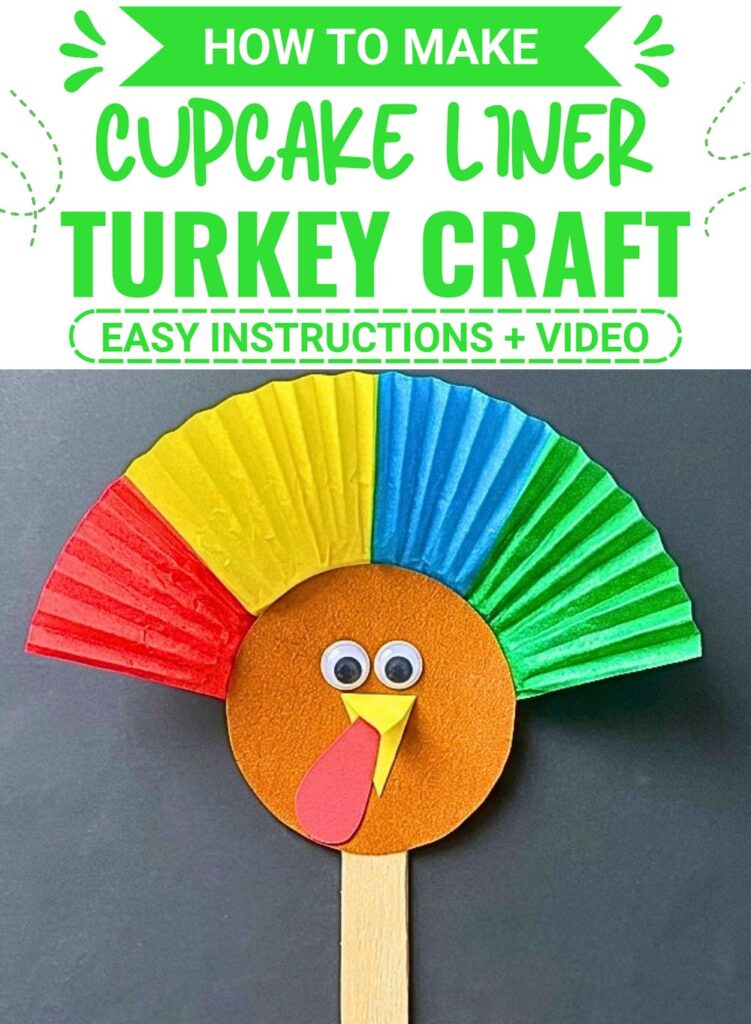
You can make the basic version with a white liner, or change the liner color and add your own Thanksgiving details for a more personalized decoration.
Things that you need before crafting:
- White paper cupcake liner: 1
- Brown paper or cardstock: For the turkey’s head
- Googly eyes: 2
- Yellow paper or cardstock: For the beak
- Red paper or cardstock: For the wattle
- Popsicle or craft stick: 1
- Craft glue or glue stick
- Scissors
- Pencil
For the basic version, the brown head circle is approximately 5 cm in diameter. The wattle can be around 5 × 1.5 cm, although both pieces can be adjusted to suit the size of your cupcake liner.
How To Make:
Turn the Cupcake Liner Into Feathers
Start with the paper cupcake liner.
Flatten it gently if needed, then fold it neatly in half. The pleated texture should remain visible on the outside of the folded shape.
Press firmly along the center fold so the liner stays in its fan-like shape.
Unlike a plain sheet of paper, the liner already has repeated pleats, so there is no need to create individual feather lines yourself.

Find the Center Before Adding the Head
Before applying glue, look at the folded liner from the front and identify its center.
You can make a very small pencil reference mark if needed. This gives you a simple guide for positioning the brown head circle.
Place the head at the lower center of the liner and check it from the front before gluing. The head should sit between the two sides of the pleated fan rather than noticeably favoring one side.
This same center point will also help you position the craft stick later.

Add the Brown Head
Cut a brown paper circle approximately 5 cm across.
Apply a line of glue along the folded edge or lower center area of the cupcake liner.
Press the brown circle into position and hold it gently until it begins to adhere.
Avoid using too much glue here. The liner is lightweight, so a heavy layer can make it harder to keep the paper flat and neatly attached.

Give Your Turkey a Face
Once the head is attached, add the facial details.
Eyes
Glue two googly eyes onto the upper half of the brown circle.
Leave a little space between them so the face remains clear and easy to recognize.
Beak
Cut a small triangle from yellow paper.
Glue it underneath the eyes, keeping it centered between them.
Wattle
Cut a small red teardrop-shaped piece or narrow shaped strip.
Attach it just beneath the beak. The red detail adds a small pop of color without needing a complicated shape.
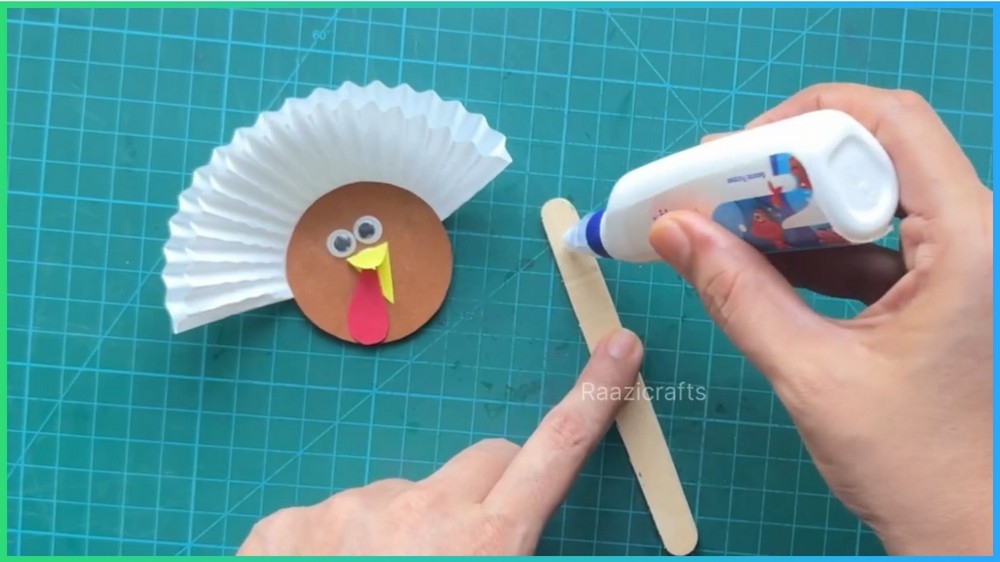
Attach the Craft Stick
Turn the turkey over so you can work on the back.
Apply glue to the upper portion of the craft stick and place it behind the turkey.
Use the center reference you established earlier to line the stick up with the middle of the cupcake liner. Keep the stick straight rather than allowing it to angle toward either side.
Press the stick against the back and let the adhesive set completely before lifting the turkey.
This centered placement is especially helpful if you plan to hold the turkey as a simple puppet because an off-center handle can make the paper fan twist when you pick it up.

Let the Turkey Dry
Give the glued areas enough time to set before handling the finished turkey.
The craft stick puts some pressure on the paper when the turkey is held, so picking it up too soon can loosen the connection.
Once everything feels secure, gently lift the turkey by the stick and check that the paper fan remains attached.
Simple Tips for a Neater Finish
Keep the center fold crisp. A firm fold helps the cupcake liner maintain its fan shape.
Match the head to the liner. If you use a larger or smaller cupcake liner, adjust the head and facial pieces so they remain proportional.
Use controlled amounts of glue. Too much adhesive can spread across the pleated liner and make the paper difficult to handle.
Allow the handle to dry. Give the craft stick a proper chance to adhere before using the turkey as a puppet or moving it around.

Change the Feather Colors
A white cupcake liner gives the turkey a clean, simple appearance, but colored or patterned liners can completely change the look.
Try brown, orange, or yellow liners for a more autumnal appearance. Patterned liners can also make each turkey look different without changing the basic steps.

Turn It Into a Thankful Turkey
Before folding the liner, write short thankful messages along its pleated sections.
Once the liner is folded, some of those messages will remain visible across the feather fan, turning the turkey into a simple Thanksgiving gratitude activity.
Note: If you face any hurdles in creating this project, then you can watch the tutorial here.
Make a Thanksgiving Card
The craft stick is optional if you want to use the turkey in another way.
Instead, attach the finished paper turkey to the front of a folded piece of cardstock to create a handmade Thanksgiving card.
The same cupcake-liner feathers and simple face can therefore become either a handheld decoration or a flat seasonal greeting.
Once the glue has dried, your cupcake liner turkey is ready to hold, display, or add to a Thanksgiving card.

