
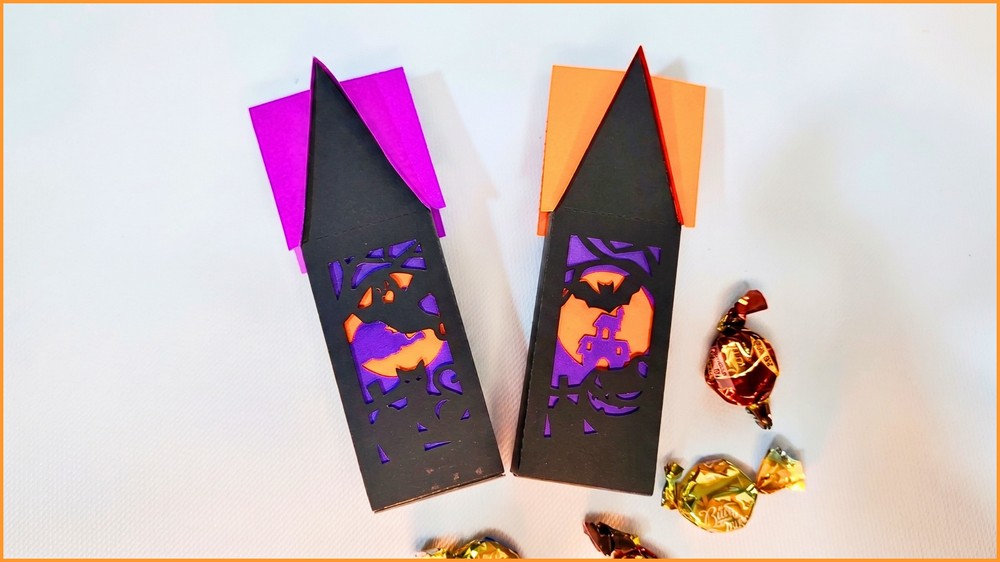
DIY 3D Layered Paper Halloween House
Building this piece is a joyful activity that brings creative ideas to life. You gently cut out the template lines, fold along the marks, and layer the window insert to build depth. Glue the side flaps and attach the roof topper to assemble a sturdy house shape that feels fun to make from start to finish.
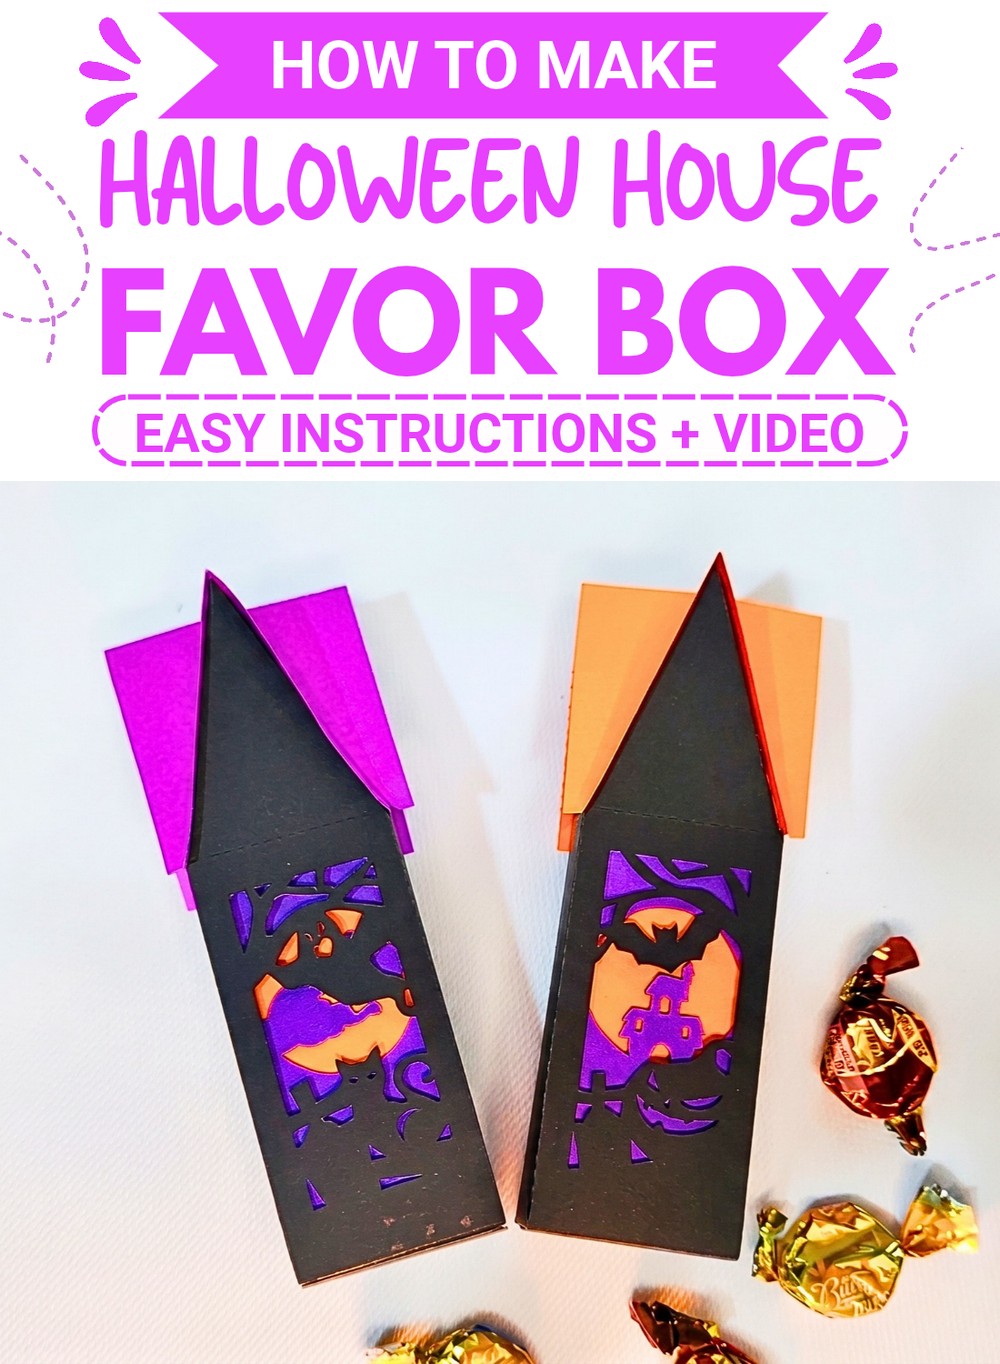
The neat cutout window shows off spooky silhouettes like flying bats and a glowing moon backdrop. Colored inner sheets create a neat multi-dimensional look without complicated steps. It holds small candies securely inside the bottom flap, making it a handy gift holder that brightens up tables and party favor bags.
Anyone can master this craft project in just a few minutes with basic supplies. It serves as a fantastic weekend activity for kids or a quick party prep craft. You can place a tiny battery tea light underneath or fill it with sweet chocolates to spread festive holiday cheer to all your friends and family.
This spooktacular 3D layered Halloween house favor box blends intricate papercraft cutouts with functional treat-holder design, making it a delightfully creepy centerpiece for festive gifting.
Things that you need before crafting:
- Medium-Weight Cardstock (65lb–80lb): Black (main box frame & silhouette), vibrant orange (window trim & roof cap accents), and rich purple (moon/background layer).
- Craft Cutting Tool: Precision craft knife/cutting mat or an electronic cutting machine (Cricut/Silhouette).
- Adhesives: Liquid craft glue with a fine-tip applicator or high-tack double-sided adhesive tape.
- Scoring Tool: Bone folder or scoring stylus for crisp fold lines.
- Extras: Small packaged Halloween treats or LED tea lights to fill the finished box.
Notes
- Difficulty: Intermediate (requires precision scoring, folding, and alignment).
- Finished Size: Approx. 3″ x 3″ x 5″ (scalable depending on template sizing).
Gauge
- Paper Weight: 65lb to 80lb cardstock is recommended for proper structural integrity. Thinner paper may warp under glue or buckle when folded.
Key Construction Features
- Multi-Layered Window Depth: Combines black foreground cutouts, orange framing, and a purple moon backdrop to create a dramatic 3D shadowbox illusion.
- Seamless Folded Base: Built on a single column structure featuring pre-scored tab lines for sturdy assembly.
- Vibrant Contrast Trim: Decorative orange roof overlays cap the top peak to add architectural detail and color contrast.
- Functional Favor Box: Integrates a quick-open bottom flap system designed specifically to hold candies or small gifts.
How To Make:
Round 1: Preparing the Cutout Components
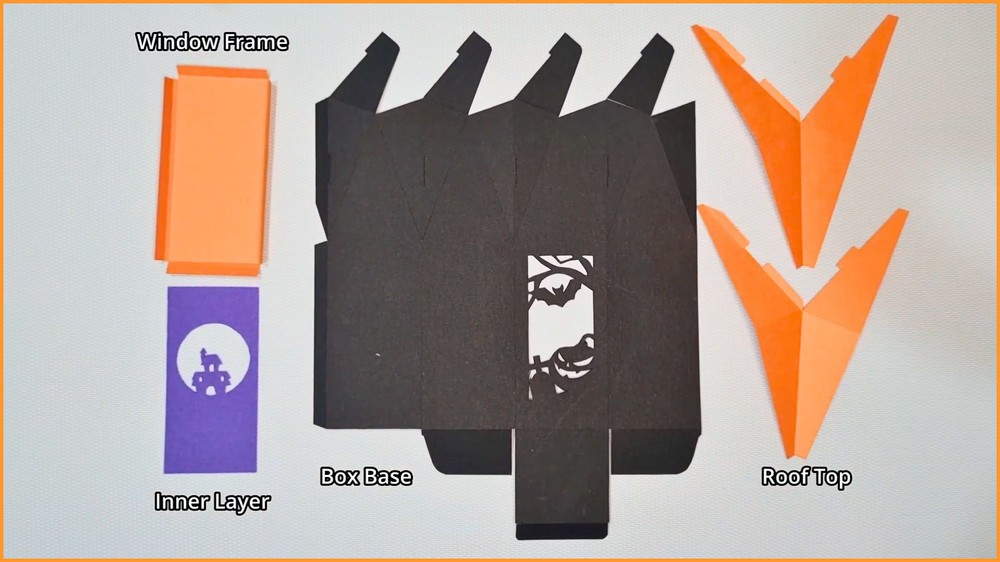
Begin by carefully cutting out all template pieces from their corresponding cardstock colors: the main black house box with window cutouts, the orange window border, the purple background moon scene, and the orange roof trim pieces. Using your scoring tool and a ruler, firmly crease along every dashed score line across the box base, side tabs, and roof folds to guarantee clean edges during assembly.
Round 2: Building the 3D Shadowbox Window
Layer the purple moon silhouette directly behind the orange window border, applying thin lines of glue around the edges to lock them together into a unified window piece. Next, apply adhesive around the perimeter of this newly formed window assembly and carefully line it up against the interior side of the main black house cutout. Press down firmly to create the layered dimensional window effect that shines through the front of the box.
Round 3: Assembly & Roof Shaping
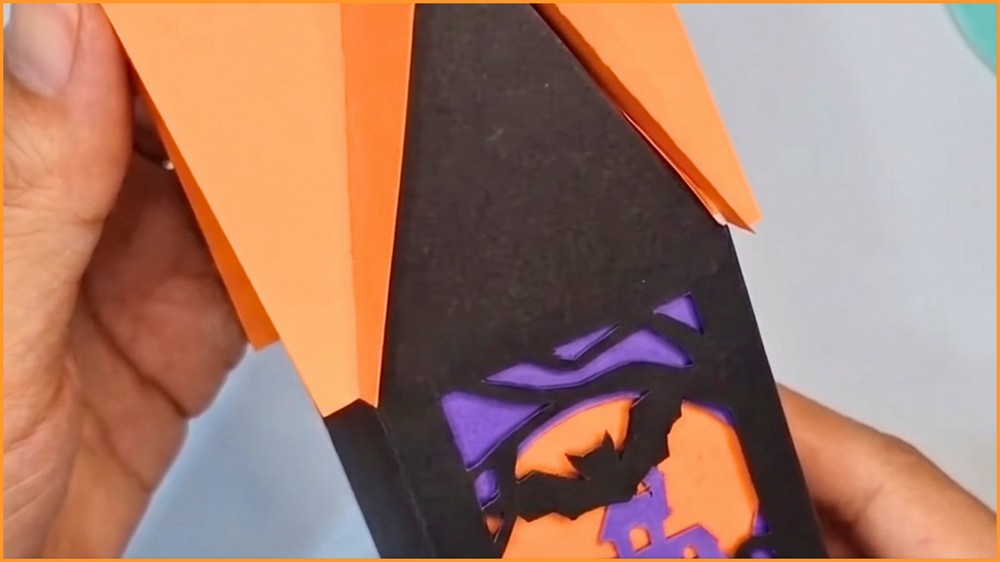
Fold the main black body into a four-sided vertical column, aligning the side connecting tab along the inner seam and securing it with glue or double-sided tape. Gently press down the top triangular roof peaks inward to form the house’s gabled roofline. Slide the orange angled roof overlay pieces over both top peaks, gluing them down to lock the roof structure in place while adding a striking orange pop against the black frame.
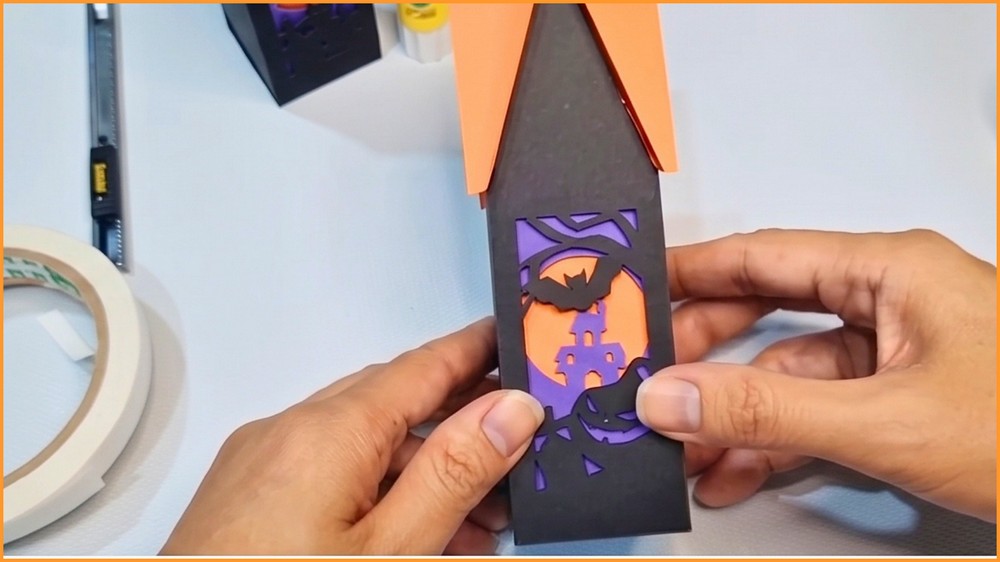
Note: If you face any hurdles in creating this project, then you can watch the tutorial here.
Round 4: Final Touches & Filling
With the structure fully formed, ensure all glued seams are set and secure. Fill the open bottom cavity of the house with your choice of candies, treats, or a battery-operated LED light. Fold in the bottom tabs sequentially to lock the base in place, completing your 3D Halloween house favor box.

[…] this paper box is quick and simple for crafters of all ages. You cut along the template lines, crease along the […]