
This easy Thanksgiving silverware ring adds a festive touch to your table, with simple steps for creating the ring and choosing seasonal decorations to match your setting.
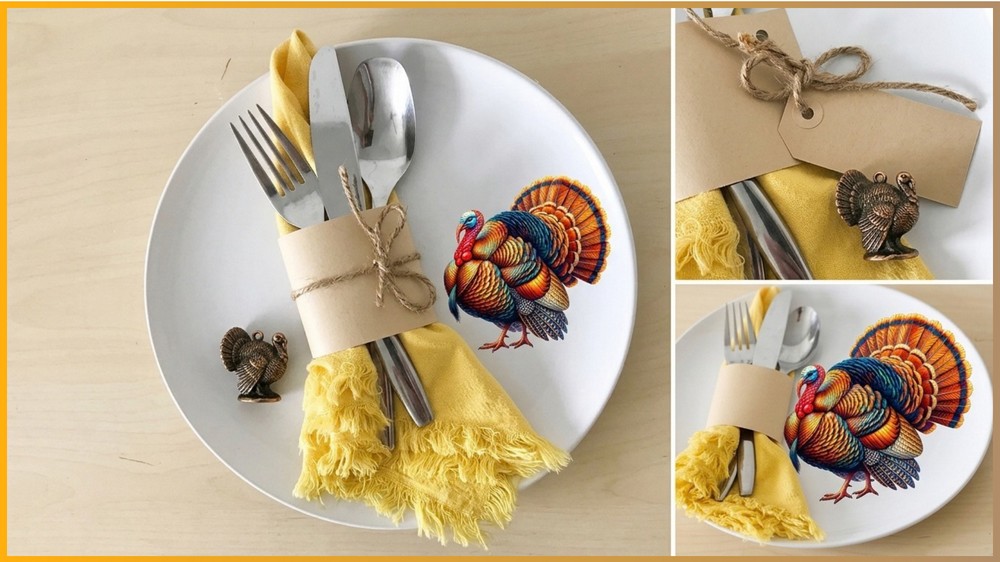
Thanksgiving table settings do not need complicated decorations to feel special. A simple handmade silverware ring can bring together your napkin, cutlery, and seasonal details while giving each place setting a more thoughtful finish.
This DIY Thanksgiving silverware ring is especially useful when you want your table decor to coordinate with the rest of your holiday setting. You can choose burlap, fabric, twine, or sturdy cardstock for the base and then add fall-inspired accents that suit your table.

The most important part is getting the ring to fit before you glue anything permanently. Once the size is right, the rest comes down to securing the ends, adding your chosen decoration, and checking that the finished ring still slides easily over your napkin or silverware.
Things that you need before crafting:
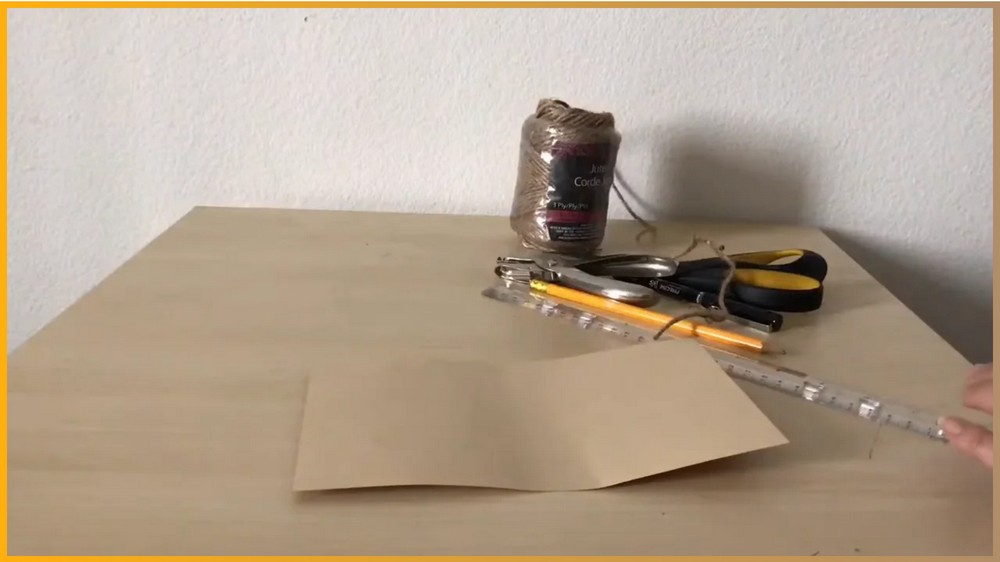
Gather the following supplies before you begin:
- Burlap ribbon, fabric strips, twine, or sturdy cardstock for the ring base
- Hot glue gun and glue sticks, or another strong craft adhesive
- Scissors
- Pinking shears, if you want a decorative edge
- Faux fall leaves
- Small wooden tags
- Faux berries
- Autumn-themed paper or printable decorations
- A napkin and silverware for testing the fit
You do not need to use every decorative material listed above. Choose a base and one or two accents that work with your Thanksgiving table.
Before You Glue: Check the Fit
The easiest way to avoid a ring that is too tight or too loose is to test it first.
Take your chosen strip and wrap it loosely around the actual napkin or silverware bundle you plan to use. Bring the ends together and check that there is enough room for the napkin or cutlery to slide in and out comfortably.
This step is worth doing for every different material because burlap, fabric, twine, and cardstock can behave differently once wrapped.
Do not glue the ends yet. Adjust the circumference until you are happy with the fit.
How to Make a DIY Thanksgiving Silverware Ring
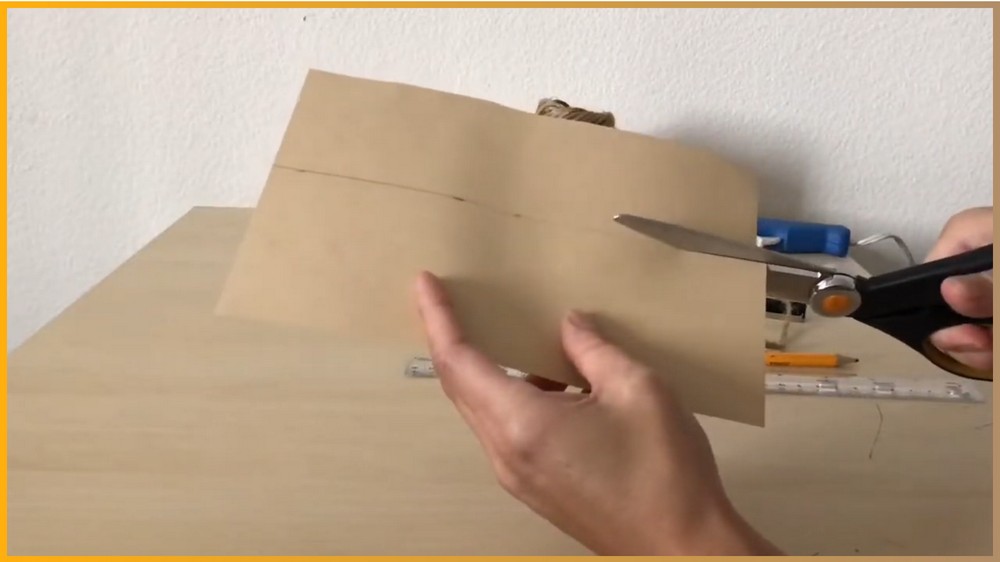
1. Cut the Base Strip
Start by cutting your chosen base material into strips.
Wrap one strip around your folded napkin or silverware bundle to determine the circumference you need. Keep the wrap comfortably loose rather than pulling the material tightly around the contents.
Once the fit looks right, cut the strip to size.
If you are making several rings for a dinner table, use the first correctly sized strip as your guide for cutting the remaining pieces. This helps keep the finished place settings consistent.
2. Form the Ring
Bring the two ends of the strip together to form a circle.
Apply only a small amount of hot glue or strong adhesive to secure the ends. Hold them together for a few seconds, or according to the directions for the adhesive you are using.
Let the join become secure before moving on.
Important: Keep excess glue away from the inside of the ring. A large amount can seep through porous materials such as fabric or burlap and accidentally glue the opening closed.
3. Check the Ring Again
Before adding decorations, test the ring one more time.
Slide it over your folded napkin or silverware bundle. It should hold the contents neatly without being difficult to remove.
If the ring feels too tight, correct the fit before decorating. Once embellishments are attached, making changes becomes more difficult.

4. Add Your Thanksgiving Decoration
Now decorate the front of the ring.
You can attach a small faux fall leaf, wooden tag, berry accent, or autumn-themed cutout. Position the decoration where you want it to appear when the ring is sitting on the table.
Use a small amount of glue to secure the embellishment.
For a cleaner finish, avoid covering the entire front with glue. A small dab is usually enough to hold a lightweight decoration in place.
5. Let the Adhesive Set
Give the glue or adhesive enough time to become secure before handling the ring repeatedly.
Then test the finished piece again with the napkin or silverware.
If the decoration shifts, reinforce it with a small amount of adhesive rather than adding a large layer.

Common Problems and How to Prevent Them
The Ring Is Too Tight
This usually happens when the base strip is measured tightly around the napkin or silverware.
Prevention: Always test the strip around the actual item before gluing. Leave enough room for the contents to slide through comfortably.
The Ring Keeps Opening
If the ends separate, the adhesive may not have bonded well to the chosen material.
Fix: Reapply a small amount of strong adhesive and hold the ends together until the bond sets.
Too Much Glue Shows Through
Porous materials such as burlap can absorb or allow excess glue to spread.
Prevention: Use a small dot rather than a large amount of hot glue, especially at the joining point and beneath decorations.
The Decoration Makes the Ring Difficult to Use
A large or poorly positioned embellishment can interfere with sliding the ring over the napkin or silverware.
Fix: Test the ring after decorating. If necessary, reposition the accent so it sits on the outside without blocking the opening.
Make Several Rings More Efficiently
If you are preparing enough rings for a larger Thanksgiving table, work in batches instead of completing each ring from beginning to end.
First cut all of the base strips. Next, form and secure all the rings. Once the joins are set, add the decorations to each one.
This makes it easier to keep the rings similar in size and also reduces the time spent switching between different tools and materials.
Thanksgiving Silverware Ring Ideas
Rustic Farmhouse Style
Use burlap or another natural-looking material for the base and add a simple fall accent such as a faux leaf, wheat-inspired decoration, or small wooden tag.
Personalized Place Settings
Turn the decorative accent into a name marker by attaching a small label or handwritten name tag to each ring. This gives every guest a designated place at the table.
Match Your Existing Table Decor
Choose your ribbon, fabric, or decorative accents to coordinate with your dinnerware, tablecloth, napkins, or centerpiece. Even a simple ring can look intentional when its colors and textures connect with the rest of the table.
How to Use the Finished Silverware Rings
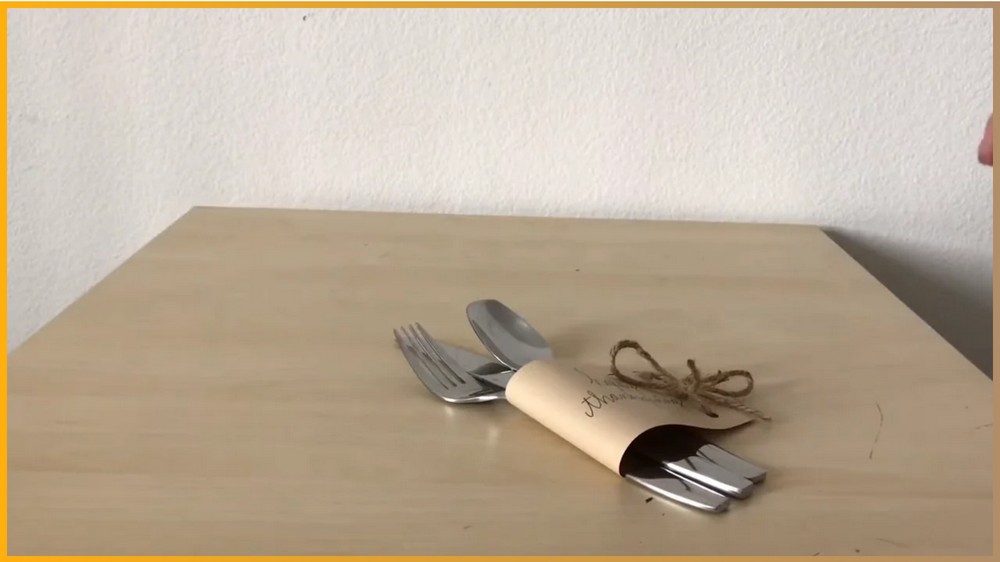
Once the rings are completely secure, slide one over each folded napkin or silverware bundle.
Arrange the finished pieces at each place setting. The ring keeps the napkin or cutlery together while the seasonal decoration adds a small Thanksgiving detail to the table.
If you are using the rings with cloth napkins, test the finished size with those exact napkins before setting the entire table.
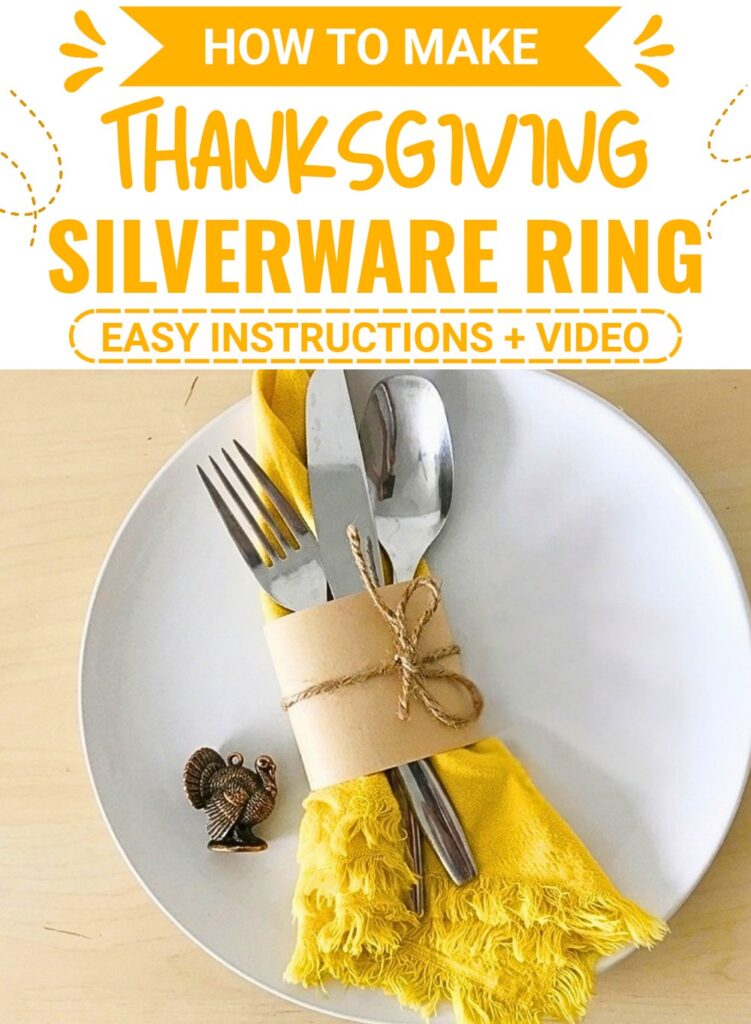
Note: If you face any hurdles in creating this project, then you can watch the tutorial here.
Final Thoughts
A handmade Thanksgiving silverware ring is a small detail, but it can make an entire place setting feel more considered. The basic idea is simple: cut a strip, test the fit, secure it into a ring, and finish it with a seasonal accent.
The key is not rushing the measuring and gluing stage. Once the ring fits comfortably and the adhesive is secure, you can personalize the decoration to suit your Thanksgiving table and create a coordinated set for your guests.
