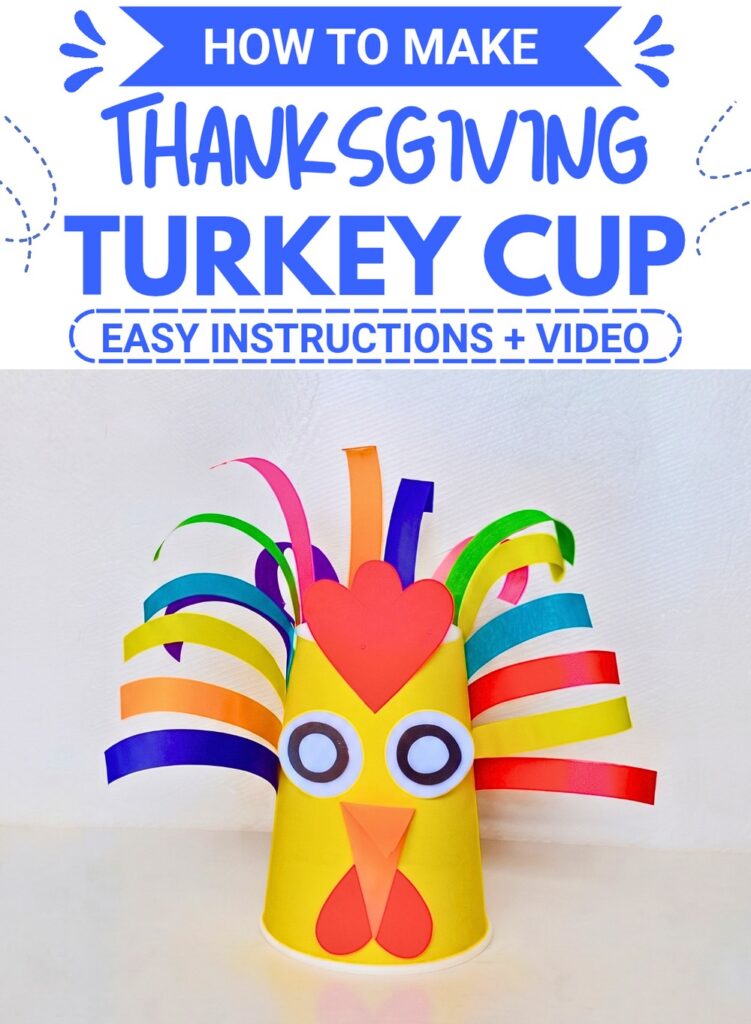
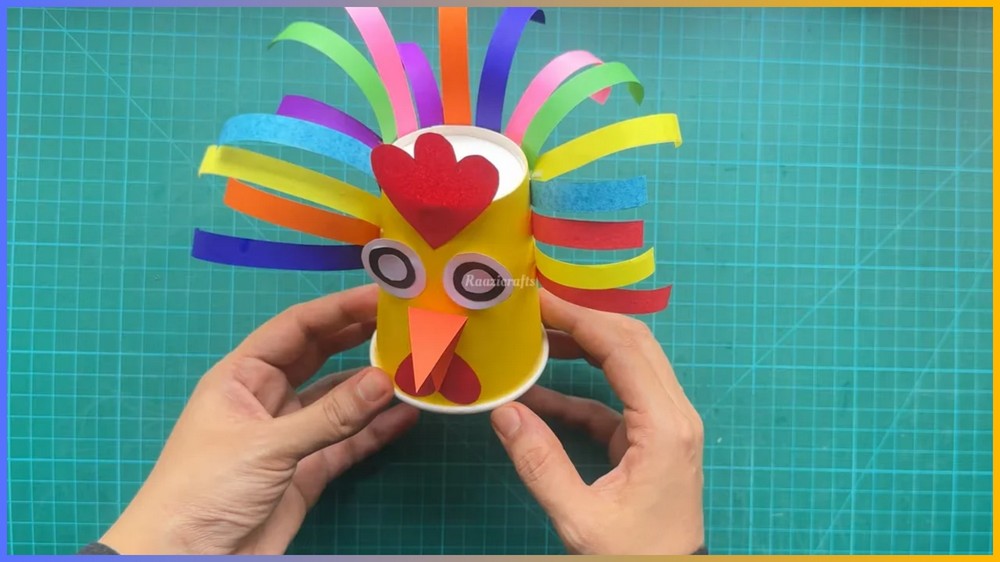
Brighten up your Thanksgiving table with a cheerful turkey cup made from paper, complete with curled colorful feathers, layered eyes, and a folded orange beak.
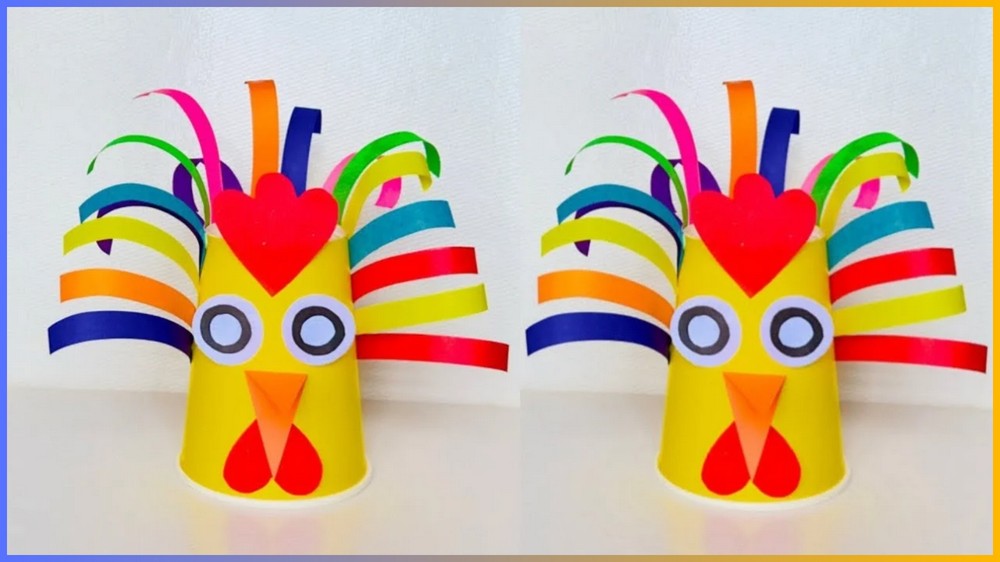
A simple paper cup can become much more than something used at the table. With colorful paper, a few cut shapes, and some glue, it can turn into a cheerful turkey ready for Thanksgiving decorating.
This craft combines a yellow paper cup with a bright fan of curled paper strips for the tail. The layered eyes, folded orange beak, and red facial pieces give the turkey plenty of character without requiring complicated techniques.
The feather strips are the part that gives this turkey its playful shape. Instead of gluing them down randomly, it helps to arrange them against the cup first so you can see how wide the tail will be and whether the colors are spread evenly.
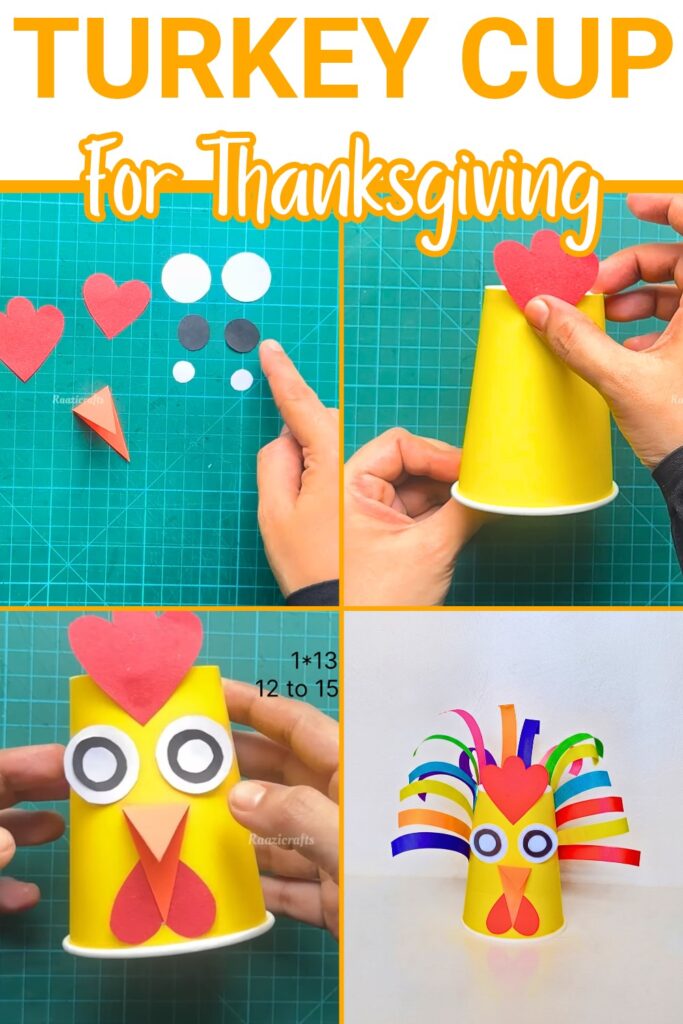
Once the tail is planned, the rest comes together through a series of simple paper shapes. Younger children can help with choosing colors, curling the strips, and assembling the pieces, while an adult can prepare any shapes or cutting that needs extra care.
Things that you need before crafting:
- 1 yellow paper cup, or another color if preferred
- Red craft paper or craft foam
- Orange craft paper or craft foam
- White craft paper or craft foam
- Black craft paper or craft foam
- Additional bright colors for the tail feathers
- Craft glue or glue stick
- Scissors
- Pencil or marker
For the eyes:
- 2 white circles, approximately 2.5 cm in diameter
- 2 black circles, approximately 1.5 cm in diameter
- Tiny white circles for the highlights, approximately 1 cm
For the feathers:
- 12–15 narrow paper strips
- Approximately 1 cm wide by 13 cm long, or adjusted to suit your cup
The exact sizes do not have to remain the same if your cup is larger or smaller.
How To Make:
Prepare the Turkey’s Face Pieces
Begin with the small pieces that will create the turkey’s expression.
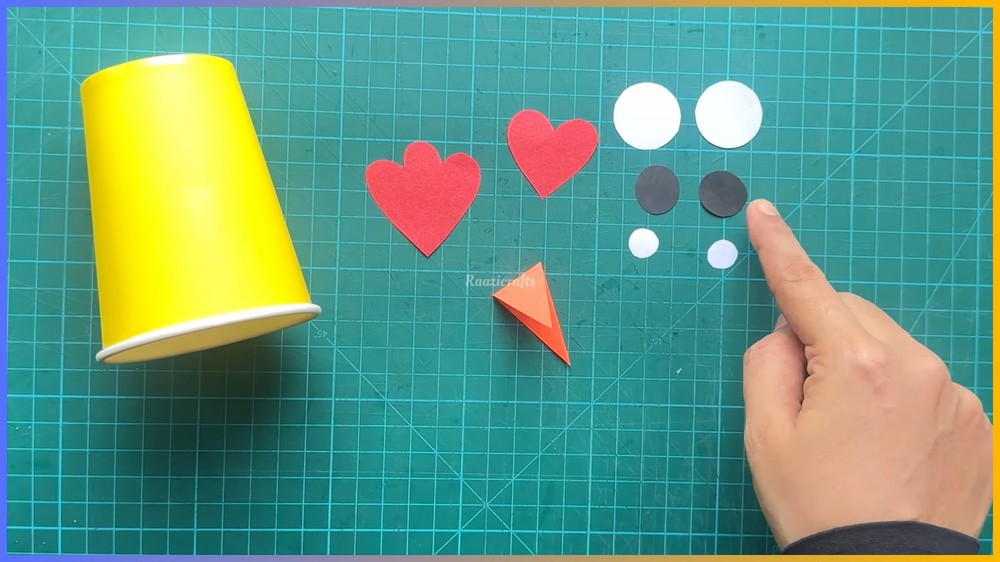
On red paper, draw and cut a scalloped comb shape and a smaller heart-shaped piece for the chin or snood.
Next, make the orange beak.
Cut a small rectangle from orange paper, fold it in half, and trim the folded piece into a triangle.
The fold gives the beak a simple three-dimensional shape instead of leaving it completely flat.
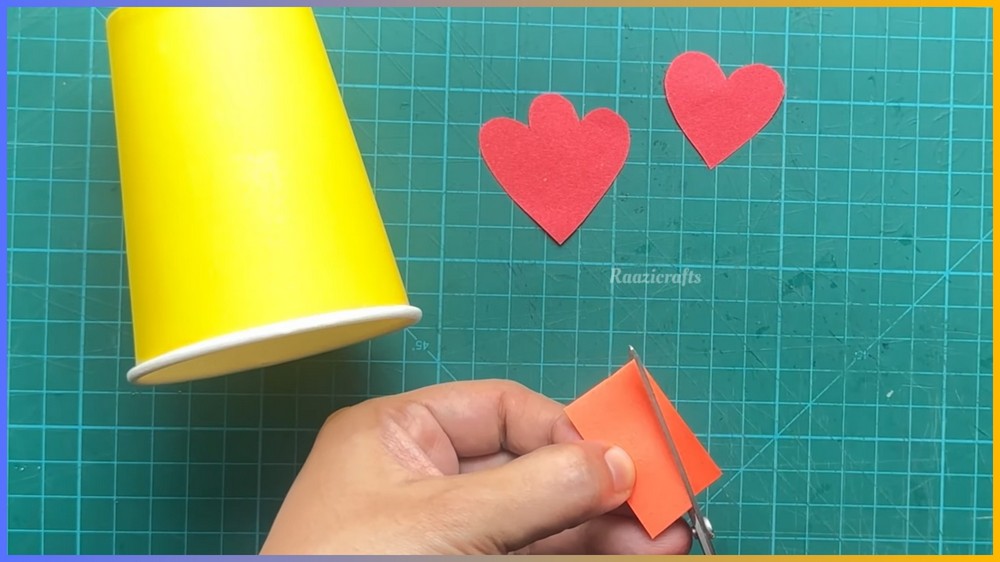
Check the beak before gluing
Open the folded beak slightly and hold it against the front of the cup.
It should be large enough to be noticed but not so large that it covers the area where the eyes will sit. If it looks oversized, trim the triangle slightly before attaching it.
Keeping the fold intact is important. If you flatten the piece completely, you lose the raised effect that makes the beak stand out.
Build the Layered Eyes
Cut two white circles and two smaller black circles.
Glue one black circle onto the center of each white circle.
Then add a tiny white highlight to each black pupil.
These layered pieces create the turkey’s large, expressive eyes.
Keep the eyes together as a pair
Before gluing them to the cup, place both finished eyes side by side.
Check that they are similar in size and that the black centers sit in roughly the same position.
If one pupil is noticeably off-center, reposition it while the glue is still workable.
Turn the Cup Into the Turkey Body
Turn the yellow paper cup upside down.
The wider base now becomes the upper part of the turkey’s body.
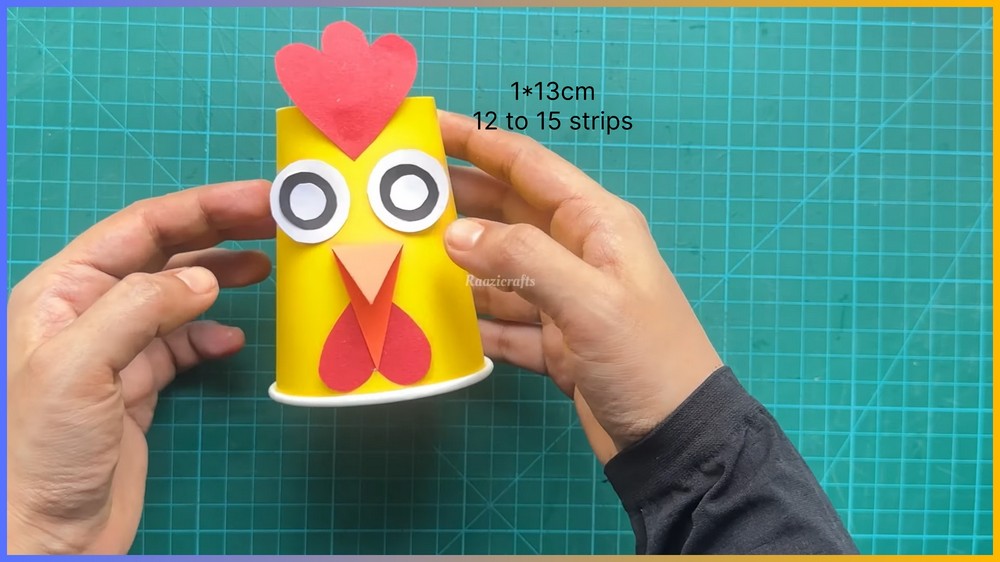
Attach the red comb to the top back edge of the cup.
At the front center, glue the heart-shaped red snood and folded orange beak.
Place the layered eyes just above the beak.
Why use the cup upside down?
The wide base gives the turkey a broader upper area for the face, while the narrower end becomes the lower part of the body.
Once the facial pieces are in place, look at the cup from the front before continuing. This is a good moment to make small adjustments if the face looks too high, too low, or crowded.
Cut the Colorful Feather Strips
Choose several bright paper colors for the tail.
Cut approximately 12–15 long, narrow strips, around 1 cm wide and 13 cm long, or adjust their size according to the height of your cup.
The strips will become the turkey’s long tail feathers.
Try to keep the strips reasonably similar in width. They do not need to be perfectly identical, but large differences can make the tail look uneven.
Curl the Feather Ends
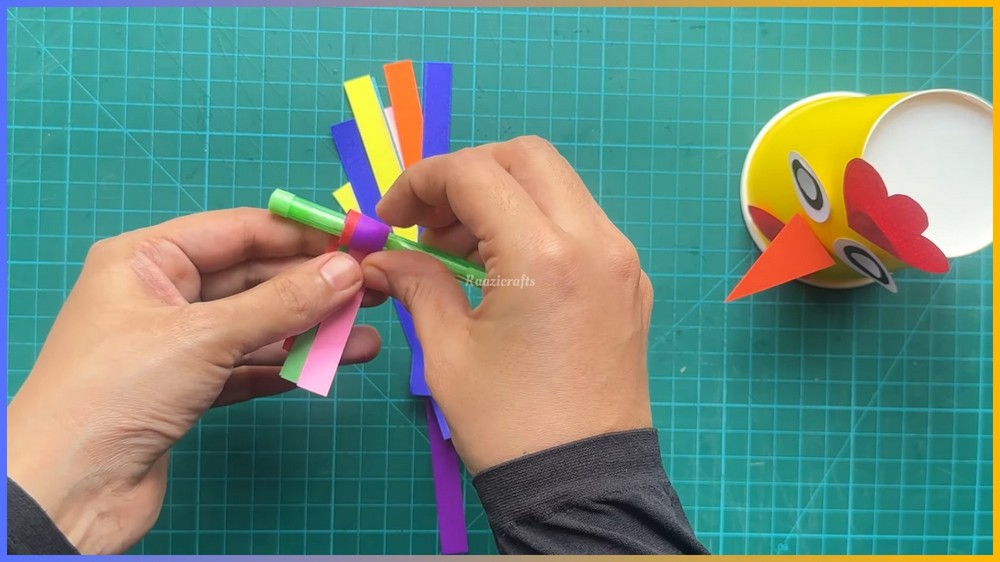
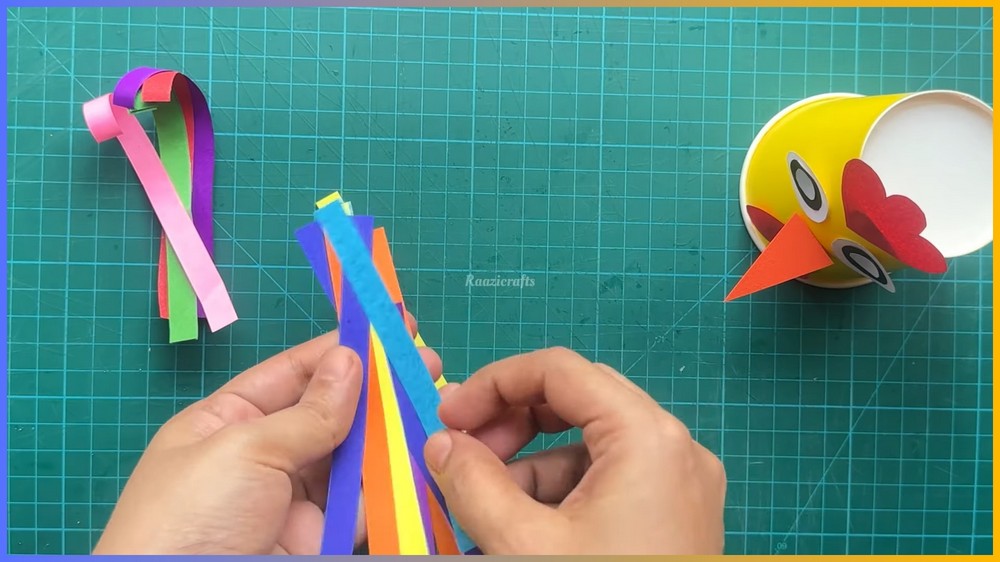
Take each paper strip and gently curl the end outward around a pencil or pen.
You only need a light curl. The purpose is to give the feathers a playful, springy appearance rather than making tight spirals.
If the paper curls too tightly
Run your fingers gently along the strip to loosen the curl.
A soft outward curve is easier to arrange behind the cup and keeps the feather strips recognizable.
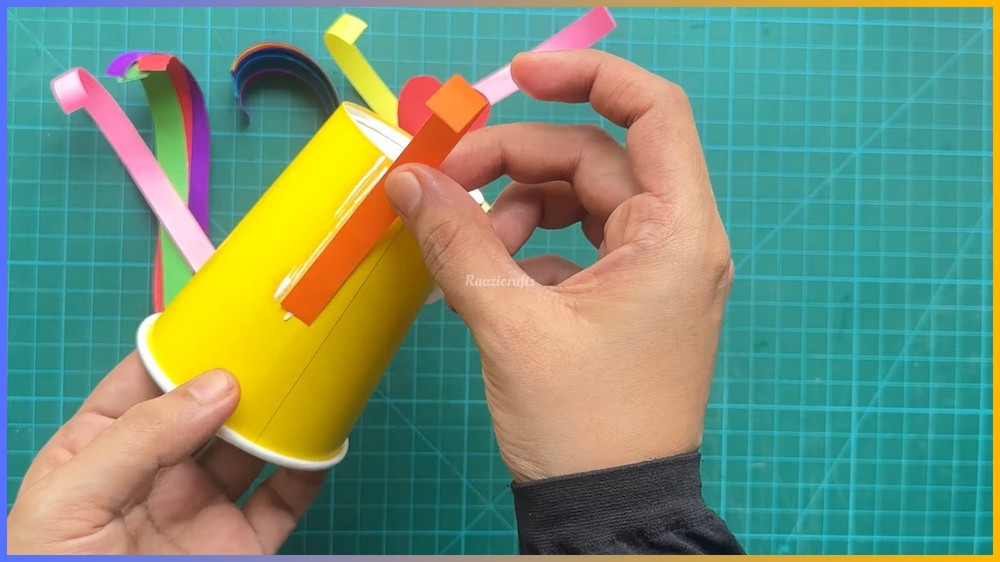
Test the Feather Fan Before Gluing
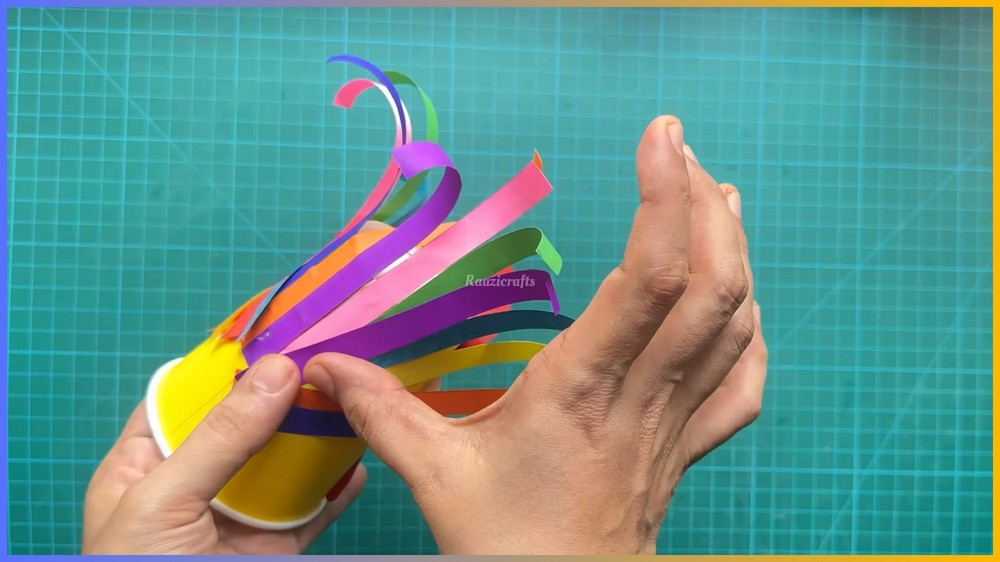
Place the curled strips along the back of the upside-down cup without adding glue yet.
Spread them into a fan shape and experiment with the order of the colors.
Check the tail from the front and from the side.
What to look for
Make sure:
- The strips spread wide enough to create a visible tail.
- The colors are not all grouped on one side.
- The feather ends are visible rather than hidden behind one another.
- The tail looks balanced with the size of the cup.
If the center looks too crowded, move a few strips outward. If one side is much fuller, redistribute the colors before gluing.
Once the fan looks balanced, keep the strips in that order and begin attaching them.
This quick test is worth doing because paper strips are much easier to rearrange before adhesive is added.
Attach the Turkey Feathers
Apply glue to the lower ends of the colorful strips.
Attach them along the back of the cup in the fan arrangement you just planned.
Press the glued ends firmly against the cup so they stay in position.
You do not need to cover the entire back of the cup with glue. Concentrate the adhesive where the bottom ends of the strips meet the cup.
If a feather starts sliding
Hold it in place for a short time while the adhesive begins to grip.
If several strips start moving together, pause and let the first few attachments become more secure before adding more.
This is particularly helpful with liquid school glue, which may take a little time to hold paper securely.
Let the Tail Set
Give the glued feathers time to dry before moving the turkey around.
If the tail is still wet, lifting the cup can cause the strips to shift or lose the fan arrangement.
Once the adhesive has set, check the back of the turkey and press down any loose feather ends.
Make the Craft Your Own
There are several simple ways to adapt this turkey for different settings.
Add Thanksgiving Messages
Before gluing the feathers to the cup, children can write short gratitude messages on the colorful strips.
This turns each feather into part of a Thanksgiving activity rather than only a decoration.
Writing the messages before attaching the feathers is easier because the strips can lie flat on the table.
Try Different Materials
Instead of ordinary paper, use felt, textured cardstock, or craft foam for some of the pieces.
Different materials can change the texture and appearance of the turkey while keeping the same basic shapes.
Turn It Into a Treat Holder
For a different version, keep the cup right-side up rather than turning it upside down.
The cup can then hold small treats such as candies, popcorn, or autumn trail mix.
If children will be handling the treats, keep the craft materials and any decorative pieces separate from the food itself.
Note: If you face any hurdles in creating this project, then you can watch the tutorial here.
Make It Easier for Younger Children
If the children making the craft are very young, prepare the smaller facial pieces and feather strips ahead of time.
They can still choose the feather colors, curl the strips, arrange the tail, and help glue the pieces into place.
For the stapled or cutting-free portions of the activity, let children take as much of the hands-on work as is appropriate for their age and abilities.
Save this pin for future!