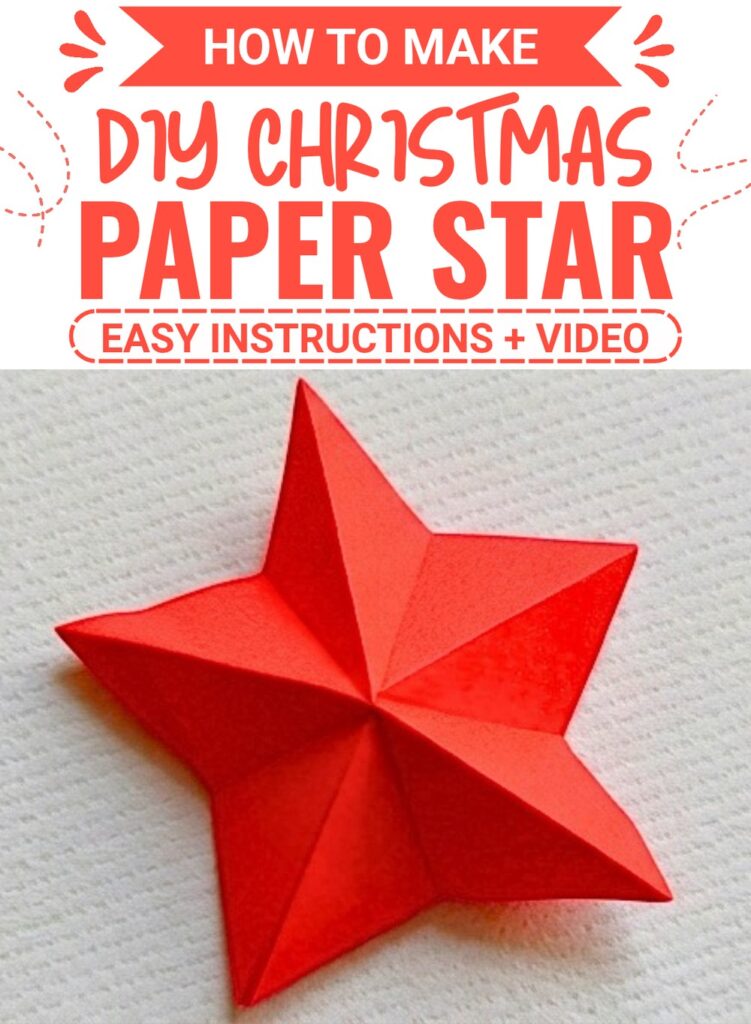
With a few precise folds and one careful cut, a flat sheet becomes a dimensional paper star, with simple shaping tips for an even, polished finish.
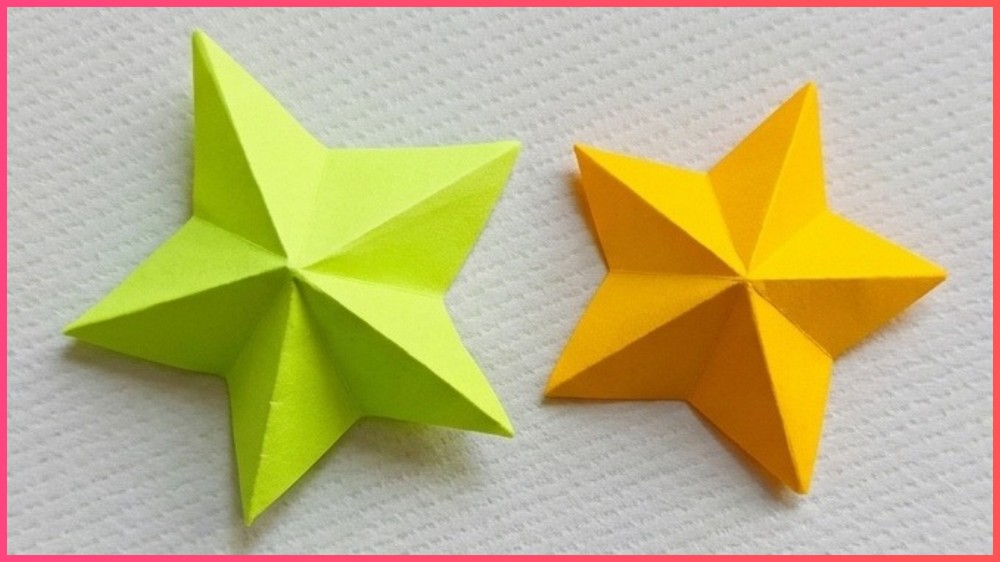
Paper stars are one of those crafts that can look far more complicated than they actually are. A flat sheet of paper gradually becomes a geometric decoration through a series of folds, a marked cut, and a little shaping.
This version is especially useful if you are new to paper folding because you do not need a large collection of supplies. Paper, a pencil, ruler, and scissors are enough to get started, and you can experiment with different papers once you are comfortable with the basic shape.
The part that deserves the most attention is the folded bundle before you make the cut. Small differences in alignment can affect how evenly the star opens, so taking a moment to check the folded layers can save you from an uneven result later.
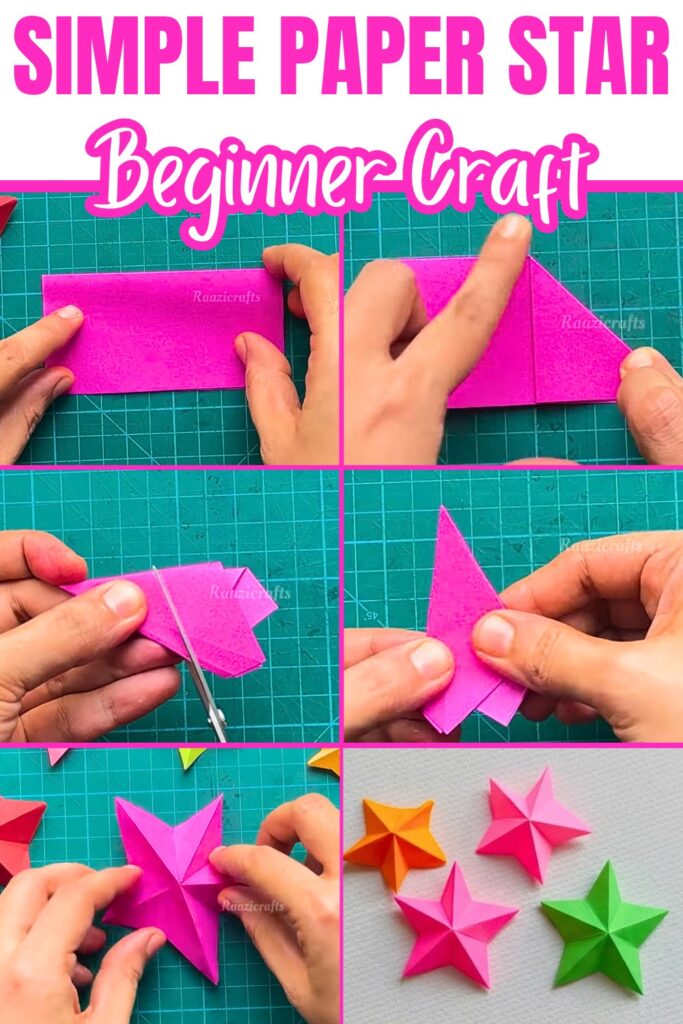
Once the paper is opened, the star begins to take shape. A few careful creases help turn the folded piece into a dimensional decoration that can be used on its own or combined with other stars.
Things that you need before crafting:
- Paper: One sheet of paper. The exact size can be chosen according to the size of star you want to make.
- Pencil or Pen: For marking a reference point and drawing the cutting guide.
- Ruler: Helps create a straight, controlled guideline.
- Scissors: For cutting along the marked line.
How To Make:
Start With a Clean Center Fold
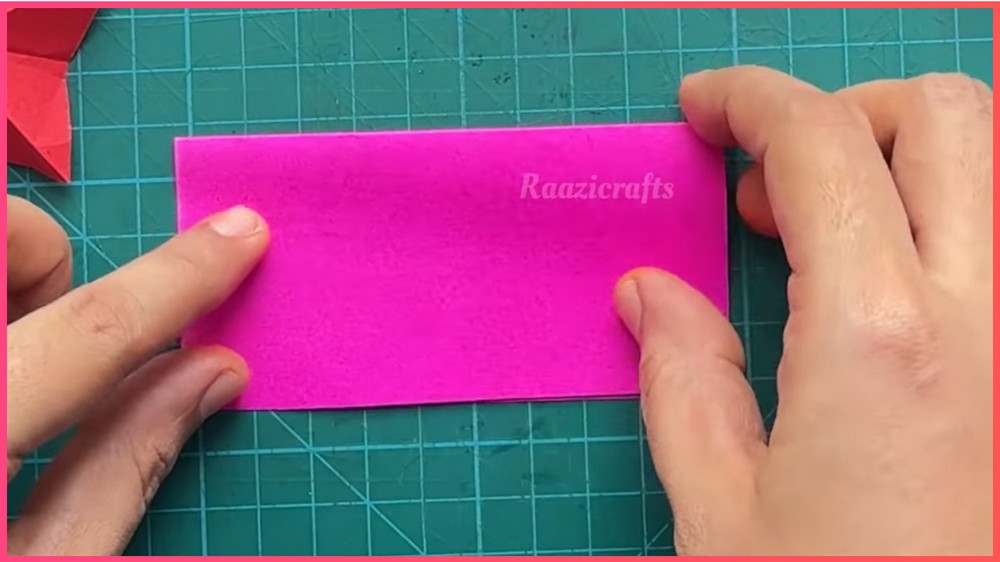
Begin with your sheet of paper and fold it neatly in half.
Press along the fold with your fingers so you have a clear baseline crease. This first crease helps establish the center of the paper and gives the later folds something to align with.
Try not to rush this part. If the paper is folded slightly off-center, the difference can become more noticeable as additional layers are folded.
Mark the Reference Point
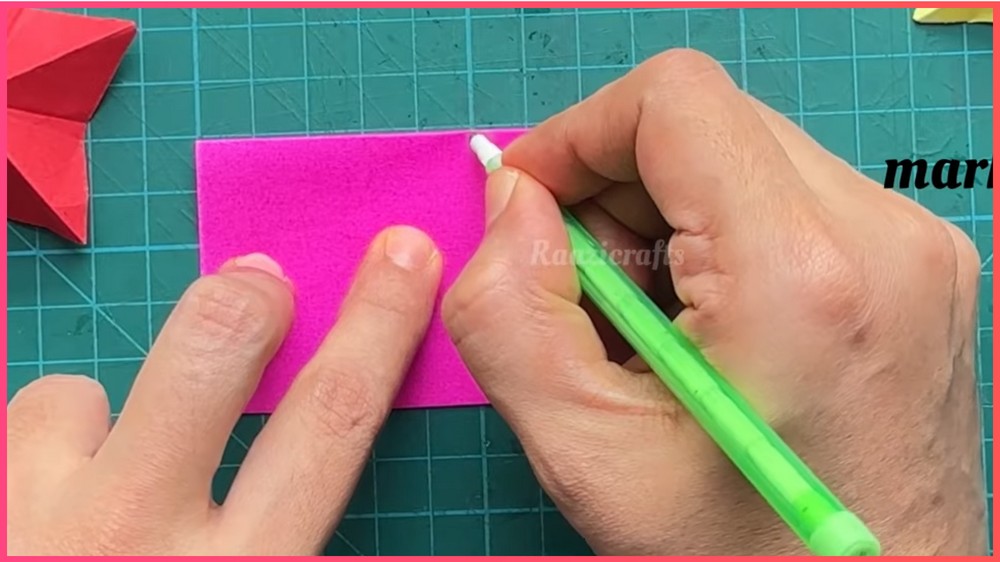
With the paper folded, make a small reference mark near the center.
You do not need a large mark. It simply gives you a visual target for the next fold, helping you judge where the corner should meet.
Keep the mark light so it does not become distracting on the finished star.
Fold the Corners Into the Shape
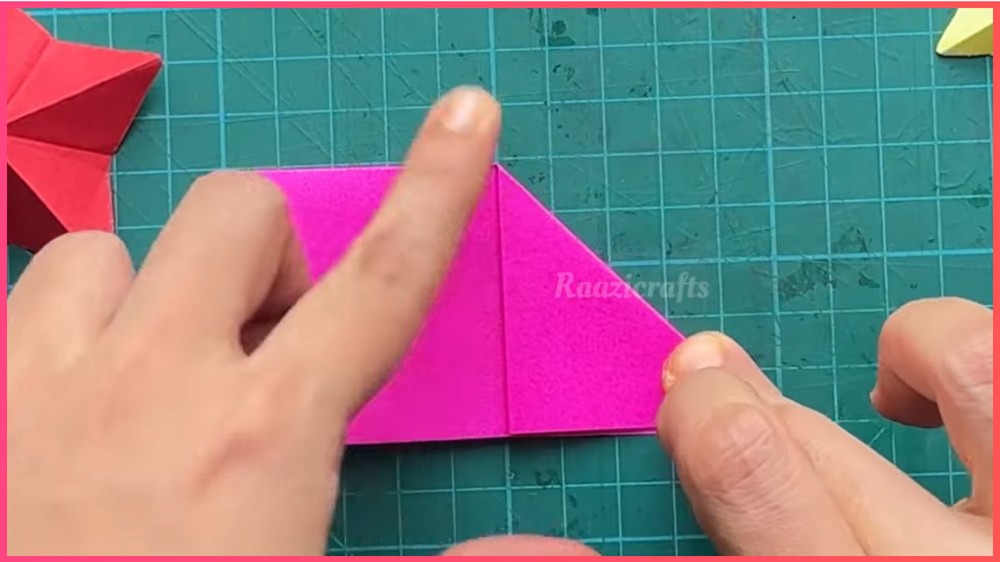
Bring the top corner inward toward the reference point.
As you continue folding, pay attention to the edges rather than relying only on the center mark. The adjacent edges should meet and align neatly as the geometric shape develops.
After each fold, press the crease firmly before moving on. A loose fold can shift when the next layer is added, making the final shape harder to control.
One Fold Is Your Reference
Before repeating the remaining folds, stop and look at the first completed section.
Use it as your visual reference for the next folds. Check the direction of the fold, the position of the edges, and how tightly the layers sit together.
This small check is worth doing before you continue because the same folding pattern will be repeated through the rest of the shape. If the first section is already uneven, repeating it will only make the difference more noticeable.
Complete the Folded Bundle
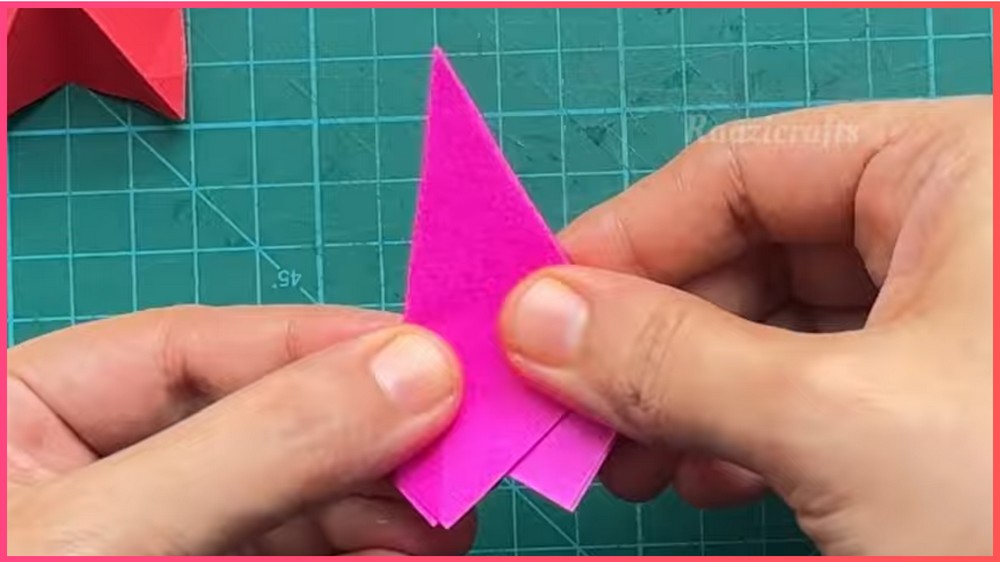
Continue folding the paper systematically until you have a compact, layered shape.
Keep the layers as flat and aligned as possible. Press each new crease before beginning the next one.
At this stage, the paper may not look much like a star yet. That is completely normal—the recognizable shape appears after the cutting and unfolding stages.
Mark the Cutting Guide
Place your ruler along the folded structure and draw the required guideline with your pencil or pen.
Make the line clear enough to follow with scissors, but avoid pressing so hard that you damage or crease the paper unnecessarily.
The cut controls the final outline, so this is one of the moments where accuracy matters most.
Make the Cut Carefully
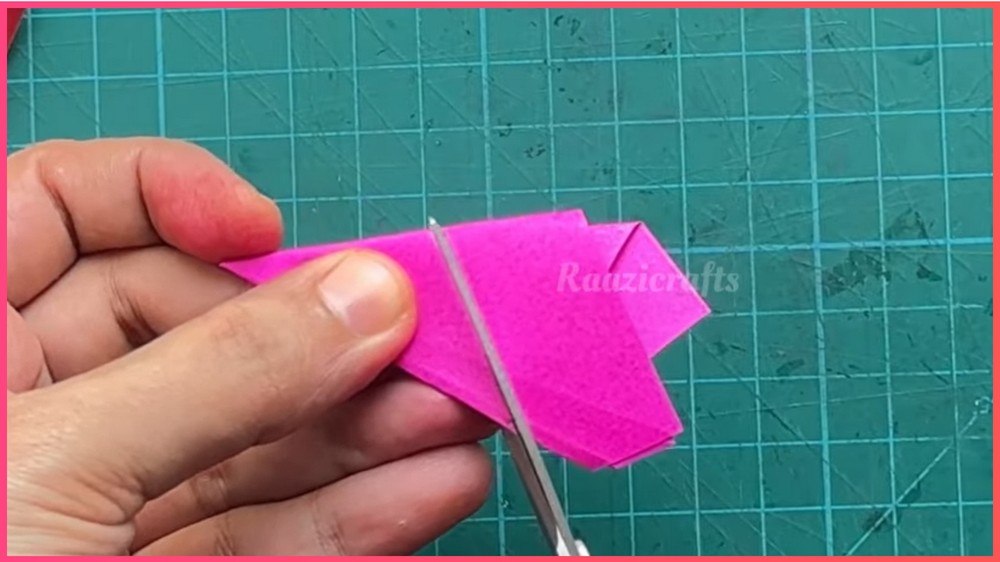
Use your scissors to cut along the marked line.
Keep the folded layers together while cutting and move slowly rather than trying to complete the cut quickly.
A controlled cut helps preserve the symmetry of the finished star. If your paper shifts while you cut, stop, realign the layers, and continue instead of forcing the scissors through an uneven stack.
Unfold the Star
Now gently open the folded paper.
Work through the layers gradually rather than pulling everything apart at once. As the paper expands, the star structure will begin to appear.
If some folds resist opening, use your fingers to ease them apart instead of flattening the paper aggressively.
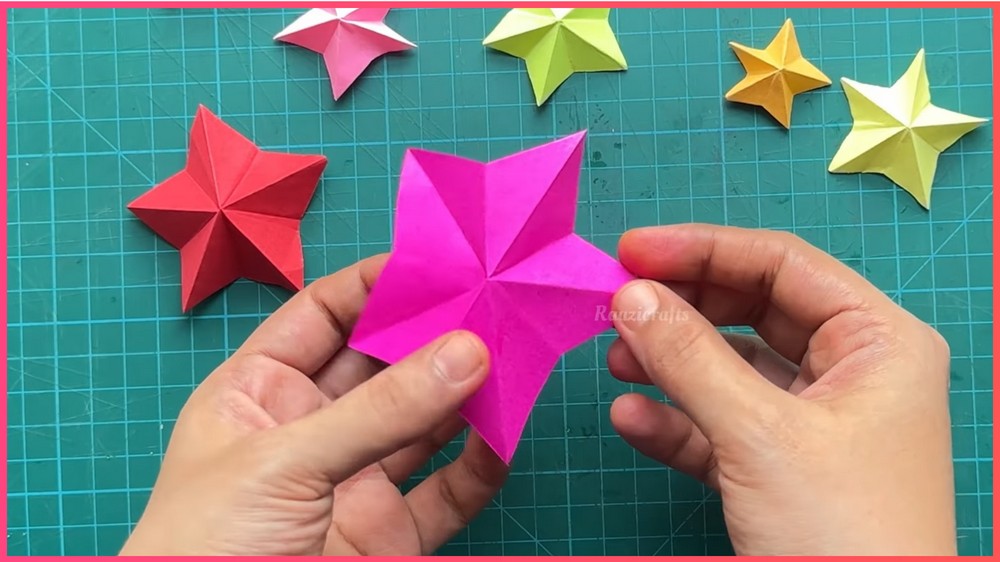
Give the Star Its 3D Shape
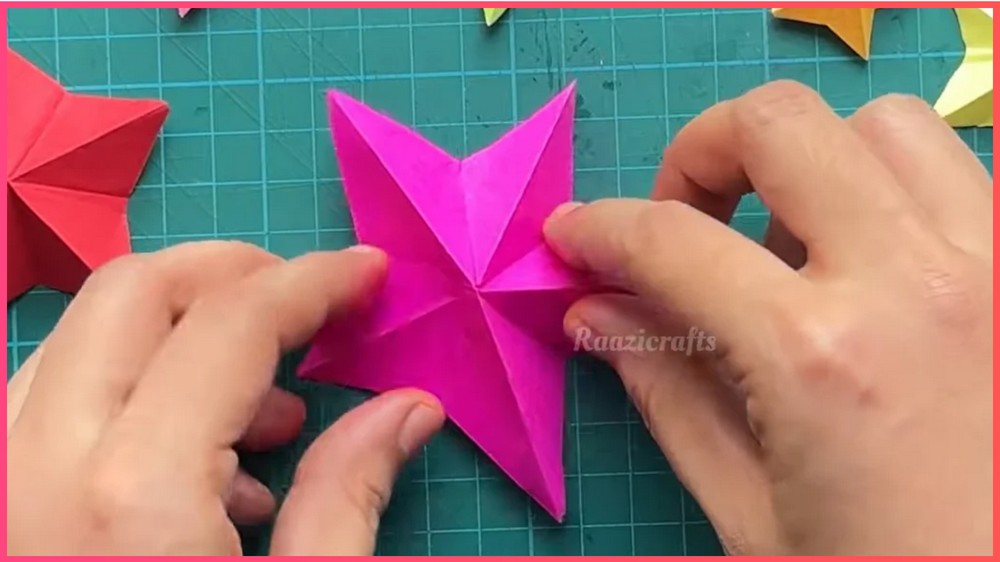
Once the paper is fully open, press along the existing folds to define the star.
Work around the shape one section at a time. Some areas may need to be pushed inward while others are brought forward to create the dimensional effect.
The goal is not to create lots of new folds. Instead, reinforce the folds that are already there so the star naturally settles into its three-dimensional form.
If one point looks flatter than the others, gently reshape that section and check the surrounding folds again.
Paper and Cutting Tips
The paper does not need to be an exact size for this craft, so testing with a spare sheet can help you decide what scale feels right.
For cleaner results:
- Make each crease as crisp as possible.
- Keep folded edges aligned before cutting.
- Use the ruler to create a clear cutting guide.
- Cut slowly around the folded layers.
- If the paper shifts, realign it before continuing.
- Shape the star gradually after unfolding rather than forcing it into position.
Note: If you face any hurdles in creating this project, then you can watch the tutorial here.
Try Different Looks
Once you are comfortable with the folding method, the same idea can be adapted to different occasions.
Patterned paper can give the star a playful decorative appearance, while metallic or brightly colored paper can make it feel more festive.
For a garland or hanging decoration, make a small hole near one of the star’s points and thread the stars together.
You can also experiment with smaller stars for gift decoration or combine stars in different sizes for a layered display.
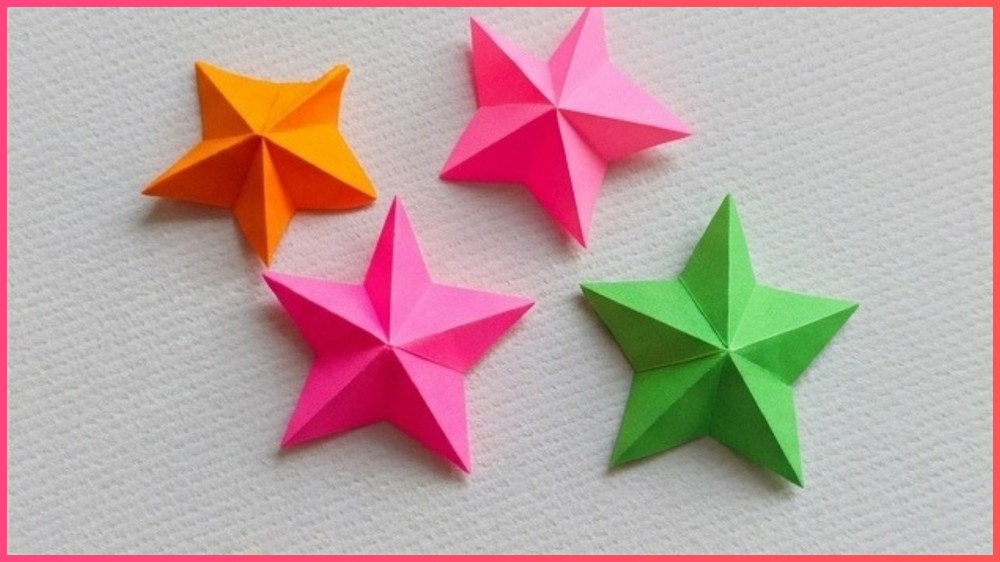
A collection of handmade paper stars can work as a simple seasonal decoration, gift accent, or backdrop detail without requiring many materials.
Save this pin for future!