
Learn how to make a beautiful 3D Christmas star from eight folded paper squares, with simple steps for creating matching points and joining them neatly.
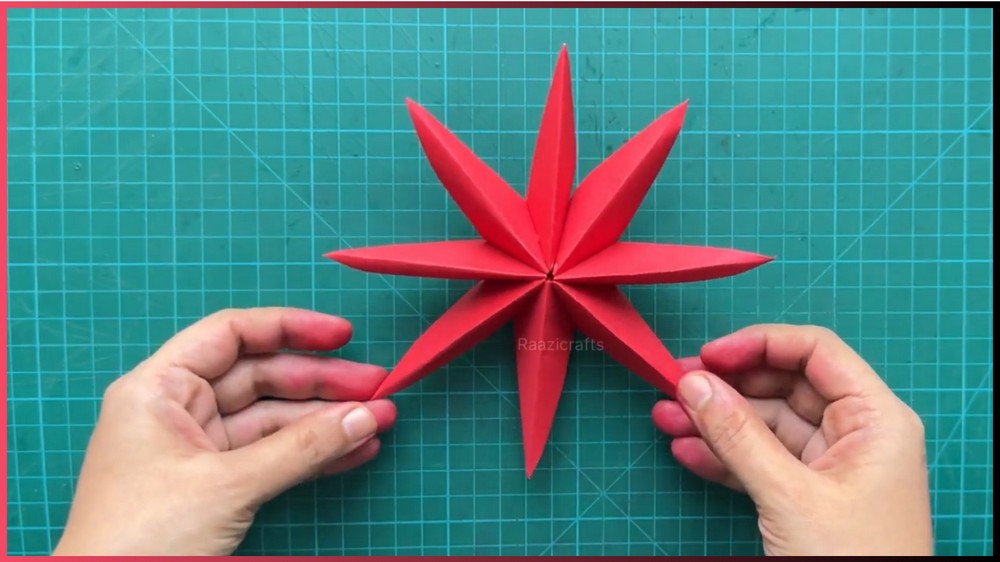
A handful of square paper pieces can become a surprisingly dimensional Christmas decoration. This 3D paper star is made from eight individual folded modules, which are connected one after another until they form the complete star.
Unlike a flat paper star, this design has depth because each folded piece becomes one point of the finished shape. The individual pieces may look simple at first, but the way they are folded and joined is what gives the completed decoration its sculptural appearance.
The most important thing is consistency. All eight starting squares need to be the same size, and the folded modules need to follow the same pattern. When the pieces match, they fit together much more naturally and the final circle of points is easier to close.
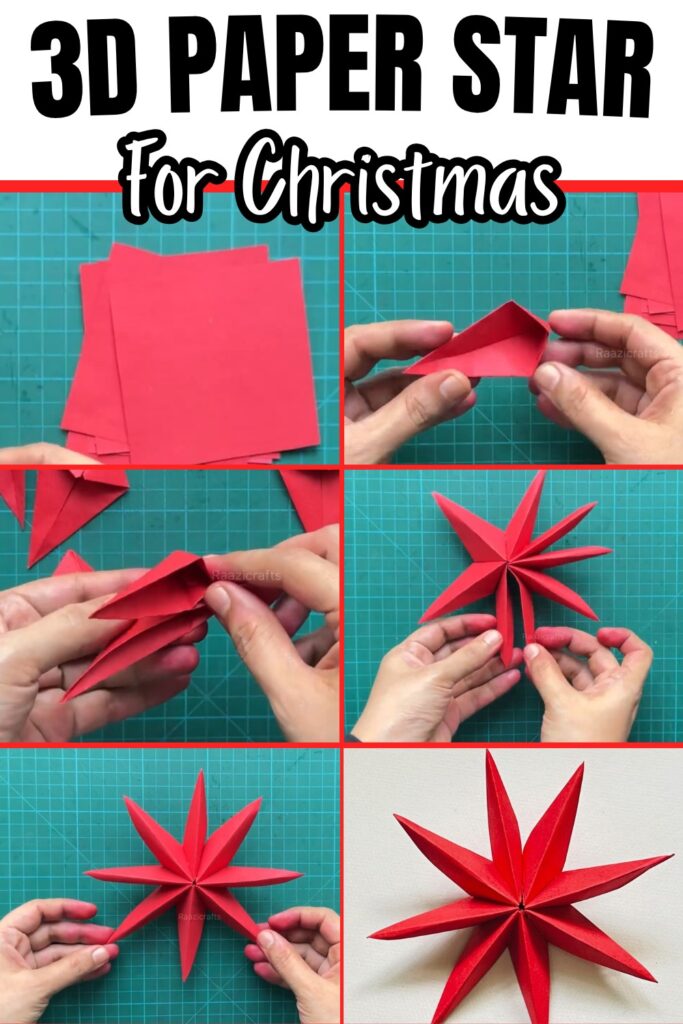
You can make the star in traditional Christmas colors, combine different shades, or choose metallic-looking paper for a more decorative finish. Once you understand how the modules connect, making another star becomes much easier.
Things that you need before crafting:
For one 3D paper star, gather:
- 8 square sheets of paper: The supplied tutorial uses 8 × 8 cm squares.
- Craft glue or glue stick
- Scissors: Only needed if you have to cut larger paper into squares.
Choose paper that folds cleanly and is not excessively thick. The folded modules need to bend and overlap without becoming too bulky.
How To Make:
Prepare All Eight Squares
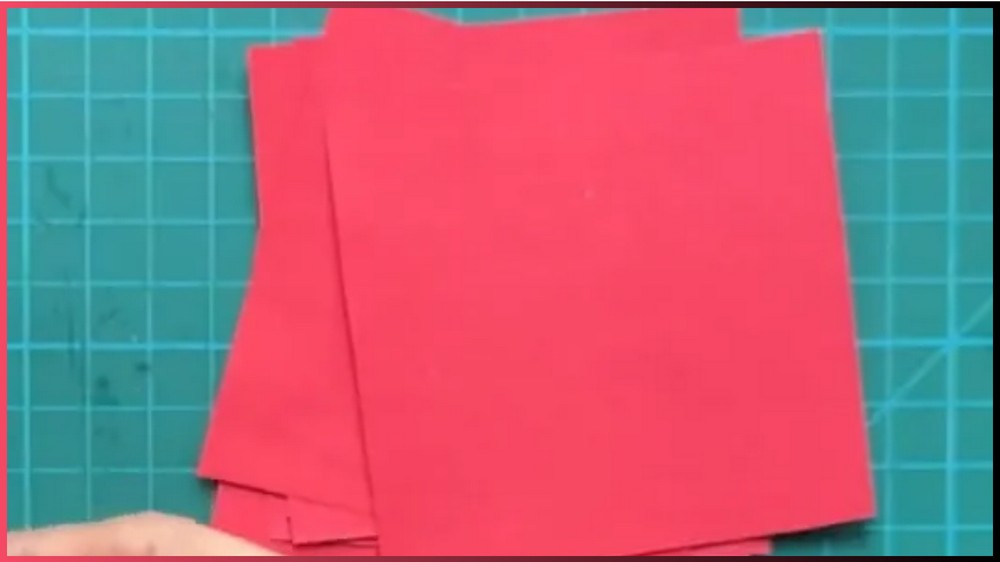
Start with eight equal-sized squares.
If you are cutting the squares yourself, measure carefully so all eight pieces are the same size.
This matters because each square will eventually become one point of the star. If some pieces are noticeably larger or smaller, the finished points may not meet evenly when you assemble the circle.
For a first attempt, using eight 8 × 8 cm squares keeps the proportions consistent with the supplied tutorial.
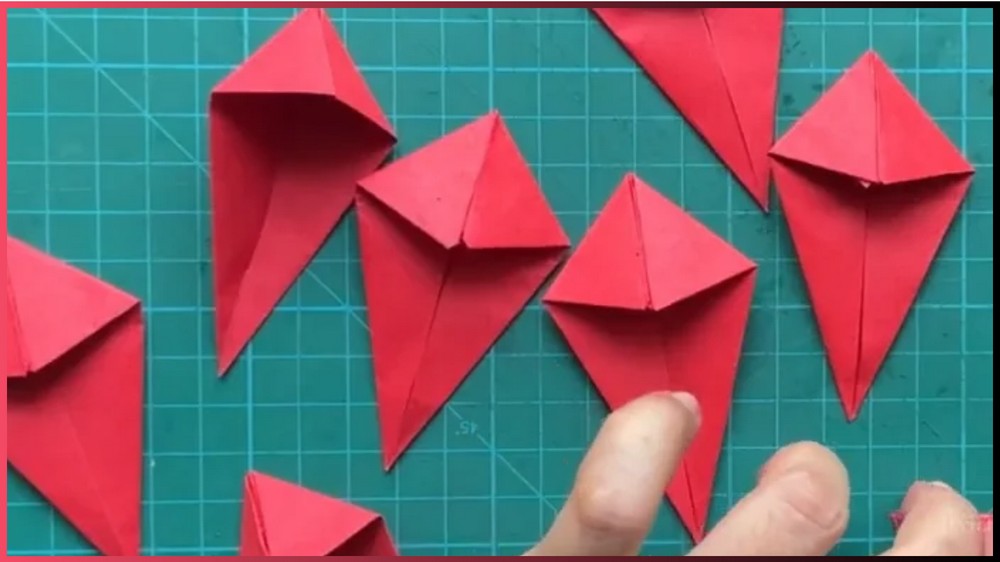
Fold One Star Point First
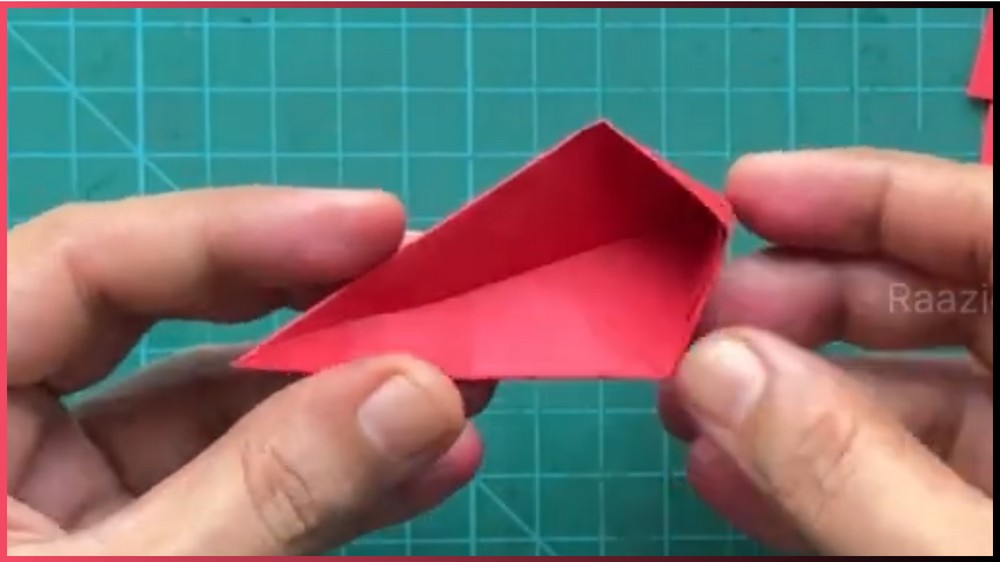
Take one square and follow the folding sequence from the tutorial to create the individual star-point module.
The folds bring the outer sections inward and create the pointed, three-dimensional shape that will eventually become one section of the completed star.
Work slowly through the first module.
Press each crease firmly before moving to the next fold. A loose crease can make it difficult to keep the small flaps and edges in their intended positions.
Make One Module Your Reference
Before folding all seven remaining squares, open and inspect the first finished module.
Check that:
- Its folds are crisp.
- The edges meet where they should.
- The point has the intended shape.
- The flaps are positioned consistently.
- Nothing is accidentally folded in the opposite direction.
Once the first module looks right, use it as your visual reference for the remaining seven.
You do not need to measure every fold again from scratch. Simply compare each new module with the first one as you work.
This gives you eight matching pieces instead of eight slightly different interpretations of the same fold.
Repeat the Fold for the Remaining Pieces
Fold the other seven squares using the same method.
Keep the first completed module nearby and compare the new pieces with it.
If one module looks noticeably different, correct it before beginning the assembly. It is much easier to refold one loose module now than to discover an alignment problem after several pieces have already been glued together.
When all eight pieces are finished, you should have a matching collection of folded star points.
Begin Connecting the Star Points
Now the individual modules become one decoration.
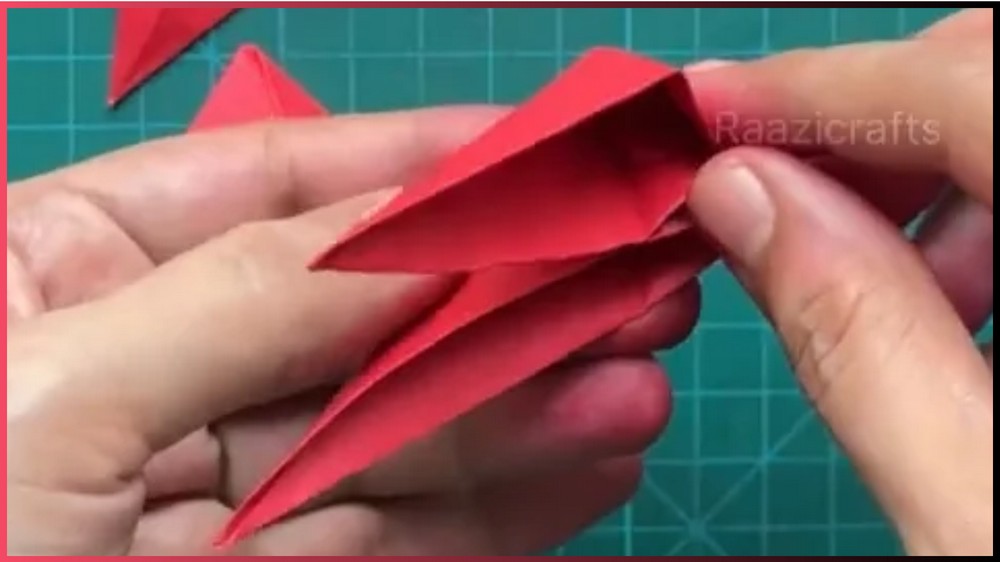
Take two folded pieces and identify the flap or surface where the tutorial indicates glue should be applied.
Use a small amount of glue rather than covering the entire module.
Bring the next module into position and press the two pieces together securely.
Hold the connection briefly so the adhesive can grip.
The modules need to remain neatly aligned while the glue sets, so avoid pulling or opening the pieces immediately after joining them.
Build the Star Around the Circle
Continue adding the folded points one at a time.
Each new module connects to the previous one, gradually creating a circular arrangement.
As you add pieces, let the star open outward naturally rather than forcing all the points flat against the table.
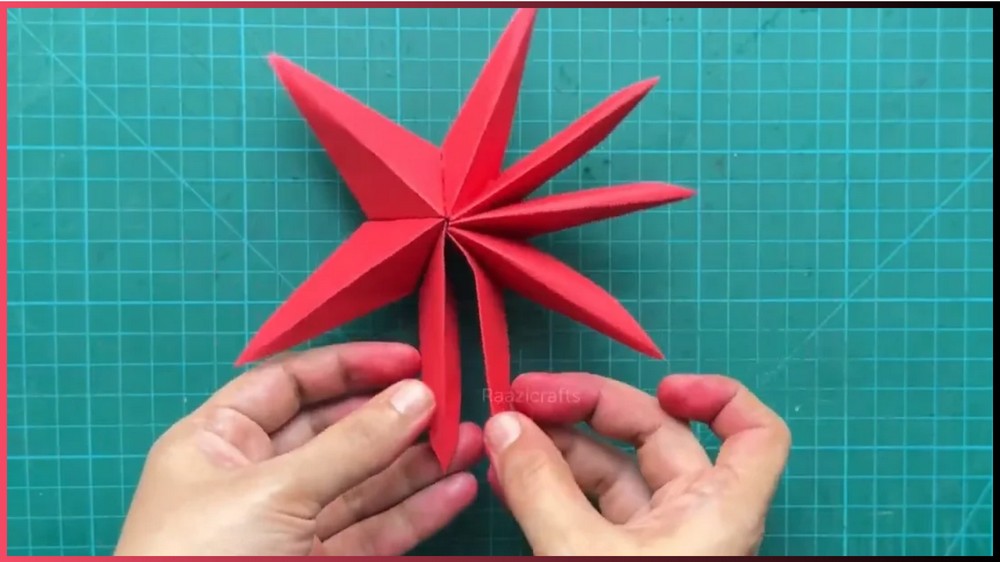
You should begin to see the three-dimensional shape developing as more modules are connected.
Watch the direction of the points
The points should follow a consistent direction around the circle.
If one section suddenly twists inward or sits differently from the others, stop before adding the next module. Check the previous connection and make sure the folded flap is positioned correctly.
A small correction at this stage can prevent a much larger problem at the final joint.
Close the Final Joint
When the last module is ready, bring it around to meet the beginning of the star.
Apply a small amount of glue to the required joining surface and connect the final pieces.
This last connection completes the circular structure.
Press the joint securely and give the glue enough time to set before lifting the star.
Check the shape before the glue fully dries
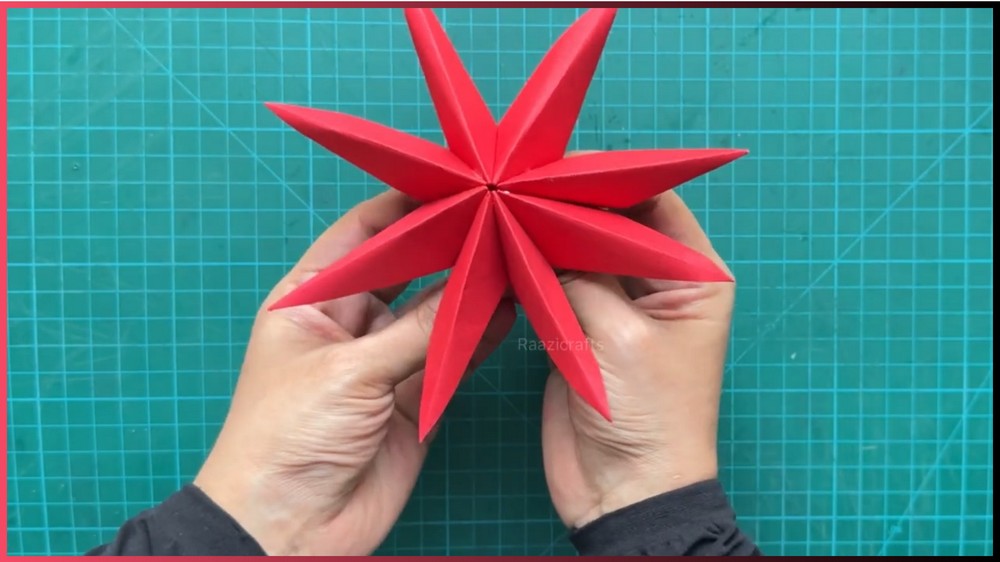
Look at the star from several angles.
The points should fan around the center rather than bunching together on one side.
If one point is sitting out of alignment, adjust it while the glue is still workable. Once the adhesive has fully dried, repositioning the joint becomes more difficult.
Keep the Paper From Warping
Glue is useful for joining the modules, but more is not better.
Too much adhesive can soak into the paper, soften the folds, and leave the connections looking bulky.
Apply a thin amount to the designated joining area and press the pieces together cleanly.
If you are using liquid glue, allow each connection enough time to become secure before putting stress on it.
Try Different Christmas Color Combinations
The star can look completely different depending on your paper choices.
For a traditional holiday palette, combine red and green.
For a brighter Christmas decoration, try gold and silver tones.
White and pale blue can give the star a wintery appearance, while several shades of one color can create a more coordinated look.
You can also use the same color for all eight modules if you want the folded shape itself to be the main feature.
Change the Size of the Star
The tutorial uses 8 × 8 cm squares, but the same basic idea can be adapted to other square sizes.
Larger squares create a larger finished star, while smaller squares can produce a more delicate decoration.
Keep all eight squares the same size within one star. That consistency is more important than the exact starting measurement.
If you are making a very different size for the first time, it is worth making one module before cutting all your paper so you can see how the folds behave at that scale.
Add a Little Holiday Sparkle
Once the star is completely assembled and the glue is dry, you can add small decorative details.
A little glitter along selected edges can emphasize the folded points, while small decorative pieces can add color without covering the three-dimensional structure.
Keep embellishments light. The folded paper needs to remain visible, and heavy decorations can pull on the individual connections.
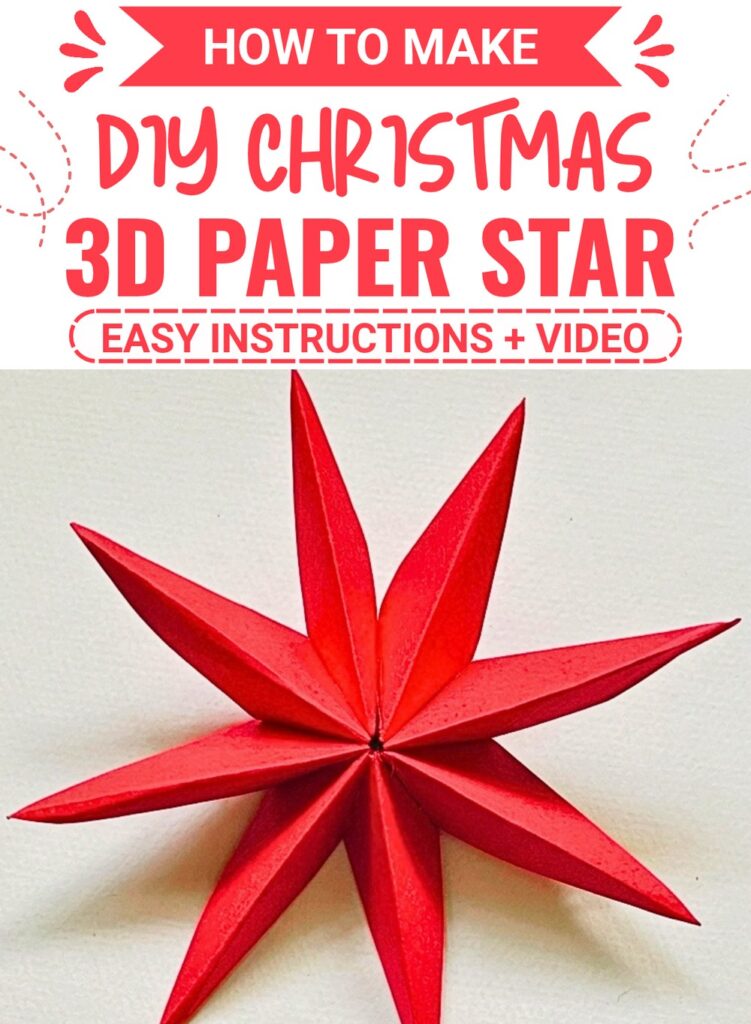
Note: If you face any hurdles in creating this project, then you can watch the tutorial here.
Where to Use the Finished Star
The completed 3D star can become part of several Christmas displays.
You can make different sizes for a layered holiday arrangement, use several stars together as a decorative garland, or make a smaller version for a Christmas tree.
A collection of stars in coordinated colors can also create a simple seasonal display without requiring many different materials.
Before hanging or displaying one, make sure the final glued joint is completely secure. That last connection holds the circular arrangement together, so it deserves a final check before the star is moved.
