
Discover how one square sheet becomes a cute origami turkey box, with easy folding guidance for creating crisp creases, a sturdy shape, and a useful little container.
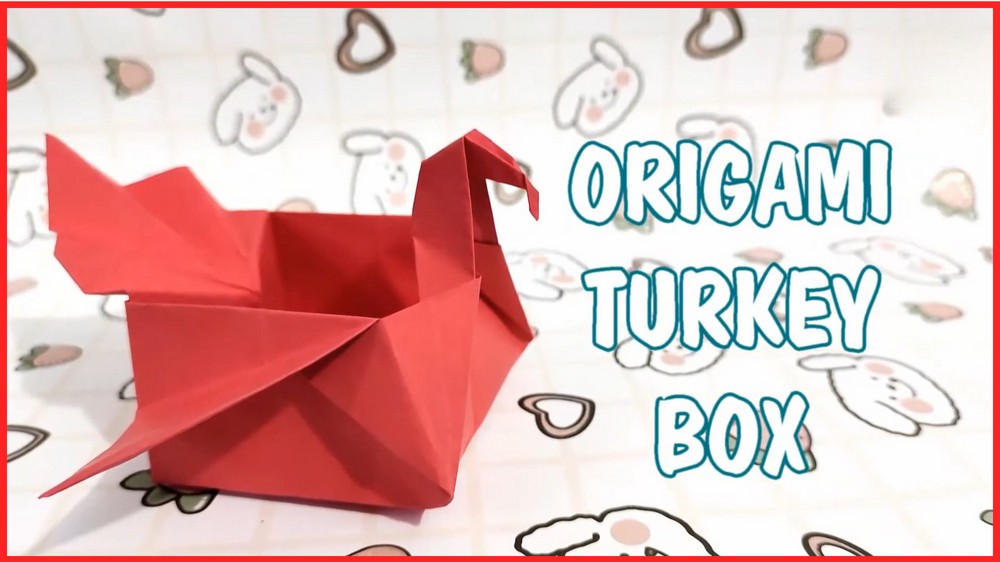
A sheet of square paper can become much more than a flat decoration. With a few carefully made folds, you can turn it into a small turkey-shaped box that is fun to make and useful once it is finished.
This origami turkey box is especially suited to Thanksgiving and autumn crafting because the finished shape combines the practical idea of a little container with the recognizable details of a turkey. You can use it for small treats, tiny notes, or a festive tabletop accent.
The folding is the part that deserves the most attention. Origami becomes much easier when each crease is made accurately before the next fold begins. If a later section does not seem to line up, it is often better to go back to the previous crease rather than forcing the paper into shape.

For the exact visual folding sequence, follow the accompanying Easy Origami Turkey Box video while working with your own square sheet. The written guide below will help you understand what you are trying to achieve at each stage and how to keep the finished box neat.
Things that you need before crafting:
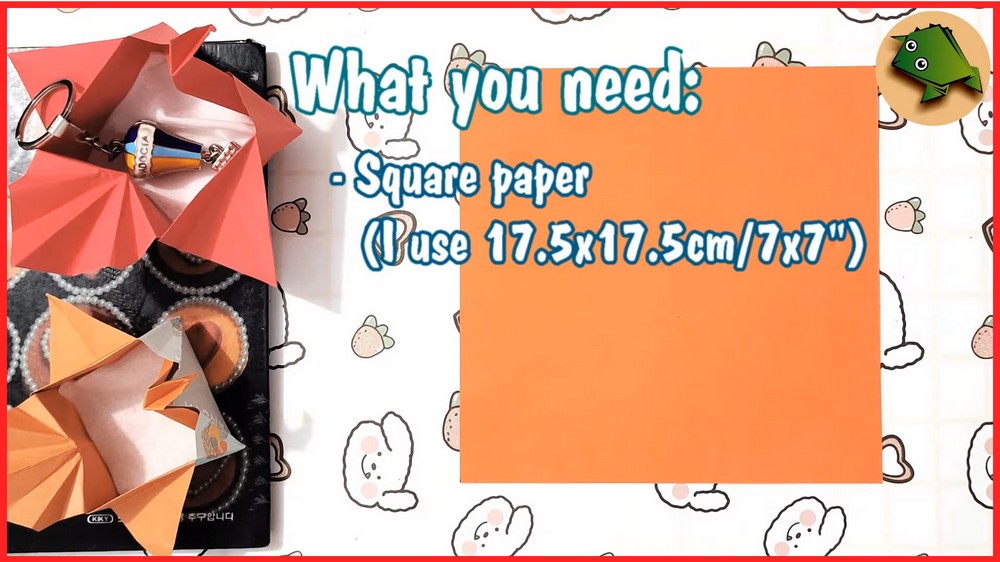
You only need a few supplies for this paper craft:
- Square paper: The tutorial uses 17.5 × 17.5 cm (7 × 7 inches) paper.
- Optional colored or patterned paper: Useful if you want to give the turkey a different autumn look.
For the easiest folding experience, choose paper that is light enough to crease cleanly but firm enough to hold its shape. Standard origami paper or light craft paper is a good choice.
Avoid very thick cardstock. Once several layers overlap, heavy paper can become difficult to fold sharply and may resist the smaller creases needed to shape the box.
How To Make:
Before You Start: Make the Paper Easy to Fold
Place the square paper on a clean, flat surface.
If you are using paper with one colored or patterned side and one plain side, decide which side you want visible on the finished turkey. Place the paper according to the orientation shown in the video before beginning.
This small decision matters because origami folds can change which side of the paper becomes visible. Starting with the correct orientation saves you from discovering halfway through that your pattern is facing the wrong direction.
It is also worth keeping the working surface clear. A small object underneath the paper can prevent a crease from becoming straight, and even a slightly uneven first fold can affect several later folds.
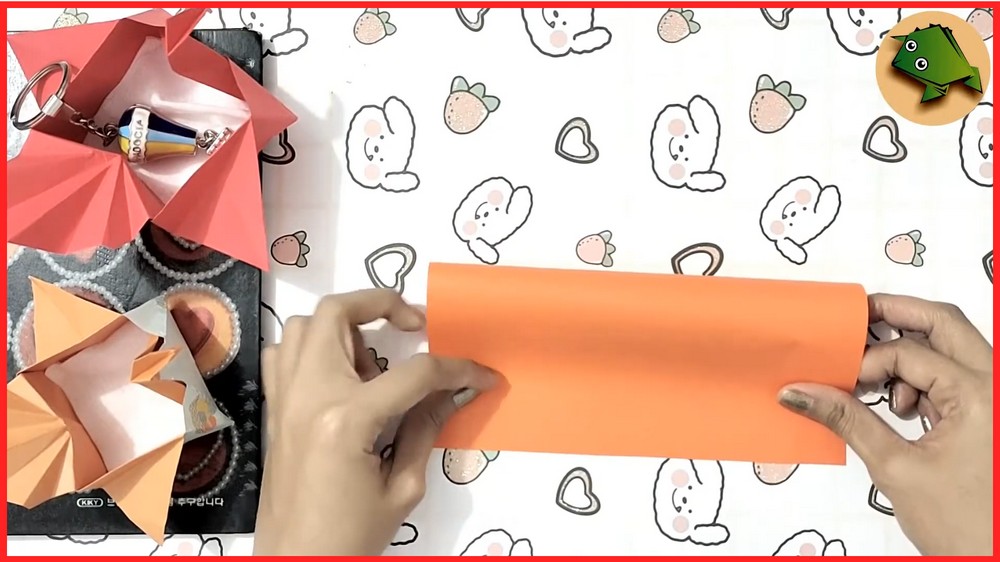
The Most Important Part: Build the Creases First
The box does not suddenly appear from one complicated fold. Instead, the paper gradually develops a network of creases that tells the sheet where to bend.
Follow the first part of the video carefully as you establish the base folds.
At this stage:
- Fold exactly along the demonstrated lines.
- Open the paper when the tutorial indicates that a crease is only being used as a guide.
- Press each crease firmly before moving on.
- Check that opposite sides and corners line up where they are supposed to.
- Keep the paper flat rather than allowing it to curl or buckle.
Think of these early creases as your folding map. They will guide the later collapses and help the box develop its shape.
Why crisp creases matter
A soft crease gives the paper too much freedom to move. When several folds meet later, that can make the paper look twisted or cause one side of the box to sit higher than the other.
A sharp crease, on the other hand, gives you a clear folding path.
You can press the crease with your fingertip or fingernail. If you use a tool to help flatten folds, choose something smooth that will not tear or mark the paper.
Start Shaping the Box
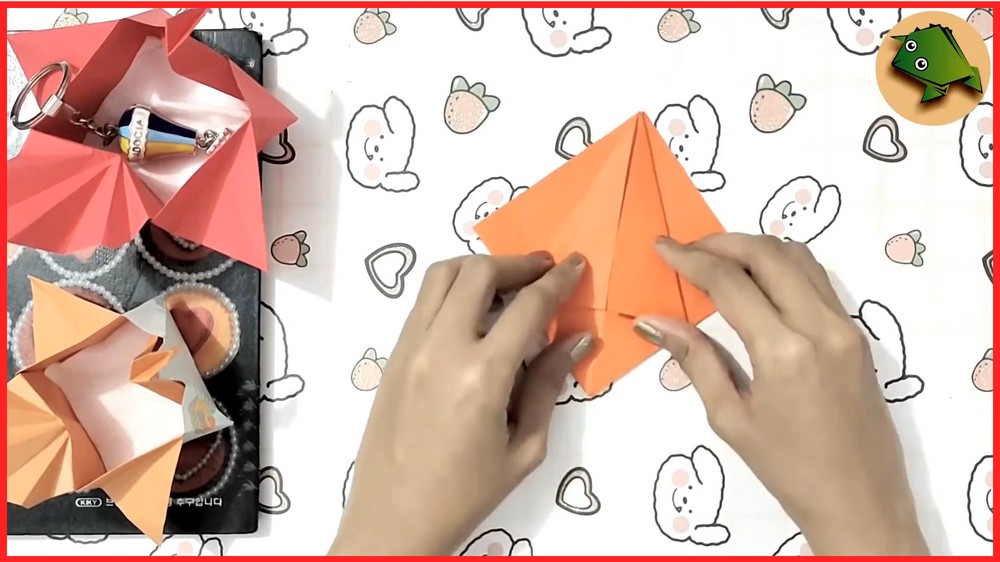
Once the preliminary creases are established, the paper begins changing from a flat square into a three-dimensional form.
This is the point where it is tempting to rush.
Instead, slow down and follow the visual sequence one fold at a time. When the tutorial asks you to collapse or bring sections inward, make sure the existing creases are actually guiding the paper before pressing everything flat.
A useful check
After each major collapse, pause and look at the paper from above.
Ask yourself:
- Are the main edges meeting where they should?
- Are the folds lying flat?
- Does the shape look symmetrical?
- Did one layer accidentally fold in the opposite direction?
If something looks wrong, unfold that section carefully and return to the last correct crease.
Trying to force an incorrect fold into place usually makes the next step harder.
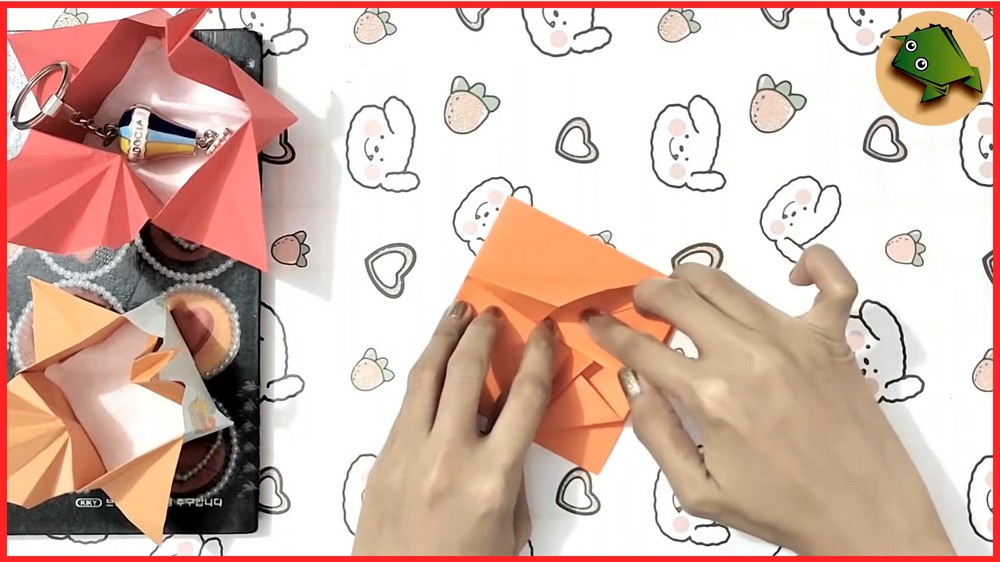
Turn the Folded Shape Into a Turkey
Once the box structure is taking shape, the remaining folds help define the turkey form.
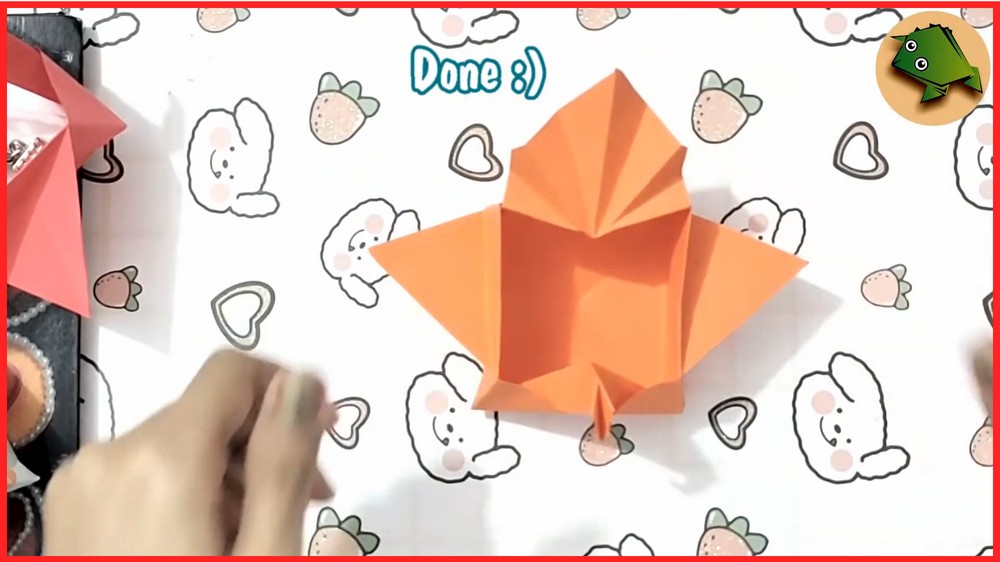
The folded sections become part of the recognizable turkey silhouette, including the body, head, and fan-like tail areas shown in the tutorial.
At this stage, do not worry about making every fold perfectly flat immediately. First make sure the sections are positioned correctly. Then sharpen the creases once the paper is where it needs to be.
This two-stage approach is helpful: Position first → check → crease firmly.
That is safer than pressing every fold as hard as possible before you know whether the paper is correctly aligned.
Let the Turkey Shape Settle
When the main folding sequence is complete, gently press along the important creases again.
Do not squeeze the box excessively. The aim is to make the folds defined enough for the container to hold its shape without flattening the three-dimensional form you have just created.
If one side looks slightly uneven, compare it with the opposite side. Small differences can often be corrected by reopening the affected fold and following the existing crease more accurately.
How to Avoid the Most Common Origami Problems
The folds do not line up
The problem usually begins with an earlier crease rather than the fold you are currently making.
Go back one or two steps and check whether the paper was folded edge-to-edge or corner-to-corner as shown. Re-creasing that guide can make the later section fall into place.
The paper keeps springing open
This can happen when the creases are not sharp enough or when thick paper is being used.
Flatten the fold again and press firmly along the crease. If the paper itself feels difficult to manipulate, switch to lighter paper for your next attempt.
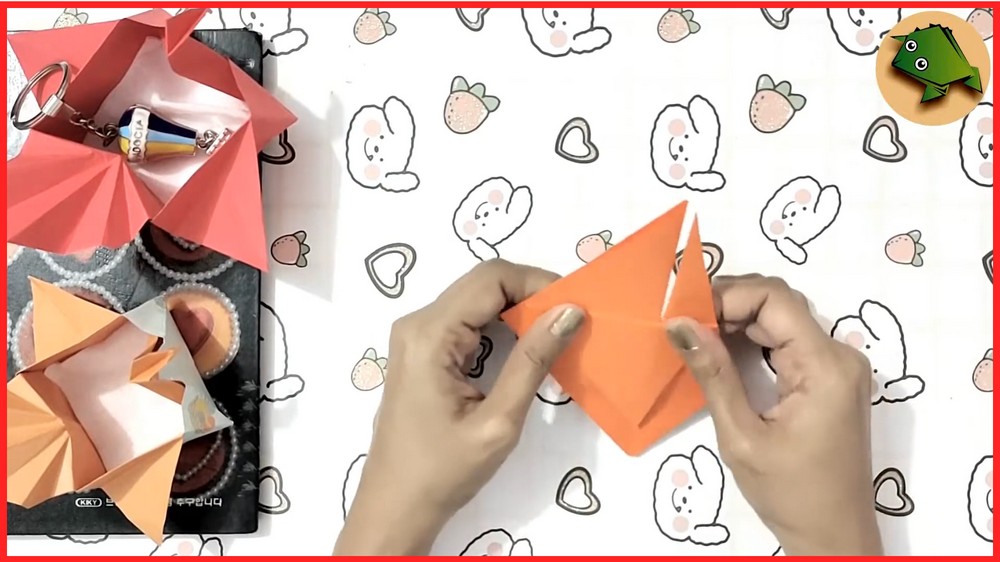
The box looks uneven
Place the finished piece on a flat surface and compare the two sides.
Look for one folded flap that is sitting higher, a corner that was not fully creased, or an earlier fold that was slightly off-center. Correcting the original fold is better than trying to disguise the unevenness afterward.
The paper is getting bulky
Several origami layers eventually overlap, so some thickness is normal. However, heavy paper makes this much more noticeable.
For a first attempt, stick with ordinary origami paper or another lightweight sheet.
You lose track during the folding sequence
This is completely normal with a multi-step origami design.
Instead of watching the entire tutorial and then trying to reproduce it from memory, pause after each major fold. Make the same fold on your paper, check it, and then continue.
The goal is not speed. The goal is keeping the paper in the correct orientation.
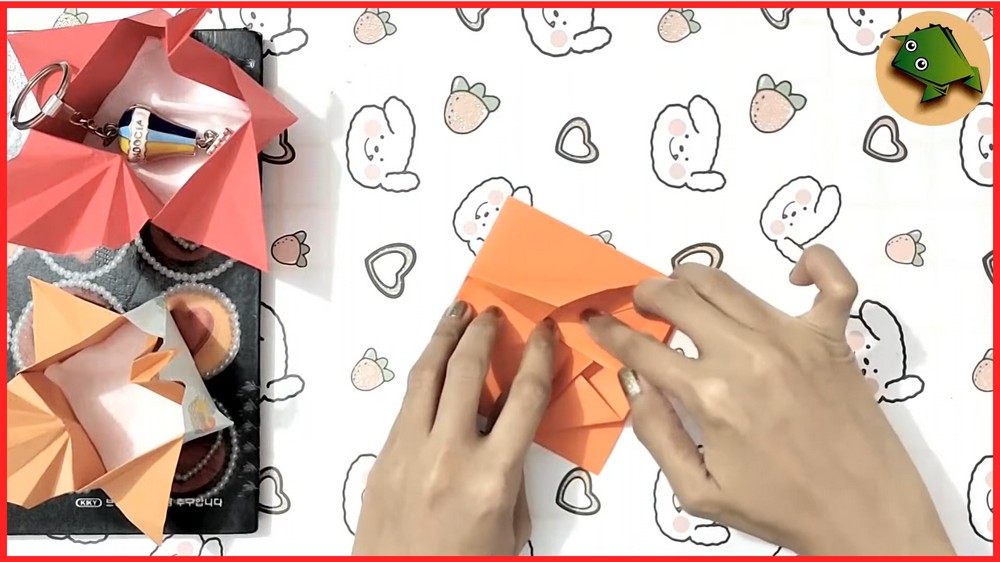
Add Your Own Autumn Style
Once the turkey box is folded, you can keep the paper design simple or experiment with color.
Brown paper gives the turkey a traditional appearance, while orange, yellow, red, and other autumn shades can make the finished piece more playful.
Patterned paper is another easy option. A subtle pattern can give the box personality without requiring additional decoration.
If you want to add facial details, keep them small and light so they do not interfere with the folded shape.
You could also use a black pen to add simple eyes or other tiny details.
Change the Size Carefully
The original tutorial uses a 17.5 × 17.5 cm (7 × 7 inch) square.
You can experiment with different square sizes, but remember that changing the starting paper changes the final size of the box as well.
A larger sheet can give you a larger container, while a smaller sheet produces a miniature version.
For your first attempt, using the same paper size as the tutorial is the easiest way to learn the folding sequence before experimenting with scale.
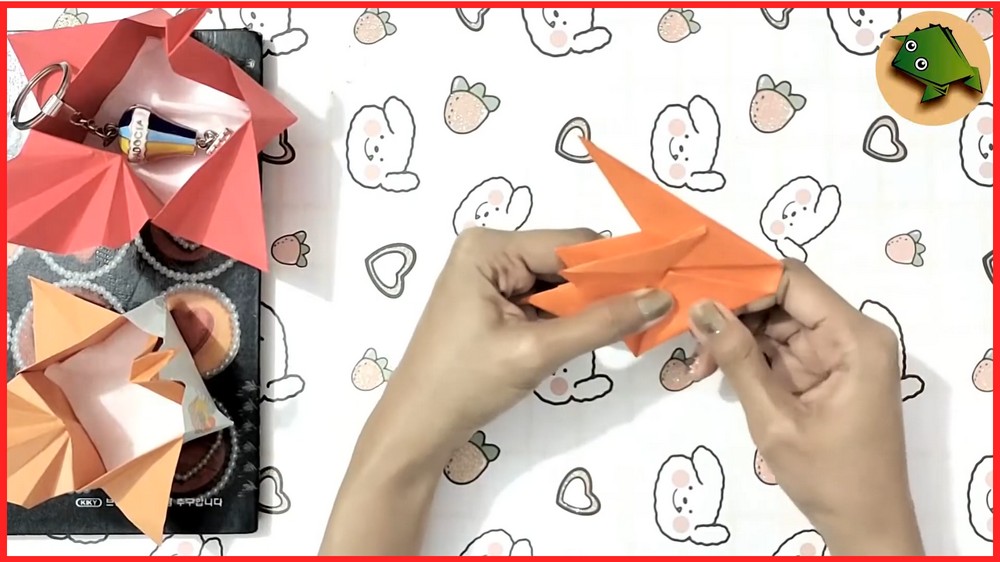
What Can You Put Inside the Turkey Box?
Because the finished design forms a small container, it can be used for lightweight little surprises or seasonal details.
Try it for:
- Small treats
- Tiny handwritten notes
- Lightweight table decorations
- Thanksgiving-themed confetti
- Small paper messages
Keep the contents lightweight so they do not pull the folded paper out of shape.
Make Several for an Autumn Table
Once you are comfortable with the folding sequence, making several turkey boxes can be a fun way to create a coordinated autumn display.
Use different paper colors while keeping the same basic folding method. You could make a mixture of brown, orange, yellow, and patterned versions rather than making every turkey identical.
The repetition also makes the folding process easier because you are no longer learning every step for the first time.
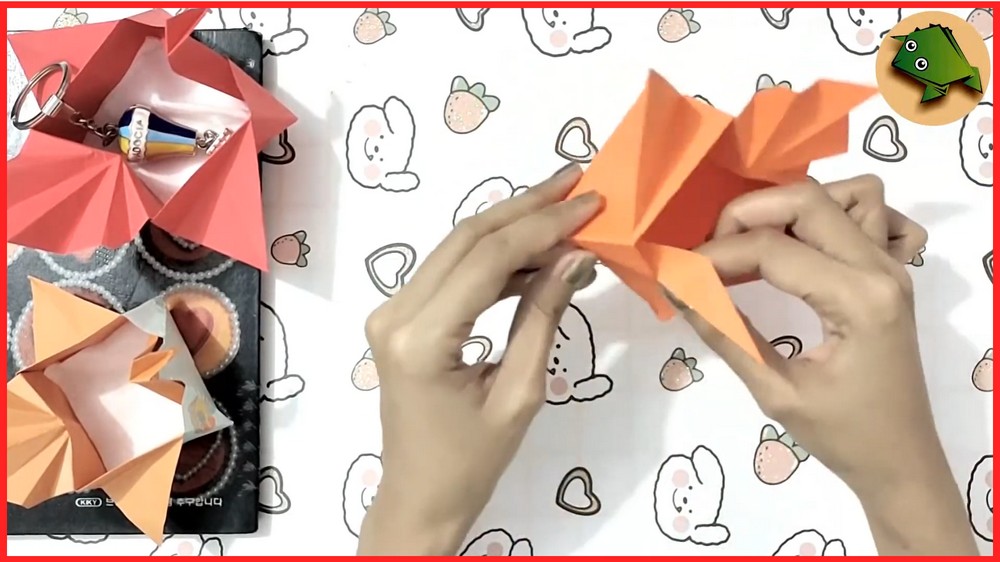
Note: If you face any hurdles in creating this project, then you can watch the tutorial here.
Final Check Before You Fill the Box
Before adding anything inside, take a moment to check the finished turkey.
The folds should be crisp, the box should hold its shape, and the turkey details should remain recognizable. If a section is loose, reinforce the crease rather than adding glue—the beauty of this design is that the folded paper itself creates the form.
Once everything looks secure, your little origami turkey box is ready for its autumn role.
Save this pin for future!


[…] decorations do not always need a collection of supplies. This little origami turkey begins with one square sheet of paper and turns a series of simple folds into a recognizable bird […]