
Turn colorful craft paper into a cheerful turkey headband with a fan of feathers and a custom fit that is ready for Thanksgiving fun.

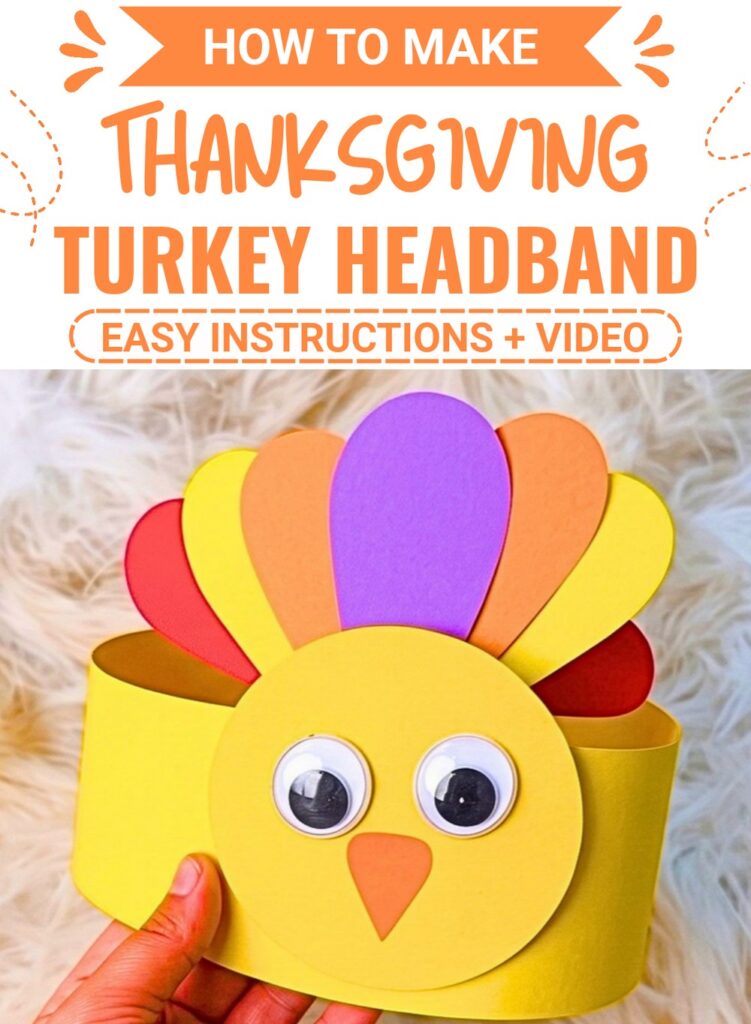
Thanksgiving celebrations become a little more playful when everyone can make and wear something of their own. This paper turkey headband combines a simple yellow band with a cheerful turkey face and a colorful feather fan.
The face is made from a yellow paper circle attached to the front of the band, while red, light pink, and light purple feathers create the turkey’s tail behind it. Small paper eyes and a simple beak bring the character together without requiring many supplies.
There is one part worth leaving until the very end: fitting the band. Since the paper needs to wrap comfortably around the intended wearer’s head, it is much easier to make the final adjustment before permanently gluing the ends together.

Once the main pieces are prepared, the rest is mostly arranging and attaching the details. That makes this a simple Thanksgiving activity for creating a group of colorful turkey headbands at home or during a holiday gathering.
Things that you need before crafting:
- Yellow craft paper
- Red craft paper
- Light pink craft paper
- Light purple craft paper
- White craft paper
- Scissors
- Glue stick
- Pencil
- Black marker
- Small circular object to trace, such as a small glass or jar
How To Make:
Build the Paper Headband
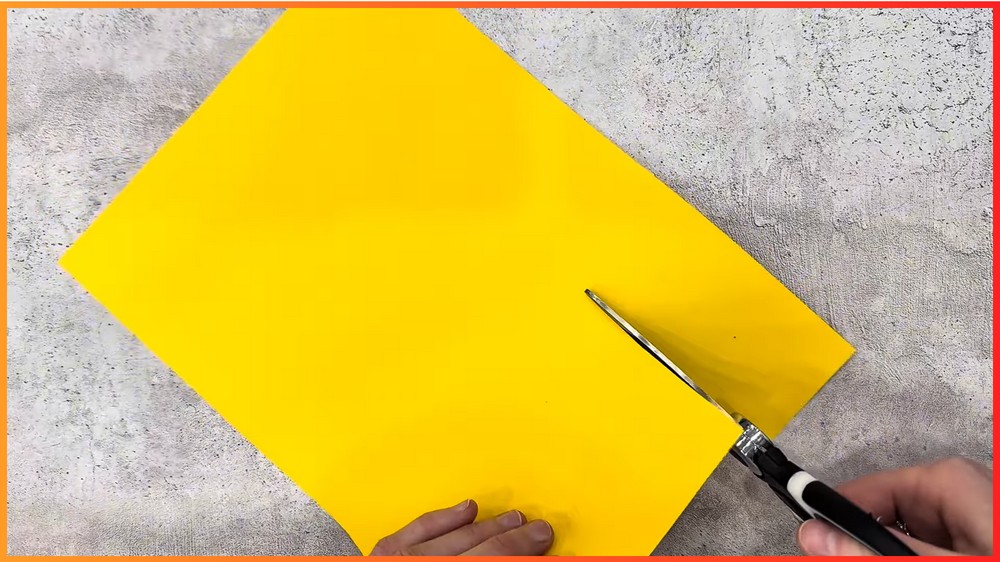
Start with a sheet of yellow craft paper.
Cut two long, even strips. These strips will eventually form the band that wraps around the wearer’s head.
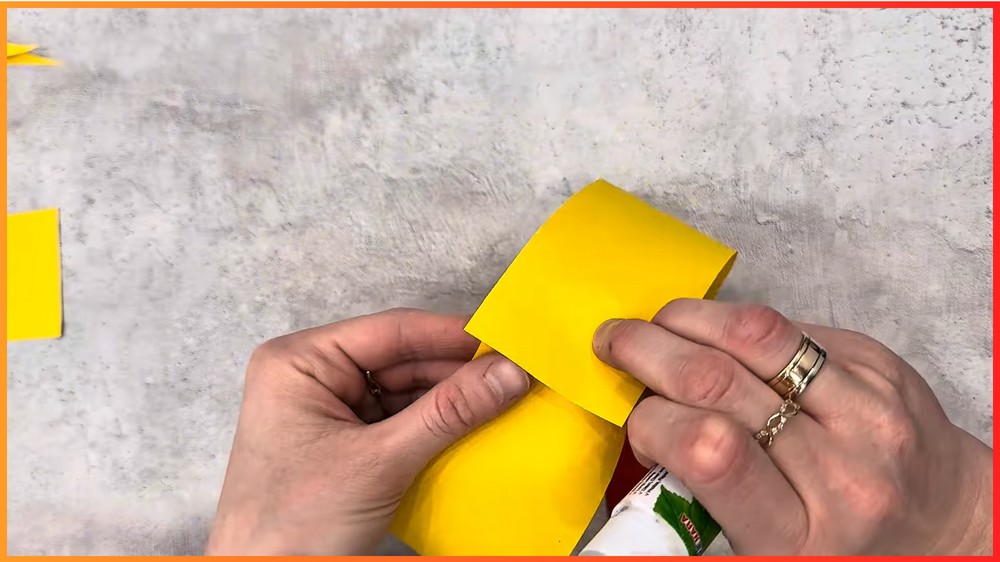
Apply glue to the end of one strip and attach the second strip to it, creating one longer strip.
Press the joined area firmly for a moment so the two pieces stay connected.
Keep the strips aligned
When joining the two pieces, line up their edges rather than attaching them at an angle. A crooked join can make the band twist when it is wrapped around the head.
If the glue has not dried and the strips have shifted, gently straighten them before moving on.

Make the Turkey’s Face
Place the small circular object on the yellow craft paper.
Trace around it with a pencil, then carefully cut out the circle.
This yellow circle becomes the turkey’s face.
Try to cut around the traced line smoothly, since the outer edge of the circle will remain visible on the finished headband.

Attach the Face to the Band
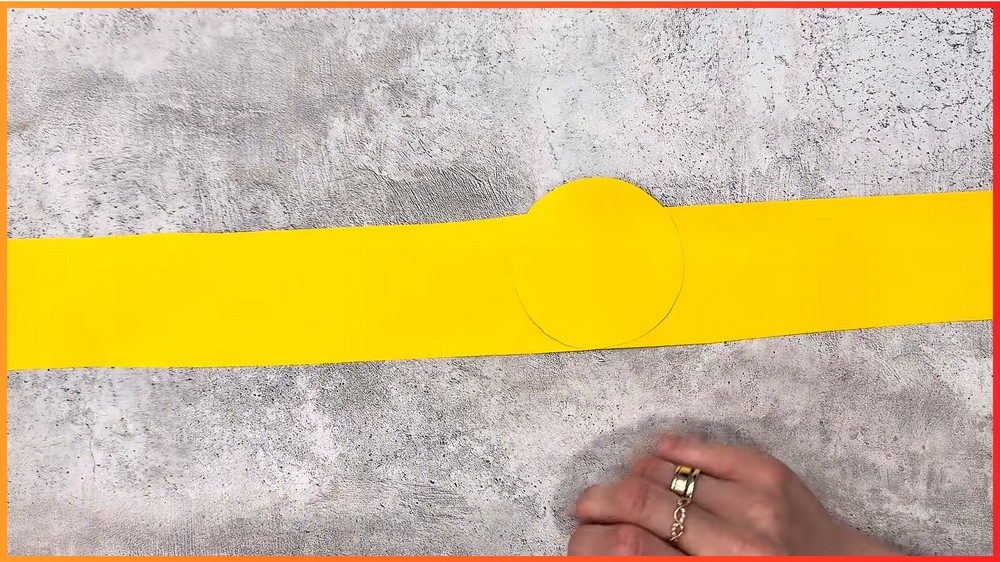
Find the center portion of the long yellow strip.
Apply glue to the back of the yellow circle and attach it to the center of the strip.
Press it down gently and allow the glue to grip.
Check the front and back
Before adding the feathers, turn the band over and identify which side is the front.
The turkey face belongs on the front, while the feather fan will be attached behind the face. Establishing these two sides now helps prevent the decorations from being placed backward.
Cut the Colorful Feathers
Choose the red, light pink, and light purple craft paper for the tail.
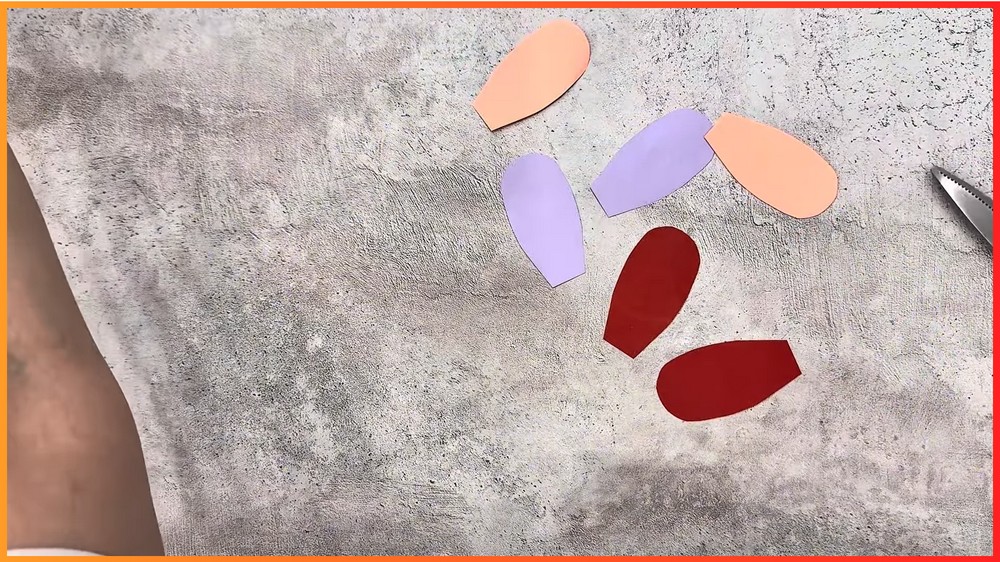
On one sheet, draw a simple feather shape resembling a long oval with a slightly pointed end. Cut it out to use as a guide.
You can fold the paper and cut through several layers at once if you want multiple similar feathers.
Make approximately four or five feathers in different colors.
The feathers do not have to be perfectly identical. Small differences can give the tail a more handmade appearance.
Arrange the Feather Fan
Place the feathers together in a fan shape before gluing them.
Overlap the lower portions slightly so that the different colors remain visible while the feathers spread outward.
Once the arrangement looks right, glue the overlapping sections together.
Keep the fan open
Avoid placing all the feathers directly on top of one another. The purpose of the fan is to let the individual colors show around the turkey’s head.
If one feather disappears behind another, slide it outward before the glue sets.

Attach the Feather Fan
Turn the yellow headband strip over so you can work on its back.
Position the feather fan behind the yellow face circle.
Glue the fan securely to the back of the circle.
Press the center of the feather fan against the paper and give the glue a moment to hold.
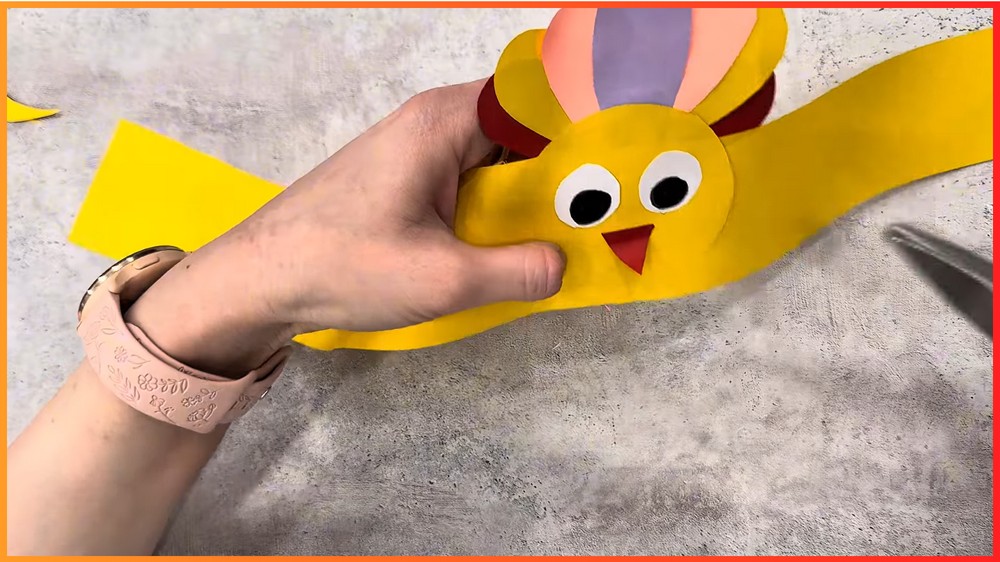
The colorful feathers should now extend outward from behind the turkey’s face.

Add the Eyes
Cut two small circles from white craft paper.
Glue them onto the yellow turkey face.
Try to leave enough space between the eyes for the beak underneath.
If the two circles are slightly different sizes, place the smaller one where it looks balanced with the rest of the face rather than trying to force an exact match.

Make the Beak
Cut a small triangle from the red craft paper.
Glue it below the two white eye circles.
Keep the triangle relatively small so it works with the scale of the paper face.
The beak should sit between and below the eyes, giving the turkey a clear facial shape.

Draw the Pupils
Use a black marker to draw pupils inside the white eye circles.
You can position both pupils toward the same direction or point them slightly differently for a playful expression.
Allow the marker to dry before handling the face too much so the ink does not smudge.

Fit the Headband Before Closing It
Now gently wrap the long paper band around the intended wearer’s head.
Bring the two ends together and check the fit.
This is the best time to make the size adjustment because the band has not yet been permanently closed.
Check the fit before gluing
Make sure the band sits comfortably around the head and that the turkey face is positioned where you want it.
If the band is too long, mark where the ends should meet and trim away the excess paper.
If it is not long enough, do not force the ends together. The two original strips may need to be joined with a little more overlap or extended with another strip of yellow paper.
Only move to the final glue step once the band sits at the intended size.
Close the Headband
After checking the fit, trim any unnecessary excess from the yellow strip.
Apply glue to one end and attach it to the other end to form the completed headband.
Press the joined ends together until they hold.
Give the glue time to set before putting the headband on again. This helps keep the final join intact while the paper settles.
Note: If you face any hurdles in creating this project, then you can watch the tutorial here.
Simple Ways to Personalize Your Turkey
The basic paper turkey can easily take on a different personality without changing the main steps.
Try using different feather colors to create a brighter or more traditional Thanksgiving look.
For larger, more expressive eyes, replace the paper circles with googly eyes.
You can also cut a small wattle from red paper and attach it beside or beneath the beak for another recognizable turkey detail.
If you are making several headbands, changing the feather color combinations and pupil directions can give each turkey its own expression.

[…] crafts do not have to involve complicated materials or difficult techniques. This paper turkey comes together from simple paper shapes, but the layered feathers give it plenty of color and […]