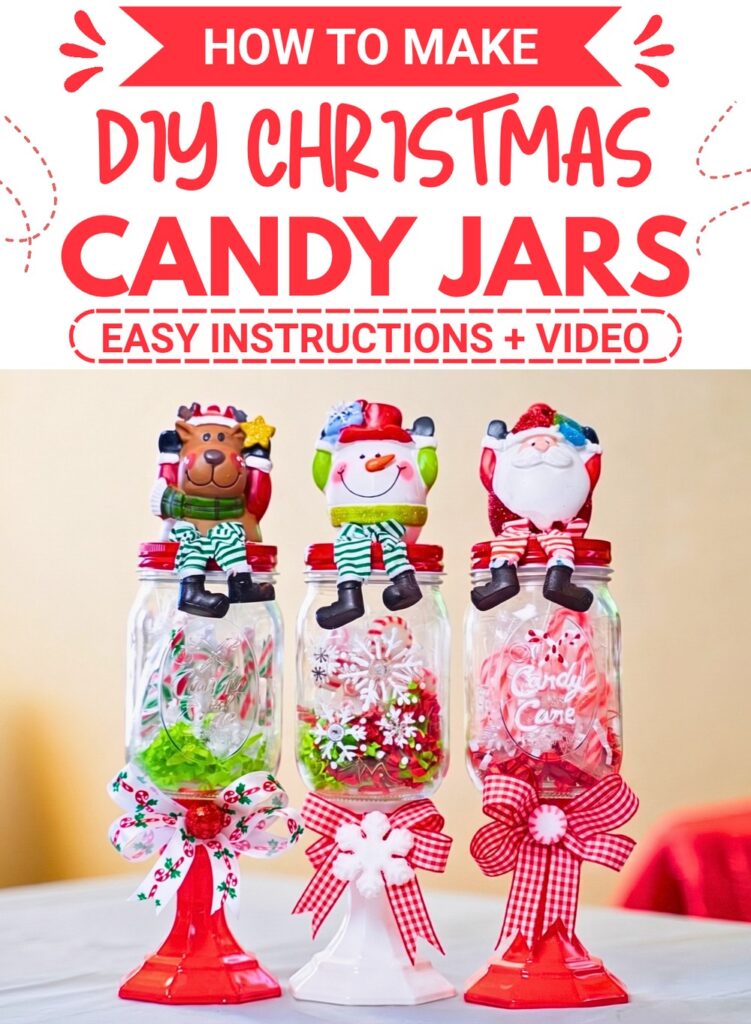
Looking for a cheerful handmade gift? Fill Christmas candy jars with colorful sweets, add ribbon and tiny holiday accents, and finish each one with a personal touch that makes it feel special.
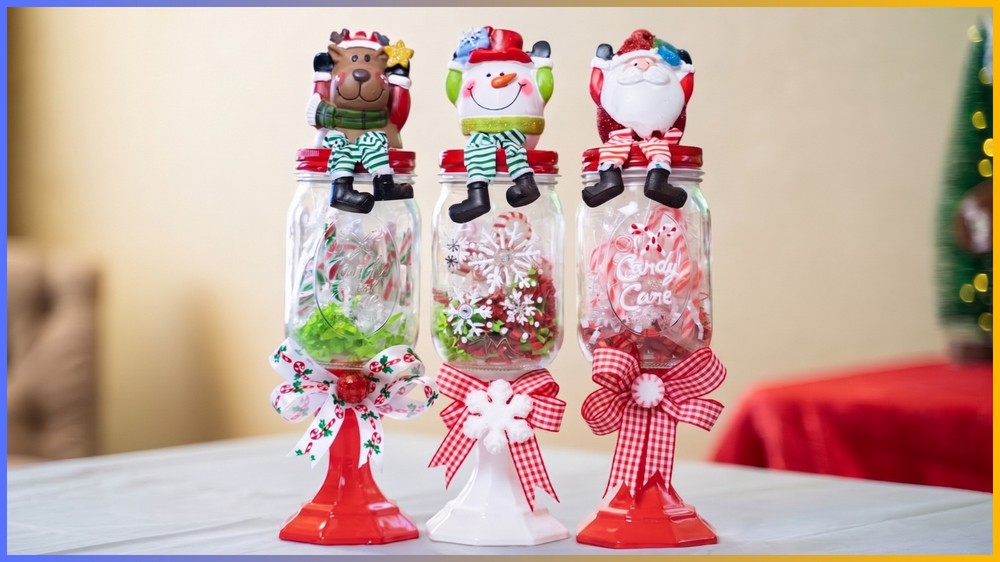
A clear jar filled with colorful Christmas candy can become a surprisingly charming handmade gift. With just a few simple decorations, an ordinary jar turns into something festive enough for a holiday table or ready to give to someone special.
Christmas Candy Jars are also easy to personalize. You can choose the candy colors, change the ribbon, add a handwritten message, or decorate the lid with a tiny ornament. That makes each jar feel a little more personal without requiring complicated crafting skills.
The best part is that most of the work comes down to a few simple choices: how you want the candy to look, where you want the decorations to sit, and how you want to finish the jar. Once those decisions are made, the rest comes together quickly.
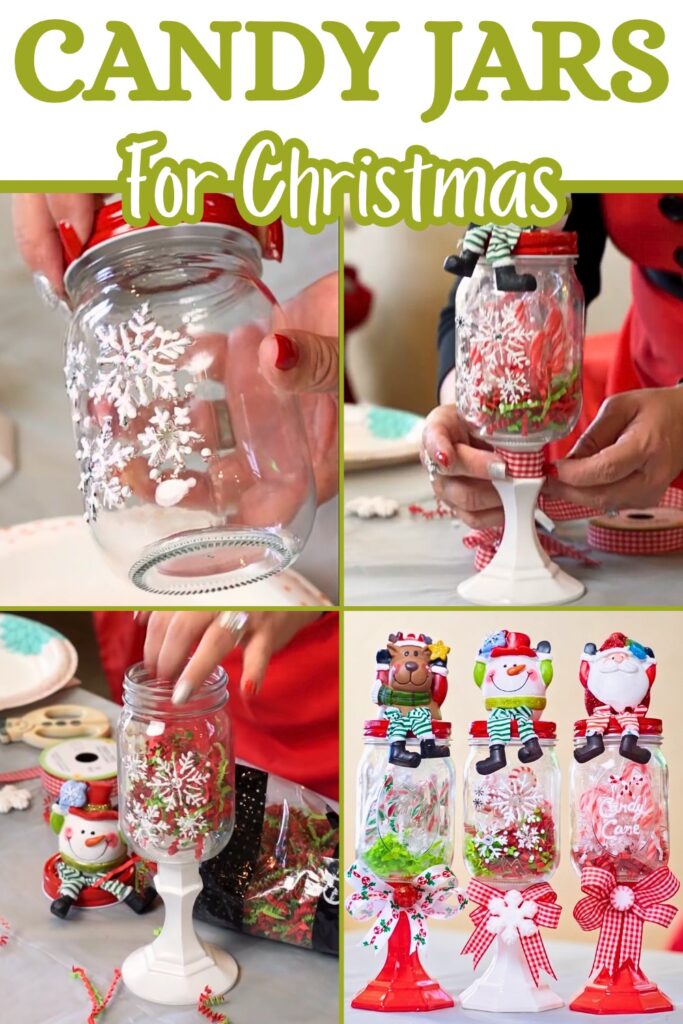
Whether you are preparing several jars for friends and coworkers or making one sweet gift for a family member, this guide will walk you through the process from a clean empty jar to a finished holiday treat.
Things that you need before crafting:
- Clear glass jars with secure lids, such as mason jars or other transparent jars
- Assorted Christmas candies, such as peppermints, gummies, chocolates, or candy canes
- Decorative ribbon in red, green, gold, or another holiday design
- Holiday stickers or labels, such as snowflakes, reindeer, Christmas trees, or Santa hats
- Mini ornaments or festive accents, including tiny bells, bows, or faux holly.
- Gift tags, optional for a personal message
Before Filling the Jar, Decide on the Look
It helps to choose your color combination before putting the candy into the jar. This small step makes the finished jar look more intentional.
For a traditional Christmas style, combine red and green candies. You could also use mostly one color for a cleaner appearance, or mix several shapes and colors for a brighter candy-filled look.
Next, decide where your main decoration will go. A bow or mini ornament can sit on the lid, while a larger ribbon around the jar neck can become the main finishing detail.
Once you know the look you want, set the decorations aside and prepare the jar.
How To Make:
Prepare the Jar
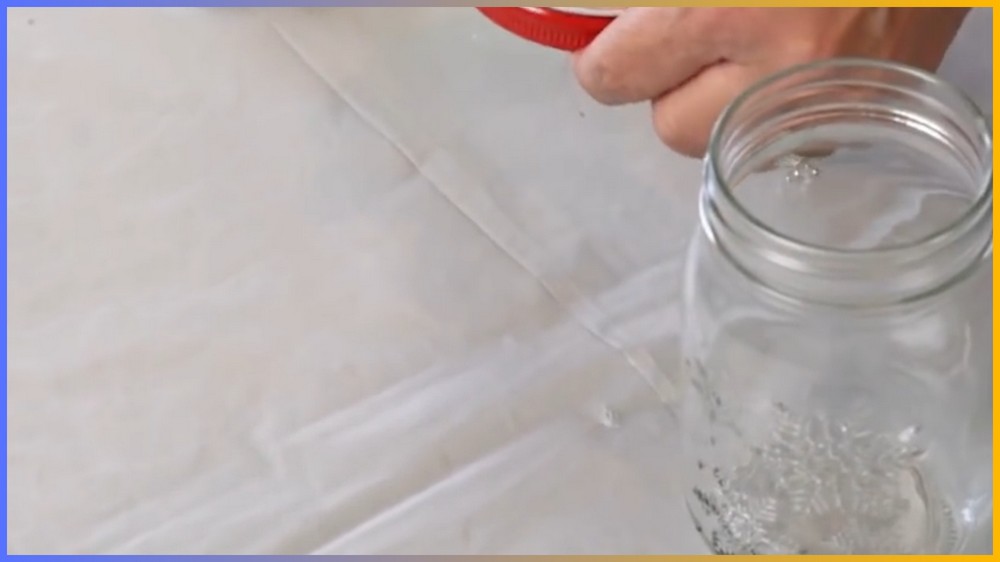
Wash the clear glass jar and make sure it is completely clean and dry before adding any candy.
Check both the inside and outside. The glass should be free from dust, moisture, fingerprints, and leftover residue so the candy can be displayed clearly and the finished jar looks neat.
If you are using a jar that previously held food, make sure there is no lingering odor or residue before filling it.
Fill the Jar with Christmas Candy
Now it is time to create the colorful center of your gift.
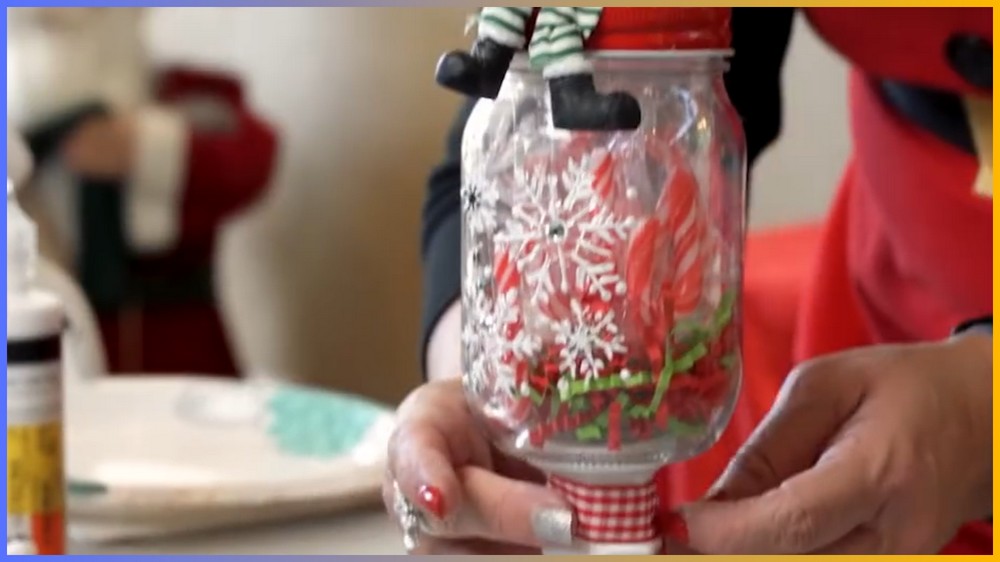
Choose several Christmas candies and arrange them inside the jar. If you want a layered appearance, alternate different colors or shapes as you fill it.
For example, you can place red and green candies in alternating layers for a classic holiday appearance.
Do not pack the jar completely to the brim. Leave a small amount of space at the top so the lid can close securely without pressing against the candy.
Make the Candy Display Look Intentional
If the jar is tall and narrow, larger pieces can help create visible sections. In a wider jar, a mixture of small and large candies can give the contents more variety.
You do not need every layer to be perfectly even. A little variation can make the jar look more handmade and playful.
Once the jar is filled, close the lid securely.
Give the Lid Its Holiday Detail
The lid is a useful place for a small decoration because it gives the jar a finished appearance without covering the candy inside.
Wrap festive ribbon around the edge of the lid and secure it with tape or, if appropriate for the material, a small amount of hot glue.
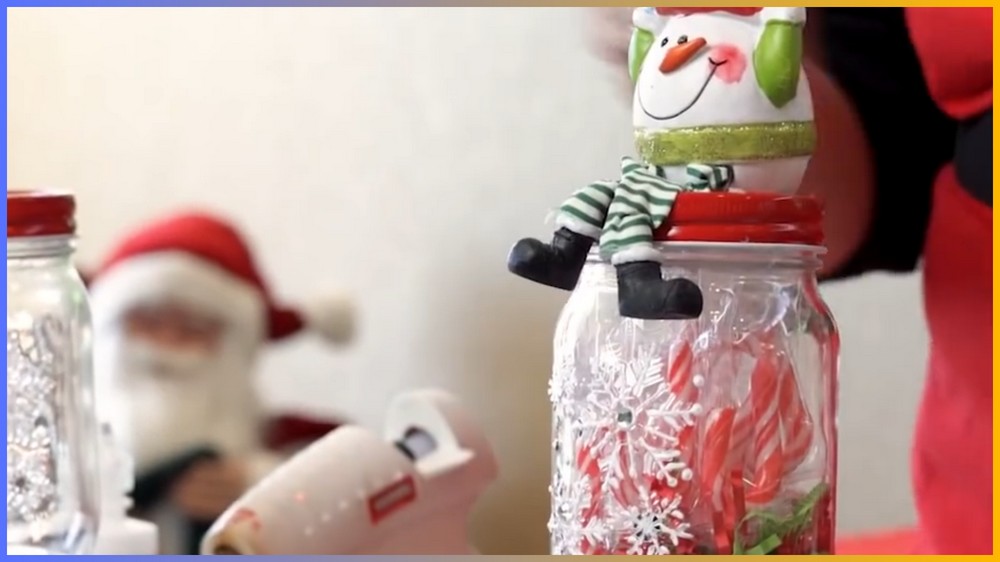
You can then add a small bow or mini ornament to the center.
If you are using hot glue, keep the amount small. Too much glue can leave visible lumps or make the decoration look untidy.
Personalize the Outside
With the lid decorated, add a little personality to the jar itself.
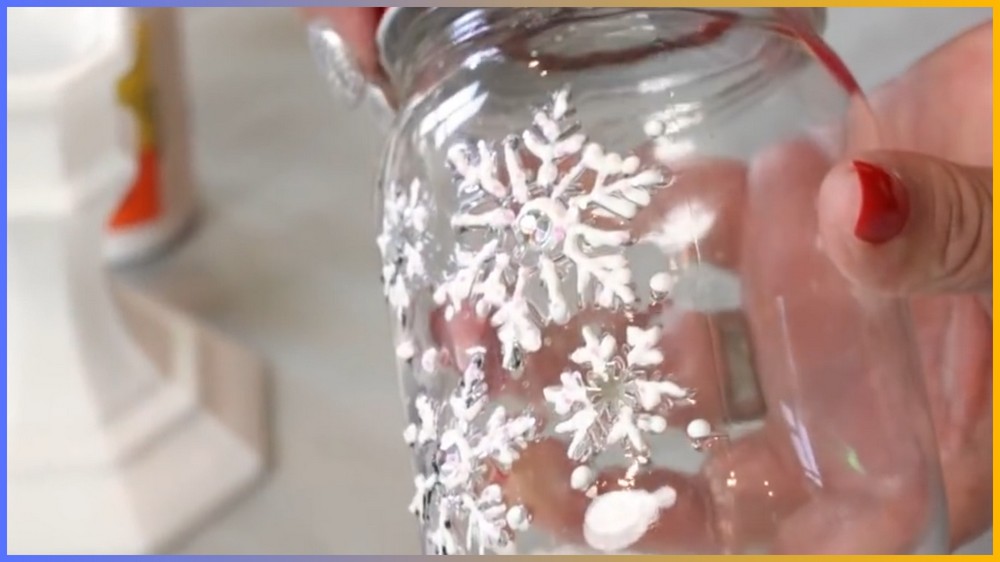
Holiday stickers can be placed directly on the glass. Try snowflakes, reindeer, Christmas trees, Santa hats, or stockings depending on the style you have chosen.
For a gift, a handwritten tag can make the jar feel even more personal. Write a short message such as a Christmas greeting and tie the tag around the neck of the jar.
You can also write the recipient’s name on the tag if you are making several jars for different people.
Finish the Jar with Ribbon
Wrap another piece of decorative ribbon around the neck of the jar and tie it into a bow.
This final ribbon helps connect the lid decoration, candy colors, and gift tag into one finished look.
For a more detailed holiday style, attach a small accent such as a bell, glittery snowflake, or faux greenery to the ribbon.
Before giving the jar away, gently check each decoration. Anything attached to the outside should be secure enough to stay in place during handling.
Easy Ways to Change the Style
The same basic idea can create very different-looking Christmas Candy Jars.
One-Candy Jar
Use only chocolates, gummies, peppermints, or another favorite treat. Keeping the contents uniform gives the jar a simple, coordinated appearance.
Sparkling Lid
For extra decoration, use a glittery gold or silver finish on the jar lid. Make sure any paint or coating used on the lid is fully dry before assembling the gift.
Unusual Jar Shapes
If available, try a decorative jar in a star or Christmas tree shape instead of a traditional round jar. The container itself then becomes part of the holiday decoration.
Alternative Treats
The jar does not have to contain traditional candy. Nuts, dried fruit, or granola can be used when you want a different kind of edible gift.
Add a Small Extra Gift
For a playful version, pair the candy with a small toy or festive sticker attached to the outside of the jar.
Note: If you face any hurdles in creating this project, then you can watch the tutorial here.
A Quick Gift-Ready Check
Before you put the finished jar into a gift bag or hand it over, check three things:
- The lid closes securely.
- The candy has a little space below the top of the jar.
- Ribbons, tags, stickers, and decorative accents are firmly attached.
If everything is secure, your Christmas Candy Jar is ready to gift or display.
These jars can be made in matching colors for a group of gifts or customized individually for different recipients. A simple change of candy, ribbon, or tag is enough to give each one its own holiday personality.
Save this pin for future!