Make pretend cotton candy that looks good enough to eat! These soft and fluffy creations aren’t just fun—they’re perfect for decorating. Whether for a party, holiday, or even as playful decor for your home, fake cotton candy adds a pop of color and charm wherever you use it.

Making these decorations is surprisingly simple and uses just a few basic items. Get a styrofoam ball, a cone, and some fluffy material in pastel colors (often sold during Easter), and you’re ready! Adding some glitter brings them to life, making them shimmer and shine like real cotton candy. You can also customize the cones with scrapbook paper to suit different seasons or themes.
These cute fake cotton candy cones work great for themed parties, kids’ playrooms, or holiday garlands. Plus, they’re safe for little hands since they’re non-edible and designed to last. With endless ways to make them fluffy and colorful, you can add your personal style to each piece!
Credit JoAnn Barrandey
Materials & Tools Needed:
- Styrofoam cones
- Found at Hobby Lobby during the Christmas season (package of 6).
- Regular price was $3.99 but purchased on sale for 40% off.
- Styrofoam balls
- Approximately 2.3 inches (5.8 cm wide).
- Available at Dollar Tree (pack of 3) or other stores.
- Multi-color fluff
- Typically available during the Easter season. Best to find after Easter sales.
- Skewer sticks
- Used to stabilize and hold pieces in place.
- Craft glue or hot glue gun
- Necessary for securing the components.
- Apple Barrel “Khaki” craft paint
- Used for base painting.
- Party blend glitter
- Yellow chunky glitter (“Sun Shower”) from Walmart or hobby stores.
- Hair spray
- A crafting essential to hold glitter onto the fluff securely.
- Additional decorative options:
- Scrapbook paper to cover cones (optional).
- Straws from Dollar Tree for added decor.
- Wire cutters
- Used for cutting skewers to desired length.

Important Notes:
- Craft Safety: Be cautious when working with glue guns, spray adhesives, or using scissors/wire cutters.
- Customization: The fluff can make the cotton candy small or large depending on personal preference.
- Application: These decorations can be adapted for fake bakes, ornaments, seasonal garlands, or standalone craft displays.
Step-by-Step Detailed Instructions:
Preparing the Cone Base
- Obtain a Styrofoam cone.
- Cut a skewer stick to a small size appropriate for securing the Styrofoam ball onto the cone.
- Apply glue to the top of the cone and insert the skewer stick into the center to hold it in place.
Painting and Glittering the Cone
- Take Apple Barrel “Khaki” craft paint and apply it to the surface of the cone evenly.
- The paint serves as the adhesive for glitter.
- Immediately sprinkle party blend glitter (e.g., “Sun Shower” chunky yellow glitter) over the wet paint to fully coat the cone.
- Optionally mix with other types/colors of glitter for extra sparkle.
- Set the painted and glittered cone aside to dry completely.
Securing the Styrofoam Ball
- Once the cone base is dry, use glue to attach the Styrofoam ball securely on top of the cone’s skewered tip.
- Ensure it is firm and doesn’t wiggle – this acts as the support for the fluff.
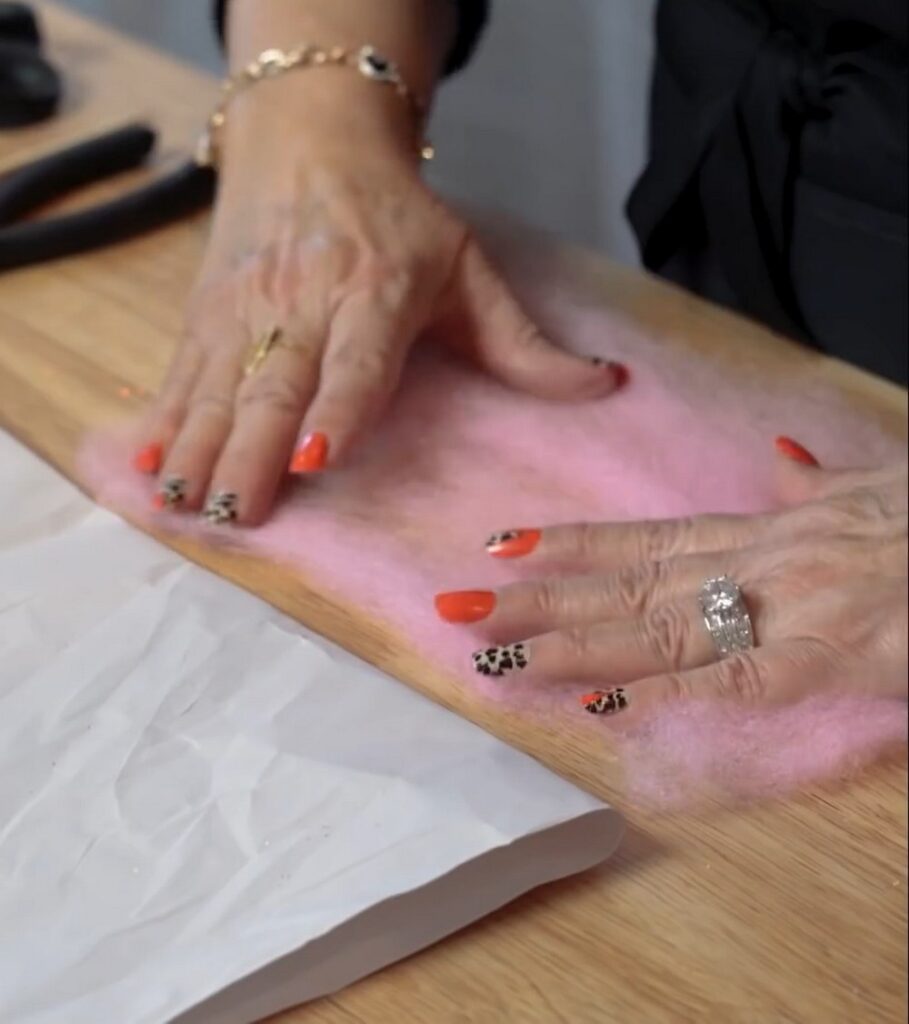
Forming the Cotton Candy Fluff
- Take a piece of multi-colored fluff and begin thinning out the strips to make it easier to work with.
- Begin shaping the fluff around the Styrofoam ball.
- The fluff will naturally cling to itself for easy application.
- Keep adding fluff pieces piece by piece until the desired cotton candy size and fluffiness are achieved.
Reinforcing Fluff Stability
- To ensure the fluff stays in place, spray it lightly with hairspray.
- This acts as an adhesive and holds the fluff together.
- Quickly sprinkle glitter or other decorations onto the fluff while the hairspray is still wet.
- Suggested glitter: “Snowy Surprise” white sparkle or other seasonal mix.

Adding Decorative Finishing Touches
- Insert a decorative straw or stick into the cone base for extra detailing.
- Example: Gold-leafed or metallic-dotted straw from Dollar Tree.
- If desired, cover the cone base with scrapbook paper or ribbon to match seasonal themes like Easter, Christmas, or Halloween.
Assembling Finished Cotton Candy
- Finalize the fluff shaping and ensure it holds firmly to the Styrofoam shape.
- If gifting or sharing, consider attaching a loop or string and turning the craft into an ornament for hanging.
- For garlands, make multiple cotton candy decorations and tie/stick them in a line using additional ribbon or decorative twine.
Additional Ideas Mentioned:
- Adapt this craft for festive occasions such as gingerbread garlands (Christmas) or fake bake decorations.
- For Halloween, use colorful spider-webbing material instead of the fluff!

