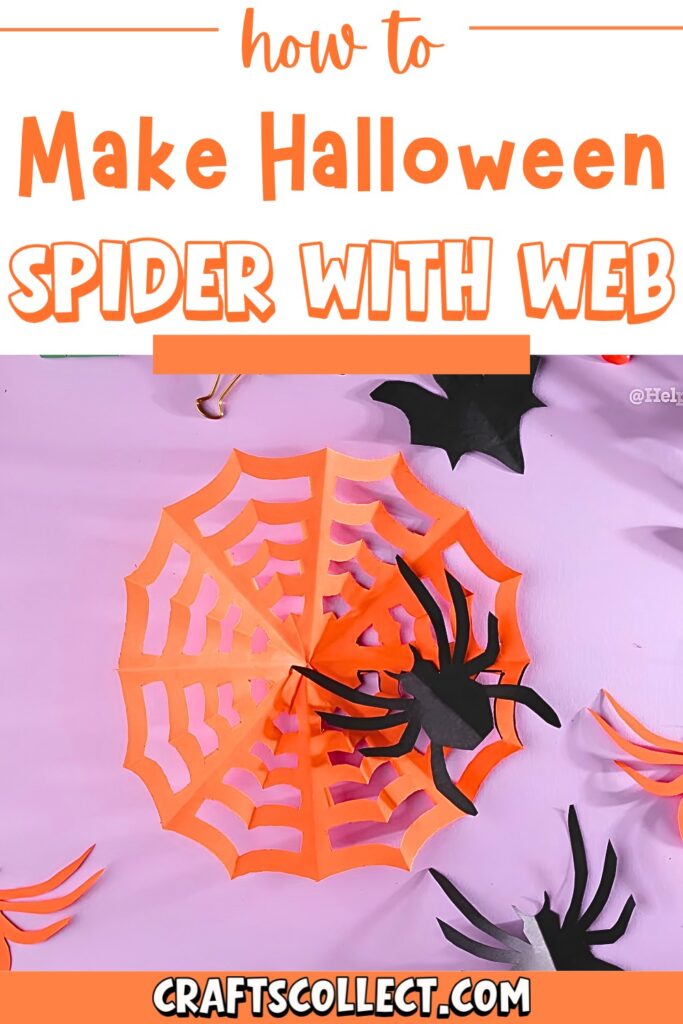
Paper spiderwebs and spiders are fun decorations you can make with only paper, scissors, and markers. They look great for Halloween, spooky parties, or just to decorate a bedroom wall. Kids and adults can enjoy creating them together as a simple craft that feels special and handmade.
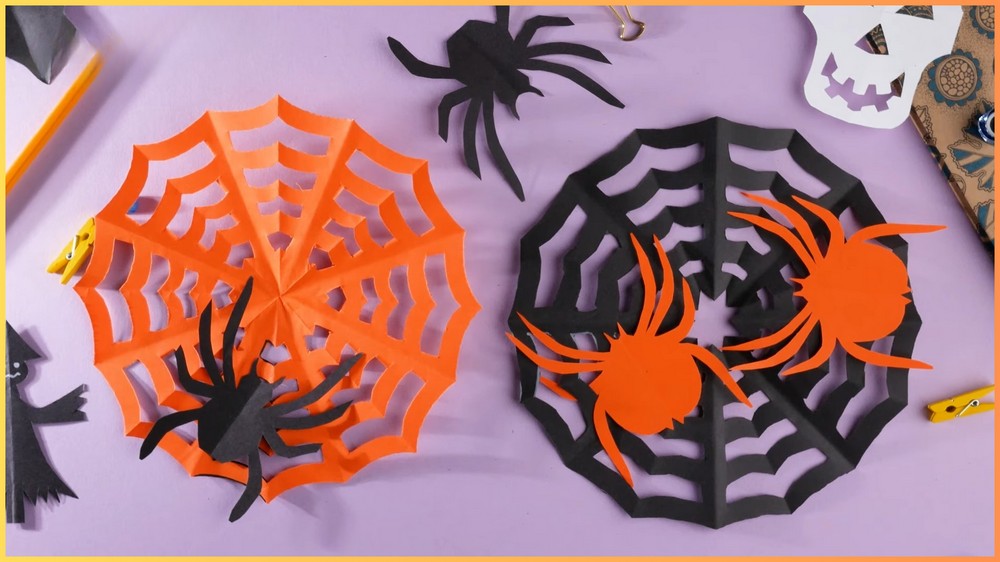
DIY Paper Spiderweb & Spider
To make the web, you start with a rectangle of colored paper. With a few easy folds and some careful cutting along a simple pattern, the flat paper turns into a lacy web. When you open it, the shapes spread out and form a neat round web that looks detailed but is very quick to make.
Credit Helpful Arts & Crafts
The spider is made from the leftover paper piece, so nothing is wasted. Fold the paper, sketch a simple spider shape, then cut and unfold. You get a bold spider with legs ready to sit on the web. Using black or bright colors makes each spider look fun and slightly spooky at the same time.
You can tape the webs and spiders to windows, doors, or classroom boards. They are light, easy to hang, and simple to move around. Make a whole set in different colors and sizes to fill a wall. This project is great for family craft time, school art activities, or quick party decorations.
Required Materials:
- Rectangular colored paper: Choose a color that suits the theme (e.g., white for the spiderweb or black/purple for the spider).
- Scissors: Ensure they are sharp enough for clean cuts.
- Black pen or marker: Ideal for drawing patterns and adding details to your spider and spiderweb.
- Regular pencil: For sketching your designs before cutting. Use a light hand so you can erase mistakes if necessary.
- White marker (optional): Perfect for adding details to darker-colored spiders, like creepy eyes or decorative patterns.

Important Notes:
- Make sure the paper is of medium thickness. Thin paper works well for folding and cutting, but thicker paper will provide durability.
- When folding, press each crease firmly to ensure that the folds align perfectly; otherwise, it could impact the final shape of the web or spider.
- When cutting, take your time, especially with intricate details like spider legs or curved lines for the web.
- This project is suitable for kids (with supervision during the cutting steps) and adults looking for a fun DIY Halloween craft.
How To Make a Paper Spiderweb & Spider
1. Preparing the Paper
To start crafting the spiderweb, take a rectangular sheet of paper (e.g., 8.5 x 11 inches). Lay it flat on your workspace with the long edge facing you. Fold one of the short edges diagonally across to meet the opposite long edge, forming a triangle. This fold will leave a small rectangular strip at the top. Use scissors to carefully cut off the excess strip, which you can save for later to create the spider.

Once trimmed, unfold the paper to reveal a perfect square. Next, refold the square into a triangle with the long side (the base) facing you. Fold the left corner of the triangle over to meet the right corner, forming a smaller triangle, and press firmly on the crease. Then, rotate the paper so the long side of the triangle faces away from you and fold it again by bringing the left corner to meet the right corner, forming an even smaller triangle. Each fold should be carefully aligned, with sharp creases, to ensure precision during cutting.

2. Designing the Spiderweb
With your folded triangle prepared, it’s time to design the spiderweb. Take a pencil and lightly sketch a pattern on the triangle, starting along the wide, non-pointed edge. Begin by drawing curved arcs from the inner edge toward the narrow tip of the triangle. These arcs will form the main radial strands of the web.

Between these arcs, draw smaller connecting lines to mimic the intertwined structure of a spiderweb. Be mindful not to draw too close to the edges, as this might weaken the web’s structure during cutting. Once your design is complete and you are satisfied with the pattern, it’s time to move to the cutting stage.
3. Cutting the Spiderweb
Carefully cut along the lines you drew with scissors. Make precise cuts, particularly for intricate areas, to avoid tearing the paper or ruining the web design. Take your time to ensure you follow your sketched pattern accurately. Once all the lines have been cut, gently unfold the triangle step by step to reveal your finished paper spiderweb.
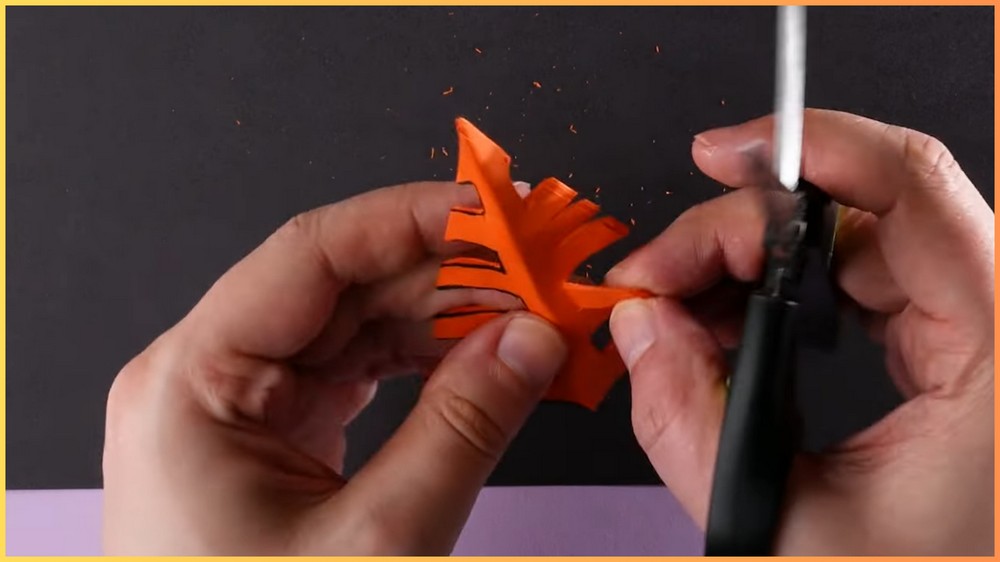
If any areas stick together or haven’t fully separated, use your fingers or scissors to carefully separate them. The result should be a stunning spiderweb that showcases its delicate and intricate design.

4. Creating the Spider
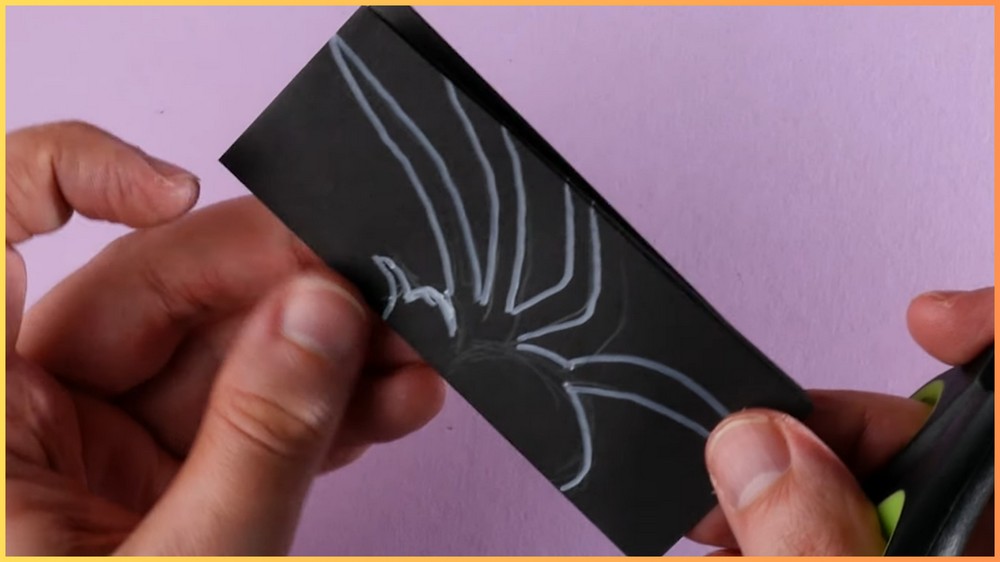
Use the rectangular strip of paper that you cut off earlier when preparing the spiderweb, or select a fresh piece of colored paper, such as black or purple. Lay the strip flat on your workspace with the short edge facing you, and fold it in half, bringing the shorter edges together to create a smaller rectangle. Rotate the folded paper 90 degrees and fold it again, creating an even smaller rectangle.

Now, take a pencil and sketch a spider on the folded paper. Begin with a large oval or circle to represent the spider’s body in the center of the rectangle. Draw a smaller oval or circle just below it for the head. Then, sketch eight legs radiating symmetrically outward from the body. To maintain stability after cutting, make sure the legs are connected securely to the body.
5. Cutting the Spider
Using scissors, carefully cut along the spider design you just drew. Precision is key here, especially when cutting the thin legs, as they may be fragile and prone to tearing. Keep the paper folded during cutting to ensure symmetry between the left and right sides of the spider. Once you’ve finished cutting, gently unfold the paper to reveal your complete, symmetrical spider. If any edges or legs appear rough or uneven, use scissors to trim and refine the shapes. At this stage, your spider should have a clean and polished appearance.

6. Adding Decorative Touches
Enhance your spiderweb and spider with optional decorative elements. For the spider, you can use a white or metallic marker to draw details like glowing eyes, fangs, or creepy patterns on the body. This adds personality to your spider and ties it into the spooky Halloween theme.
As for the spiderweb, you can use your pencil or marker to add extra doodles, such as tiny spiders, or make the web lines more defined for greater visual impact. Feel free to get creative and personalize your craft however you like.

Note: If you face any hurdles in creating this project, then you can watch the tutorial here.
7. Displaying Your Creation
Once your spiderweb and spider are complete, it’s time to decide how to display them. You can tape the spiderweb to a wall, window, door, or any flat surface. Place the paper spider in the center of the web for a realistic touch or leave the spider freestanding to use elsewhere as a separate decoration. You can make additional webs and spiders in different colors and sizes to create a full Halloween-themed display. Whether they’re hanging on walls or scattered as table decorations, these handmade crafts are sure to add a spooky charm to your space. Enjoy showcasing your creativity with these festive DIY Halloween decorations!
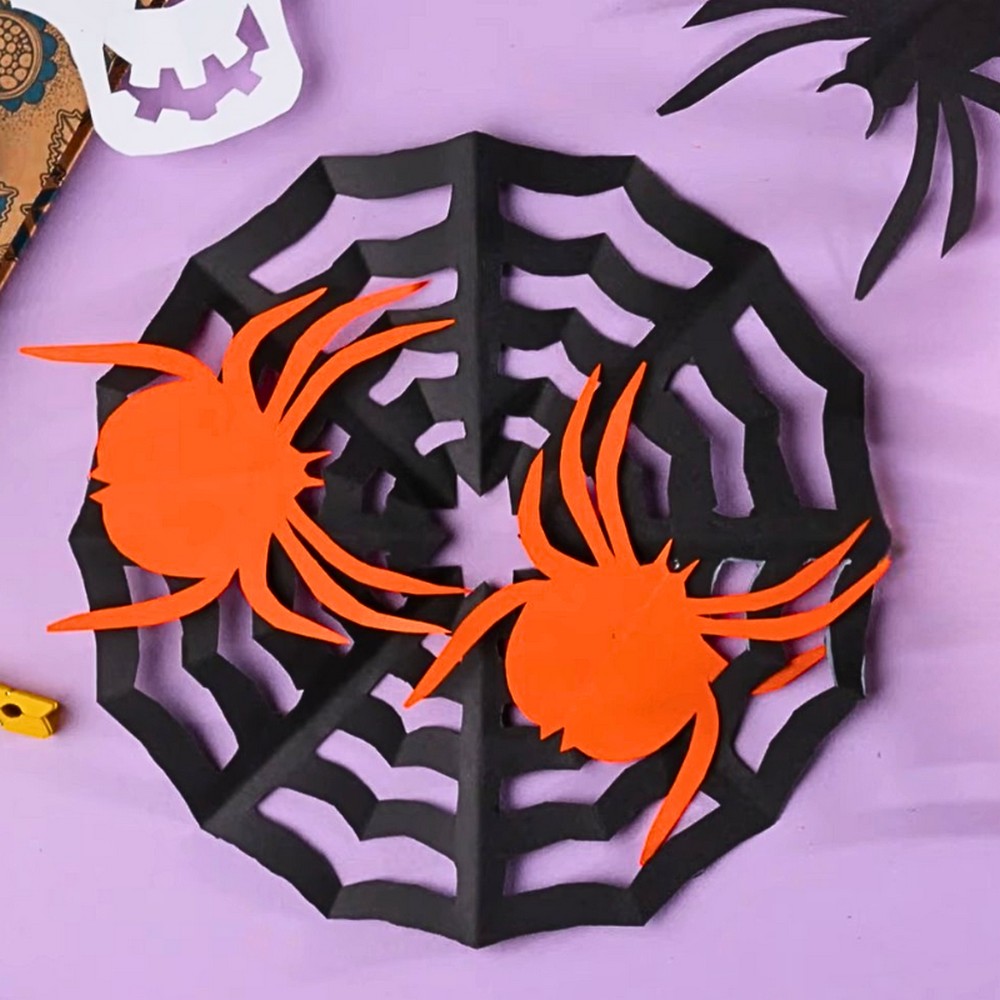
Final Assembly & Display:
Once both the paper spiderweb and spider are finished, it’s time to display your creations. You can:
- Attach them to walls with tape or string for a hanging effect.
- Use them as table décor for a Halloween party.
- Stick them to windows for an eerie, festive look.