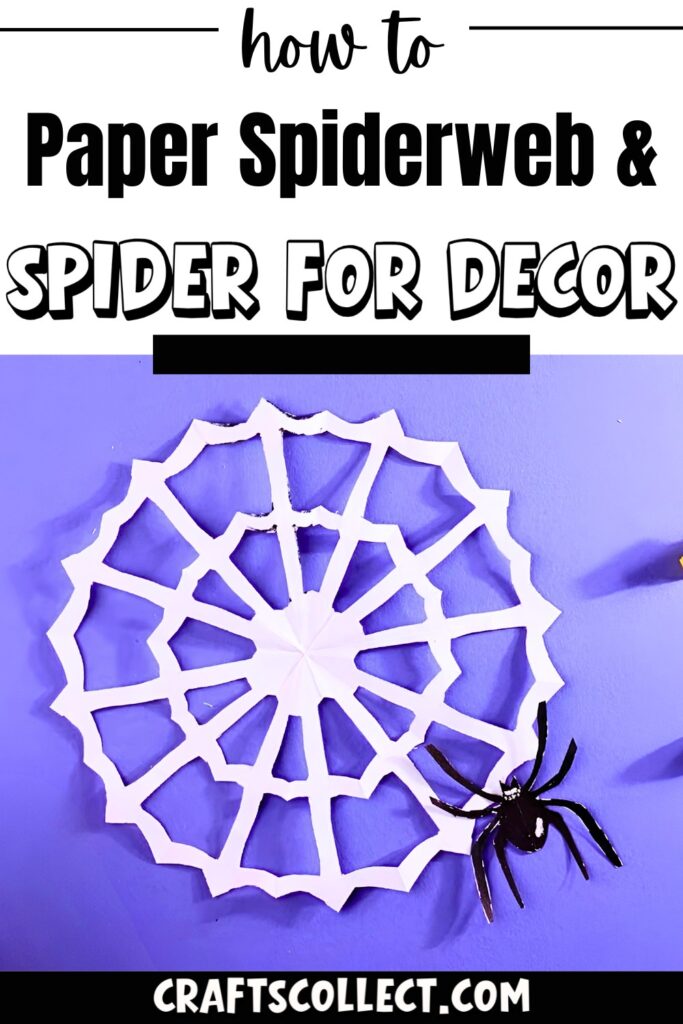
Creating a paper spiderweb with a spooky spider is a perfect craft for Halloween. It’s fun, easy, and doesn’t require complicated supplies or steps. This project is suitable for kids and adults alike, making it a wonderful activity to enjoy together. Plus, the final results add a festive, spooky charm to your home, party, or classroom. Whether you’re decorating for Halloween or just looking for a creative project, this craft is a great idea to spark your imagination.

How to Make a Paper Spiderweb & Spider
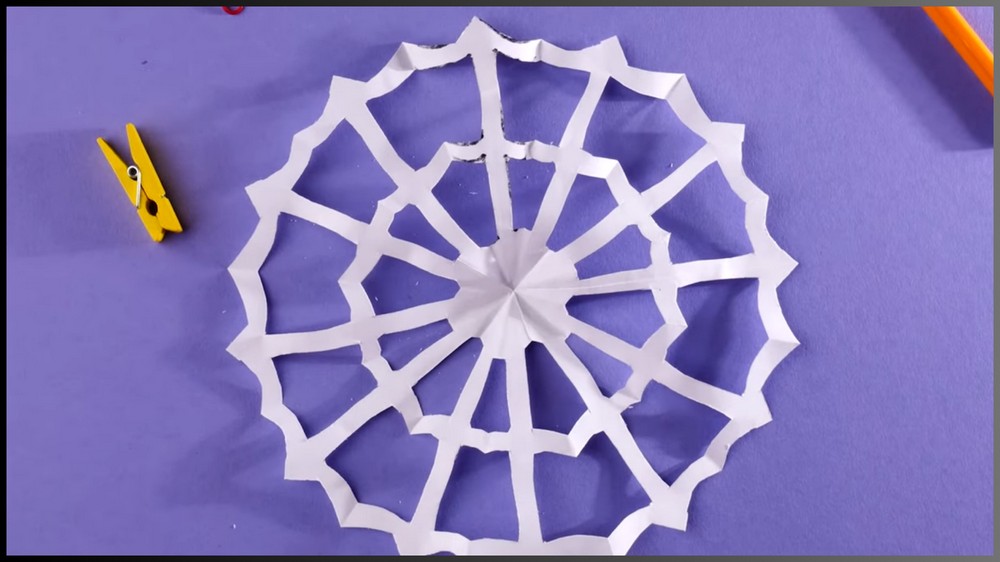
Making the spiderweb is super simple and fun! You’ll start by folding a piece of paper into layers, then carefully cut out shapes to create a unique design. Once unfolded, you’ll have a beautiful spiderweb pattern. The best part? You don’t need to be perfect, as every spiderweb looks special. After that, use some leftover paper for the spider. By cutting out a round body and long legs, you can add realistic details to your little critter. It’s easy to glue the spider to the web and watch your creation come to life!
Credit Helpful Arts & Crafts
This craft is more than just a fun activity – it’s highly versatile! You can use the paper spiderweb and spider as Halloween decor for windows, walls, tables, or even string it up as hanging decorations. Teachers can also use this in classrooms to engage students in holiday-themed crafting. Additionally, these handmade pieces work wonderfully as seasonal gifts or party props, adding a personal touch to the spooky season.
The beauty of this craft is its simplicity and how easily customizable it is. You can use colored paper, add glitter, or even make multiple spiderwebs to layer together for extra flair. It’s a great way to tap into your creativity without needing expensive tools. It’s enjoyable, relaxing, and an excellent activity for kids and adults alike. So, grab your scissors and paper, and let this Halloween craft bring fun and smiles to all!
Required Materials:
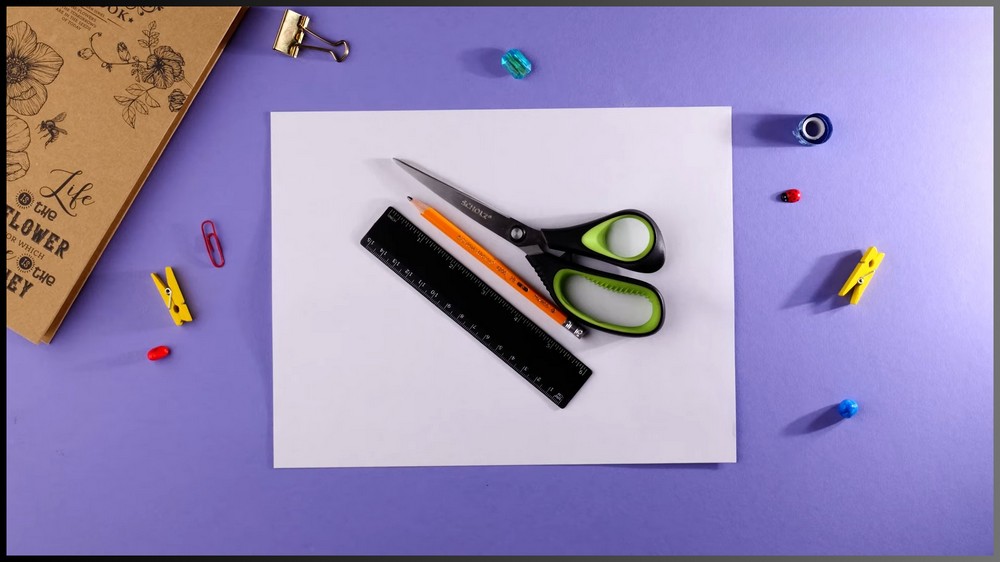
To create this craft, you’ll need:
- A rectangular sheet of paper (size depends on how large you want your spiderweb to be – printer paper works great for beginners).
- A pair of scissors with sharp blades for accurate cutting.
- A pencil or pen to draw the patterns.
- A ruler to keep your lines neat and precise.
Important Notes:
- Be precise when folding and cutting to ensure the spiderweb and spider look neat.
- Use something heavy to flatten the spiderweb for a polished appearance.
- Make sure to draw the spider’s legs slightly wider so they are easier to cut out.
How to Make the Paper Spider:
Step 1: Preparing the Rectangle
Take the rectangular strip of paper already cut off earlier when making the spiderweb. Place the strip flat, fold the left edge over to meet the right edge, and press it carefully along the seam to create a sharp crease. Now, lift just the top layer of the folded paper and fold it diagonally to meet the left edge.

After that, fold it again to form a smaller rectangle. Use your scissors to trim any uneven or excess edges so that all sides are neat.
Step 2: Drawing the Spider Shape
Fold the paper in half and, using a pencil, outline the spider along the folded edge of the paper. Start with the rounded abdomen (body) of the spider, which can be drawn as an oval. Then, just above it, draw a smaller oval or circle for the spider’s head. From the head, extend four curved lines on each side to form the spider’s legs.

The legs should curve outward slightly to add a sense of motion to the design. If you’d like, add other features such as chelicerae (small pincers near the head) to make the spider look more realistic. Make sure the lines forming the legs are wide enough to make cutting easier and prevent tearing.

Note: If you face any hurdles in creating this project, then you can watch the tutorial here.
Step 3: Cutting the Spider
Use your scissors to carefully cut along the outline of the spider. Begin at the edges, moving slowly to ensure the legs and body stay intact. Pay extra attention when cutting around the legs, as they can be fragile. Once you’ve finished cutting, unfold the paper to reveal a full, symmetrical spider with eight legs.

You can use a pencil or pen to gently roll the legs slightly inward to give the spider a more 3D appearance.
Step 4: Adding Decoration
This is your chance to customize your spider with colors and designs! Use markers, colored pencils, or glitter to decorate the spider and make it stand out. You could make it spooky, cheerful, or even give it vibrant, Halloween-themed colors, such as orange, black, and purple.
Final Touches:
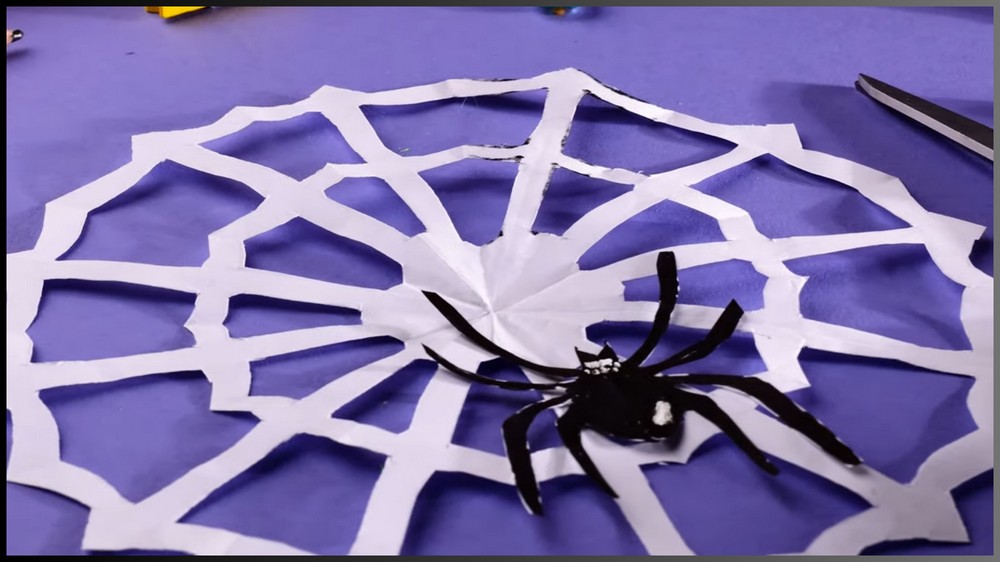
Congratulations – your paper spiderweb and spider are complete! Lay the spiderweb flat in a spot where it’s visible, such as a window, table, or wall, and place your spider in the center. You can also attach the spider to a piece of string and hang it from the spiderweb for an interactive decoration. Both your spiderweb and spider are perfect for adding a homemade, festive touch to your Halloween celebrations. Enjoy crafting, and don’t forget to show off your spooky creations to friends and family!