
Looking for easy Halloween decorations? Try making spooky paper cut-outs! These are perfect for hanging in windows, as part of table decor, or even for school projects. With just paper, scissors, and a pencil, you can create unique shapes that bring festive Halloween vibes to any space.

Create Spookily Fun Decorations
Get started with a rectangular piece of paper. A few folds transform it into a compact triangle, ideal for cutting fun patterns. You’ll sketch a light design on the folded paper before trimming along the lines. Watching it unfold into creative shapes feels satisfying and exciting.
Credit Helpful Arts & Crafts
These decorations are versatile and reusable! Tape them to walls for creepy accents, string them together to create garlands, or use them as stencils for other designs. Making them is quick, and you can experiment with different shapes like pumpkins, bats, or spiders.
Enjoy this creative activity with friends or family. Kids and adults alike will love how simple it is. It’s a great way to spend time together, and you’ll have decorations that give your space a spooky charm. Add your personal touch to make your designs one-of-a-kind!
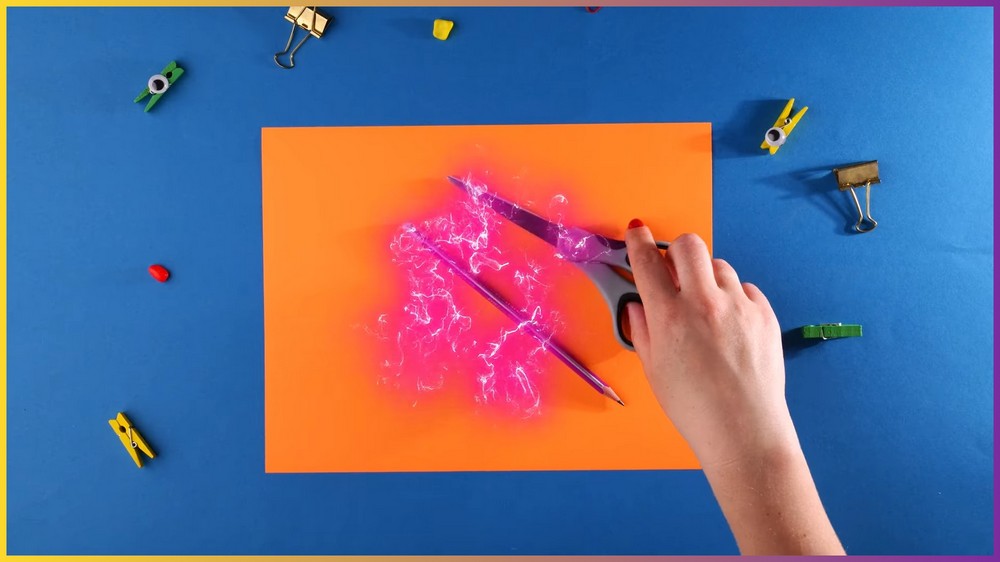
Required Materials:
- A rectangular sheet of paper (preferably construction or origami paper for sturdiness)
- Scissors (sharp scissors for precise cutting)
- Pencil (for sketching your designs)
Important Notes:
- Handle scissors with care. It’s always best to supervise children if they are crafting alongside you.
- Precision in folding ensures the success of the design. Take your time during each fold to ensure accuracy.
- If you’re unsure about your sketching skills, try practicing on a spare sheet of paper before cutting the final piece.
- Thicker paper, such as construction paper, works well for this project because it holds its shape after cutting.
Step 1: Prepare Your Paper
To create the base for the design, start by laying your rectangular sheet of paper flat on a clean, sturdy surface. Position the paper so that the longer edge is closest to you. Take the shorter left edge of the paper and fold it upwards toward the top edge, ensuring that the corners align perfectly. This will create a triangular flap. Use your fingers to firmly press along the folded edge, making sure the crease is sharp and defined.
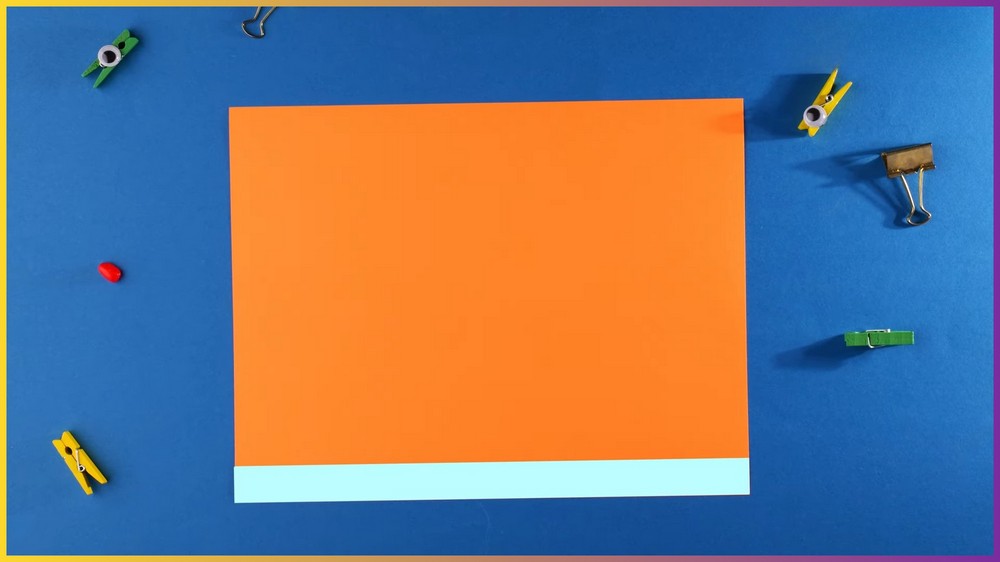
Once you’ve made the fold, you will notice a small rectangular strip remaining on the right side of your paper. This excess strip needs to be removed so that you are left with a perfect square. Take your scissors and carefully cut along the edge of the triangle to trim off the extra rectangle. You should now have a triangle-shaped piece of paper. This base shape is essential for creating your symmetrical design.
Step 2: Fold the Paper Into Layers
Now that you have a triangle, position it with its longest edge (also known as the hypotenuse) at the bottom. Next, take the left corner of the triangle and fold it to meet the right corner. This will reduce your triangle’s size by half, creating a smaller but equally precise triangle. Smooth the edge of this fold with your fingers to ensure it lies flat.

Once this fold is complete, rotate the triangle slightly so the new longest edge (the one you just folded) is positioned at the top. Take the left corner of the triangle again and fold it over to meet the right corner. You will now have an even smaller triangle composed of multiple layers of paper. Repeat the same process of smoothing the fold with your fingers to ensure the triangle remains crisp and ready for your design.
Step 3: Sketch Your Spooky Patterns
With your layered triangle prepared, it’s time to unleash your creativity! Hold the triangle so that the longest edge is positioned on the right. Using a pencil, lightly sketch your patterns along the edges of the folded paper.
Here are some ideas for spooky designs:
- Jagged edges: Cut jagged shapes along the edges to resemble spooky spiderwebs or eerie cracks.
- Ghostly silhouettes: Draw shapes like ghosts, skeleton faces, or sinister eyes that will create haunting effects once the paper is unfolded.
- Pumpkin faces: Sketch small triangular eyes, pointy noses, and wide grins for a classic jack-o’-lantern theme.
- Bat wings: Add designs that look like bat wings by including scalloped edges or pointy sections.

When drawing, remember that the edges of the triangle will determine the symmetry of your design. Avoid drawing shapes too close to the folds unless you want them to connect across the unfolded piece. Be creative and don’t be afraid to experiment with various patterns!
Step 4: Cut Out the Design
Once your sketch is complete, pick up your scissors and carefully cut along the lines you’ve drawn. Take your time during this step to avoid making mistakes. Precision is key here, as the cut shapes will define the final look of your decoration.
- Start cutting the largest sections first, such as triangle cutouts or circular holes. This makes it easier to handle the smaller, more intricate details in your design.
- For delicate shapes (like curves or small triangles), use the tips of your scissors or make small, slow snips to maintain control.
- Be sure not to completely sever any folds that are meant to connect your design. For example, if you are creating connected patterns, such as hanging ghosts or pumpkins, always leave a small uncut area along the folds to keep the design intact.

Note: If you face any hurdles in creating this project, then you can watch the tutorial here.
Step 5: Unfold and Reveal
After all your cutting is complete, it’s time for the most exciting part—unfolding your creation! Gently pull apart the triangle, starting from the corners, to carefully reveal your spooky masterpiece. Watch as the symmetrical design comes to life, showcasing the intricate patterns you’ve cut into the paper.
Inspect your design and make small adjustments if necessary. For instance, if you notice excess paper that disrupts the symmetry, carefully trim it using scissors.

Step 6: Display Your Decoration
Congratulations—your spooky decoration is ready! Now you can put it to good use. Here are some ideas for displaying your creation:
- Windows: Tape your decoration to the inside of a window to let light shine through the cutouts for a shadowy effect.
- Wall Décor: Use push pins or tape to attach your creations to walls, doors, or bulletin boards for a festive touch.
- Party Tables: Lay your designs flat on a table as eerie Halloween table décor.
For an extra creative touch, you can make multiple decorations in different colors, sizes, and patterns, mixing and matching them to create a uniquely spooky atmosphere.

