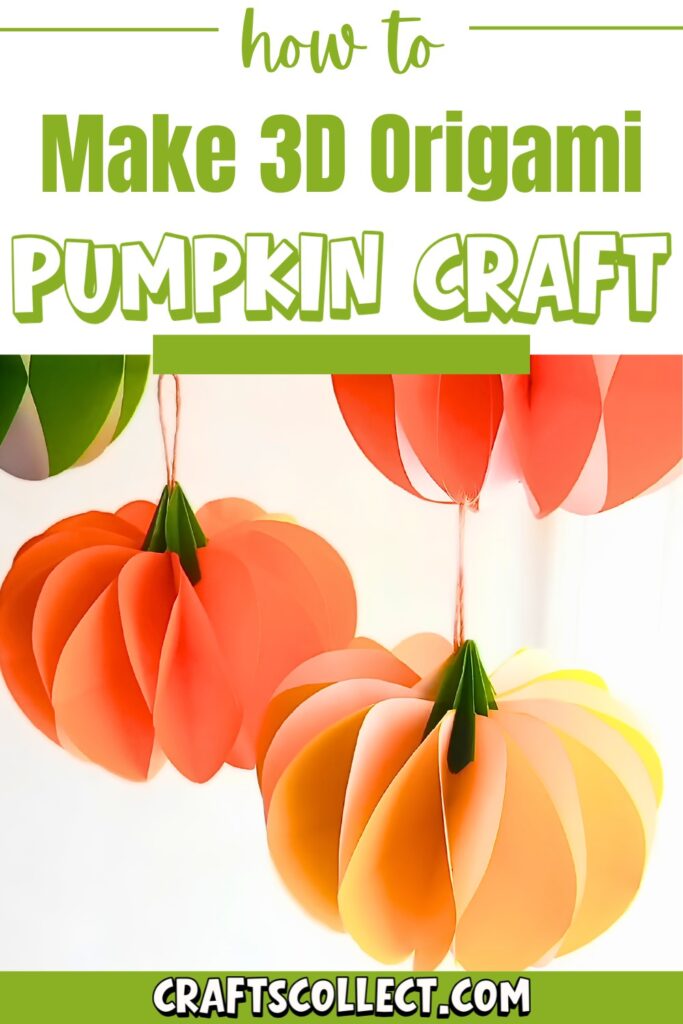
Adding a festive touch to your home is so much fun, and origami pumpkins are the perfect decoration for Halloween or fall! These paper pumpkins can be made as 3D decorations for tables, hung as garlands, or used flat as wall art. With just a few simple materials, you can create colorful pumpkin designs that stand out.
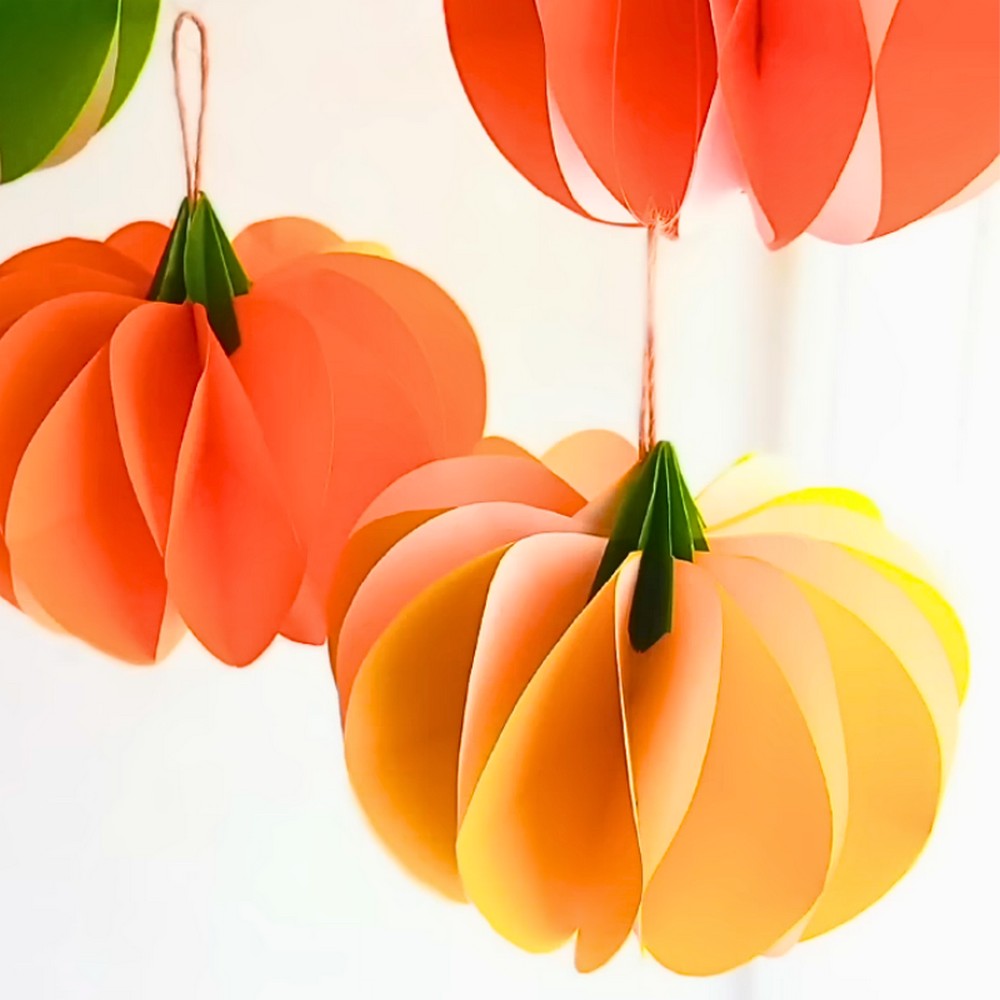
How to Make Origami Pumpkin Decorations
To bring them to life, you’ll need origami paper, glue, string, scissors, and basic household items like a pencil and a round container to trace a circle. The process involves cutting and folding 10 pieces of origami paper into pumpkin shapes, gluing them together, and adding details like a stem. You can customize your pumpkins by making them multi-colored, adding strings to hang them, or pairing them with other fall decorations. Even kids can join in and have a great time crafting these cheerful pumpkins.’
Whether you’re hosting a party or just sprucing up your space, these easy-to-make pumpkins are a fun craft project for creating cozy, seasonal vibes.
Credit Emiko Yamamoto Paper decoration

Materials & Tools Needed
To create your origami pumpkin, you will need:
- Origami paper (you’ll need multiple sheets for a complete pumpkin decoration)
- Scissors
- Glue
- String (if hanging the pumpkin)
- Pencil
- A round object such as a container, approximately 10–11 cm in diameter (for drawing circles on the paper).

Finished Size & Customization Ideas
- Finished Size: The size of your pumpkin will depend on the diameter of your circle template. Using a 10–11 cm round object will result in a medium-sized pumpkin.
- Customization Ideas:
- Use double-sided colored origami paper to avoid any visible white sections within the pumpkin.
- Experiment with two-tone color designs (e.g., alternating colors for the pumpkin layers).
- Add string to hang the pumpkin, or leave it flat to stick on walls or use as table decor.
- You can add textured paper or embellishments to make the pumpkin more festive.

Step-by-Step Detailed Instructions
1. Make a Pumpkin Template
- Take a piece of origami paper. Place the round object (10–11 cm in diameter) on the paper and prepare to draw a semicircle.
- Fold the origami paper in half, making sure the colored side is on the outside.
- Position the round template so the edge aligns slightly beyond the fold. Trace a line to form a slightly extended semicircle.
- Mark approximately 2 cm below the top of the semicircle for the top of the pumpkin. Below that, mark 1 cm for a reference point.
- Connect the marks with curves to shape the top and bottom of the pumpkin:
- Draw a curved line from the top mark to the upper edge of the semicircle.
- Draw a bulging curve from the bottom edge to make the body of the pumpkin.
- Adjust the bottom right corner to reduce the bulge, so the pumpkin has a rounded base.
- Cut out the traced shape while the paper is still folded. This is your pumpkin template.
2. Cutting Pumpkin Layers
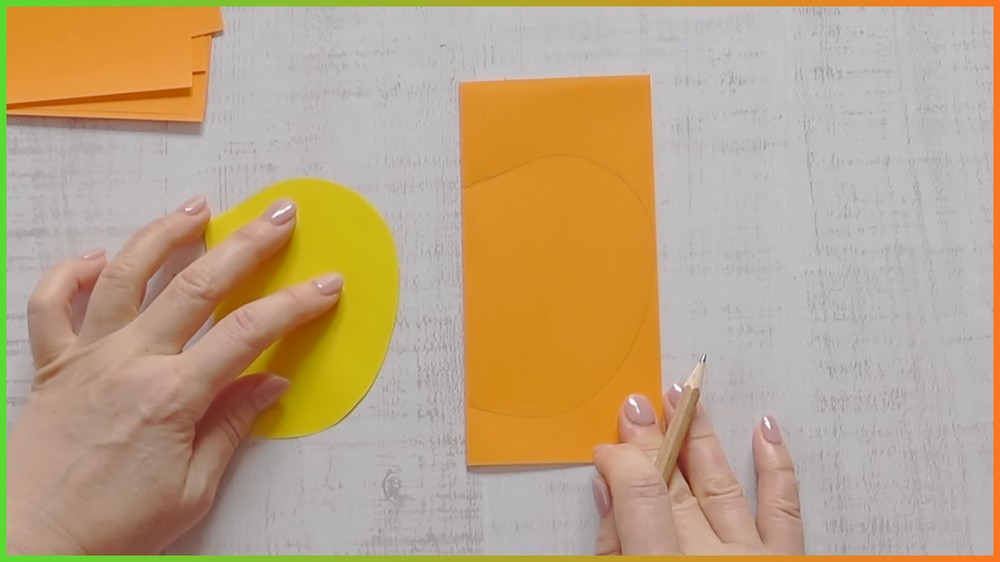
- Take 10 sheets of origami paper. Fold each sheet in half with the colored side on the outside.
- Use the pumpkin template from Step 1. Align the folded edges of the template with the folded edges of the paper. Trace the pumpkin outline onto the paper.
- Repeat for all 10 sheets.
- Cut along the traced lines while the paper is folded. You will now have 10 folded pumpkin shapes.

3. Folding Pumpkin Layers
- Unfold the pumpkin cutouts (color side up). Fold the top and bottom edges of each pumpkin so the fold lines meet at the center.
- Fold each pumpkin again using the original fold line to reinforce the middle crease. Repeat for all 10 pumpkin layers.

4. Gluing the Pumpkin Layers
- With one pumpkin layer unfolded, apply glue along the center fold and the middle peaks.
- Stick another layer on top, ensuring the creases and folds align perfectly.
- Repeat for all 10 layers, gluing them one after the other.
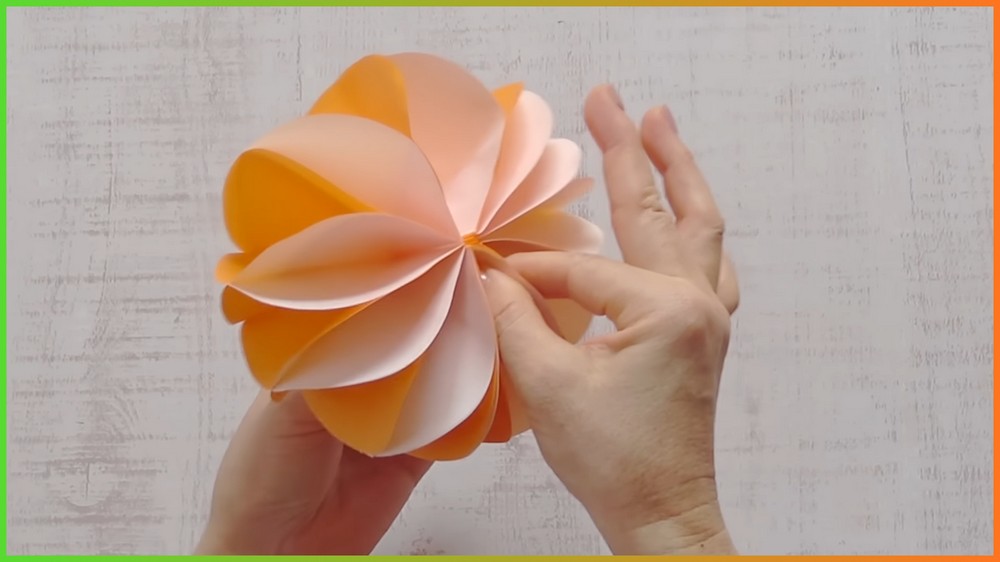
- Allow the glue to dry partially. Once dry, begin gently unfolding the stacked pumpkin to form a 3D shape.

5. Collapsing and Adjusting for Different Uses
- To create a 3D Pumpkin for Hanging or Table Display: Fully unfold the glued layers into a complete sphere. Apply additional glue to the outer peaks and edges if necessary to secure the pumpkin into a round shape.
- To create a Pumpkin Wall Decoration: Only unfold the glued layers halfway, creating a semicircular shape that lies flat against the wall.
6. Adding the Pumpkin Stem
- Take a small piece of origami paper for the stem (green or brown works best).
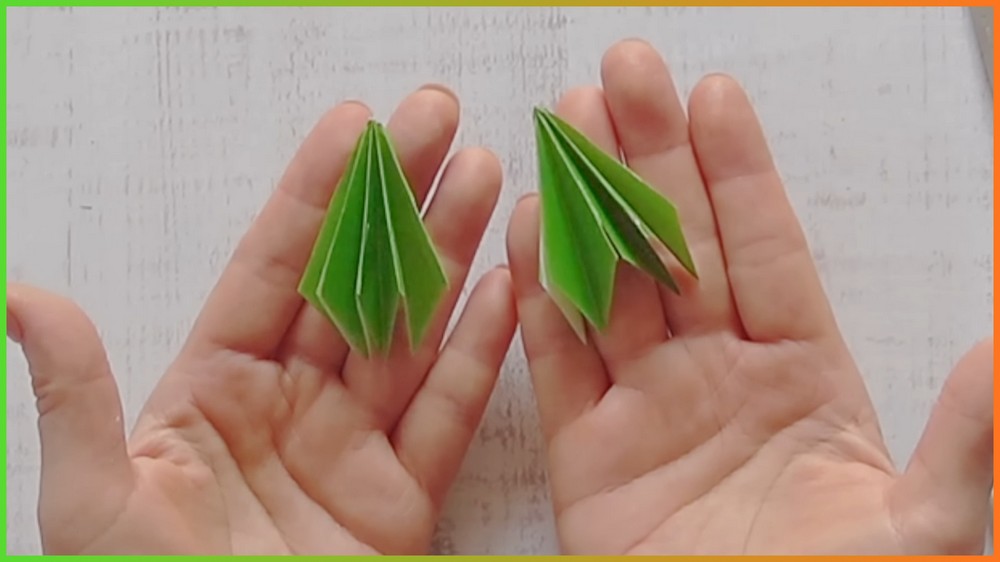
- Fold the paper in half diagonally (colored side out) to form a triangle. Fold it in half two more times into smaller triangles.
- Unfold the shape slightly, forming a small “bag-like” fold. Turn the paper over, and repeat the bag-like folds on the other side to create the pumpkin stem structure.
- Draw diagonal lines on the folded stem piece for slits. Cut along the lines to create flaps.
7. Attaching the Stem
- Unfold the pumpkin slightly to expose the top folds.
- Insert the stem piece into the open pumpkin top, positioning each slit flap around the pumpkin edges.
- Apply glue to the stem and the pumpkin top to hold the stem securely in place.

8. Additional Customization
- For Hanging Pumpkins: Sandwich a loop of string between the layers of the stem before gluing it in place.
- For Extra Stability: Reinforce the layers with cardboard or colored paper to prevent the pumpkin from collapsing over time.