
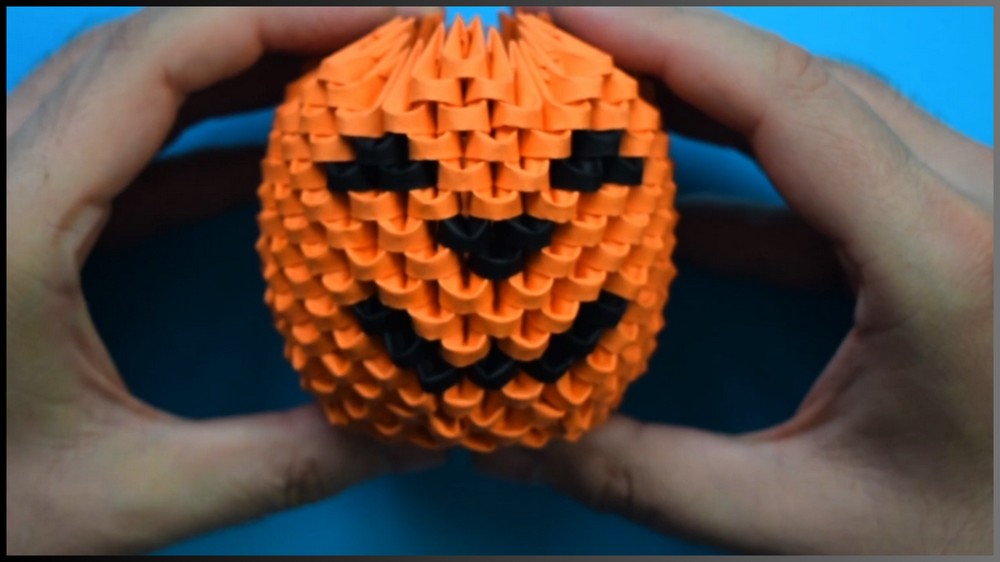
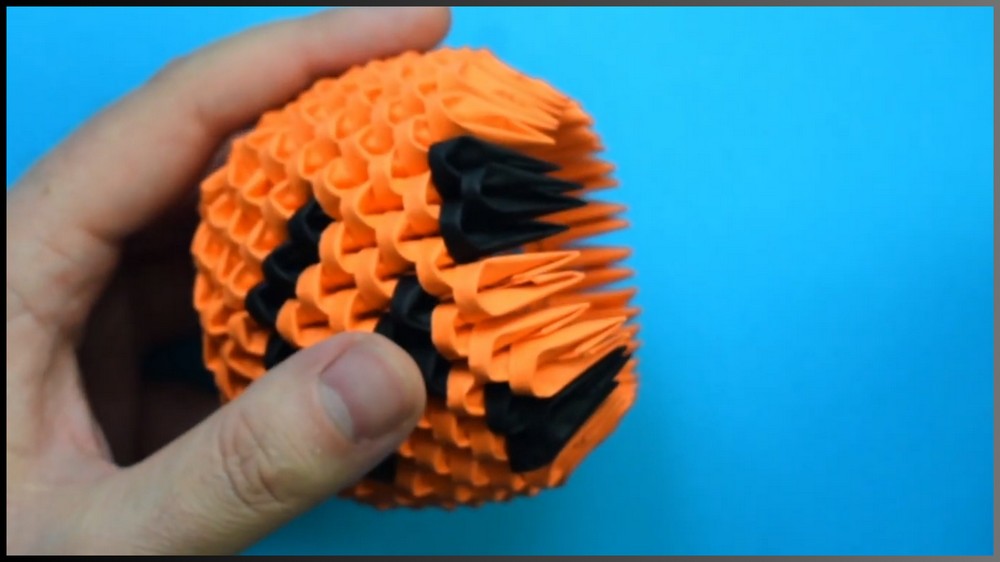
This adorable 3D origami pumpkin is perfect for Halloween! It’s a fun crafting project suited for all ages, and it makes a wonderful decoration for your home or party. Its unique shape and cheerful design will brighten up any space, adding a touch of Halloween fun to your surroundings.

3D Origami Halloween Pumpkin Tutorial
Making this pumpkin involves folding small paper pieces and assembling them into rows, forming a detailed 3D structure. The color arrangement and design give it a festive look, with bright orange for the pumpkin and black accents for the face. You’ll have fun bringing this playful character to life!
Credit Peter’s Paper World
You can place the finished pumpkin on a desk, shelf, or even use it as a centerpiece for your Halloween gatherings. It’s lightweight, colorful, and a creative way to showcase your crafting skills. Plus, it’s a wonderful DIY activity to enjoy with family and friends.
If you’re new to 3D origami, it requires patience and simple folding steps—but the results are incredible. Gluing the paper pieces adds strength, ensuring your pumpkin is sturdy and eye-catching. Creating the rows layer by layer makes the process enjoyable and easy to follow!
Required Materials
- Paper for the Origami Pieces:
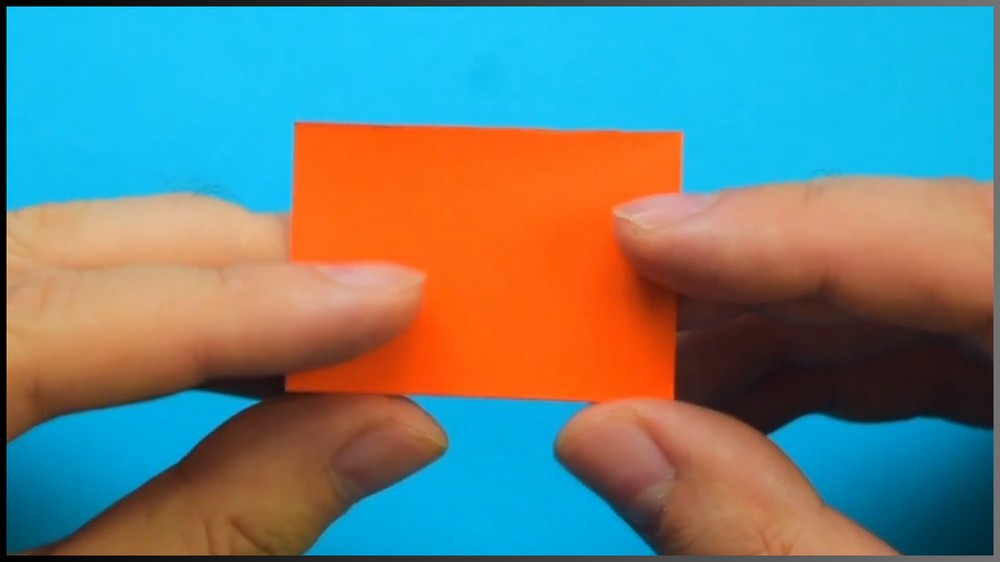
- Rectangles measuring 5.4 cm x 3.6 cm. These will be folded into 1/32 origami pieces.
- Glue:
- A solid paper stick glue to secure the pieces together, applied sparingly in the pockets.
- Colors:
- Orange paper for the pumpkin body.
- Black paper for the facial features like the eyes, nose, and mouth.
Important Notes
- Basics of 3D Origami:
- Each origami piece consists of edges (or tips) and pockets.
- The normal side of the piece is rounded, while the inverted side has a pointed interior.
- For specific instructions on how to fold these pieces, refer to the step-by-step tutorial linked in the video description.
- Inverted Pieces:
- Certain rows require pieces to be inverted, with the round side positioned inward.
- Glue Recommendation:
- Gluing is recommended for stability, especially for beginners.
Step 1: Preparing the Origami Pieces
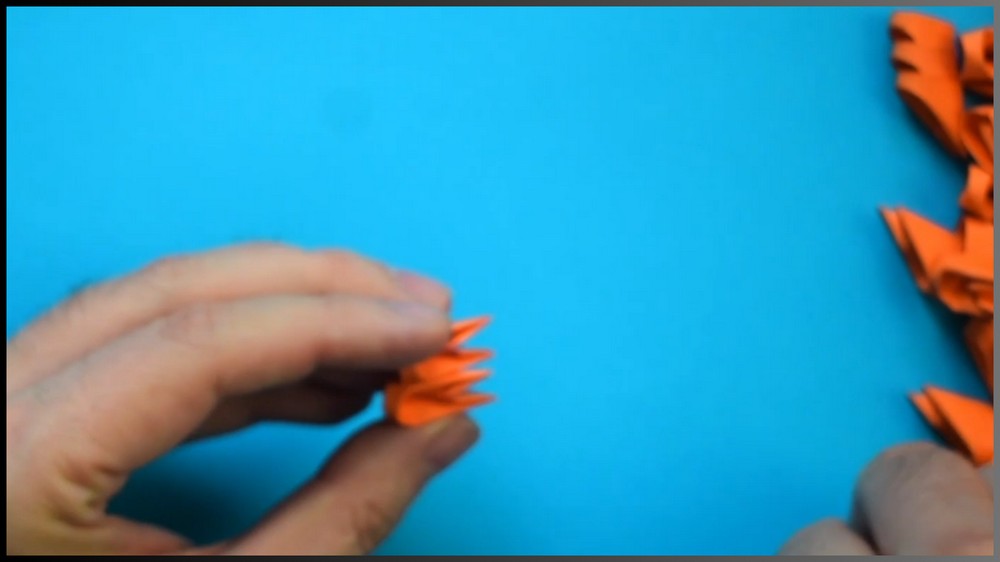
Start by cutting rectangles of paper sized 5.4 cm x 3.6 cm, and fold them into 1/32 origami units. Each piece should be folded precisely, as they will serve as the foundation for building the pumpkin. Ensure you prepare enough pieces in advance, as you’ll need several rows to complete the design.
Step 2: Building the Core Rows
Begin assembling the pumpkin by creating the base rows. In Row 1, use 14 orange pieces with their normal (rounded) side facing outward. Row 2 will have 13 orange pieces, also positioned with the rounded side outward. For Row 3, attach 12 orange pieces in the same orientation. However, Row 4 will require 13 orange pieces to be inverted, with the round side facing inward. This inverted row creates the curve needed to shape the pumpkin.

Step 3: Shaping the Pumpkin
To shape the pumpkin, connect subsequent rows carefully. In each row, fit one piece between two pieces from the previous row and place two pieces on top of it. To stabilize the structure, finish Row 2 by adding one additional orange piece and Row 3 by adding two additional orange pieces. The inverted row will also need one additional orange piece to maintain the structure’s shape.

Step 4: Constructing the Body
For Rows 2 and 4, expand the design so each row ultimately includes 21 orange pieces. Next, start working on the pumpkin’s face by adding black pieces to outline the facial features. In Row 5, insert 3 black pieces to form part of the Halloween-themed face, and fill the remaining row with 18 orange pieces. Row 6 continues the design with a pattern that alternates 1 black piece, 2 orange pieces, 1 black piece, followed by orange pieces to complete the row. For Row 7, add 1 black piece, 3 orange pieces, 1 black piece, and fill the rest with orange pieces. In Row 8, use an entire row of orange pieces to stabilize the structure.

Step 5: Creating the Mouth and Features
To create the mouth of the pumpkin, design Row 9 by placing 1 black piece in the middle to form the center of the mouth, then fill the rest of the row with 20 orange pieces. Row 10 adds 2 black pieces directly above the black piece from Row 9 for more detailing, with the rest filled in as orange pieces. For Row 11, add an entire row of orange pieces to further stabilize the structure.
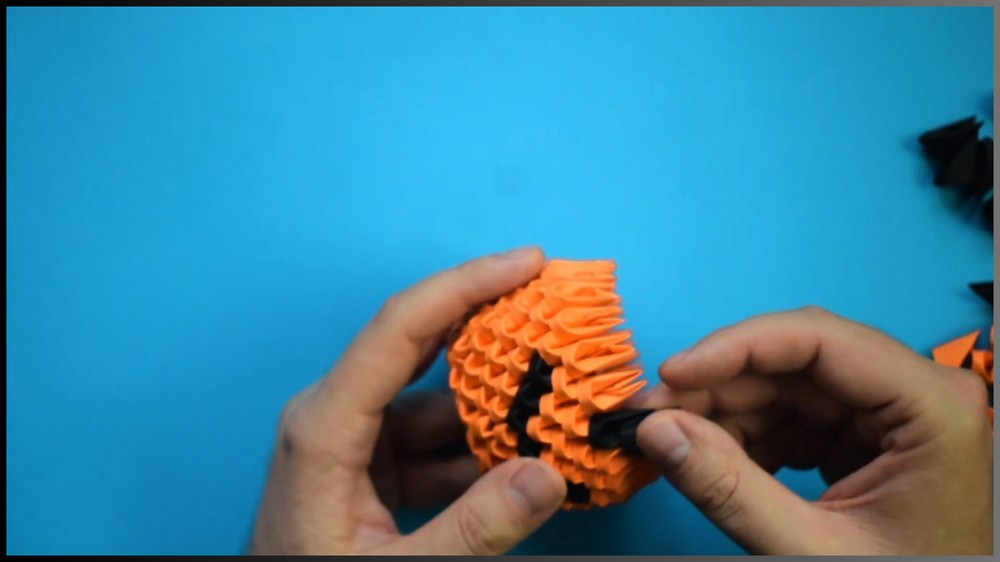
Note: If you face any hurdles in creating this project, then you can watch the tutorial here.
Step 6: Completing the Nose and Final Details
For the nose, begin Row 12 by positioning 2 orange pieces above the black pieces from Row 10. Next, add 2 black pieces next to the orange ones and fill the remaining row with orange pieces. In Row 13, place 1 black piece on top of the two black pieces from Row 12, then fill in the rest with orange pieces. Row 14 features an entire row of orange pieces to create the pumpkin’s bulk, while Row 15 finishes by using 2 orange pieces, stacking another orange piece on top of them, and leaving two edges empty. Repeat this pattern to complete the row.
Final Step: Finishing Your Pumpkin
After completing Row 15, your pumpkin is finished. The black pieces will form a decorative Halloween face, while the orange pieces create the round pumpkin shape. Carefully check the structure to ensure all the pieces are secure and enjoy using your handmade 3D origami pumpkin as a festive decoration. If you need more clarity, refer to the tutorial linked at the top.

