
A giant pumpkin is the perfect addition to your Halloween decor! With its huge size and creative jack-o’-lantern face, it can brighten up your garden or porch. Use it for an outdoor display, a festive photo backdrop, or even a unique way to pass out candy. It’s big, bold, and lots of fun!
DIY Giant Halloween Pumpkin
To begin, you’ll need a large 42-inch beach ball for the pumpkin’s shape and some basic materials like paper bags, newspapers, and glue. Layer the papier-mâché for strength, starting with paper bags, followed by multiple newspaper layers. This creates a sturdy foundation for painting and decorating.

Credit Mythical Makers Workshop
Carve out a classic jack-o’-lantern face with triangle eyes, a nose, and a smile, or design your own unique features! For added realism, use clay to sculpt details like ribs and a textured stem. A rubber spatula can help smooth things out before applying paint and finishes.
Weatherproofing is key to keeping your pumpkin in great shape. Use layers of gesso and sealant, making it safe for outdoor use. Once painted, adding highlights and details will make it pop, especially in low light. Finish it all with a matte coat for a natural look.
Required Materials:
- Structure Materials: A 42-inch beach ball (used as the pumpkin base), brown paper bags, newspapers.
- Adhesive: Elmer’s All Glue (or any PVA glue) mixed 50/50 with water for papier-mâché paste.
- Sculpting Materials: Celluclay (pre-made papier-mâché pulp), tin foil, masking tape, 16-gauge galvanized steel wire.
- Painting Materials: Tinted gesso, Drylok for weatherproofing, flat exterior house paint in various colors, burnt sienna for details, golden matte medium (optional for final finish).
- Tools: Rubber spatula, drill, air pump (for the beach ball), and standard paintbrushes.
Important Notes:
- Base Structure: The beach ball creates the underlying pumpkin shape, but do not overfill it initially as it needs to be firm, not rigid.
- Glue Consistency: The papier-mâché glue mixture should match the consistency of whole milk for easy application.
- Layering: Use two layers of brown paper bag first, followed by at least four layers of newspapers for strength.
- Weatherproofing: Ensure the pumpkin is appropriately sealed with Drylok and gesso if it will be outdoors. Adjust according to climate needs (e.g., heavy snow, rain).
- Final Touches: Matte finishes can be used if satin or glossy coatings look too artificial.
Overview of the Process:
1. Creating the Base
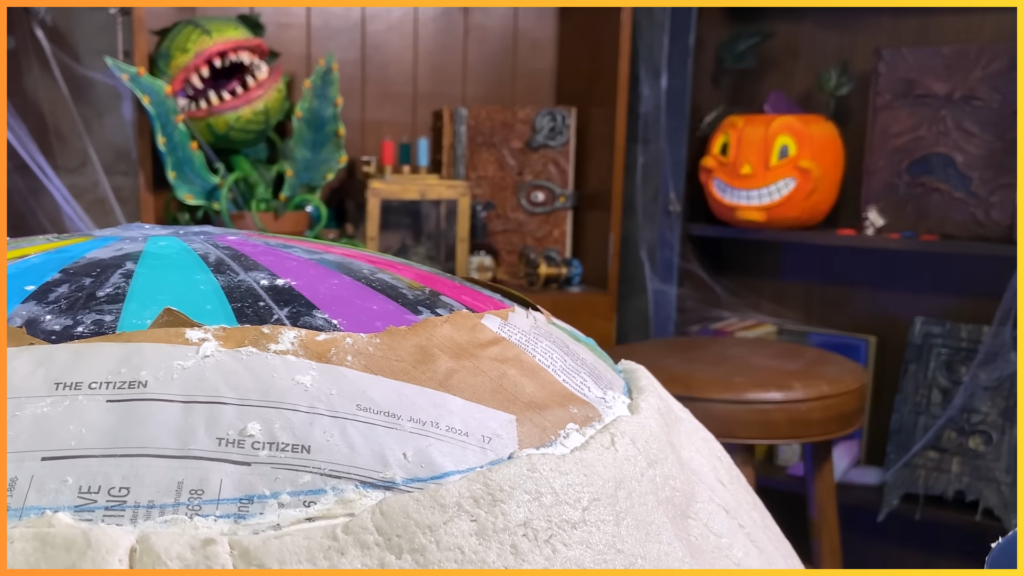
Start by inflating a 42-inch beach ball and using brown paper bags for the first two layers of papier-mâché. Apply the glue mixture evenly, ensuring all sections are covered. Once dry, move to subsequent layers using newspapers for additional build-up and stability. Smooth out areas as needed.

2. Shaping and Adding Details
After the initial layers are complete, draw on a face with traditional pumpkin features (triangle eyes, nose, and a wide smile). To refine the design, use the pre-made celluclay pulp. Mix the celluclay (starting with a 50/50 water ratio) and adjust for a slightly moist consistency. Apply a thin layer of this pulp and smooth it out with a rubber spatula to create a solid, sculpted surface.
To define the pumpkin ribs, lightly sketch a roadmap on the surface. Apply celluclay in small sections along these outlines, building up the form gradually. Add extra thickness at the bottom for improved stability.
3. Building the Stem
Drill a hole at the top of the pumpkin and insert the galvanized steel wire as the framework for the stem. Secure it with masking tape, then wrap the wire with tin foil to bulk up the form. Cover this with additional masking tape and sculpt the outer layer using celluclay.

4. Weatherproofing
To protect the pumpkin, start with a coat of tinted gesso. If peeling occurs between papier-mâché layers, fix it with quick seal before proceeding. Apply multiple coats of Drylok, ensuring the product gets into every crevice for thorough waterproofing. Alternate tinting layers if needed to track coverage.

Note: If you face any hurdles in creating this project, then you can watch the tutorial here.
5. Painting
Paint the entire surface using flat exterior house paint. Leave the interior yellow to maximize light reflection when the pumpkin is illuminated. Add lowlights using burnt sienna for a more natural look. Go slightly heavier on the contrast, as this will make the pumpkin more eye-catching in low-light settings. To blend the lowlights, apply a watered-down layer of house paint. Add subtle highlights last for depth.6.

Finishing Touches
Finish with two coats of polyurethane for extra durability. If the result looks too shiny, use golden matte medium to give the surface a more natural finish. Allow to dry fully before setting up your pumpkin.

