
Skulls and bats are timeless Halloween icons that instantly bring spooky fun into any space. These easy-to-make paper decorations are perfect for kids and adults alike, offering a fun way to spruce up your home or party. They’re lightweight, budget-friendly, and customizable to fit your style.
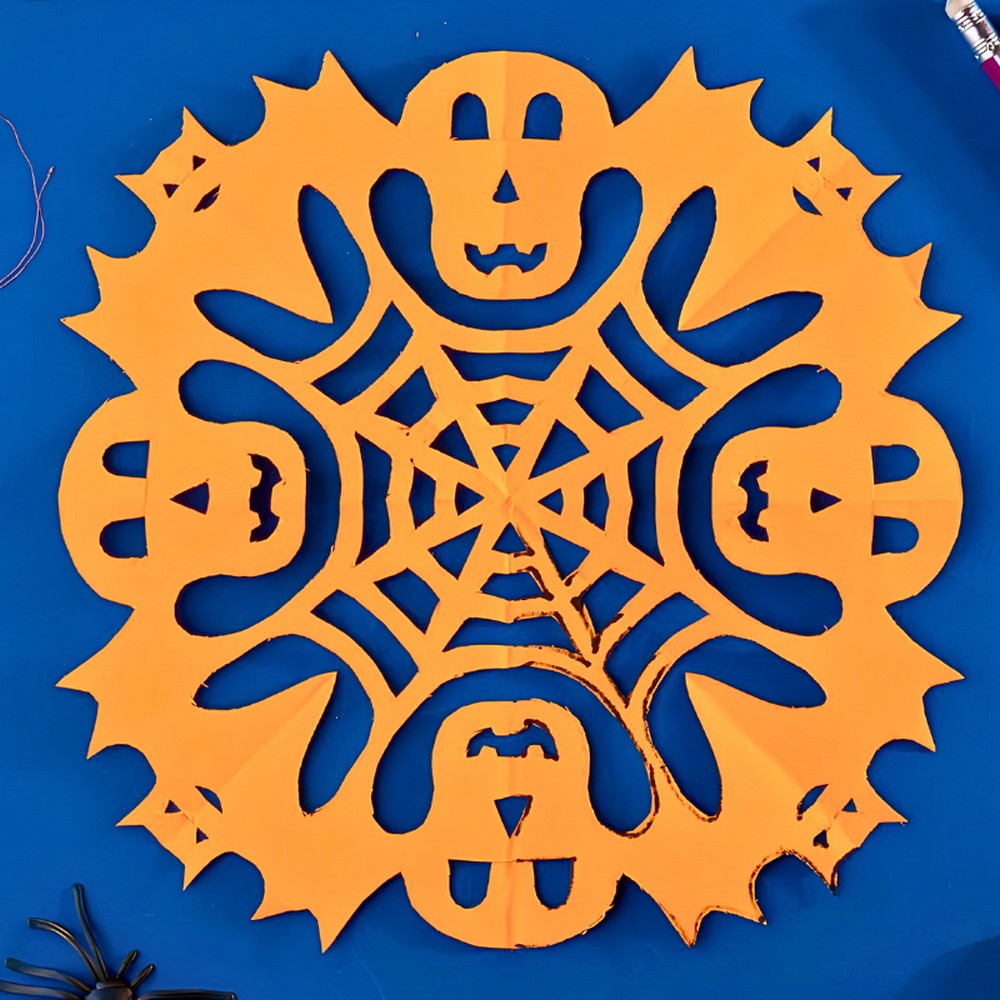
Easy Paper Halloween Decorations
Crafting them is straightforward and requires only a few supplies: paper, scissors, and a pencil. Simply trace, fold, and cut your way into shapes that look impressive but are simple to make. No need for fancy equipment or advanced skills—this project welcomes creators of all ages and skill levels.
Credit Helpful Arts & Crafts
These decorations are incredibly versatile. Hang them from the ceiling, stick them on the walls, or let them dangle around windows to create a spooky ambiance. Perfect for Halloween parties, classrooms, or family gatherings, these creations are hassle-free and instantly festive.
If you’re looking for a fun bonding activity or a quick Halloween decor idea, these paper skulls and bats are the answer. They add just the right balance of spooky and playful to your space, making everyone smile and admire your creativity. A simple craft with a big visual impact!
Required Materials
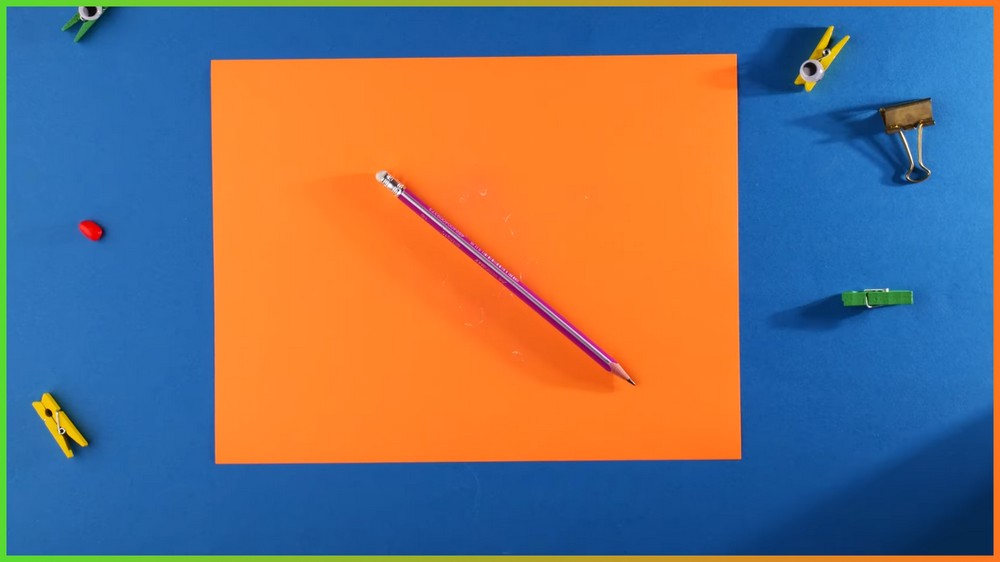
The materials required for this project are simple and likely already available in your home. Gather the following:
- Rectangular Sheet of Paper: You can use plain printer paper, colored craft paper, or even decorative construction paper for added flair. Dark colors like black or deep purple work best for Halloween decorations.
- Scissors: Choose a sharp pair of scissors to ensure clean, precise cuts. If children are working on this project, child-friendly safety scissors are a good alternative.
- Pencil: A standard pencil is ideal for sketching your pattern onto the folded paper. Ensure it’s sharp enough for detailed lines.
Important Notes
- Safety First: Be mindful while handling scissors. Always cut away from yourself, and supervise children who may be doing this activity.
- Accuracy Matters: Take your time, especially when drawing and cutting the pattern. This level of detail will ultimately make your shapes more defined and intricate.
- Unfold with Care: The paper becomes delicate after cutting, so open it slowly to prevent tearing.
How to Make Paper Skulls and Bats
Step 1: Prepare Your Paper
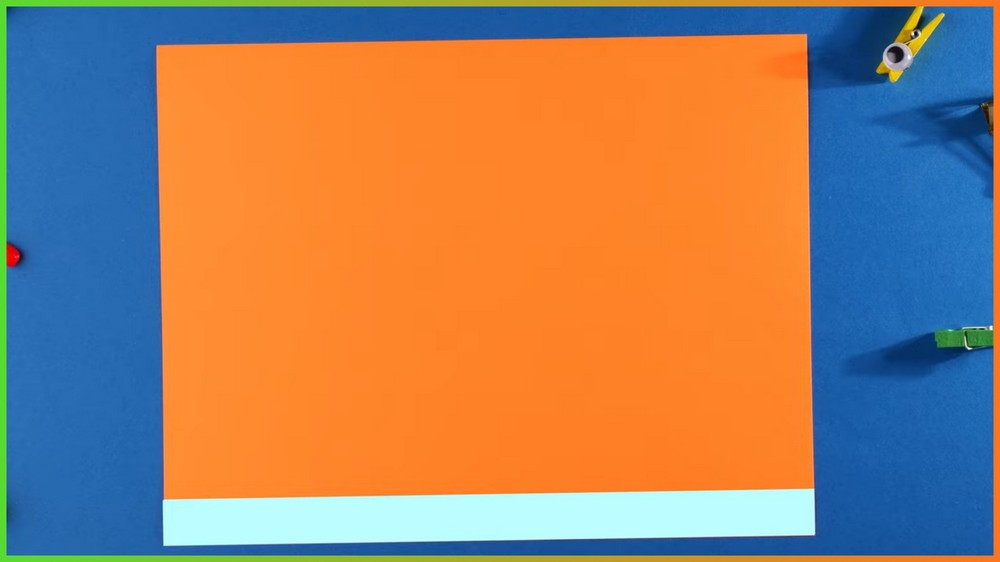
Start with a rectangular sheet of paper. If your paper isn’t already square, you need to turn it into one. Position the paper flat on a table, with the longer edge closest to you. Take the left short edge of the paper and fold it diagonally upward to meet the top long edge. This creates a triangular section at the top and leaves a small rectangular strip at the bottom. Smooth the diagonal fold firmly with your fingers to ensure precision.
Next, use your scissors to carefully cut off the excess rectangle that remains at the bottom. Once you’ve done this, unfold the paper briefly to confirm that you now have a perfect square. Refold the square along the diagonal crease to return it to its triangular form.
Step 2: Fold the Triangle
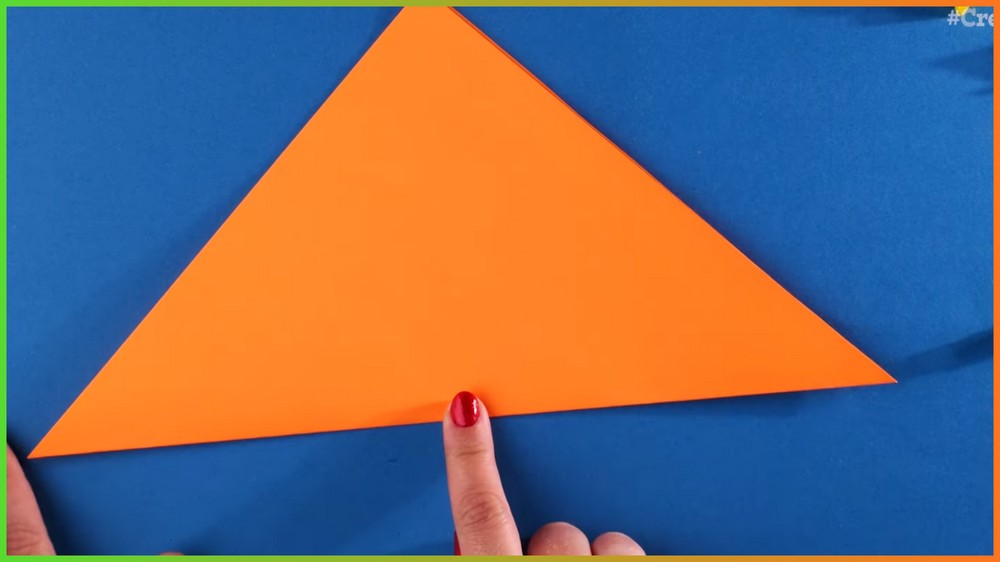
Position the triangle so its longest edge (the hypotenuse) is at the bottom. Take the top left corner and fold it inward so it meets the top right corner perfectly, forming a smaller triangle. Smooth the fold using your fingers.
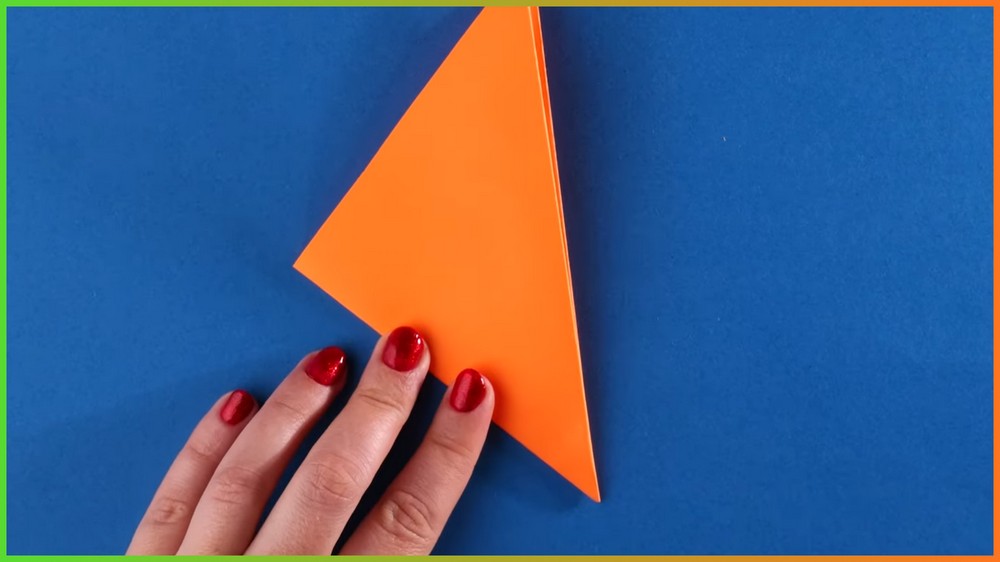
Now rotate the paper so the longest edge of the new triangle is pointing upward. Again, take the left corner and fold it to meet the right corner, reducing the paper into an even tinier triangle. Ensure all folds are neatly smoothed out. The more precise these folds, the more visually appealing the final product will be.
Step 3: Draw Your Design
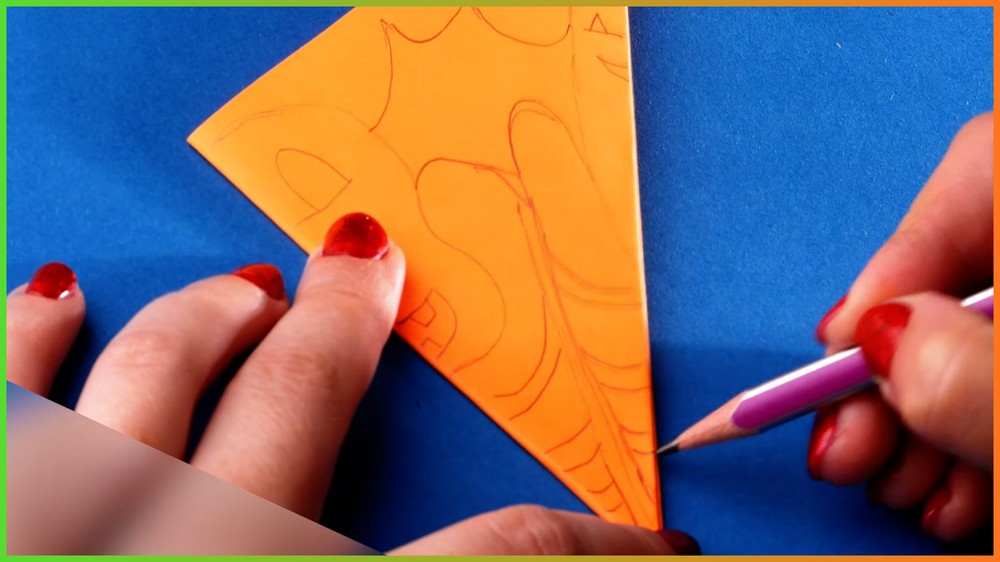
It’s time to add your Halloween-themed design, such as bats or skulls. Keep the paper folded in its small triangle shape. Pick one of the narrower corners that serve as the base of the triangle (avoid the corner where all edges are open). This will be the starting point for your design.
Using a pencil, lightly sketch the pattern onto the paper. Popular options include drawing the silhouette of a bat with extended wings or the spooky curves of a skull. If you’re following the tutorial video, try replicating the exact designs shown by the creator. Feel free to get creative—add some jagged edges or curves for a unique twist.
Step 4: Cut Out the Pattern
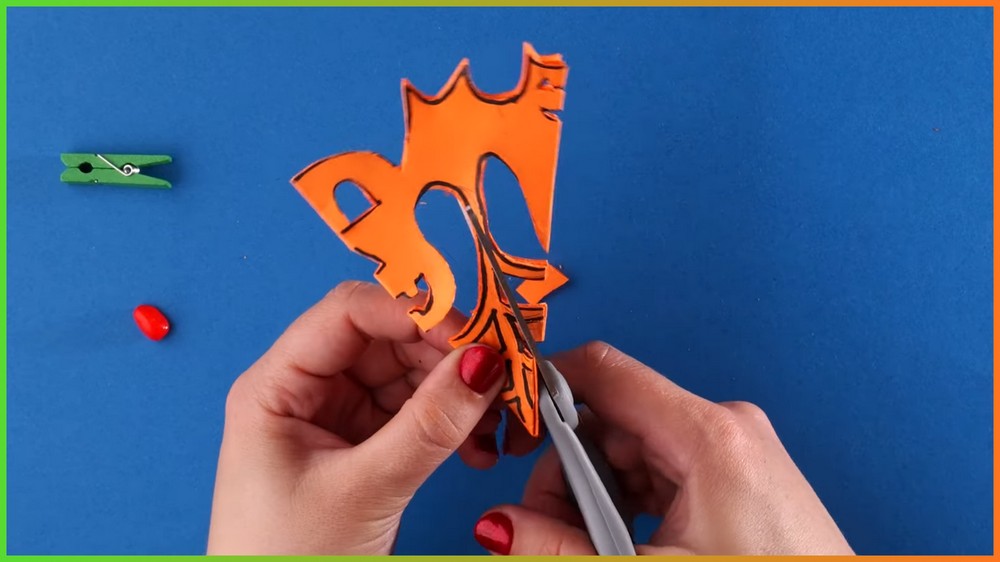
After sketching, use your scissors to carefully cut along the lines you’ve drawn. It’s crucial to stay as close to the pencil markings as possible to ensure a well-defined shape. If your pattern has precise features (e.g., bat wings or skull eye sockets), take extra care while navigating the intricate cuts.
Consider cutting only through one or two edges at a time if you feel the paper is thick from folding. This will make it easier to cut cleanly and avoid damaging the paper. Once you’ve finished cutting, remove any loose paper scraps.
Note: If you face any hurdles in creating this project, then you can watch the tutorial here.
Step 5: Unfold the Design Gradually
Now for the big reveal! Carefully unfold the paper layer by layer, starting with the outer folds and working your way inward. Be gentle during this process—paper that’s been cut can be delicate and prone to tearing.
As you open the folds, you’ll notice your decoration taking shape—a repeat pattern of your spooky design! Whether it’s bats, skulls, or a combination of Halloween motifs, this homemade decor is guaranteed to impress. The symmetry and intricate details make it look far more complex than it actually is.

Step 6: Display Your Creation
Once your decoration is fully unfolded, it’s ready to be displayed. Here are some ideas:
- Hang your design using string or invisible tape against a wall or door.
- Attach it to windows for a fun silhouette effect that’s especially eerie during the evening hours.
- Use it as part of a centerpiece for your dining table or mantel.
If you’ve made multiple designs, consider hanging them together as a garland or grouping them for a layered effect.

Finishing Touches
Your Halloween skulls and bats decor is now complete! This project is perfect for an afternoon of fun, whether you’re crafting solo or doing it with friends and family. If you need any additional help, be sure to watch the tutorial video linked at the top.

