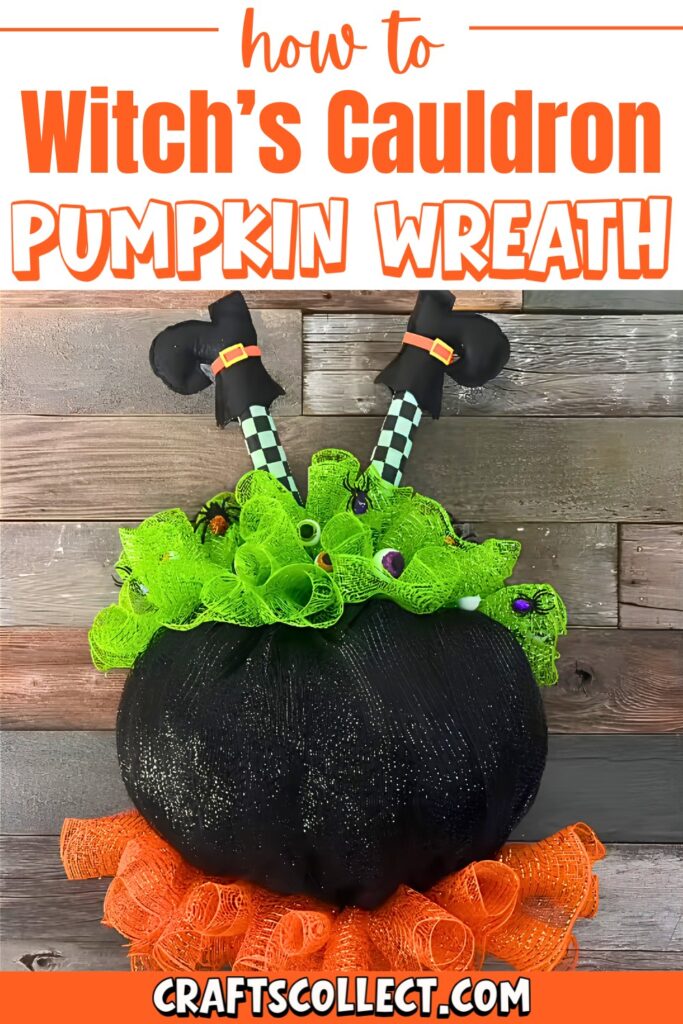
This Halloween, transform a simple Dollar Tree pumpkin-shaped frame into a magical witch’s cauldron wreath! It’s a fun and creative craft that brings spooky charm to your home. Perfect for hanging on doors or walls, it adds a playful and festive touch to your Halloween decor. The bubbling brew, bright colors, and playful witch’s legs make it stand out as a one-of-a-kind piece.
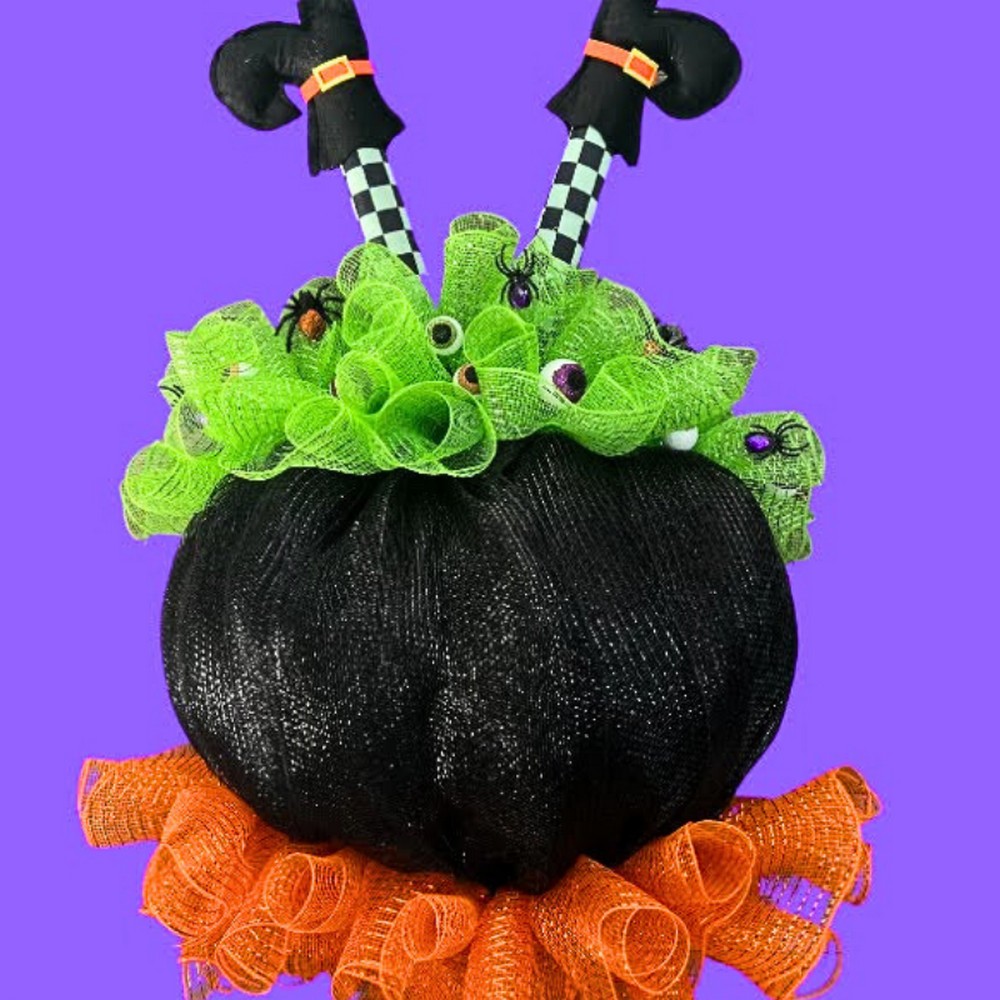
Pumpkin Wreath for Halloween
To make it, you’ll start with an inexpensive pumpkin frame. Cover it with layers of mesh ribbon to create the cauldron’s shape. Add a fiery orange base at the bottom and bubbling green “brew” at the top. The finishing touch is playful, wiggly witch’s legs popping out of the top! For extra fun, add googly eyeballs, spiders, or other Halloween-themed decorations. It’s a project that’s easy to customize, making it great for crafters of all skill levels.
Credit Hollie Hobbies
Required Materials
- Dollar Tree Pumpkin Wire Wreath Frame
- Poly Mesh Ribbons (Deco Mesh):
- 10-inch black mesh rolls (2 rolls)
- 6-inch black mesh (optional)
- 10-inch green and orange mesh for accents (cut into 24-inch strips, 6 of each color)
- Pipe Cleaners: At least 30 (black is recommended for matching the mesh)
- Decorative Embellishments:
- Spiders
- Eyeballs
- Halloween ornaments (optional)
- Witch’s Legs: Pre-stuffed or DIY
- Optional witch hat or accessories if you’d like to add more decor.
- Basic Tools:
- Scissors or rotary cutter
- Chip clips
- Zip ties (optional; used for hanging)
- Hot glue gun for securing embellishments

Important Notes
- Pipe Cleaners: These play a critical role in securing the mesh and transforming the wreath frame into a “working wreath form.” Make sure to distribute them evenly across the frame.
- Mesh Tension: Keep the mesh tight and straight on the back while allowing it to open wide and give full coverage on the front.
- Layering: For a fuller, more opaque look, the black mesh must be wrapped in several layers around the pumpkin wreath frame.
- Customization: Feel free to use embellishments of your choice to match your specific Halloween aesthetic. Spooky, cutesy, or creepy — the decision is all yours!
- Mistakes Are Okay: You can undo pipe cleaners and rewrap to adjust placement as needed.
Detailed Step-by-Step Instructions
1. Prepare the Frame for Wrapping
- Attach pipe cleaners to the frame:
- Focus on the six sections of wire on the pumpkin wreath frame.
- Twist a full-length pipe cleaner around the top bar of each section to create anchor points for your mesh.
- Repeat this process at the bottom bar of the frame.
- Ensure each pipe cleaner is evenly placed and securely twisted so they don’t slip.
- You now have 12 pipe cleaner anchors total — 6 on the top and 6 on the bottom.

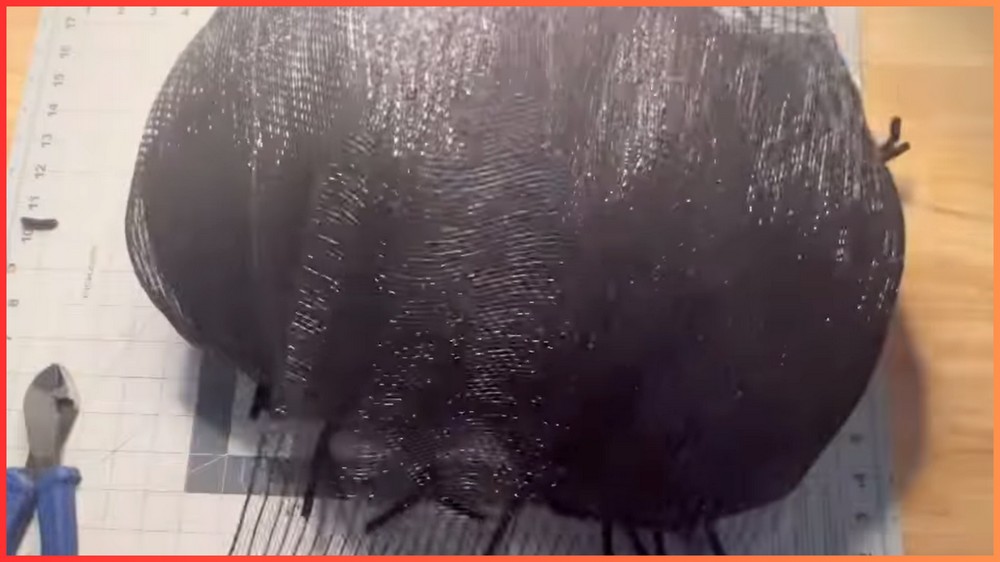
2. Layer the Black Deco Mesh
- Take your 10-inch black mesh roll and lay it curl-side down.
- Pinch the edge of the mesh about 2-3 inches from the end and secure it in a top pipe cleaner anchor.
- Cover the first section:
- Pull the mesh taut as you wrap it downward over the frame to a pipe cleaner at the bottom.
- Twist the pipe cleaner to secure the mesh in place.
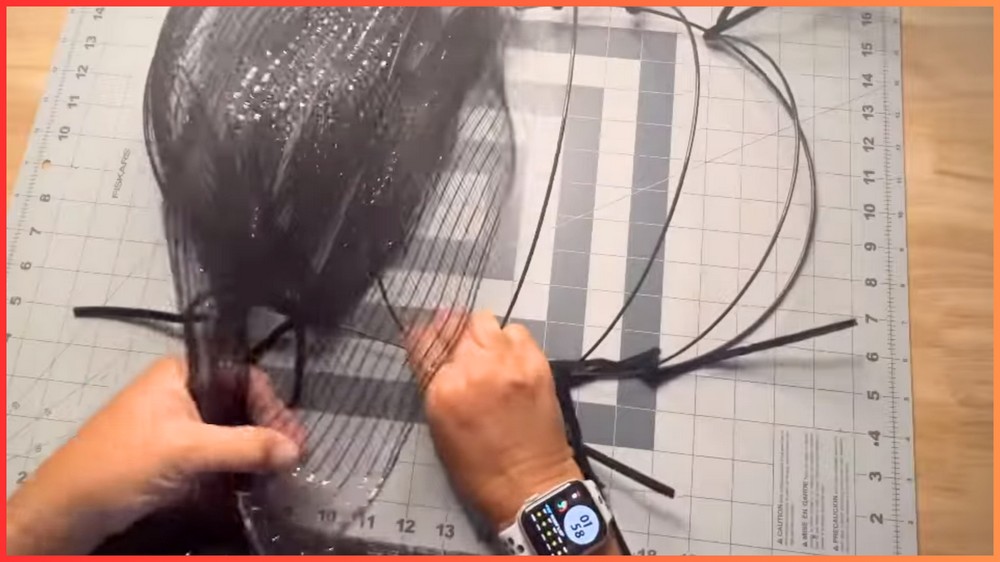
- On the backside, pull the mesh straight to the next top pipe cleaner anchor to maintain tension.
- Repeat the process:
- Continue wrapping the mesh over the front sections and securing at alternating pipe cleaners (top to bottom, then side-to-side, etc.).
- Adjust for even coverage and ensure no bar or frame is exposed.
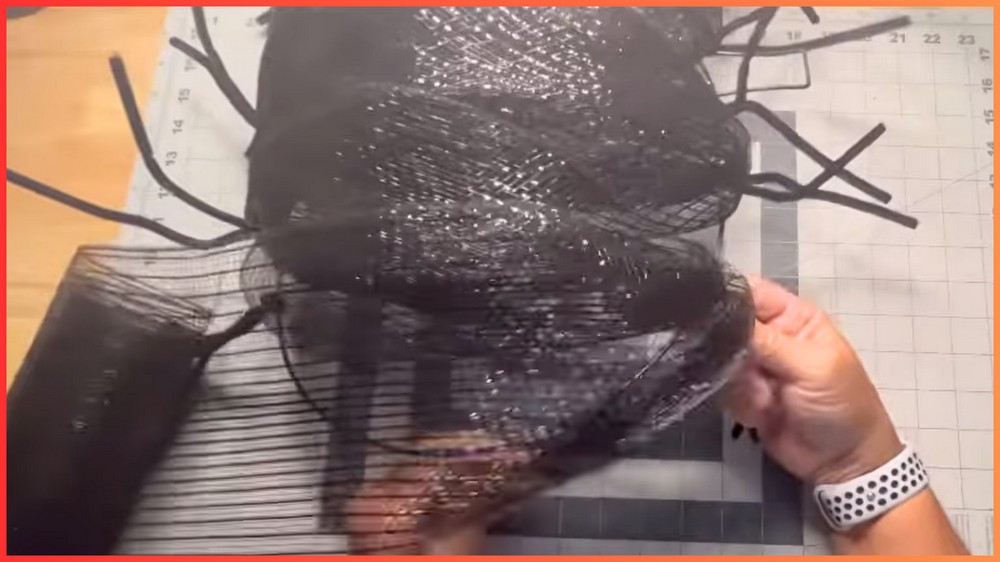
- Double Layer:
- Once the entire frame is covered in one layer, repeat the same process with your remaining black mesh to create a second layer.
- If you want even more coverage, add a third layer using the second mesh roll.
3. Add Green and Orange Flames
- Cut 6 strips of orange mesh and 6 strips of green mesh, each 24 inches long.
- Make “cruffles” for the flame effect:
- Lay a strip curl-side up and roll each side inward (about two rolls) until they meet in the middle.
- Pinch and scrunch the rolled strip in the middle to form a cruffle.
- Secure the cruffle into one of the pipe cleaners at the bottom of the pumpkin frame.
- Alternate colors (green and orange) as you fill all six bottom pipe cleaners.
- Repeat the same process for the top section with the green mesh:
- Attach one cruffle into each pipe cleaner at the top of the pumpkin.
- Adjust the cruffles to give a full, flame-like effect.

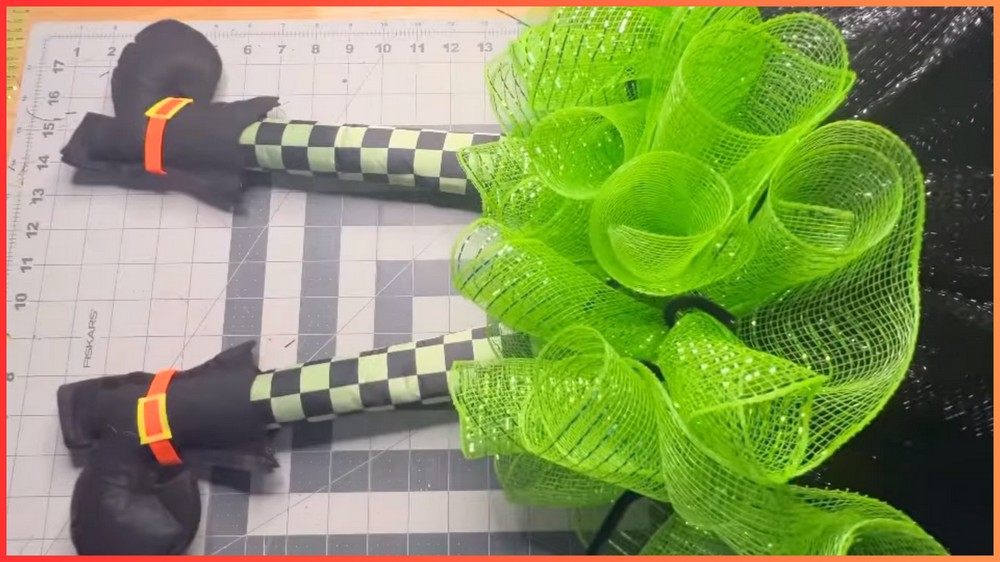
4. Attach Witch’s Legs
- Use pre-stuffed witch’s legs or create your own using Dollar Tree legs and materials like cardboard or grocery bags.
- Prepare the attachment:
- Flip the frame over and place the legs with the feet pointing outward (away from the stem).
- Use the existing pipe cleaners or add two pipe cleaners to secure the top edge of each leg to the back of the pumpkin frame.
- Add another set of pipe cleaners at the toes for extra security if needed.
- Adjust the placement on the front to ensure the legs look like they’re sticking out of the “witch’s cauldron.”
5. Add Final Details
- Embellishments:
- Hot glue eyeballs, spiders, or other Halloween-themed decorations into the green “brew” on top.
- Attach extra embellishments (like spiders or bats) to the black base or green accents for added personality.
- Attach a zip tie or pipe cleaner loop to the pumpkin stem for hanging.

6. Final Touches
- Look for any gaps on the mesh and adjust as needed for a smoother, fuller appearance.
- Ensure all pipe cleaners are securely twisted, and excess is trimmed neatly.
- Check that all embellishments and attachments are firmly secured.
Finished Look
Once complete, you’ll have a whimsical Witch’s Cauldron wreath — complete with bubbling green brew, orange flames, and witch legs sticking out of the top. Hang it on your door or wall and enjoy your spook-tacular Halloween decor!