
A skull lantern is a fun Halloween decoration that glows softly from the inside. It starts as a simple plastic skull jar and turns into a spooky light you can hold or place on a shelf. It is special because the paper layers let the light shine through, making the skull look like it is gently glowing.

Credit Mythical Makers Workshop
How to Make a Skull Lantern
You can use this lantern as table decor for a party, a night light during spooky season, or a prop for photos. Kids and adults can enjoy turning off the room lights and seeing how the face lights up. Add a small battery tea light or fairy lights and you have safe, flameless fun.
The making process is simple and calm. The shiny skull is lightly sanded so the paper will stay in place. Thin tissue paper is brushed on with glue to form soft layers over the face. Around the eyes and nose, smaller pieces keep the surface neat and smooth. It is slow, easy work that feels relaxing.

When the paper is dry, the skull features are painted with black acrylic paint so the eyes, nose and teeth stand out. A light coat of glue on top can give a matte finish and help protect the paint. Put the handle back on if you like to carry it, then add a small light inside. Your custom skull lantern is ready to glow.
Required Materials
Plastic skull candy bucket/jar (originally meant for candy, with a removable lid and handle)
White or off-white tissue paper (preferred over newspaper to keep the layers translucent so light can shine through)
PVA glue (such as standard school glue or Mod Podge)
Water
220-grit sandpaper (or a medium-grit sanding sponge)
Paintbrush (a medium-sized flat or filbert bristle brush works best)
Black acrylic paint
Damp paper towel or microfiber cloth
Battery-operated tea lights or fairy lights

Important Notes
Do not use real candles: Because this project relies on a plastic bucket base, tissue paper, and glue, always use battery-operated tea lights or fairy lights for safety.
Tear, don’t cut: Hand-tearing the tissue paper instead of cutting it with scissors gives you soft, feathery edges that blend and lay flatter across overlapping layers, reducing harsh edges.
Leave a gap at the rim: Avoid putting papier-mâché all the way to the top edge near the rim. Leaving a small gap ensures that the lid will still twist on and off smoothly once the lantern dries.
Step 1: Prep and Sand the Base
Start by gently pulling the corded handle out from the anchor holes on the sides of your plastic skull candy bucket, and set it aside safely for later reassembly. Take your 220-grit sandpaper and thoroughly sand down every millimeter of the outer surface of the skull, including inside the crevices of the eyes and teeth. Because these buckets are typically made from food-safe plastic, they have an incredibly slick, shiny factory finish that glue cannot naturally stick to.
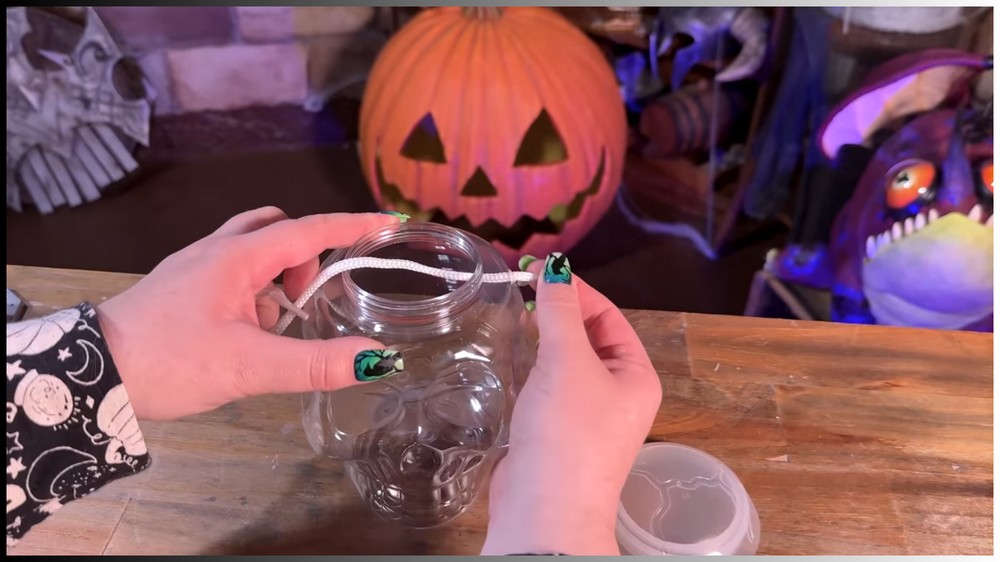
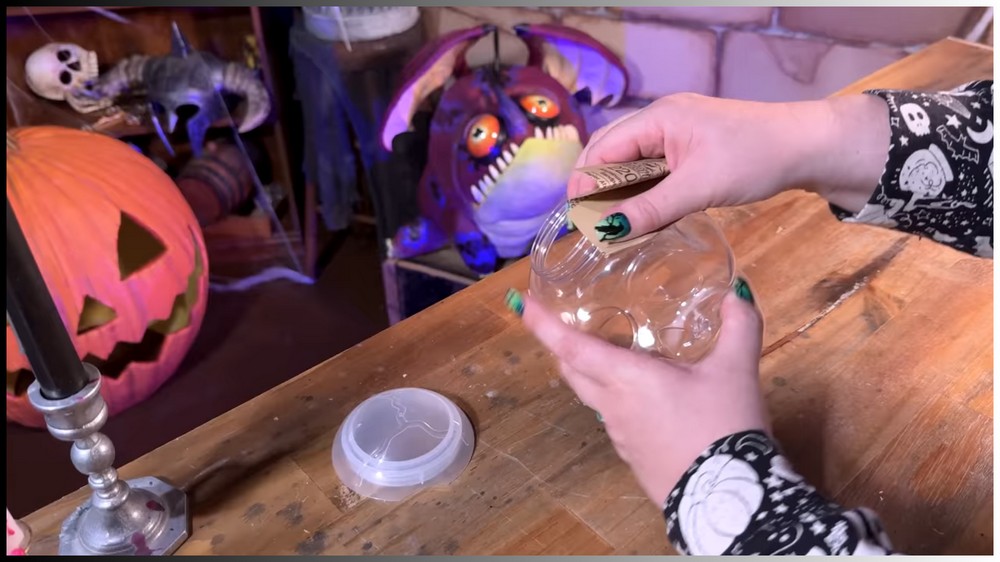
Sanding creates a micro-texture (or “tooth”) for the papier-mâché paste to grab onto. Once the entire skull looks dull and chalky, take a damp paper towel and wipe down the entire surface to clear away the leftover plastic dust. Let it air dry for a minute so you have a perfectly clean, dry slate for the glue.
Step 2: Mix the Paste and Tear the Paper
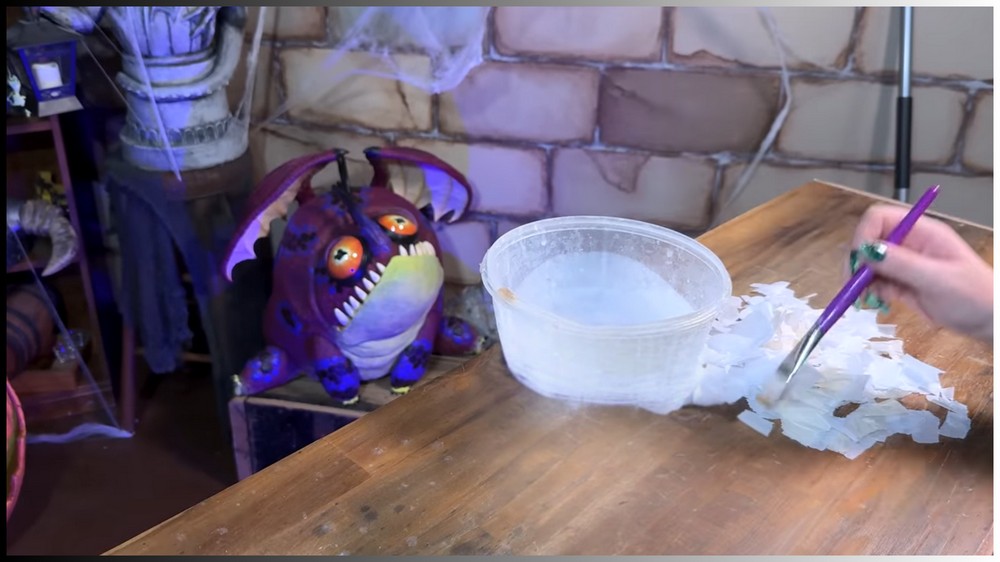
Before opening your glue, take your tissue paper and hand-tear it into a variety of sizes. Create larger pieces (roughly 2×2 inches) for wide areas like the cranium, and tiny pieces (about the size of a postage stamp) for detailed facial features. Pre-tearing a large pile ensures you won’t have to stop mid-project with sticky, glue-covered hands.

For the papier-mâché paste, mix a simple 2:1 ratio of two parts PVA glue to one part water in a small bowl or cup. Stir it thoroughly until the mixture has a smooth, milky consistency. Instead of dipping your paper directly into the mixture, you will use a dry paintbrush to apply the paste, keeping the process much cleaner.
Step 3: Apply the First Papier-Mâché Layer
Dip your paintbrush into the glue paste, wipe off any dripping excess, and brush a thin layer of glue directly onto a section of the plastic skull. Pick up a piece of torn tissue paper, lay it over the wet glue, and use your brush to smooth it down from the center outward, flattening any wrinkles. Apply another thin layer of glue right over the top of the paper to seal it.
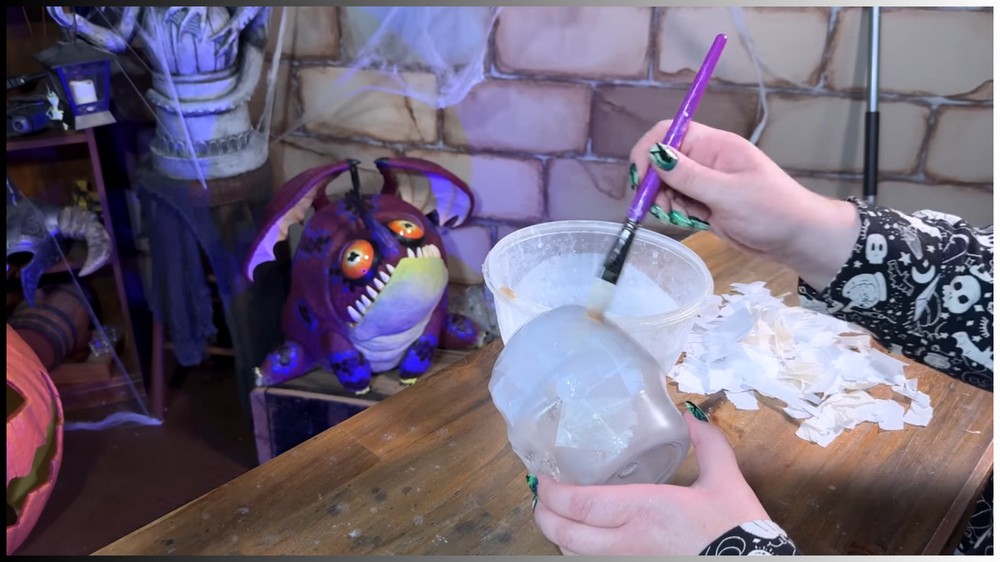
When navigating around tight contours like the deep eye sockets, nose cavity, and teeth, use your smallest pieces of tissue paper and press them into the grooves using the tip of your paintbrush bristles to avoid unwanted air bubbles.
Crucial Step: Apply a matching layer to the separate lid, but ensure you leave a small bare gap around the interlocking threads of the bucket’s rim. If paper gets on the threads, the lid will jam. Let this first layer dry completely (usually 2 to 4 hours depending on humidity) until it is no longer tacky.

Step 4: Build Depth and Spot Check
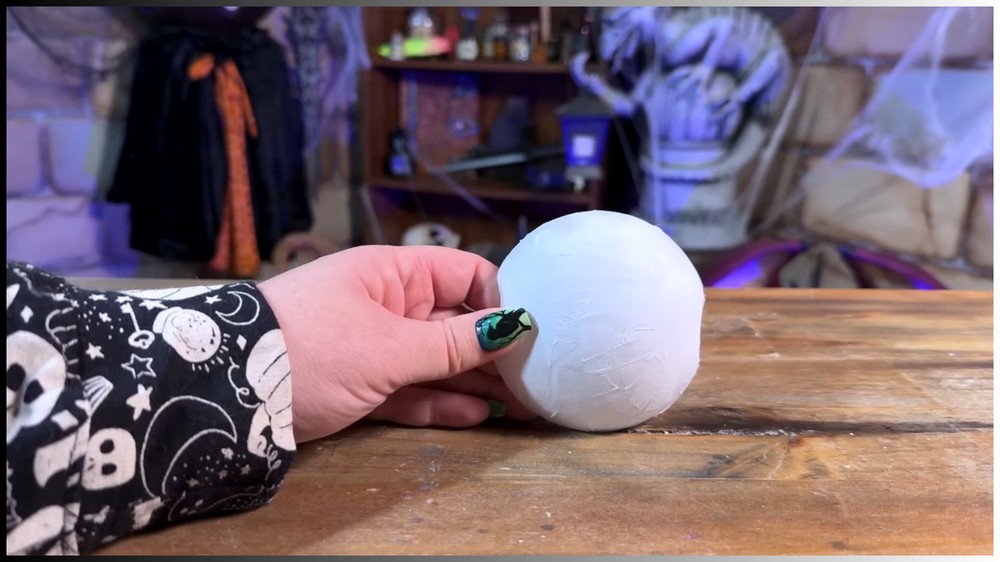
Once your first layer is bone-dry, repeat the entire process to apply a second complete layer of tissue paper. This reinforces the structure and hides the original plastic color underneath. After your second layer has dried, flip the skull over and drop a turned-on battery-operated light inside the bucket. Turn off the overhead room lights to test how it glows.

This visual check will instantly highlight thin patches where too much light leaks through, or areas where the paper might have been applied unevenly. Use this information to selectively add a third layer of tissue paper as a final “spot check” only on the thin zones, rather than having to waste time and paper covering the entire skull all over again. Allow the final layer to dry overnight.
Step 5: Paint and Seal Final Details
Once your final papier-mâché layers are totally hard and dry, it is time to bring out the features. Grab your black acrylic paint and a small, detailed brush. Carefully fill in the deep hollows of the eye sockets, the upside-down heart shape of the nose cavity, and the spaces between the teeth to accentuate the classic, spooky skull design.
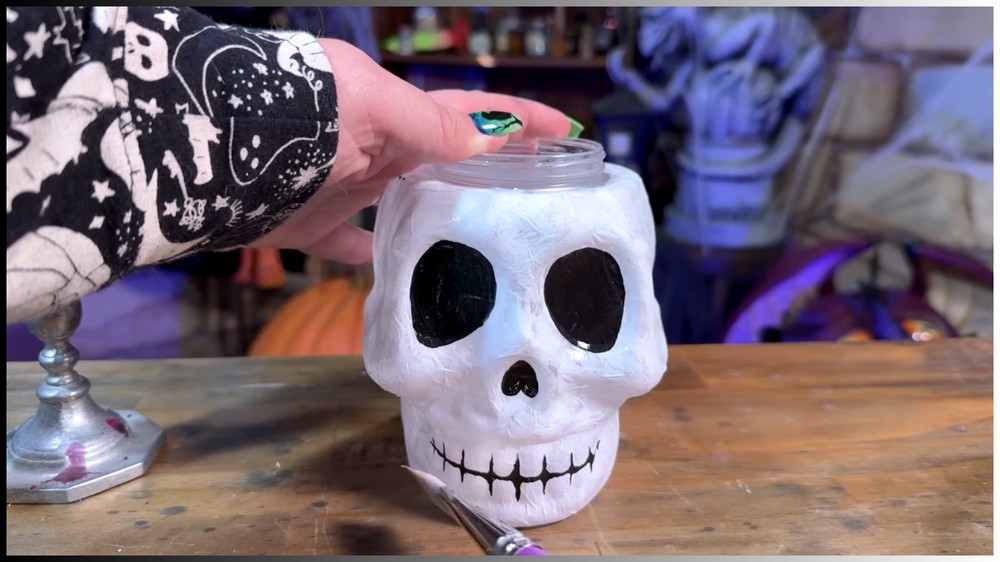
Let the paint dry completely for about 30 minutes. If you notice that your acrylic paint has a shiny or glossy sheen that looks out of place on a paper lantern, you can optionally brush a light layer of your remaining water-and-glue mixture over the painted sections. As this mixture dries, it acts as an effective matte sealant, removing the plastic shine and protecting the paint from scratching off.

Step 6: Assemble and Illuminate
To wrap up your project, line up the ends of your corded handle with the original holes on the side of the skull and gently snap them back into place. Drop a few battery-operated tea lights or a coiled string of fairy lights inside the cavity, twist the lid back into place, and find a dark corner to display your work. Your custom skull lantern is now ready to cast a hauntingly beautiful, diffused glow!

