
A Halloween wreath is a fun and festive way to decorate your home and welcome the spooky season. This colorful wreath combines vibrant mesh, tulle, and ribbon to form a cheerful yet haunting piece of décor. It’s not just a decoration—it’s a creative craft that you can personalize to match your Halloween spirit. Hang it on your front door, a wall, or even in your living room to add an inviting touch to your space.
Easy Halloween Wreath DIY

Making this wreath is super simple and uses affordable materials, mostly from Dollar Tree. First, choose colors that feel spooky yet fun, like black and purple. To get started, you’ll cut strips of mesh and tulle, add Halloween-themed ribbons, and twist them onto a wreath frame using pipe cleaners. The process is hands-on and easy to follow in small steps. For a finishing touch, you can add a painted wooden sign at the center with a Halloween message or image.
This project is perfect for both kids and adults, making crafting time fun and memorable. Once the wreath is finished, you’ll have a stunning decoration that’s unique and festive. It’s a great way to celebrate Halloween, save money, and get creative!
Credit We Craft Around
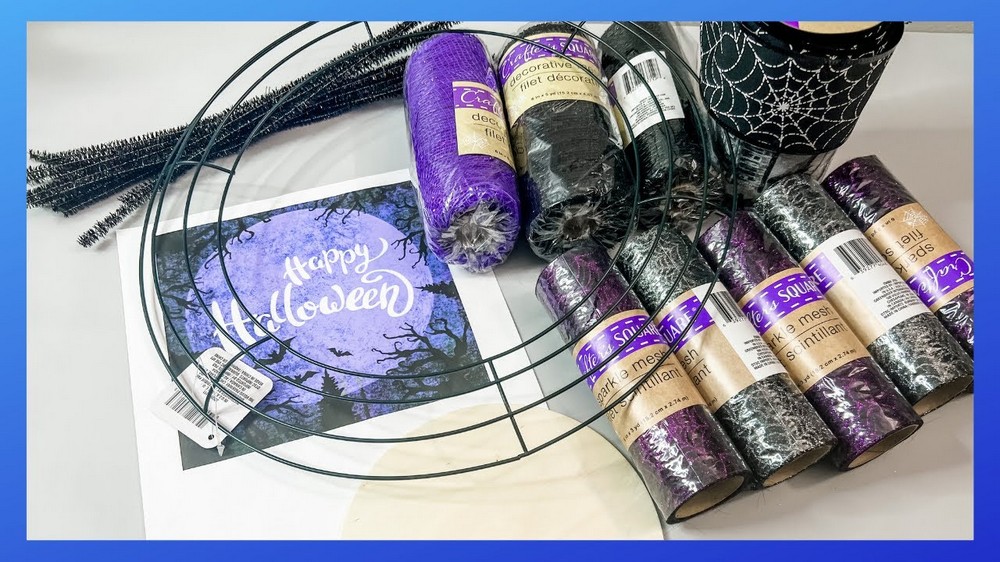
Required Materials:
(All items were sourced from Dollar Tree unless otherwise specified in the tutorial.)
- 14-inch wreath frame
- Black mesh – 2 rolls (cut into 18 strips of 20 inches each)
- Purple mesh – 1 roll (cut into 9 strips of 20 inches each)
- Decorative tulle
- 2 different patterns
- 4 rolls total (cut into 12-inch strips)
- Halloween-themed ribbon
- 2 designs
- 18 strips (9 of each design) cut into 7-inch pieces (ends “fishtailed”)
- Pipe cleaners – cut in half
- 6.5-inch wooden round (from Hobby Lobby for optional centerpiece)
- White chalk paint
- Mod Podge
- Custom printable design (created by the tutorial maker)
- Saran wrap
- Hot glue gun & glue sticks
- Zip ties
Important Notes:
- The DIY alternates between the second and third rings of the wreath frame, creating layers for a fuller look.
- Pipe cleaners play a critical role in holding all the materials together; they’re twisted tightly after each step.
- The wooden centerpiece is optional, but it adds a personal touch to the wreath.
- Ensure all glue is completely dry before attaching the centerpiece with zip ties for a secure hold.
Step-by-Step Instructions:
1. Preparing Materials:
- Black Mesh: Cut 18 strips of 20 inches each.
- Purple Mesh: Cut 9 strips of 20 inches each.
- Decorative Tulle: Cut into 12-inch strips. Use 2 rolls from each design (4 rolls total).
- Ribbon: Cut 18 strips (9 of each design) into 7-inch pieces and fishtail the ends by cutting a small “V” shape.
- Pipe Cleaners: Cut them in half.
2. Building the Wreath Base:
- Starting on the third ring from the center of the wreath frame:
- Take a pipe cleaner and wrap it around the ring, twisting it securely.
- Black Mesh: Roll each end of a black mesh strip until they meet in the center, then pinch. Place it between the pipe cleaner, and twist it to secure.
- Purple Mesh: Roll and pinch in the same way, placing it on top of the black mesh. Twist the pipe cleaner again.
- Decorative Tulle: Scrunch it in the center, keeping it pinched, then place it on top of the purple mesh and twist the pipe cleaner to hold it in place.
- Ribbon: Add one strip of ribbon (alternate designs) on top of the bunch and twist the pipe cleaner again.
- This completes one bunch.

3. Alternating Bunches:
- Work on the second ring next:
- Repeat the steps above, but for this bunch, use only black mesh and add both types of decorative tulle without using purple mesh.
- Alternate ribbon designs for each bunch.
- Each section of the wreath will consist of three bunches:
- One with both black and purple mesh (on the third ring).
- One with just black mesh and two tulle designs (on the second ring).
- Alternate accordingly.

4. Pre-Placing Pipe Cleaners:
- To make the process efficient, attach all the pipe cleaners to the wreath frame ahead of time:
- For one section, place two pipe cleaners on the second ring and one on the third ring.
- For the next section, place one on the second ring and two on the third ring.

5. Adding the Wooden Centerpiece (Optional):
- Paint the 6.5-inch wooden round with white chalk paint (1 coat). Let it dry completely.
- Apply a layer of Mod Podge.
- Place your custom printable design on the Mod Podge, smoothing it with your hands to avoid bubbles.
- Use a heating tool to dry completely.
- Add an outer layer of Mod Podge on top of the printable and let it dry.
- Scrunch Saran wrap to push out any remaining bubbles or wrinkles.
- Once fully dry, sand off any excess paper from the edges.
6. Attaching the Centerpiece:
- Hold the centerpiece to the wreath and mark where it will attach to the frame.
- Hot glue zip ties onto the back of the wooden round, ensuring the placement allows proper closure around the wreath frame.
- Allow the glue to dry completely.
- Attach the centerpiece by pulling the zip ties through the frame, ensuring it is securely fastened.
- Trim any excess zip tie.

Final Touches:
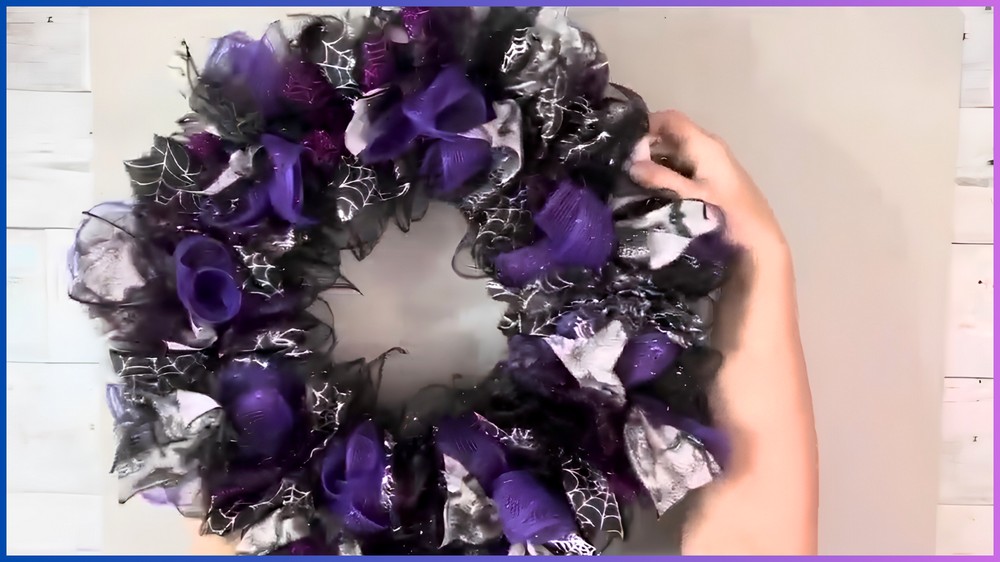
- Adjust the placement of materials (mesh, tulle, ribbons) to make the wreath look full and even.
- Securely tighten all zip ties and pipe cleaners for durability.
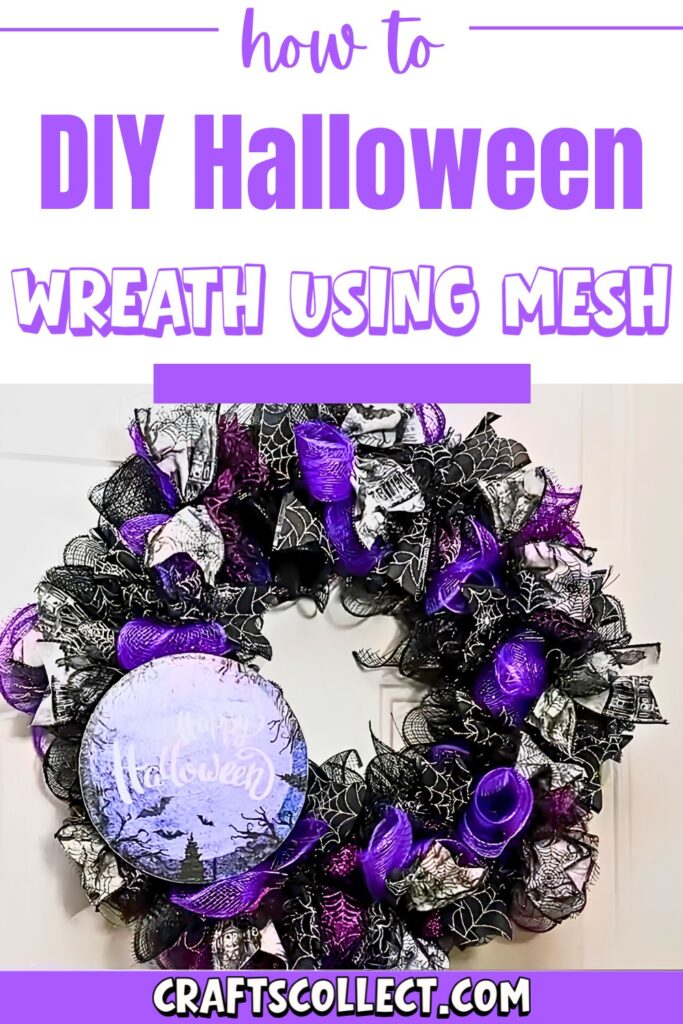
Finished Product:
- A colorful, spooky Halloween-themed wreath perfect for decorating your door!
Video Tutorial
