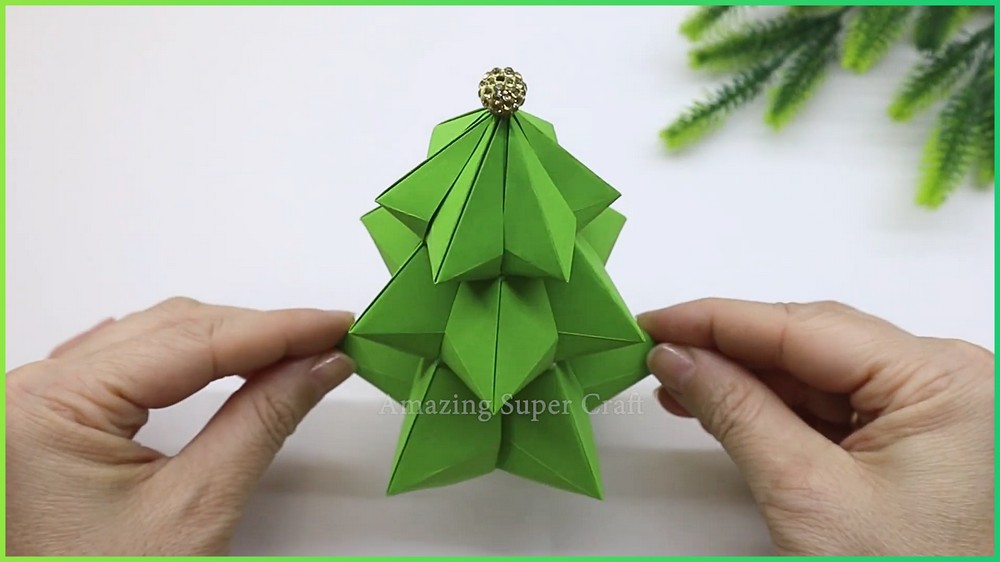
This 3D paper Christmas tree is a joyful holiday decoration you can make at home. It brings festive cheer to any tabletop, shelf, or play area. Crafted purely from folded paper and topped with a tiny sparkling ornament, it offers a neat, colorful centerpiece that everyone in the family will enjoy making together.

3D Paper Christmas Tree
To craft this holiday piece, green paper sheets are cut into three distinct sizes. Each sheet undergoes precise diagonal and vertical folds to create uniform star like modules. Combining six identical folded pieces forms each distinct layer of the tree, giving it a full, dimensional shape from every single angle.
Assembling the tree involves nesting three stacked star tiers from largest to smallest using glue. A small golden bead or gem attached to the top point adds a touch of sparkle. The finished tree stands firmly on its own, showcasing clean geometric lines and vibrant green layers without needing any extra support.
Place this mini tree on your study desk, window sill, or holiday dinner table to instantly brighten your space. Kids can use different paper colors like red, gold, or white to build a whole festive forest. It is a fun, lightweight decor piece that adds homemade warmth to every room.
Things that you need before crafting:
Green Craft Paper:
6 square sheets of $10\text{ cm} \times 10\text{ cm}$ (Bottom Tier)
6 square sheets of $7.5\text{ cm} \times 7.5\text{ cm}$ (Middle Tier)
6 square sheets of $5\text{ cm} \times 5\text{ cm}$ (Top Tier)
Hot Glue Gun & Glue Sticks: For stacking and securing the tiers together
Decorative Bead / Star Topper: 1 small sparkling golden bead or star ornament for the top apex
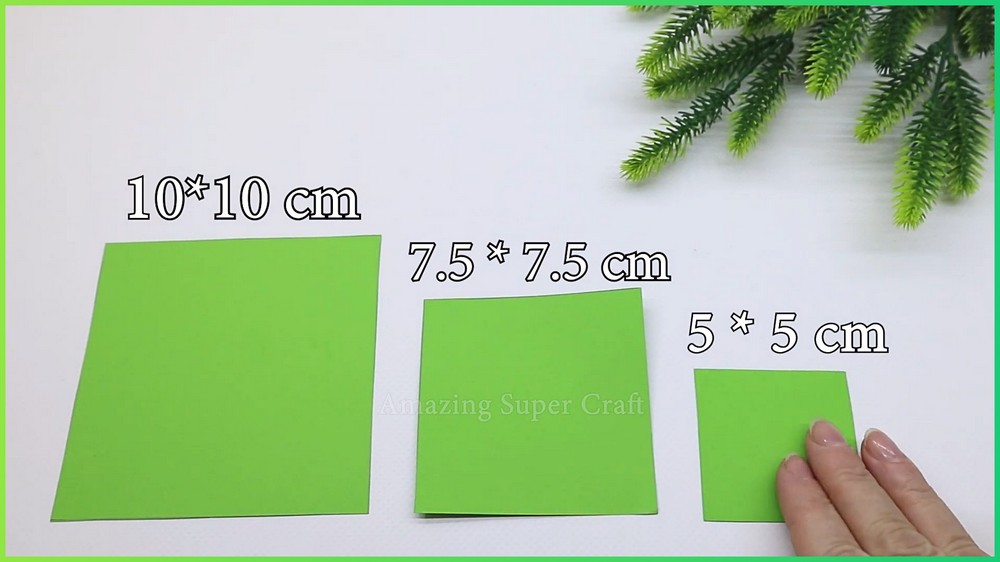
This Project credit goes to Amazing Super Craft.
Key Features & Pattern Summary
Modular Assembly: Built using 18 individual folded modules (6 per tier) connected in circular 6-pointed star rings without glue for the inner connections.
Graduated Tiers: Features three decreasing sizes ($10\text{ cm}$, $7.5\text{ cm}$, and $5\text{ cm}$) stacked vertically to form a natural, conical pine tree shape.
Geometric Texture: Precision diagonal and valley/mountain crease collapses give each branch module a sharp, 3D leaf-like dimensional volume.
Simple Finishing Touches: Secured vertically with hot glue between tiers and crowned with a glitzy top bead for extra holiday sparkle
Here is your text formatted with clear, descriptive headings for every individual paragraph:
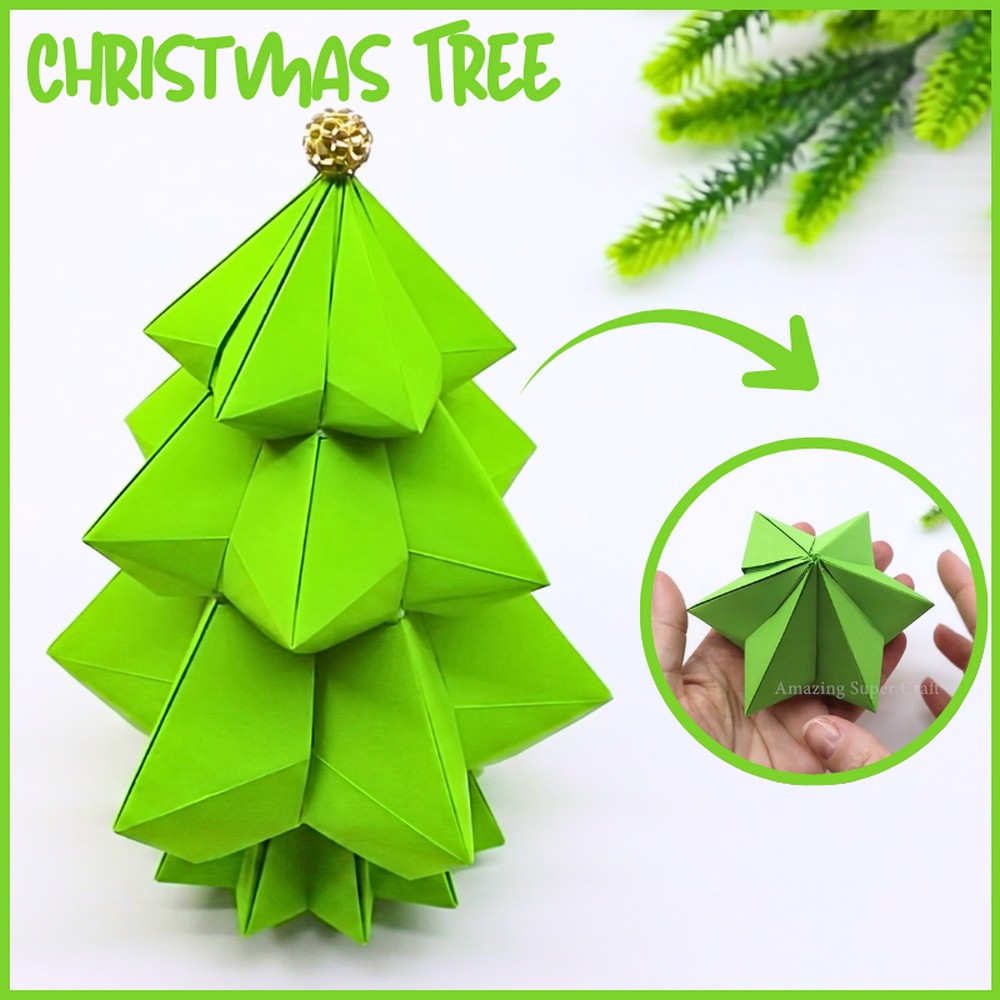
How To Make:
Phase 1: Folding the Individual Branch Modules
Initial Creasing and Center Guidelines
To craft this 3D modular Christmas tree, prepare all eighteen square sheets of green craft paper, sorting them into three distinct sets of six sheets each according to size ($10\text{ cm}$, $7.5\text{ cm}$, and $5\text{ cm}$). Working with one sheet at a time, place it flat on your work surface with the colored side facing down.

Fold the square in half diagonally from corner to corner to form a sharp triangle, crease firmly, and unfold flat. Repeat this fold across the opposite diagonal corners, creating a crisp, centered “X” crease line across the sheet.

Collapsing the Paper into Branch Modules
Orient the paper into a diamond position and fold the outer left and right corners inward so their straight edges align perfectly along the central vertical crease. Press firmly along the folds to establish sharp guidelines, then unfold both side flaps back out flat. Flip the entire sheet over and repeat the inward edge-folding process along the lower half, bringing the bottom-left and bottom-right edges to meet the center line.
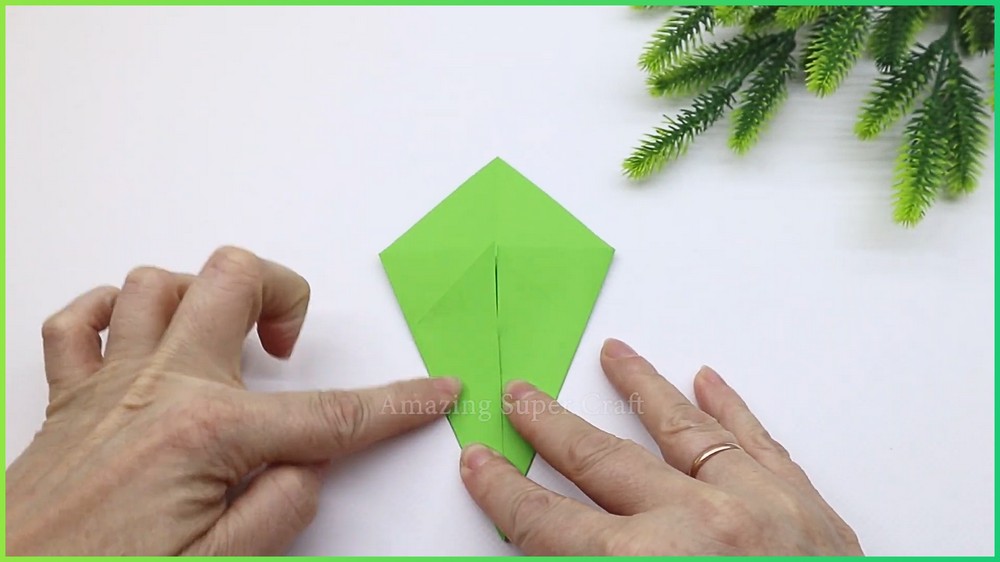
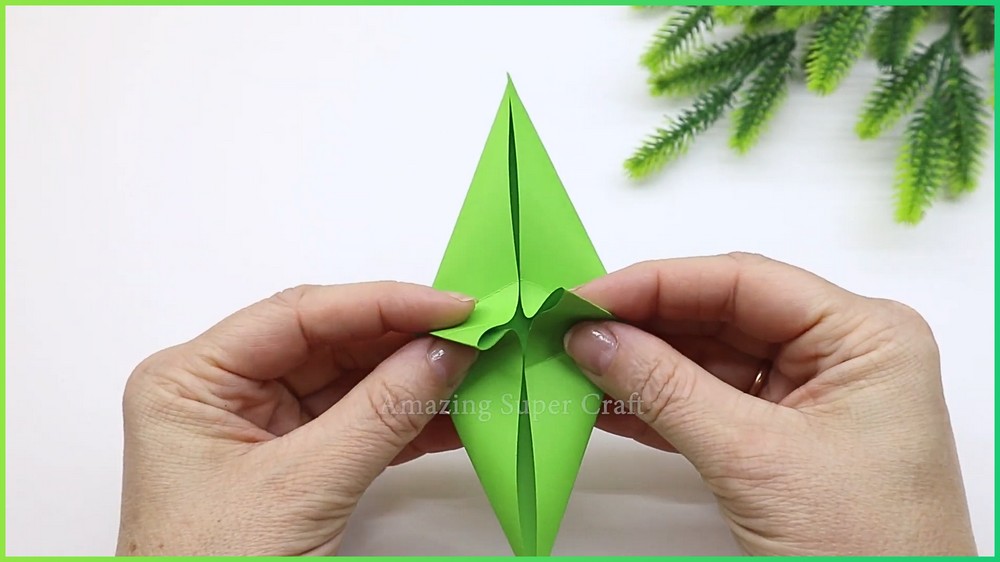
Notice the intersection point where these diagonal creases cross the earlier diagonal guidelines, and fold the bottom point up slightly along this horizontal reference line. Gently open the paper and collapse it along the established valley and mountain crease lines, allowing the sides to pull inward naturally to form a neat, symmetrical, double-pointed branch module featuring open insertion pockets along its inner folds. Repeat this complete folding sequence for all remaining sheets until you have six identical branch modules in each of the three size tiers.
Phase 2: Interlocking into Dimensional Tier Rings
Interlocking the Modules into a Star Ring
With all eighteen branch modules prepared, begin constructing the three structural tiers by joining six matching modules into a circular star ring. Take two modules from the $10\text{ cm}$ set and align them side-by-side. Carefully slide the outer triangular side flap of the first module directly into the inner side pocket of the adjacent module.
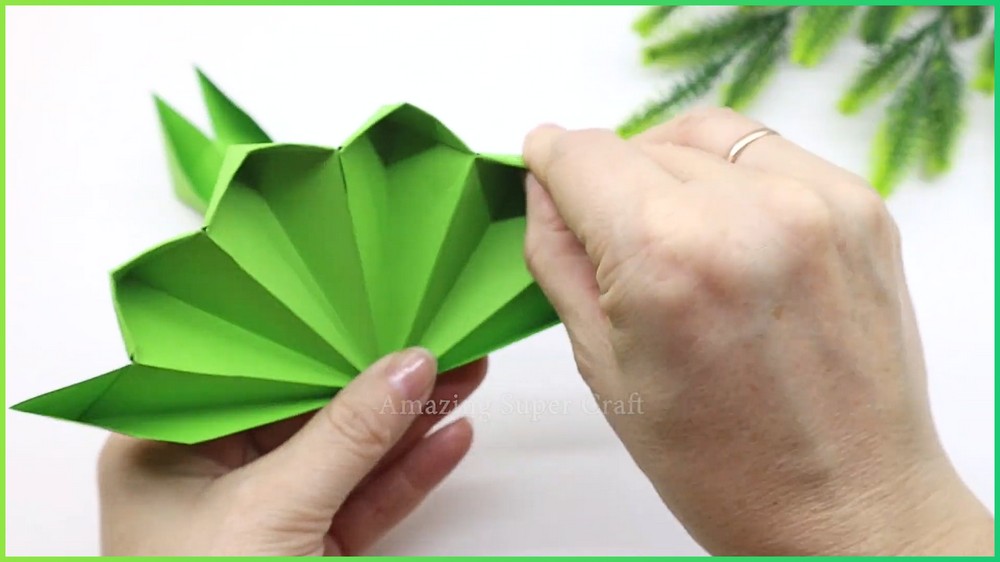
Continue this interlocking process around in a circle, slotting each new module’s flap into the pocket of the module before it. When inserting the sixth and final module, tuck its outer flap into the pocket of the very first module, completing a closed 6-pointed star ring without requiring any glue.
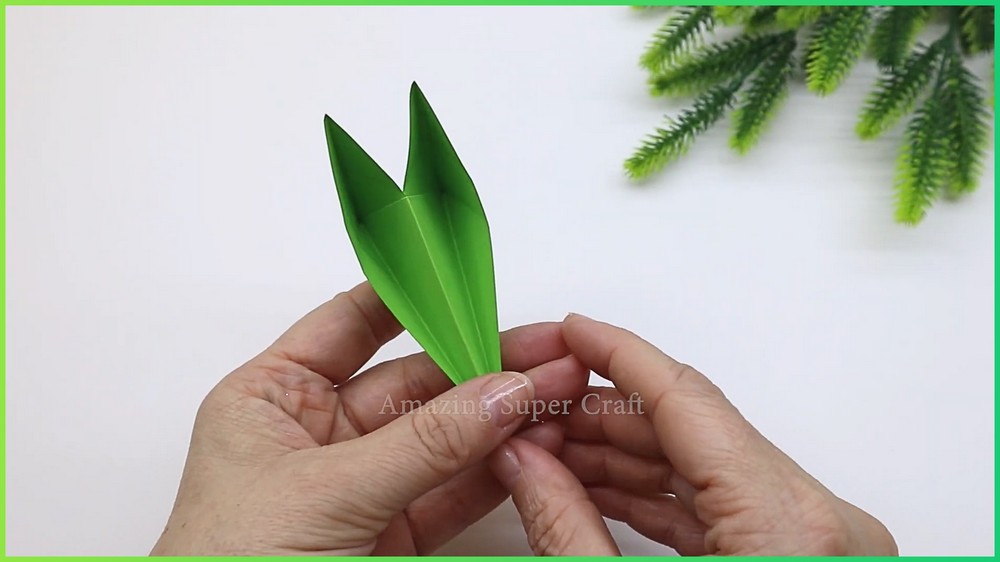
Locking the Tiers into 3D Conical Shapes
To lock the ring firmly into its three-dimensional conical shape, locate the top inner flaps around the central opening and fold them downward toward the center interior. Pressing these flaps inward stabilizes the unit, forming a robust, flared conical tier with crisp, outward-pointing pine branch tips.
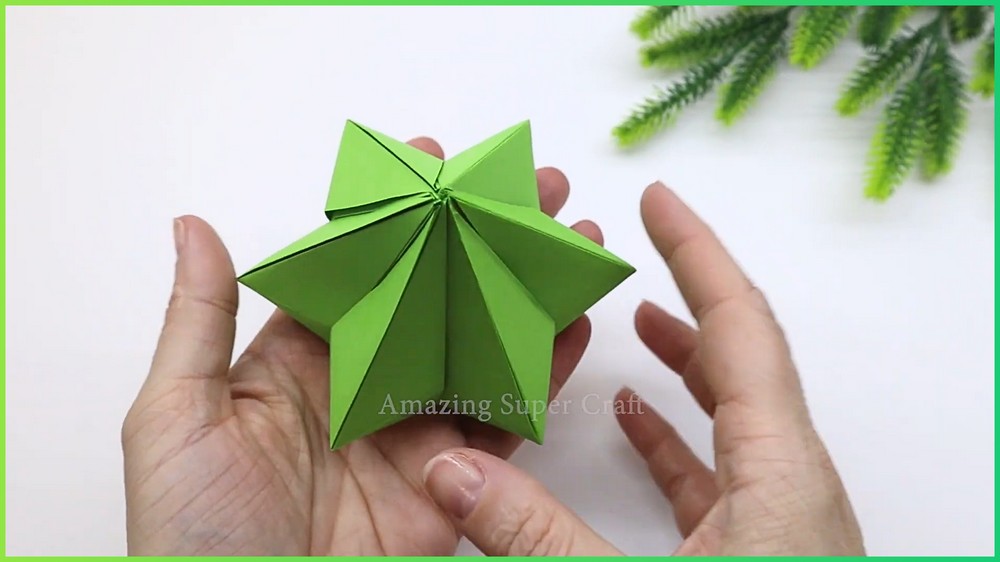
Repeat this exact ring assembly method with the six $7.5\text{ cm}$ modules and the six $5\text{ cm}$ modules, yielding three completed, self-locking tiers: a Large Base Tier, a Medium Middle Tier, and a Small Apex Tier.
Phase 3: Vertical Stacking and Decorative Finishing
Joining the Top and Middle Tiers
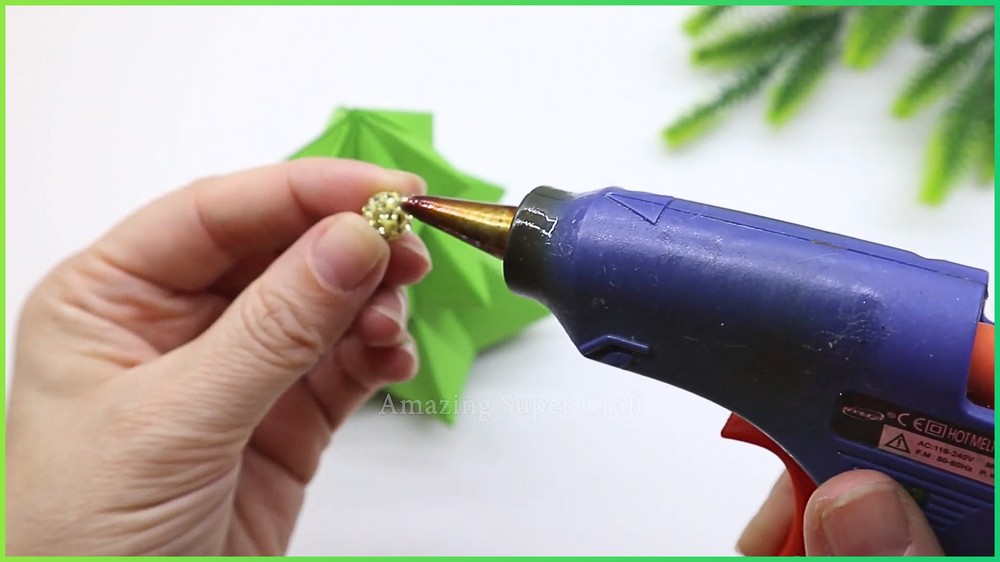
To assemble the full tree structure, preheat your hot glue gun. Apply a steady ring of hot glue around the inside edge of the top opening of the Medium Tier. Align the Small Apex Tier directly above it, ensuring the branch points offset slightly from the medium branches below for a realistic foliage layout, and press down gently until the glue sets firmly.
Note: If you face any hurdles in creating this project, then you can watch the tutorial here.
Final Stacking and Adding the Tree Topper
Next, apply a generous layer of hot glue inside the top opening of the Large Base Tier. Carefully place the combined Small-and-Medium tier unit into the center opening of the base tier, holding it in place for a few seconds to achieve a straight, stable vertical alignment. To complete the tree, dab a small drop of hot glue directly onto the top central apex point of the small tier and press your chosen decorative element—such as a sparkling golden bead or miniature star ornament—firmly into place until set.
Save this pin for future!