
Paper snowflakes are a classic craft that bringing soft winter joy into any room. By using simple square papers in different sizes, you can craft beautiful layered ornaments. They look delightful hung on a Christmas tree, taped to windows, or attached to gift boxes to add a lovely homemade touch to your holiday setup.
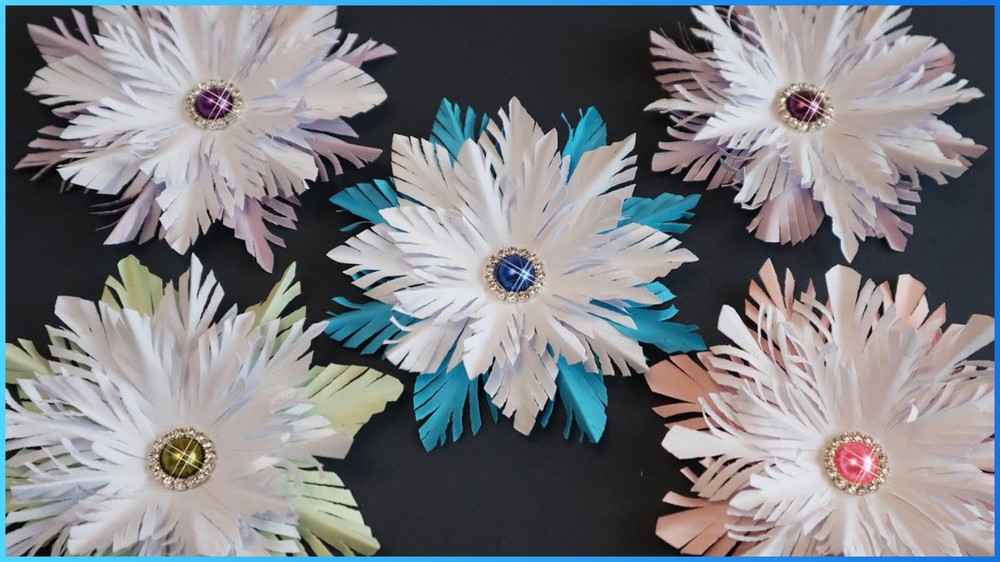
Paper Snowflake Craft
Creating these snowflakes starts with folding paper square shapes into small triangles. Scissor cuts along the edges turn simple folds into feathery branches. Opening each piece reveals a unique star full of fine detail, making every single shape special and full of character without needing complicated tools.
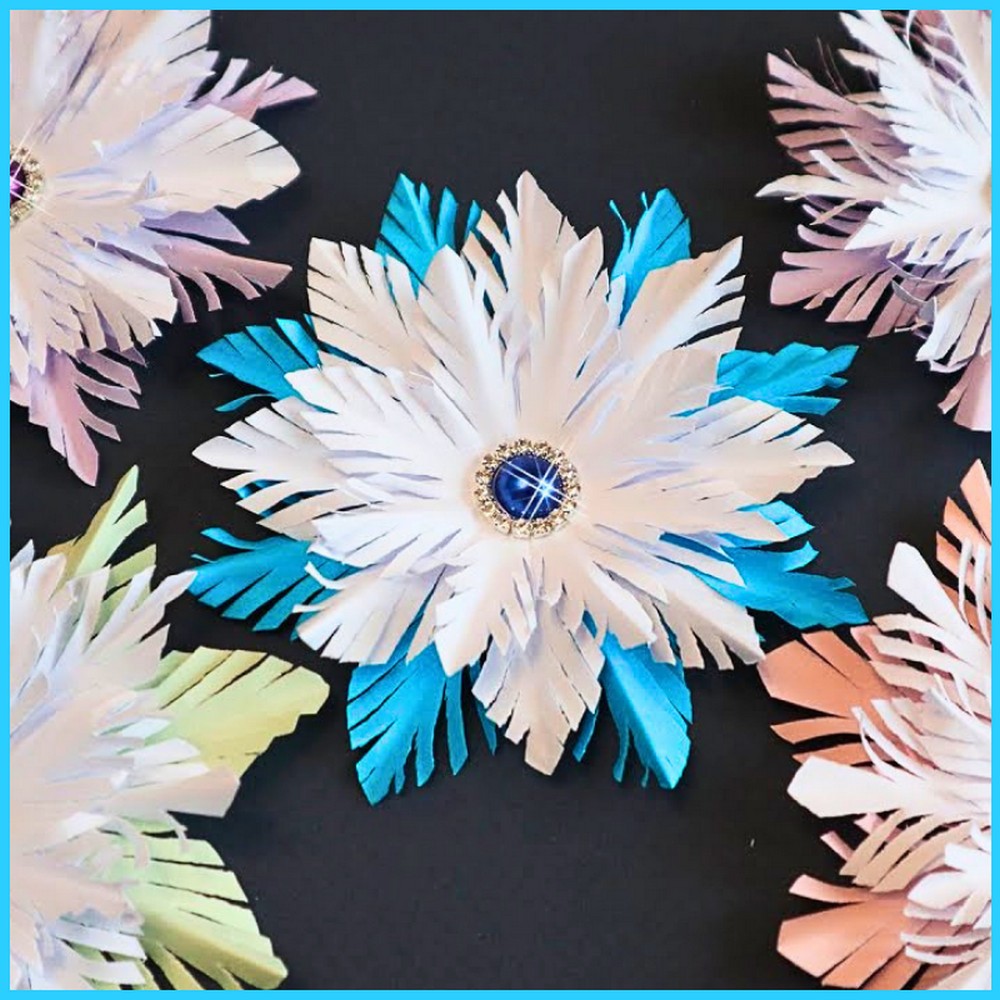
Stacking three distinct paper sizes together creates a full 3D effect. Glue the pieces in layers from largest to smallest, making sure the points offset nicely. Adding a small shiny bead or jewel embellishment right in the center gives the finished snowflake a sparkling accent that catches the light nicely.
Making paper crafts like this is a fun activity for cozy afternoons with family. Children can choose their favorite color pairs, cut out basic fringes, and assemble their own creations. Decorating your space with these bright ornaments makes any winter celebration feel extra cheerful and personal.
Things that you need before crafting:
Paper:
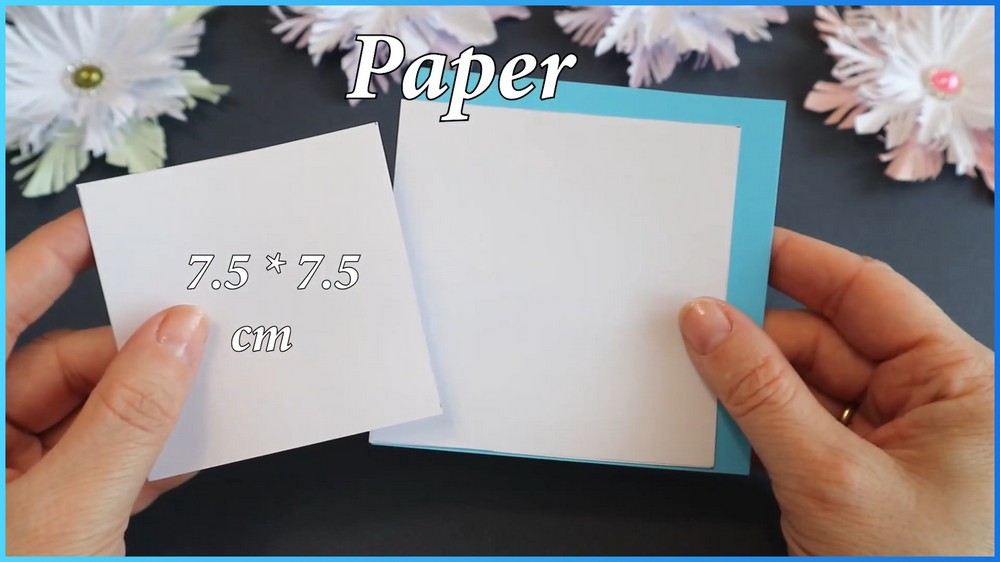
1 Large square ($10 \times 10\text{ cm}$) — base color (e.g., light blue)
1 Medium square ($9 \times 9\text{ cm}$) — white
1 Small square ($7.5 \times 7.5\text{ cm}$) — white
Tools: Scissors, Craft Glue Stick
Embellishment: 1 Small flat-backed pearl, gem, or rhinestone for the center
Instruction Note:
Precision is key when making cuts. Ensure you do not cut all the way through the central folded spine so the snowflake holds its shape when unfolded.
This Project credit goes to Amazing Super Craft.
Instruction Summary
Layered 3D Construction: Built by stacking three individual 8-pointed snowflakes from largest to smallest.
Special Folding Technique: Multi-fold triangular base creates symmetrical 8-fold radial symmetry.
Feathery Fringe Instruction
: Fine, diagonal parallel cuts create an intricate fringe texture.
Offset Assembly: Offsetting the points of each tier adds visual depth and dimension.
Decorative Centerpiece: Finished with a pearl accent for an elegant touch.
How To Make:
Preparation & Base Layer
Begin by taking the largest square sheet of paper ($10 \times 10\text{ cm}$) and folding it diagonally in half to form a triangle.
Fold the triangle in half again to form a smaller triangle, and repeat this step once more to create an even smaller triangle.
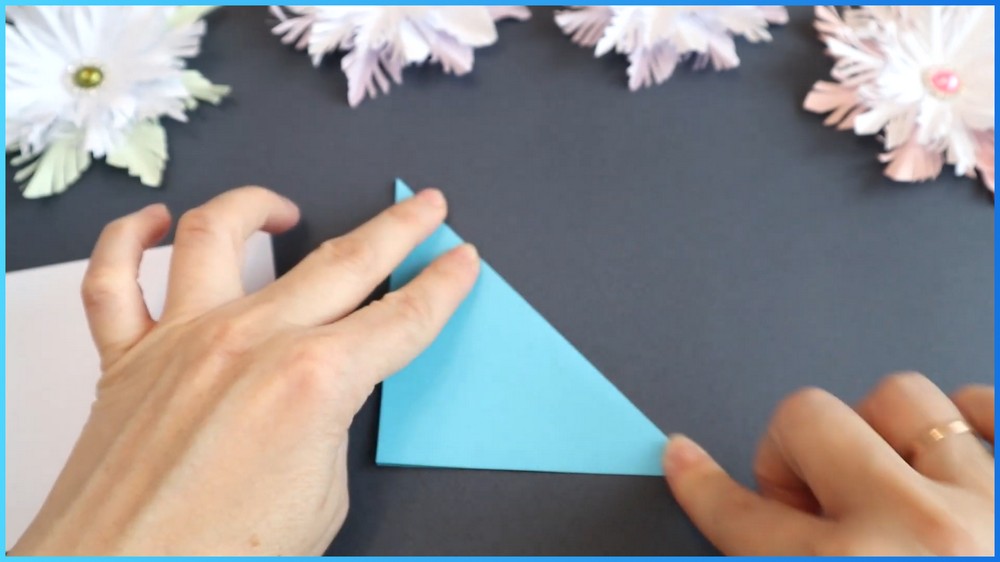
Fold one edge over to line up with the opposite fold, forming a slender, pointed triangle shape.
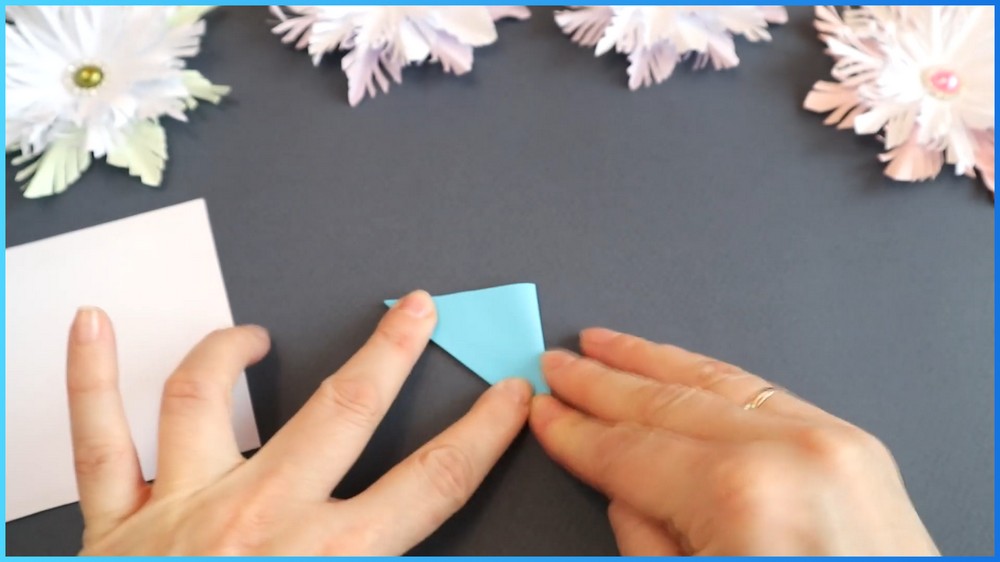
Trim off the excess angled bottom tips to create a sharp point.
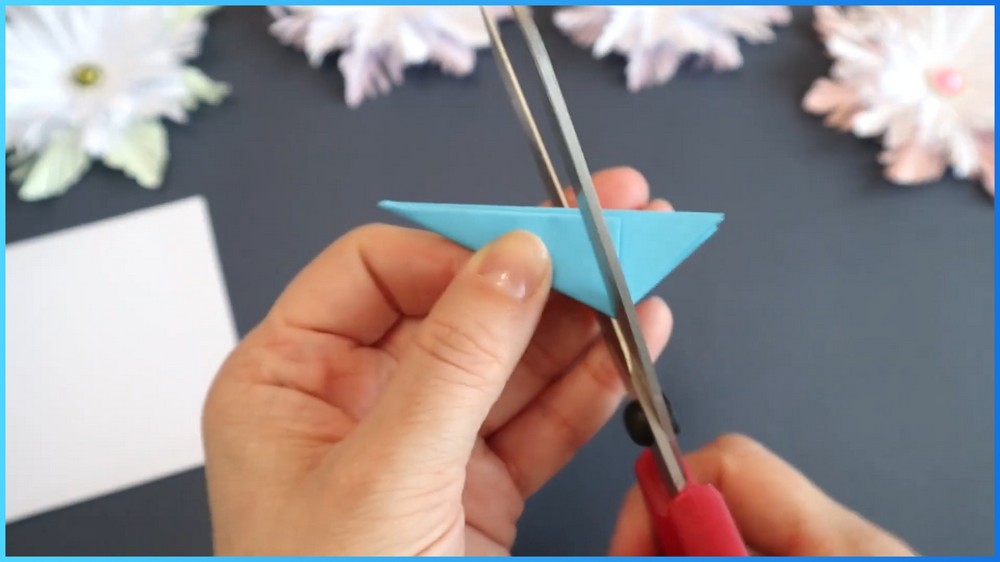
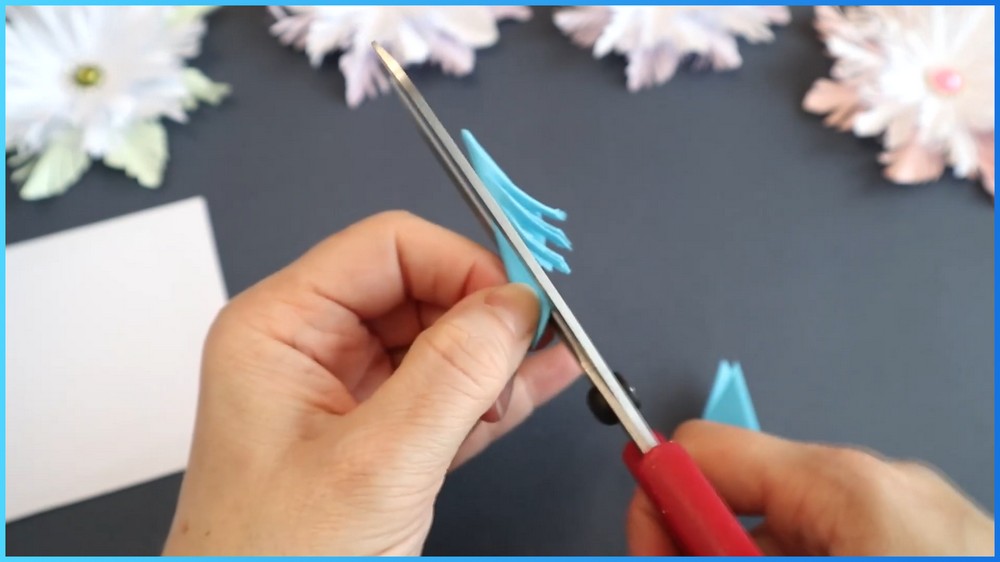
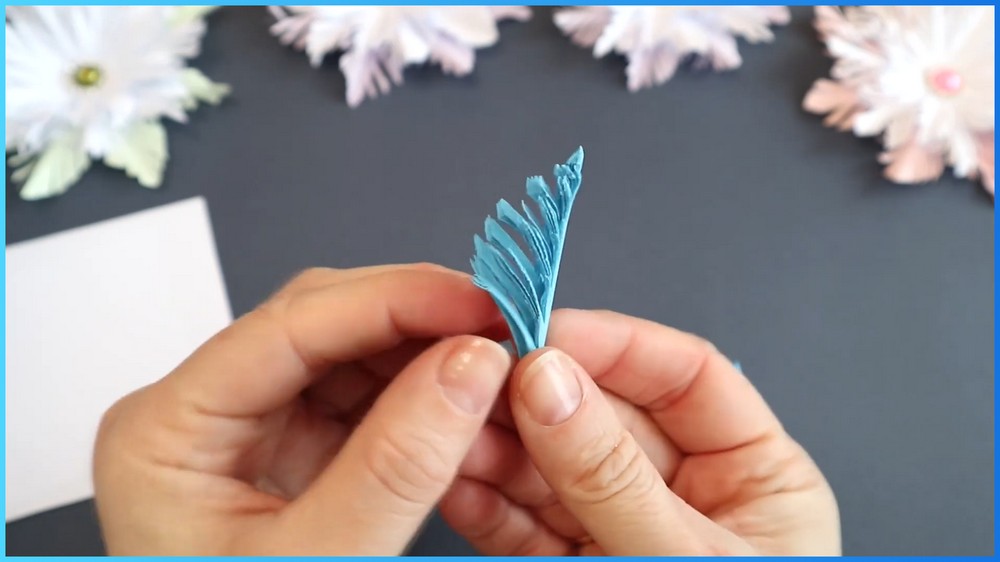
Starting from the outer angled edge, make fine, parallel diagonal cuts along the length of the folded paper, taking care to stop just short of the central folded spine. Carefully open and lay flat the unfolded paper to reveal an 8-pointed, feathery cut-paper snowflake.
Middle Layer
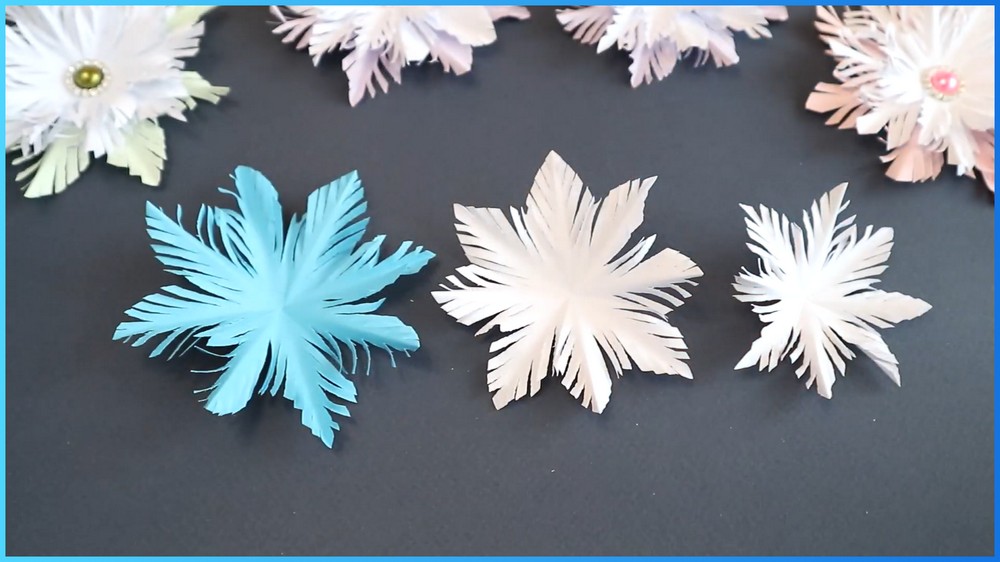
Repeat the exact folding, trimming, and cutting procedure using the medium ($9 \times 9\text{ cm}$) white paper square to create the middle tier. Next, repeat the process a final time using the small ($7.5 \times 7.5\text{ cm}$) white paper square to create the top tier. You will now have three delicate, fringe-textured snowflake rounds of decreasing size.
Note: If you face any hurdles in creating this project, then you can watch the tutorial here.
Assembly & Finishing Touches:
Place the largest snowflake base flat on your workspace. Apply a small dab of craft glue directly to its center and place the medium-sized snowflake on top, rotating it slightly so its points sit offset between the base layer’s points for maximum volume and texture.
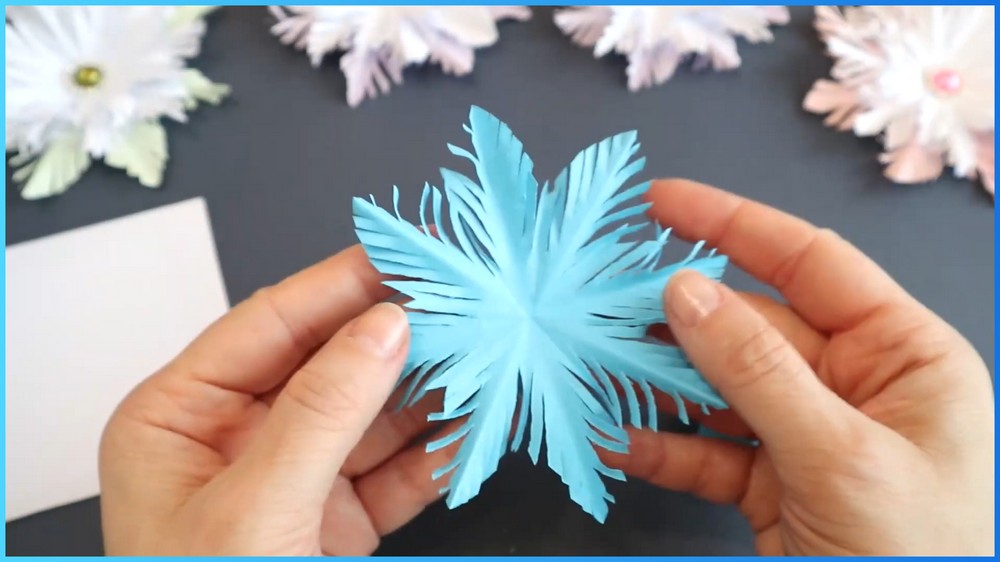
Apply another dab of glue to the center of the middle layer and press the smallest snowflake onto the center, again offsetting its points relative to the layer beneath it. Complete the snowflake by pressing a small decorative pearl or gem into the center glue spot. Allow the glue to dry completely before hanging or using as a holiday ornament.
Save this pin for future!

