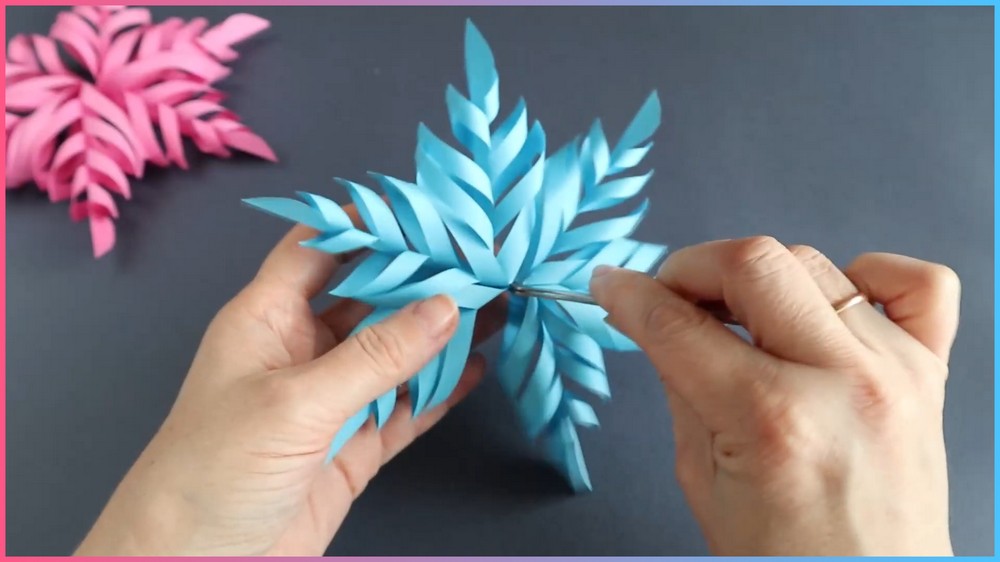
Paper crafts bring a wonderful touch of joy to any home. This 3D paper snowflake project is special because it turns plain square sheets into a festive star shape. It works as wall decor, ceiling ornaments, or holiday accents. Kids and adults can easily make this craft together on cozy afternoons.
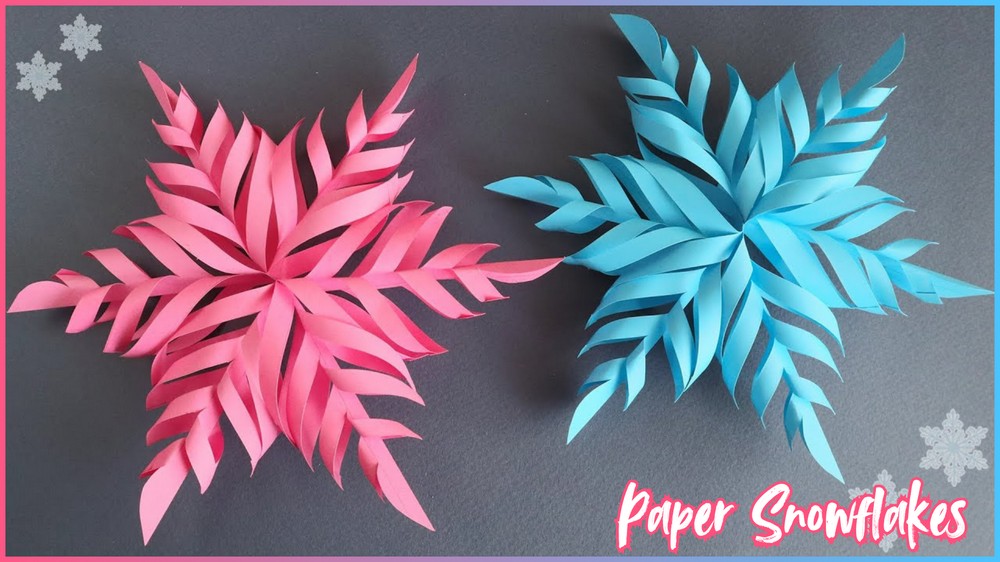
DIY 3D Snowflake Making Tutorial
Making these snowflakes is light and fun. You start by folding paper squares and marking tiny lines with a ruler. After simple cuts, glue the paper strips in a layered pattern. As you assemble six pieces together, a full star appears. The process is smooth, relaxing, and very rewarding for all craft fans.
You can use these 3D snowflakes in many fun ways every day. Hang them near windows to catch morning light, or stick them on doors to welcome friends. They also make handmade gift toppers that make presents look extra festive. You can pick your favorite bright colors to match your home decoration anytime.
Crafting these ornaments brings cheerful moments to family time. Kids love seeing paper transform into large three dimensional shapes with simple tools like scissors and glue sticks. It is a sweet project to boost creative spirits, decorate playrooms, and celebrate festive seasons with bright, colorful handmade art.
Things that you need before crafting:
6 Craft Paper Squares: Light blue or pink colored paper, pre-cut to 7 cm × 7 cm.
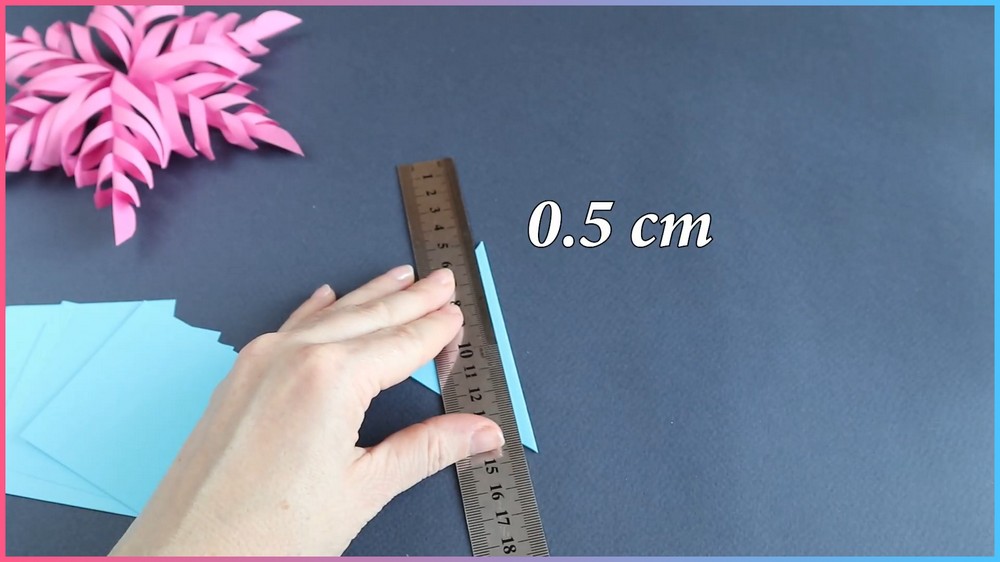
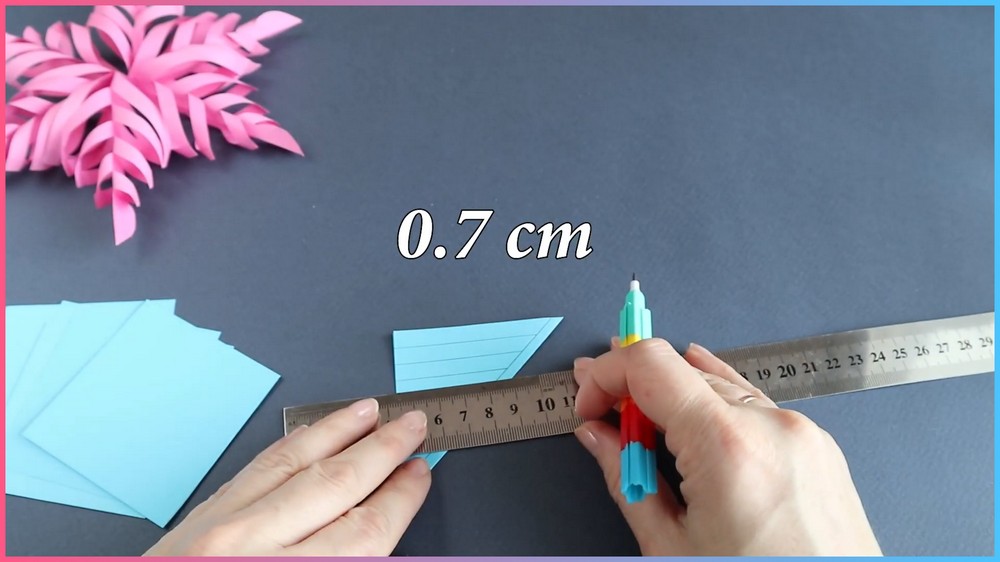
Ruler: Metal or plastic ruler for measuring precise 0.5 cm borders and 0.7 cm parallel cut lines.
Pencil or Marker: Fine-tip pencil/marker to draw cut guidelines on the folded paper triangle.
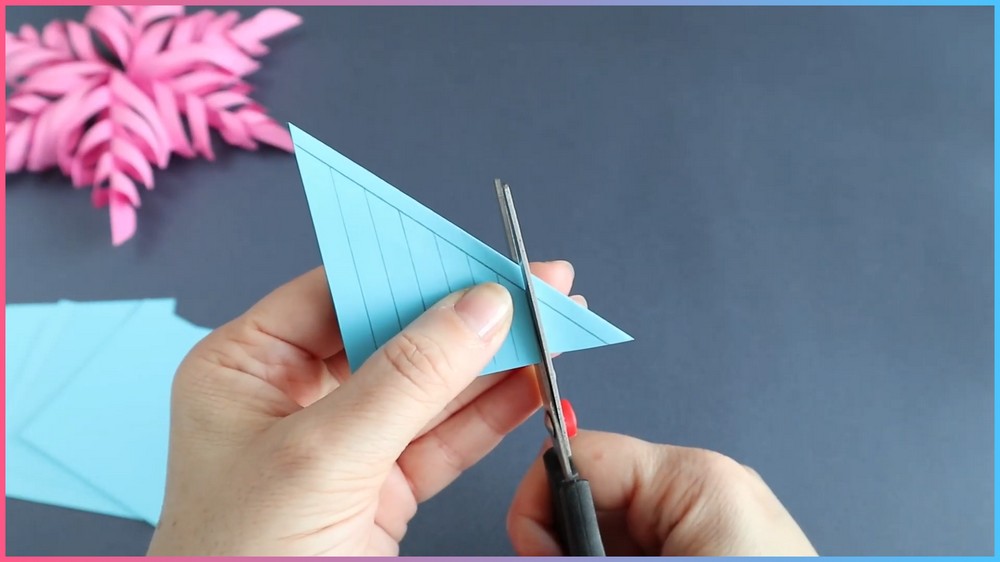
Craft Scissors: Sharp paper scissors for clean, controlled cuts along the drawn parallel lines.
Glue Stick: Quick-drying paper glue stick to join the looped strips and assemble the individual units together.
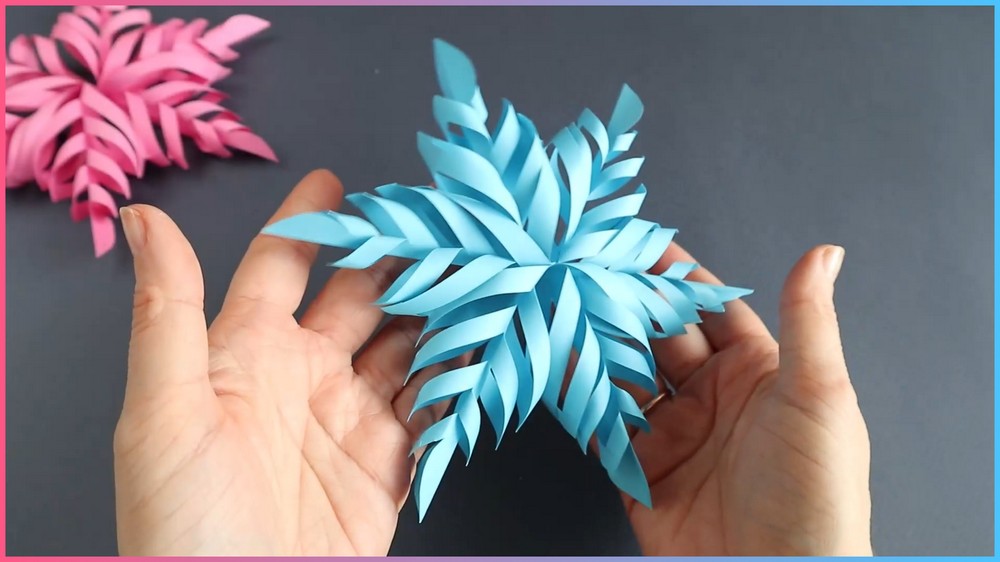
Gauge:
Six 7 cm × 7 cm square pieces of craft paper produce a finished 3D snowflake measuring approximately 18–20 cm in diameter.
This Project credit goes to Amazing Super Craft.
Summary & Key Features
Modular 3D Assembly: Constructed from six identical handmade paper modules glued together at a central base point.
Precision Folding & Slashing: Diagonally folded triangles marked with parallel 0.7 cm slits that stop short at a 0.5 cm uncut border.
Dimensional Alternating Looping: Interlocking strip technique where adjacent paper strips are glued together in opposing directions (front-to-back), creating a lush, feathered 3D volume.
Sculpted Outer Tips: Subtle corner trimming gives the outer edges a delicate, pointed finish.
Seamless Radial Joining: Center points and outer side tips are glued sequentially to form a sturdy, symmetrical 6-pointed round snowflake.
Pin It For Later
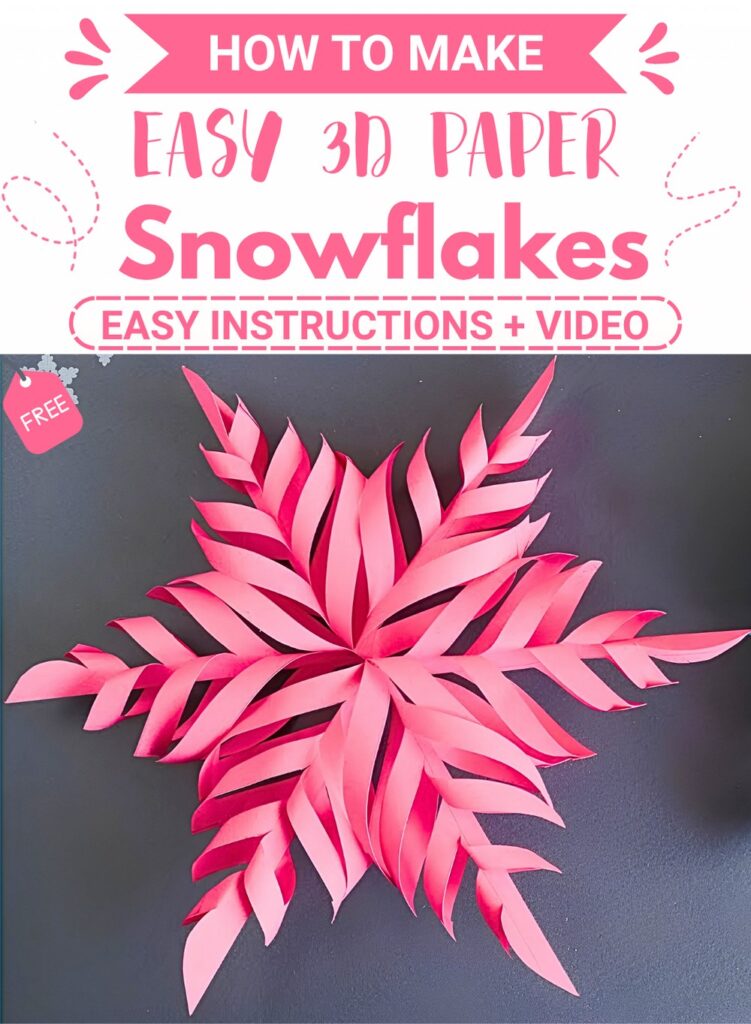
How To Make:
Preparation, Measuring & Cutting the Base Module
To construct the 3D paper snowflake, begin by taking one of the six 7 cm × 7 cm square paper sheets and folding it diagonally in half to create a tight triangular base.
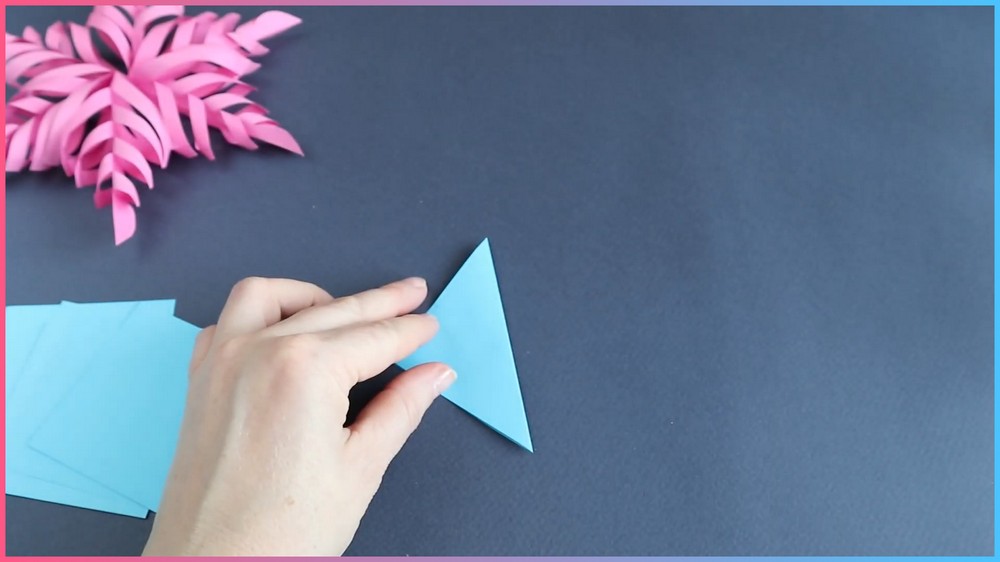
Align your ruler along the open diagonal edge and mark a parallel boundary line exactly 0.5 cm from the edge.
Working from the folded bottom edge upwards toward the top point, rule parallel lines spaced 0.7 cm apart, ensuring each line stops right at your 0.5 cm border mark.
Using sharp scissors, carefully cut along every line, making sure not to cut through the uncut border, then trim off the sharp bottom corner tip to soft-shape the outer point.
Alternating Looping & 3D Branch Assembly
Unfold the paper back into a flat square to reveal the symmetrical slitted pattern.
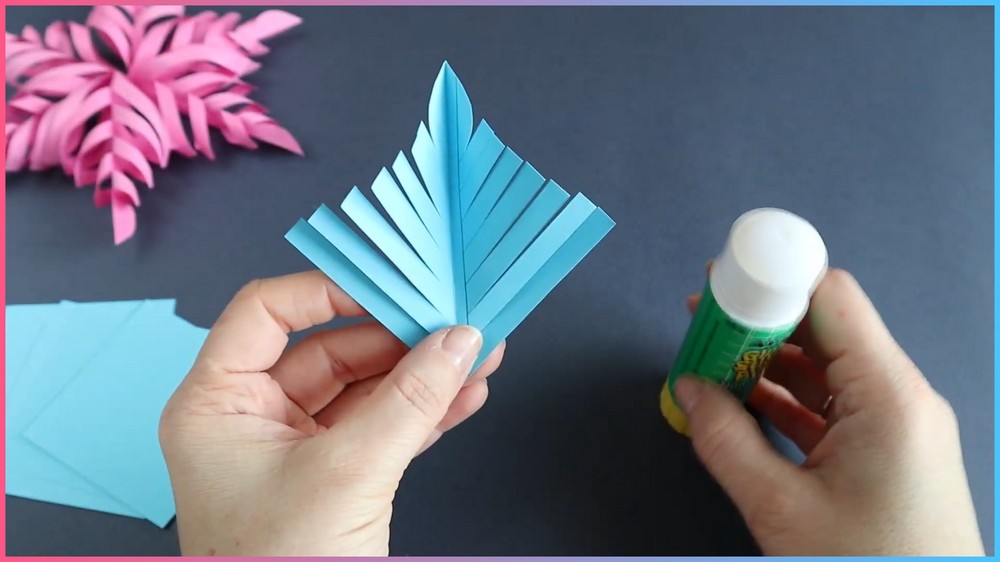
Begin the dimensional shaping by taking the innermost pair of central paper strips, overlapping their tips in the middle, and securing them with a dot of glue to form a raised central loop.
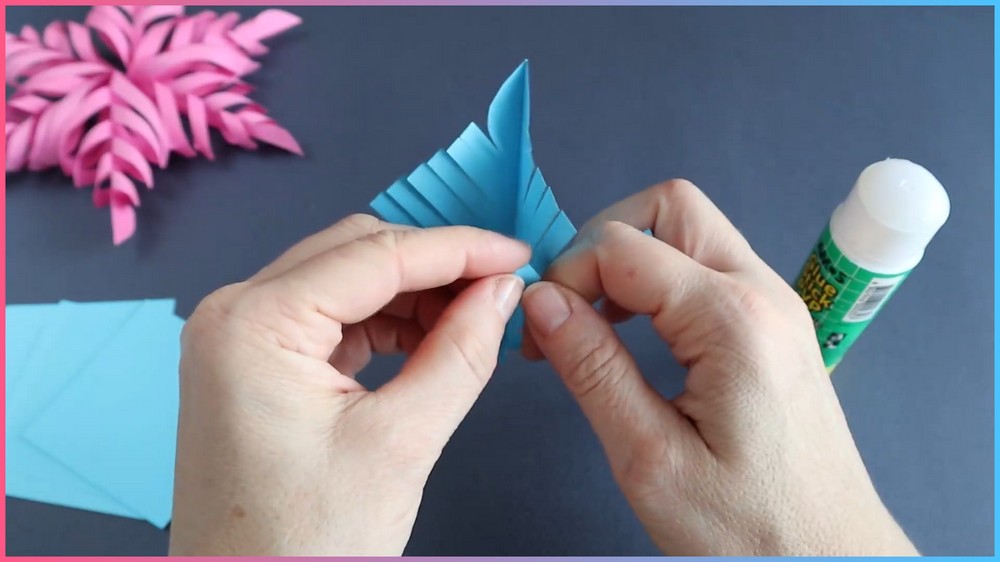
Flip the entire piece over to the reverse side, bring the next pair of parallel strips together over the center, and glue their tips.
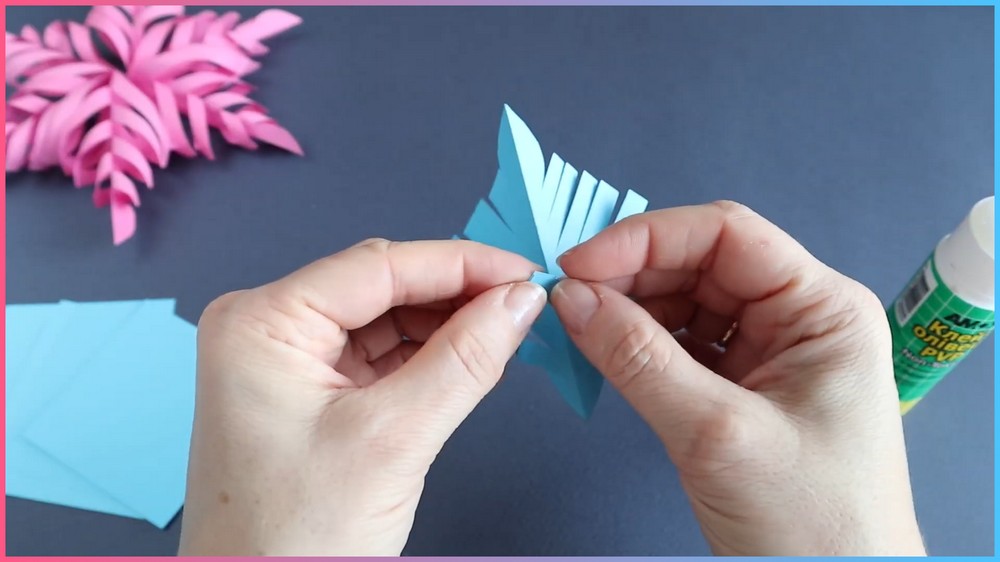
Turn the paper back to the front side and repeat the looping process for the third pair.
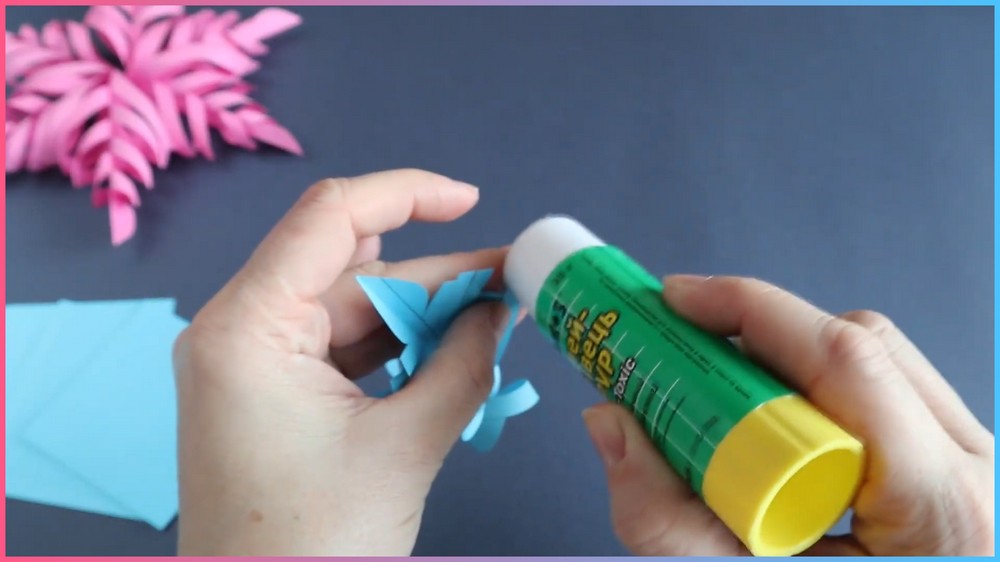
Continue flipping front-to-back for all remaining pairs of strips until a full, 3D feather-like unit is created.
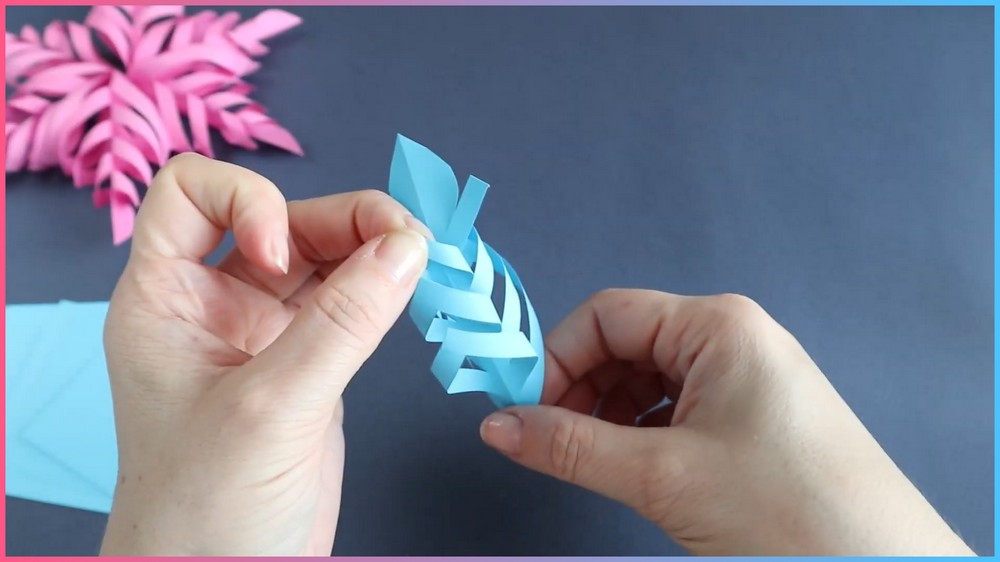
Repeat this complete folding, cutting, and alternating-looping process for all six square sheets until you have six identical 3D branch modules.
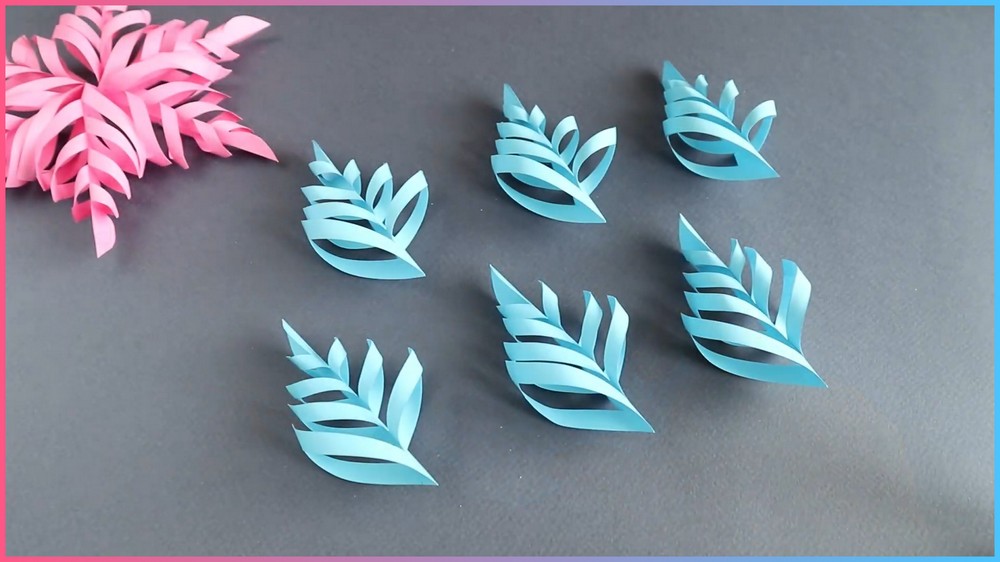
Note: If you face any hurdles in creating this project, then you can watch the tutorial here.
Radial Joining & Final Structural Lock
To achieve the round, symmetrical snowflake form, apply glue to the base tips of two modules and press them firmly together.
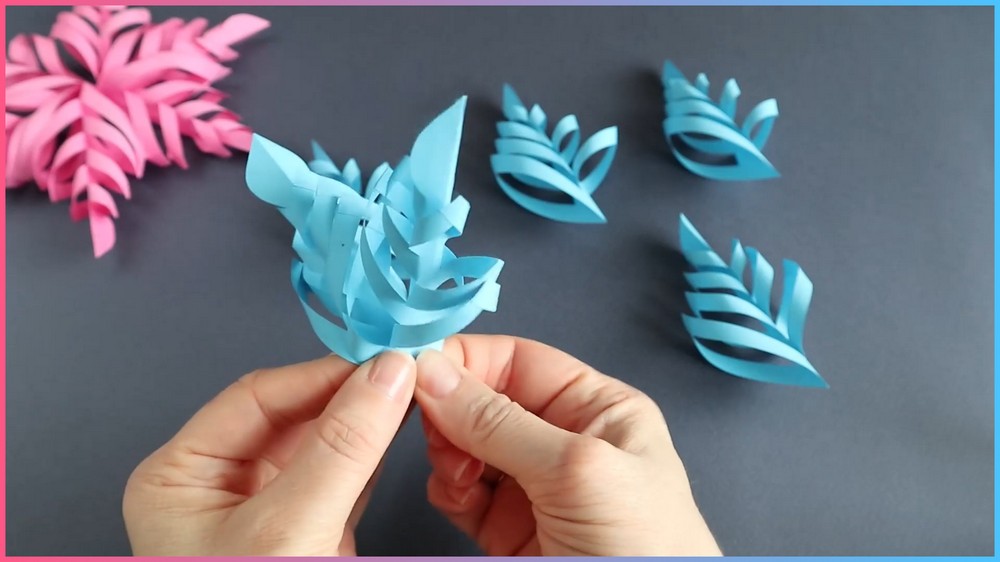
Work sequentially in a circle, gluing all six base points together at the center so the branches radiate outwards in a balanced 6-point star arrangement.
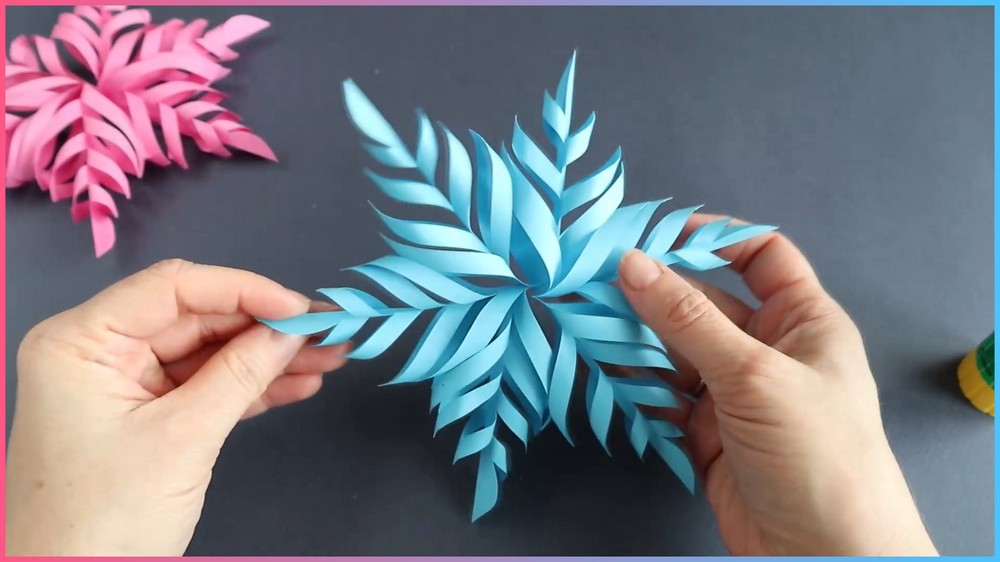
Finally, add small dots of glue where the middle side loops of adjacent branches touch one another; press these points together to lock the structure in place, stabilizing the outer silhouette into a gorgeous, dimensional round snowflake ornament.