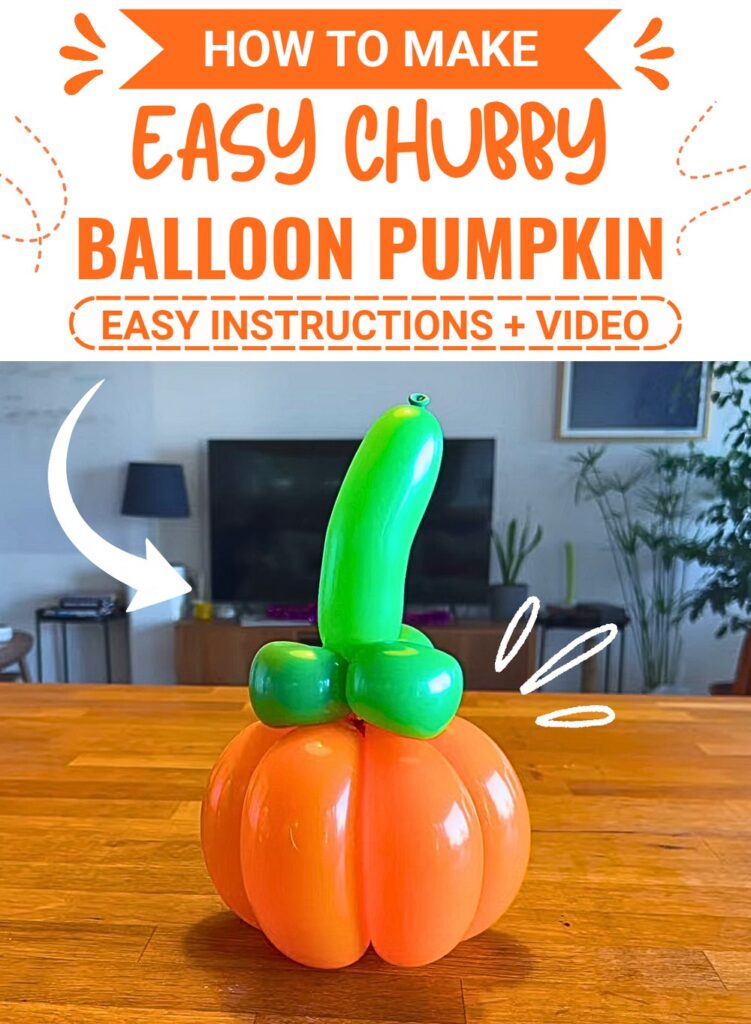
This cute chubby pumpkin is a wonderful Halloween decoration that brings instant festive fun to any space. It features a round, bouncy shape with vibrant orange slices and a leafy green stem attached right on top. You can use it to brighten up a desk, set a friendly tone on a Halloween party table, or give it to children as a light toy to play with.
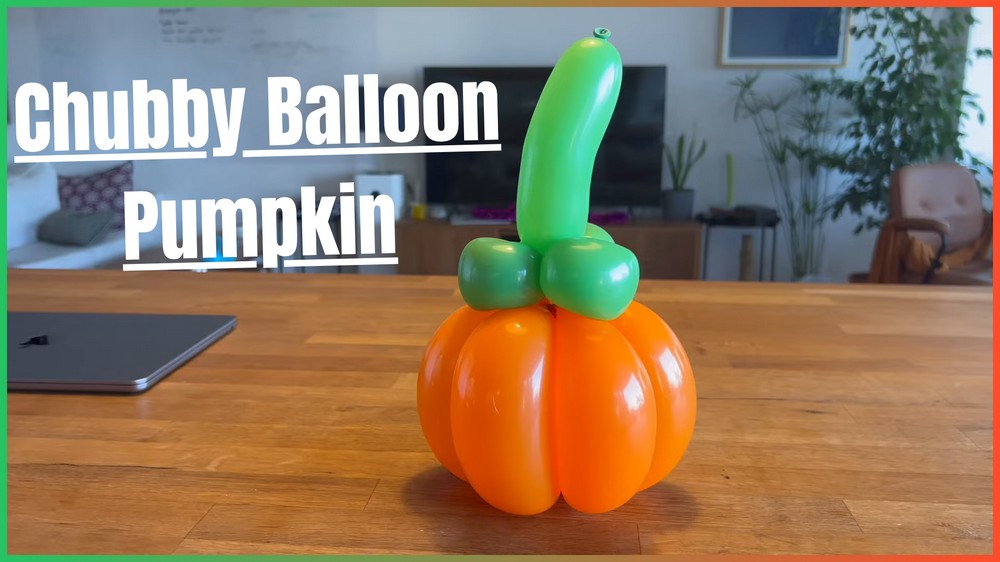
Chubby Pumpkin For Halloween
Creating this plump decoration is a playful and simple craft activity for Halloween. You start by inflating orange and green balloons, leaving space at the ends to keep them soft and flexible. Squeezing the air along each segment lets you twist and weave round sections together smoothly without any popping. The gentle twists easily form a plump, charming pumpkin shape.
To finish the look, you form little curved loops out of the green balloon to make a lively stem. Tying the stem securely to the main body wraps everything together neatly into one finished piece. The step-by-step process is quick to learn, offering a relaxing hands-on experience that lets anyone create adorable fall decor using basic crafting techniques.
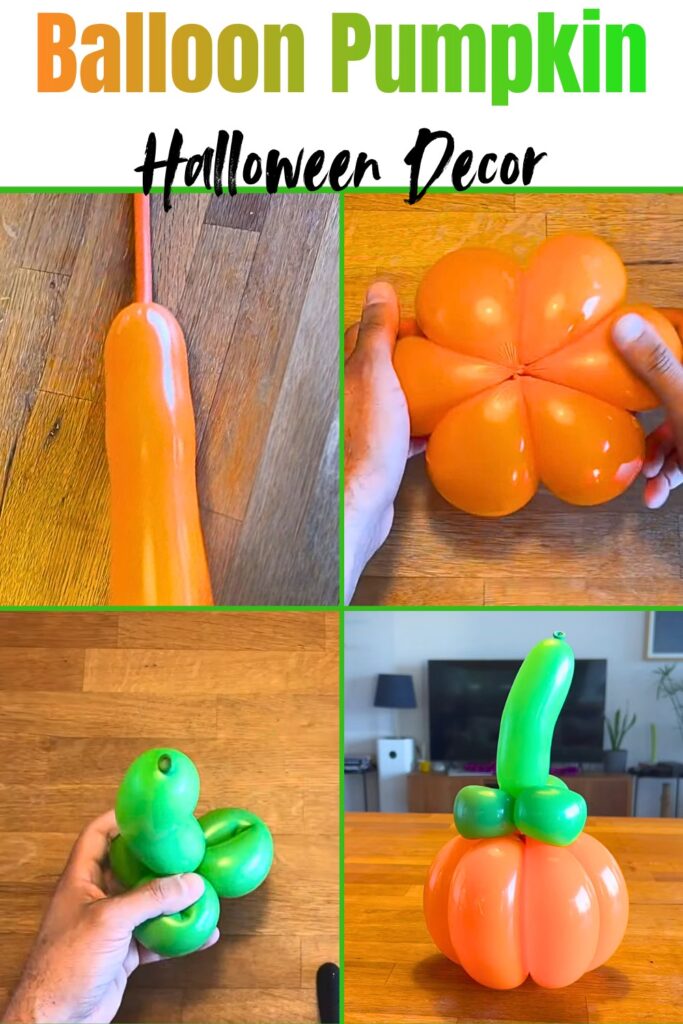
These handmade balloon pumpkins fit effortlessly into all kinds of seasonal celebrations and Halloween events. Kids love holding their soft, lightweight shapes, and adults can use a few of them together to build a cheerful autumn display. Setting them around your living area adds a splash of seasonal color and creates an inviting environment for everyone during holiday gatherings.
Things that you need before crafting:
1x 360Q Latex Balloon (Orange): A thick balloon used to construct the plump pumpkin body.
1x 260Q Latex Balloon (Green): A standard balloon used for shaping the leaves and stem.
Balloon Pump: Recommended for inflating balloons to the desired firm yet soft state.
Scissors (Optional): Helpful for trimming and breaking off excess balloon tails.
Note:
Squeezing and softening the inflated balloons before twisting is essential to avoid popping and to allow easy threading between segments.
Key Construction Features
1x 360Q Latex Balloon (Orange): A thick, wide twisting balloon used to construct the six main segments of the round pumpkin body.
1x 260Q Latex Balloon (Green): A standard-thickness twisting balloon used to craft the curved stem, leaves, and securing tie.
Balloon Hand Pump: For inflating the latex balloons while leaving uninflated tails.
Scissors (Optional): To trim or break the excess green balloon tail after crafting the leaves.
Plump 6-Segment Body: Constructed using thick 360Q latex to create full, rounded slices that push together into a realistic pumpkin shape.
Squeeze-and-Softening Technique: Essential air-distribution method that reduces internal pressure, preventing bursts while weaving segments through one another.
Interlocking Weave Construction: Segments are passed directly through previous loops to lock the 3D sphere into place without complex knotting.
Curved Leaf Topper & Tie: Features a trio of soft leaf loops crafted from a 260Q balloon, attached using the uninflated balloon tail as a natural string.
How To Make:
Step 1: Prep and Soften the Base Balloon
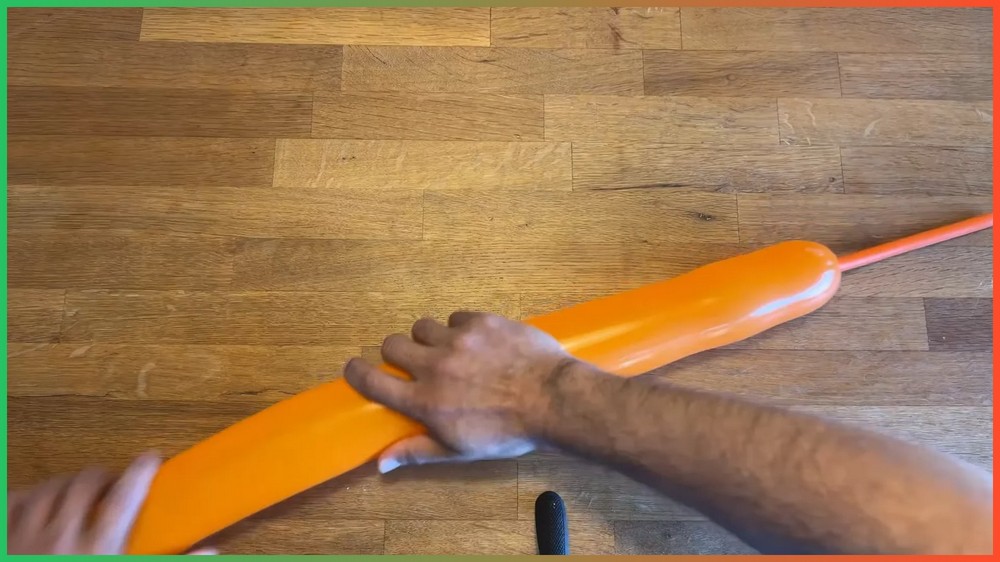
Inflate both the thick 360Q orange balloon and the 260Q green balloon, leaving an uninflated tail of approximately 20 cm on each. Thoroughly squeeze the orange balloon to distribute the air toward the tail, softening the rubber so it remains easy to manipulate.
Step 2: Construct and Lock the First Segments
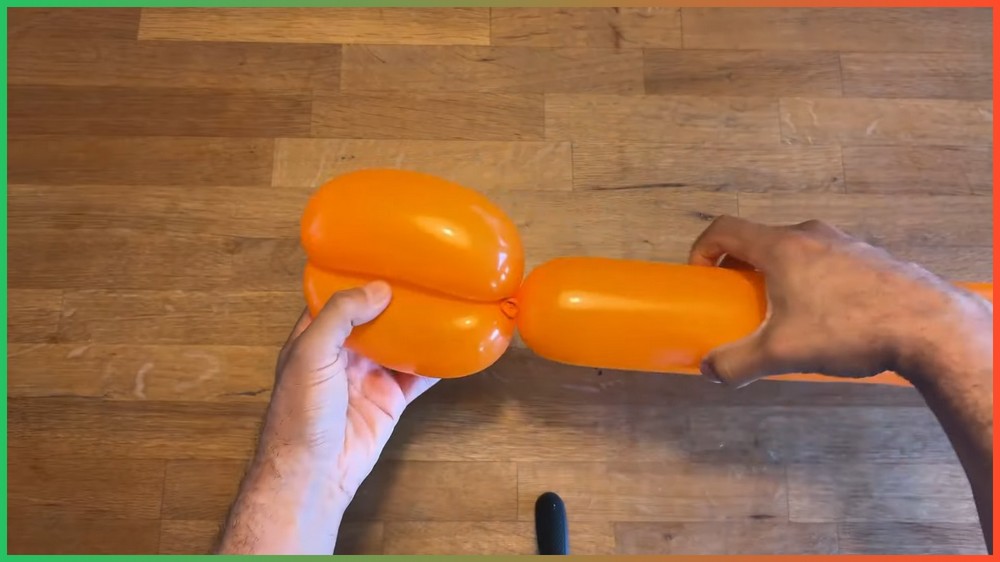
Twist a segment slightly longer than your palm, followed by an identical second segment, and tie them securely together. Soften the remaining balloon once more, twist a third segment, and pass it directly through the middle of the first two segments to interlock them. Twist a fourth segment and fold it back, securing it to the main knot at the balloon’s nozzle.
Step 3: Complete and Shape the Plump Pumpkin Body
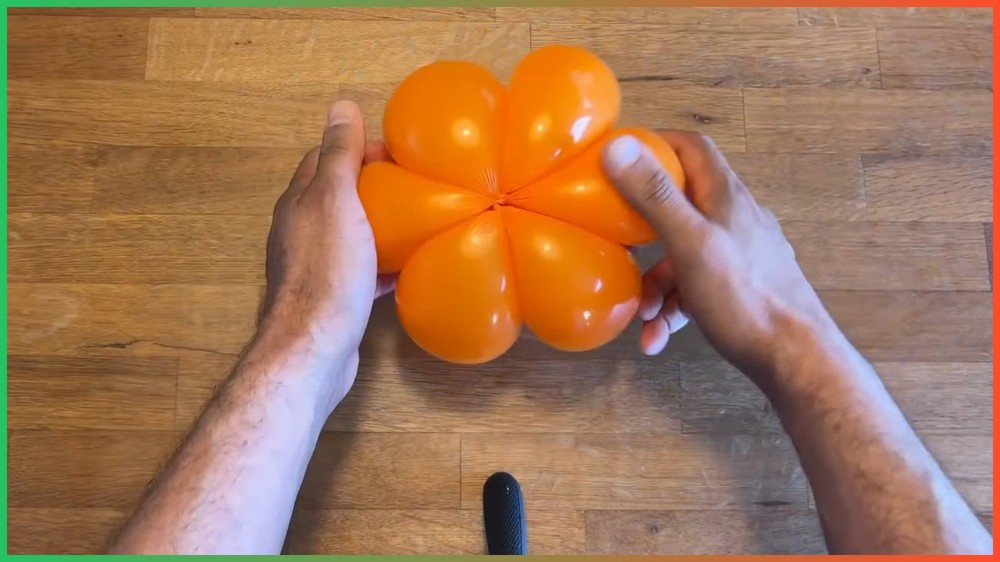
For the fifth and sixth segments, twist equal lengths and carefully squeeze each slice through the middle of the established structure to opposite sides, creating a plump, perfectly round form. Wrap the remaining uninflated tail around the center to lock everything together, then tuck it between the segments and gently adjust the slices into a smooth sphere.
Step 4: Twist the Leafy Green Stem
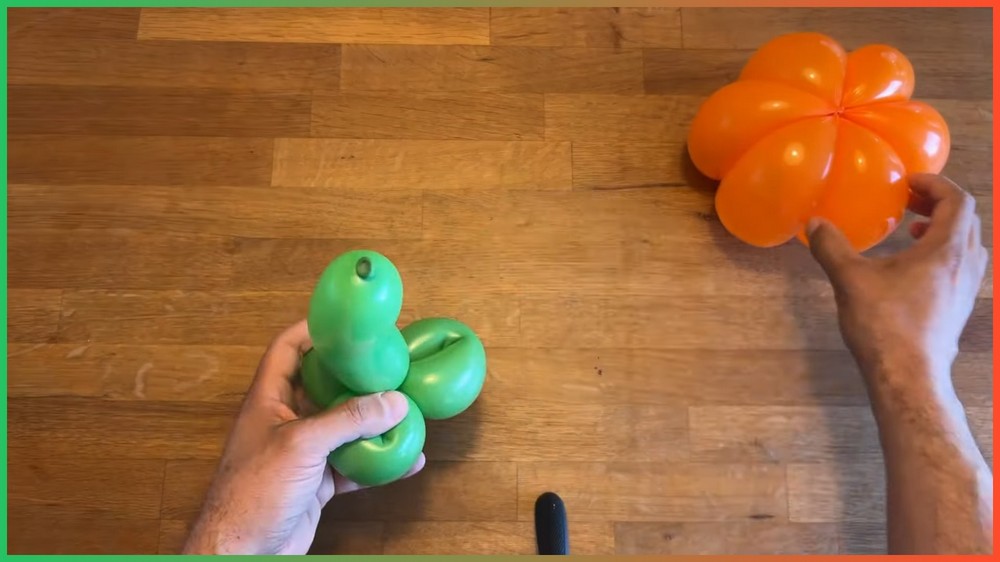
Create the leafy stem accent using the green 260Q balloon. Gently squeeze and bend the balloon as you work to impart a soft, organic curve into the latex. Twist three small leaf loops continuously, softening the balloon as the internal pressure builds. Break or cut the excess balloon, ensuring you leave a long uninflated tail to act as a fastener.
Note: If you face any hurdles in creating this project, then you can watch the tutorial here.
Step 5: Assemble and Finish the Accent
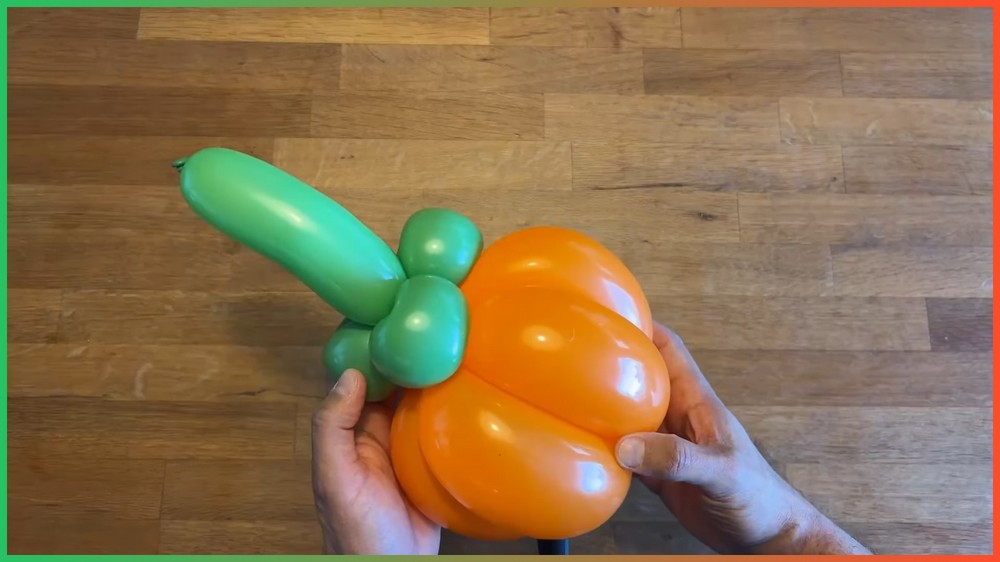
Take the green leaf cluster, position it at the top peak of the orange pumpkin body, and wrap the long green balloon tail tightly through the central core of the pumpkin slices to secure it. Adjust the leaves so they sit naturally on top, completing a vibrant, charming Halloween decoration.
Save this pin for future!