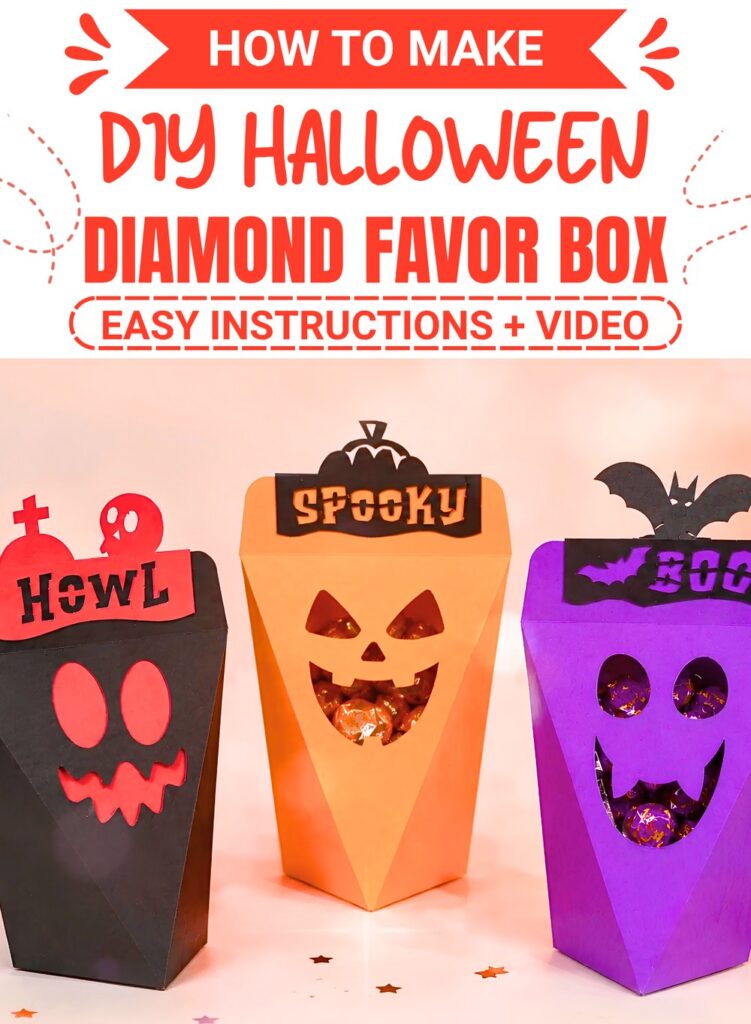
This Halloween diamond favor box is a neat paper craft made to hold yummy treats and fun party favors. It features a bright face cutout and a matching top flap decorated with fun themed words. You can easily set it on party tables as table decor or hand it directly to guests as a sweet surprise.
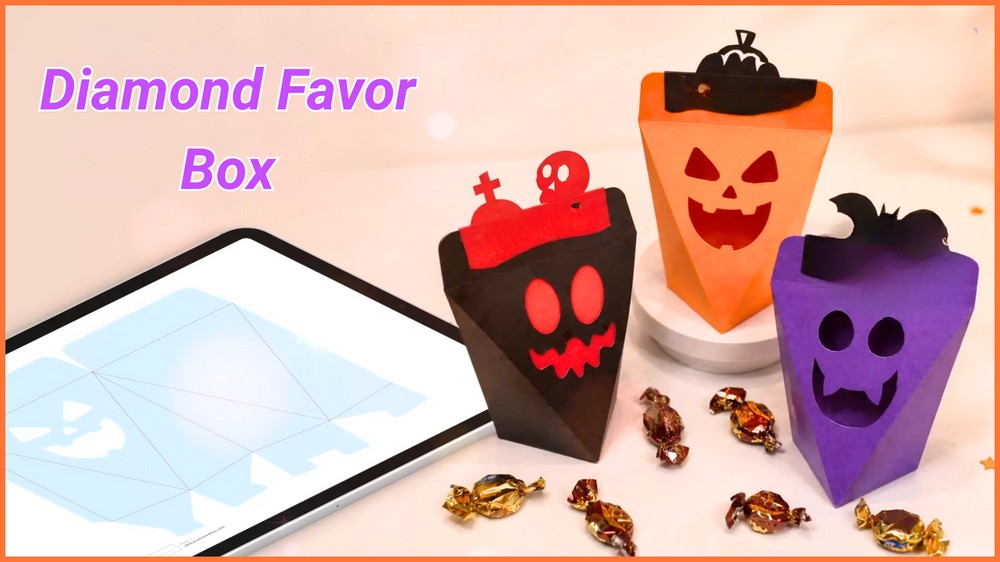
Halloween Diamond Favor Box
Putting this project together is smooth and simple for crafters of all ages. You just need to cut along the main template lines and fold carefully on the dashed marks. Adding a clear window piece behind the face cutout brings extra neat detail, while gluing the side tabs securely locks the geometric shape in place.
Filling these colorful containers with wrapped candies or tiny toys makes holiday planning extra fun. They look super cheerful stacked in baskets or arranged along a spooky mantelpiece. Kids will love picking out their favorite colors, and you will enjoy showing off your handmade setup during festive family gatherings.
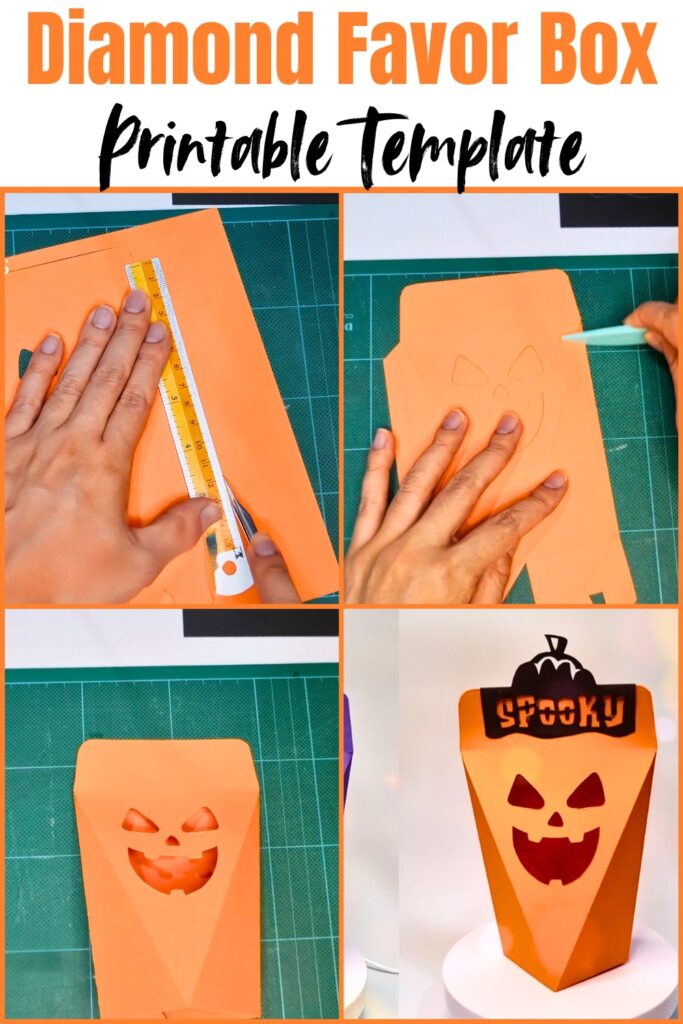
Making several boxes together gives you plenty of handy holders for your seasonal treats. You can mix and match different paper colors to suit your home style or party theme. It is a quick and charming way to share sweet festive cheer with friends, neighbors, and trick-or-treaters throughout the season.
Things that you need before crafting:
Heavyweight Cardstock: 200–250 gsm paper in dark purple, black, or orange for a sturdy box base.
Clear Acetate/Plastic Sheet or Vellum: Transparent film for lining the spooky front cutout window.
Precision Craft Knife or Scissors: For cutting outer template borders and internal window detail.
Scoring Tool or Bone Folder: Essential for creasing crisp fold lines along the gem’s facets.
Adhesive: Double-sided craft tape, quick-dry liquid glue, or hot glue.
Printed Box Template: The gem box net featuring solid cut lines and dashed fold lines.
Notes
Cut vs. Score: All solid lines indicate cutting paths; all dashed lines indicate scoring and folding paths.
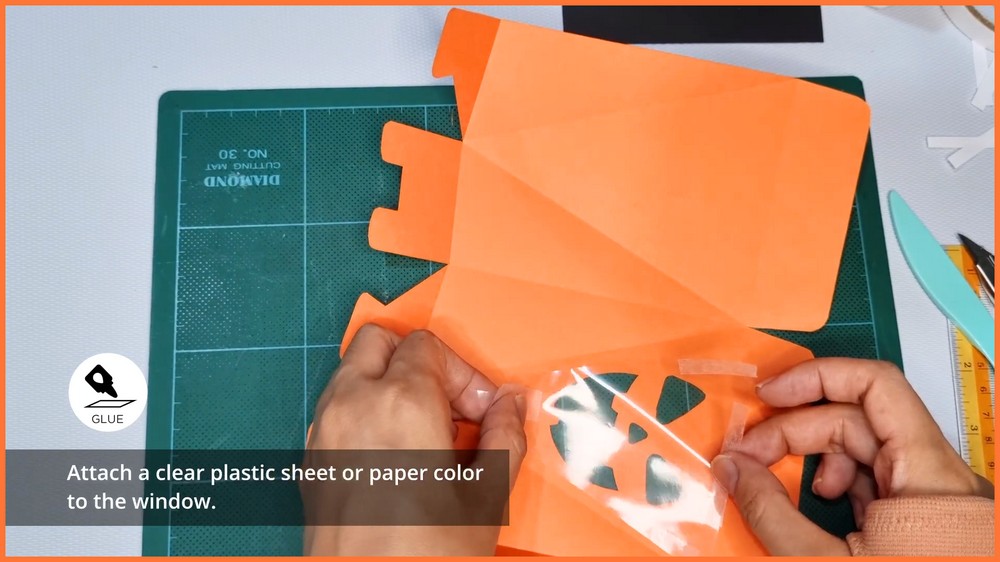
Window Placement: Apply the clear backing material to the interior side of the front panel before gluing the 3D box structure together.
Gauge
Paper Weight: 65 lb to 110 lb cover cardstock (approx. 200–250 gsm). Gauge is not strictly critical, but lightweight paper will cause the 3D faceted structure to buckle under weight.
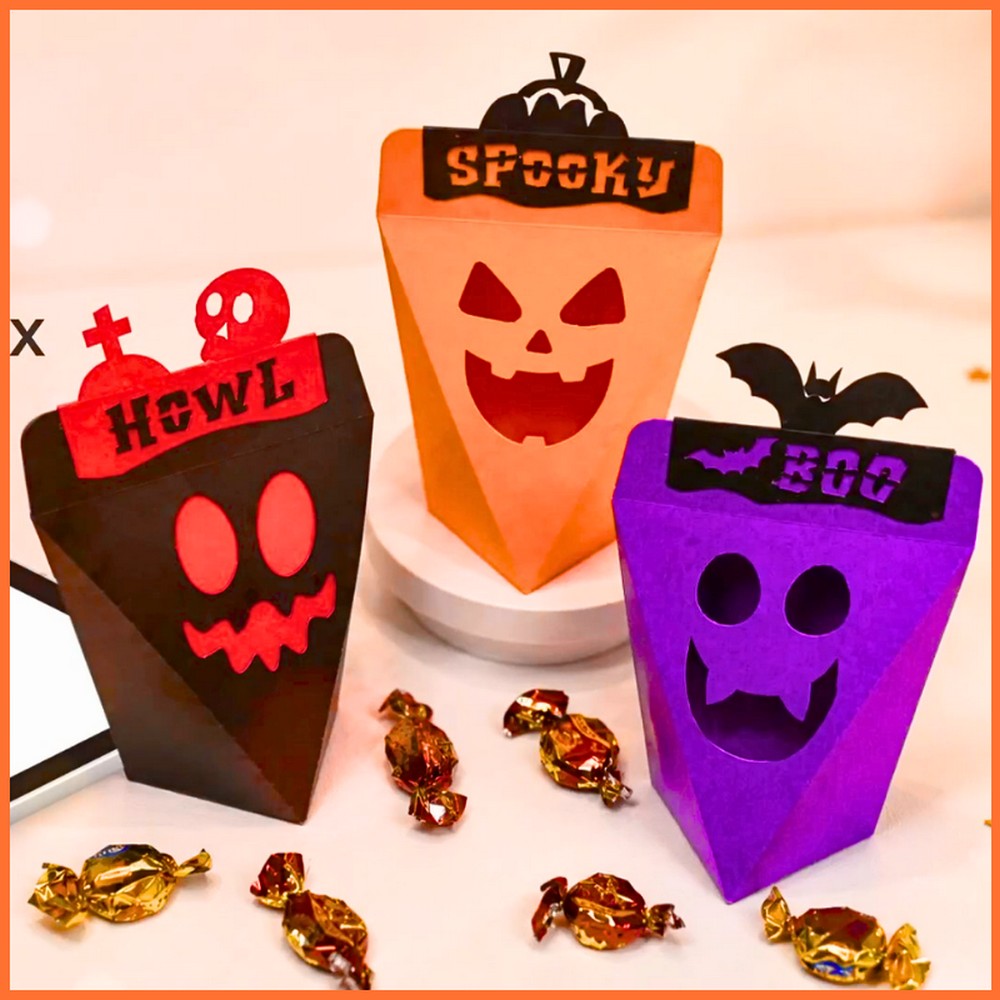
Key Construction Features
Faceted Diamond Silhouette: Uses angled geometric score lines to form a tapered 3D gem shape.
Peep-Through Cutout Window: Features a central face/symbol cut out on the front panel, backed with transparent sheet to show off interior treats.
Interlocking Base Flaps: Bottom flaps fold together securely to support small sweets or Halloween favors.
Themed Header Tag: Includes a decorative top flap cut in seasonal typography (Spooky, Boo, or Howl) to seal the treat container.
How To Make:
Step 1: Precision Cutting
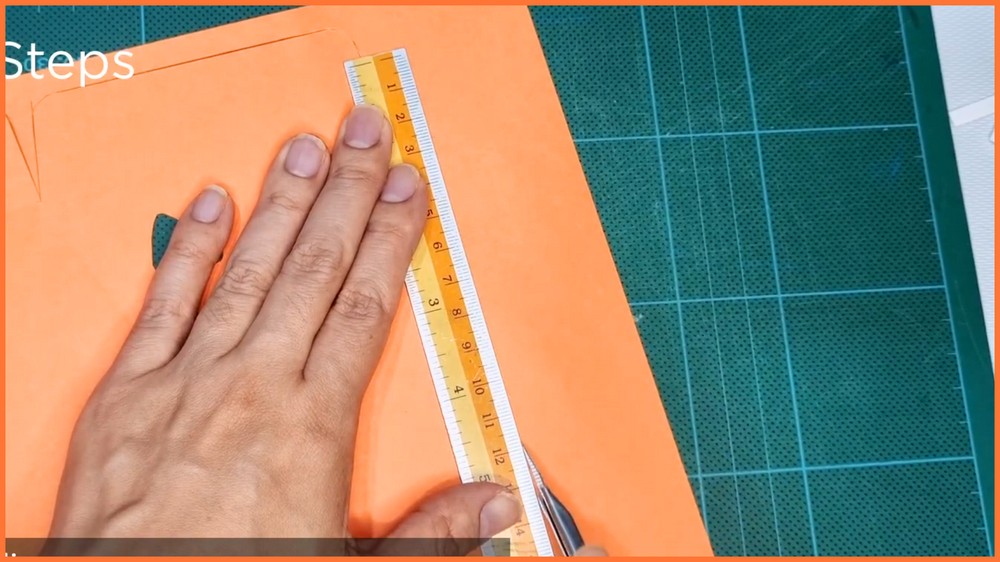
Cut around the outer perimeter of the net along all solid outline paths using a craft knife or cutting machine, taking care to cleanly cut out the intricate face window on the front panel.
Step 2: Scoring and Folding
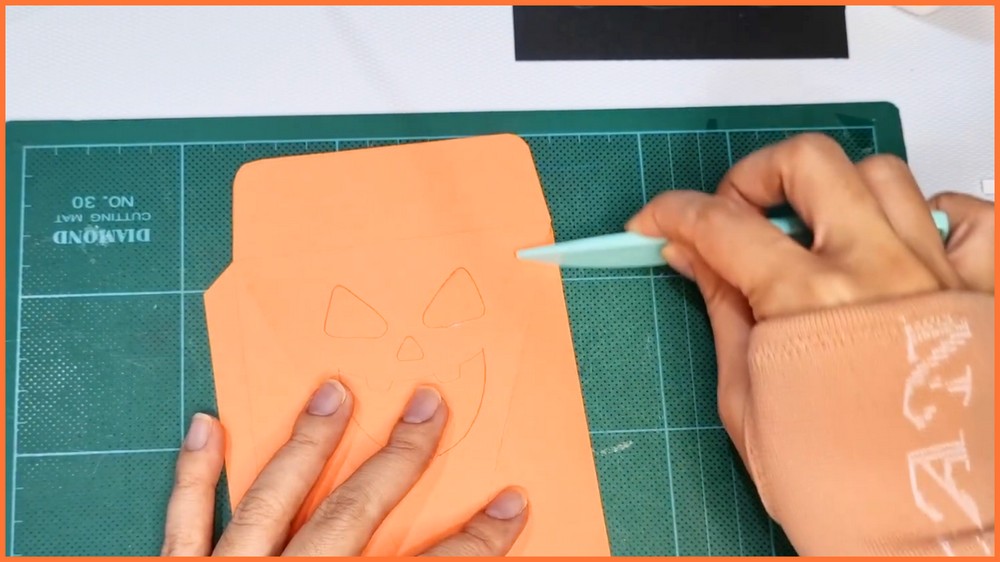
Line up a ruler along every dashed line across the body, side tabs, and bottom flaps, scoring each line firmly with a bone folder before folding them inward to establish sharp, clean faceted creases.
Step 3: Interior Window Lining
Turn the flat template over to the unprinted interior side and adhere a fitted panel of clear plastic or colored vellum over the back of the cut-out window using double-sided tape, creating a smooth transparent viewport.
Step 4: Gem Body Assembly
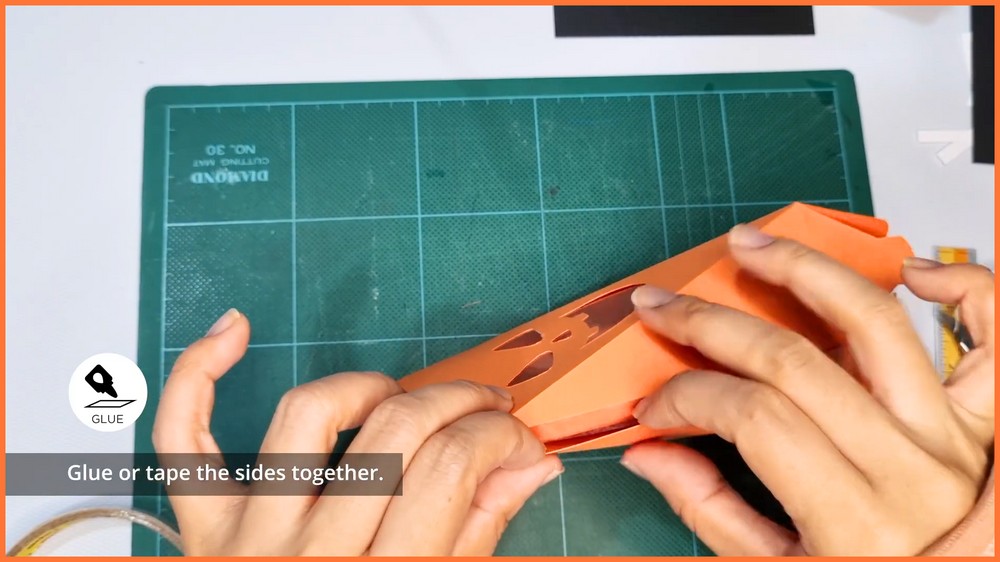
Apply adhesive along the narrow side seam tab, wrap the angled body panels around, and press the seam down securely so the box forms its signature multi-sided tapered gem profile.
Step 5: Base Flap Closure
Turn the box upside down to fold in the bottom base flaps, securing them with glue to lock the bottom flat and stable.
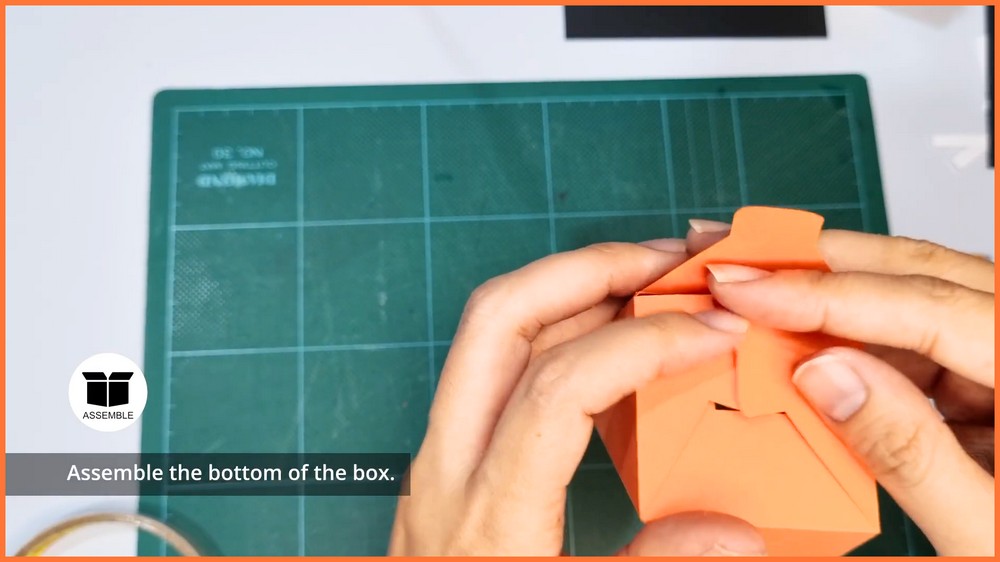
Note: If you face any hurdles in creating this project, then you can watch the tutorial here.
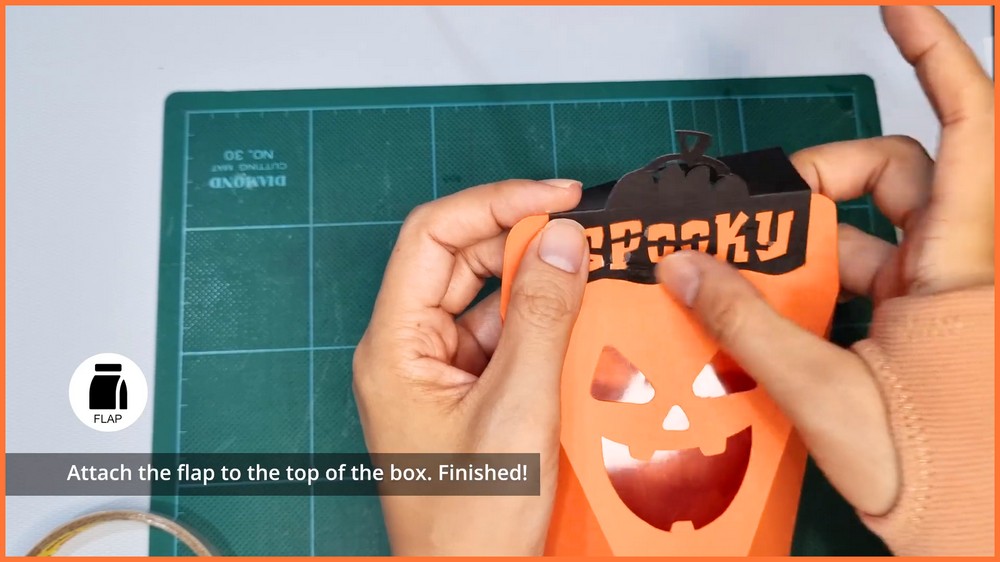
Step 6: Header Flap & Finishing
Prepare the decorative themed header flap by scoring its attachment joint, apply glue along the tab, and mount it to the top opening to create a hinged, decorative closure that seals your Halloween treats inside.
Save this pin for future!