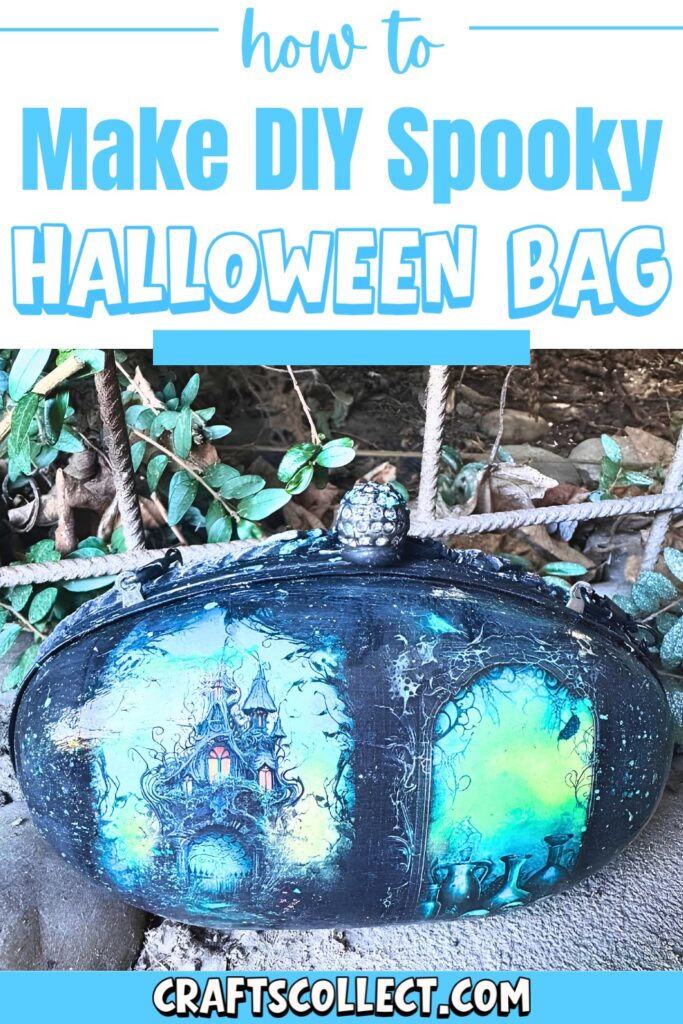
Making a spooky Halloween bag is a creative way to add some extra festivity to the season! This upcycled bag isn’t just useful for carrying treats—it’s also a one-of-a-kind decoration that brings Halloween fun to life. Whether you use it for trick-or-treating or as a themed accessory, it’s a perfect mix of art and function.
Spooky Halloween Bag Craft
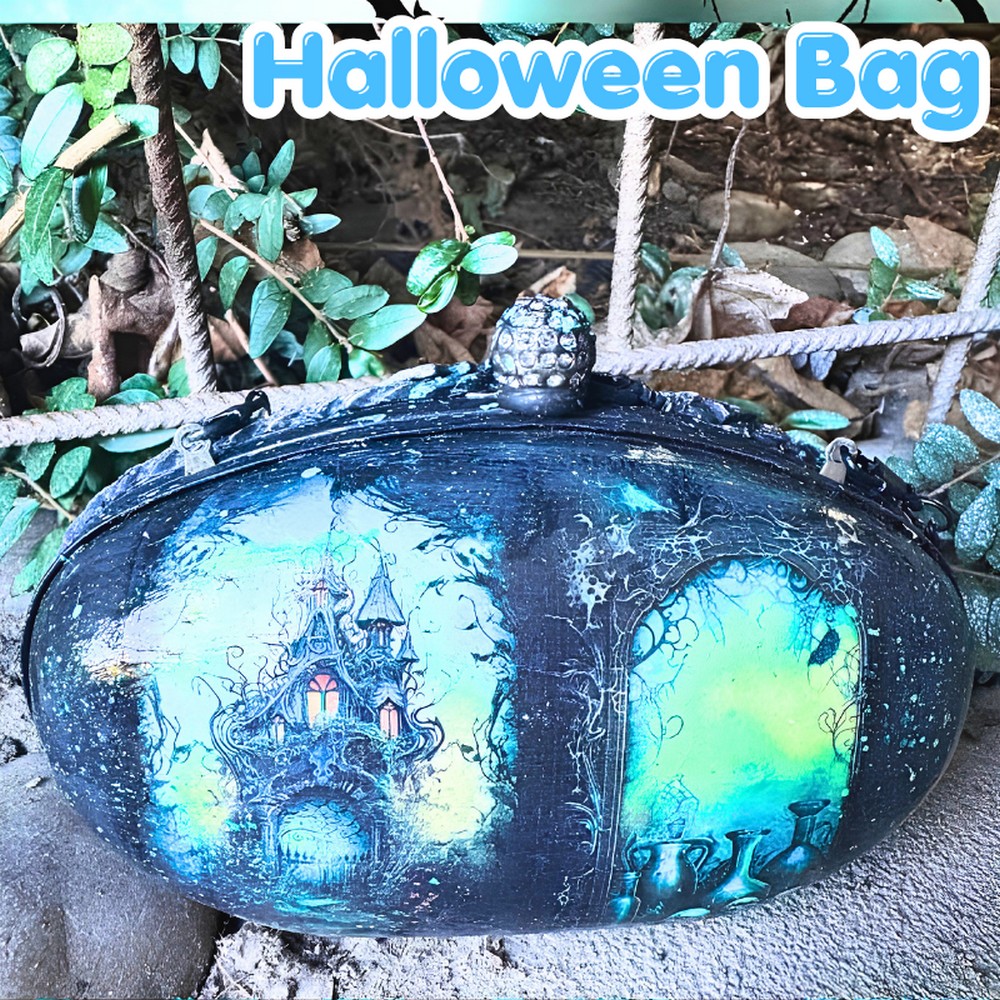
To transform a plain bag into a Halloween-themed creation, start by painting and decoupaging one side of the bag. With a little rice paper, glue, and acrylic paints, you can give the bag its spooky character. Add textured effects using clay, stamps, molds, and decorative paints on the other side to make it even more unique. Finish with wax paste for shimmer and a moss effect for added texture. Each step lets you play with colors and patterns, making the creative process enjoyable and personal.
This DIY project doesn’t require perfection; it’s all about having fun! Once completed, your bag will be sturdy, festive, and full of Halloween spirit, making it ideal for carrying your favorite goodies or displaying as decor.
Credit TapsikDesign
Required Materials:
- An upcycled bag (e.g., an old gift bag)
- White acrylic paint
- Black acrylic paint
- A dabber/sponge
- Paintbrushes (small and standard sizes)
- Halloween-themed rice paper
- Decoupage glue (and glitter decoupage glue)
- Air-drying clay
- Stamps for designs
- Molds for clay accents
- Express glue
- Matte varnish
- Green acrylic paint
- Wax paste (silver/sparkling for shimmer)
- Moss effect paste
- Heat gun
- Spatula
- Wet towel for wiping paint
- Glaze (for a shiny finish)
Important Notes:
- Allow each layer of paint or glue to fully dry before proceeding to the next step to avoid smearing.
- Handle the heat gun carefully when using the moss effect paste to avoid burns.
- Be creative with your design choices—this project is meant to be fun and personalized.
- Don’t worry about imperfections during blending or stamping; they add character!
- Keep your surrounding area protected as you’ll be working with decoupage glue, paints, and glitter.

Detailed Step-by-Step Instructions:
Below is the breakdown of each step based on the video tutorial:
Step 1: Prepare the Bag
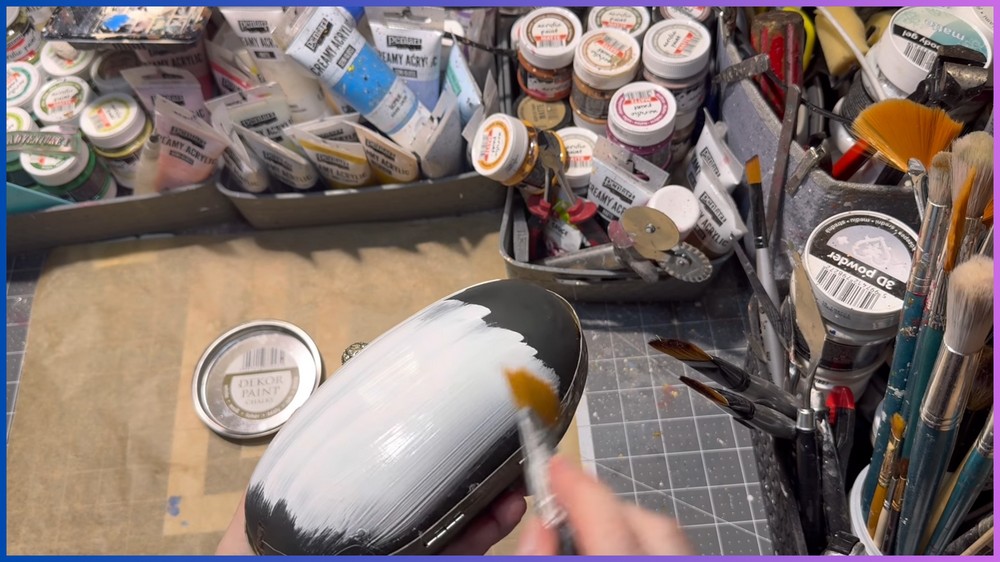
- Paint one side of the bag with white acrylic paint.
- Apply two layers, making sure to let the first layer dry completely before applying the second layer.
- This side will be the base for the decoupage.
Step 2: Apply the Halloween-Themed Rice Paper
- Tear the Halloween-themed rice paper into smaller pieces to ensure better placement on the bag.
- Apply decoupage glue generously onto the surface of the bag.
- Carefully place the torn pieces of rice paper on the bag and press them down.
- Add more decoupage glue on top of the paper, ensuring it adheres well.
- Let everything dry completely.

Step 3: Blend the Design with Paint
- Use a dabber/sponge and apply black acrylic paint around the edges of the rice paper to create a blended look.
- Blend slightly into the rice paper edges to create a seamless transition.
- For additional blending, use white acrylic paint lightly over the black.
- Fill in small gaps and tears in the rice paper with a small brush for extra blending.
- Add artistic details as desired by experimenting with paint.
Step 4: Add Dot Details
- Mix a little paint with water.
- Use a small brush to add dots to the bag for decorative detail.
- Allow each dot to dry before starting the next one to avoid them running into each other.

Step 5: Apply Glitter Decoupage Glue
- Once the painting is dried, apply a layer of glitter decoupage glue over the rice-papery side.
- Ensure there’s no excess glue to avoid drying it white instead of clear.
Step 6: Seal with Glaze
- Apply glaze to the bag to seal the entire design.
- Use three layers of glaze for an even, shiny finish, allowing each layer to dry before continuing.
Step 7: Create a Stamped Clay Design (Other Side)
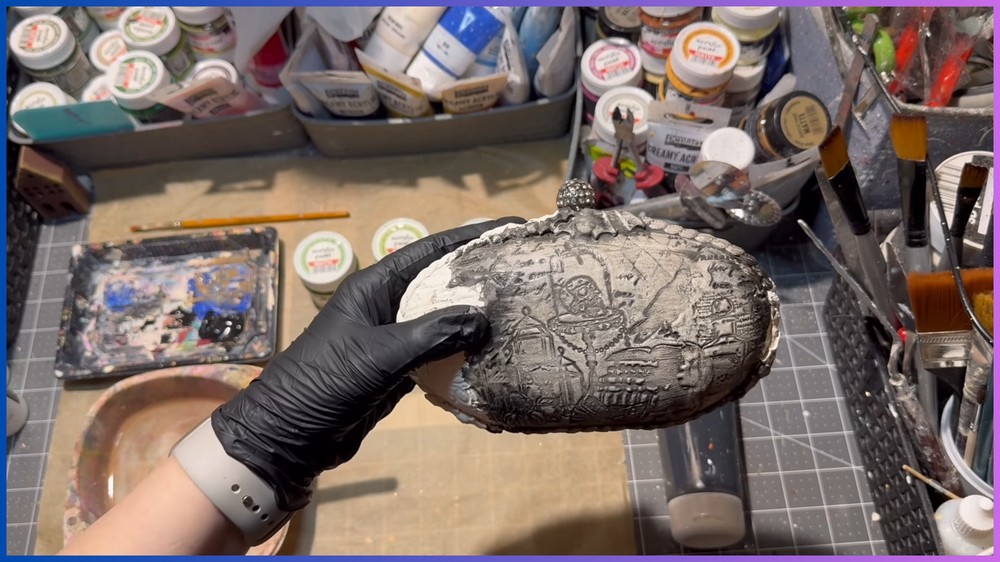
- Roll out air-drying clay into a thin layer that matches the size of the other side of the bag.
- Place stamps gently on the clay to press and create designs.
- Mark your desired placement beforehand to avoid mistakes.
- If an error occurs, roll out the clay again and start over.
- Use express glue to carefully adhere the clay onto the bag.
- Trim any excess clay with a spatula.

Step 8: Add Molded Accents
- Fill desired molds with the air-drying clay.
- If the mold is shallow, press the clay thoroughly to shape it properly.
- Glue the molded pieces onto the bag where needed, and let them dry.

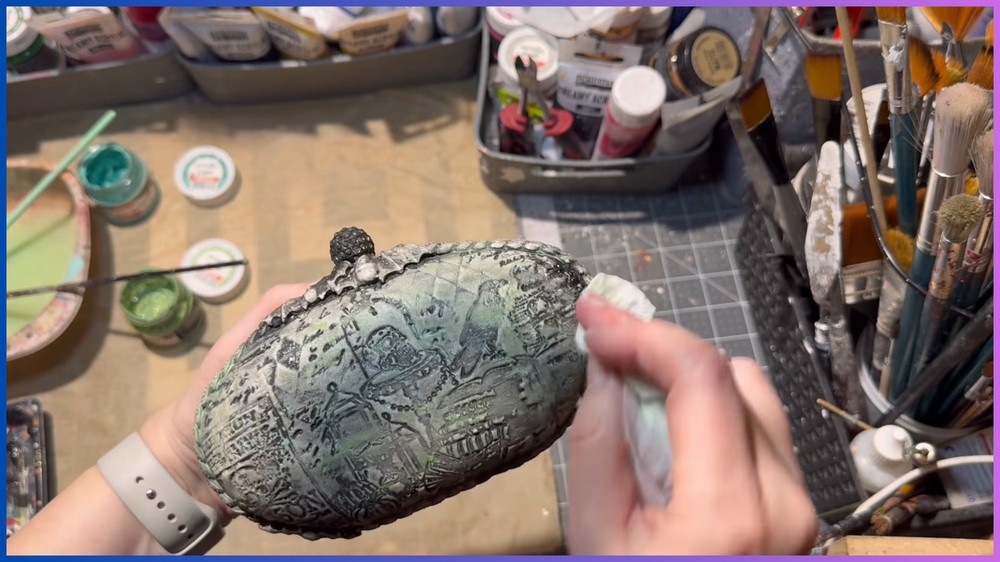
Step 9: Paint the Clay Side
- Paint the clay in black acrylic paint using a brush.
- Before the paint dries, use a wet towel to remove excess paint, leaving a distressed look.
Step 10: Highlight Clay Accents
- Seal the painted clay using matte varnish to protect the black base layer.
- Add green acrylic paint lightly around borders for an accent.
- Remove excess paint with a wet towel for a subtle greenish effect.
- Paint small details like bats and dots if desired.
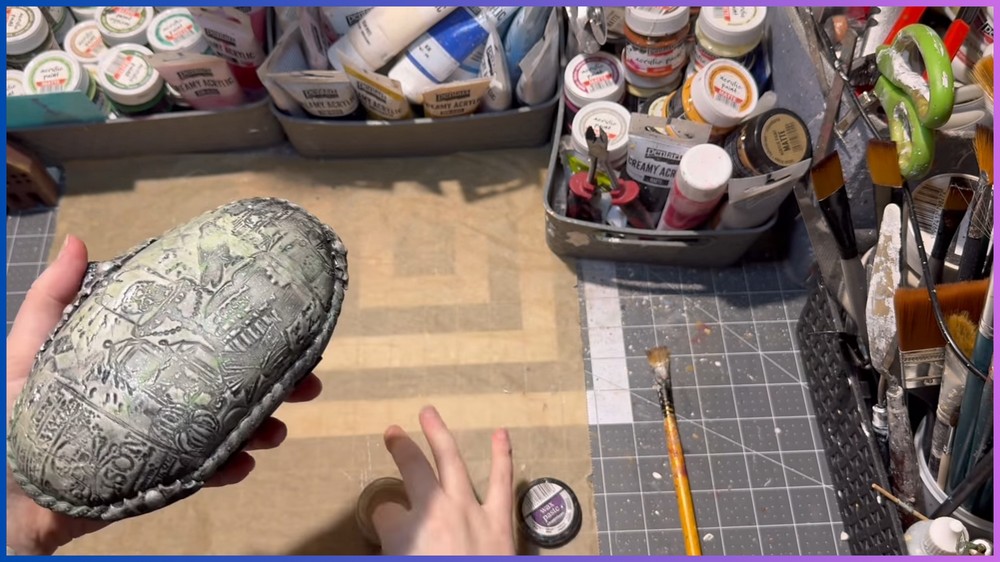
- Use wax paste to add a shimmering finish to the clay.
Step 11: Apply Moss Effect Paste
- Apply moss effect paste (three-step paste) to desired areas of the bag.
- Use a heat gun to dry and activate the moss texture.
- Be careful not to burn yourself or scorch the paste.
Step 12: Final Touches & Sealing
- Once all designs and effects are dry, seal the entire bag again with a layer of glaze or varnish.
- Let everything dry completely before using or displaying the bag.
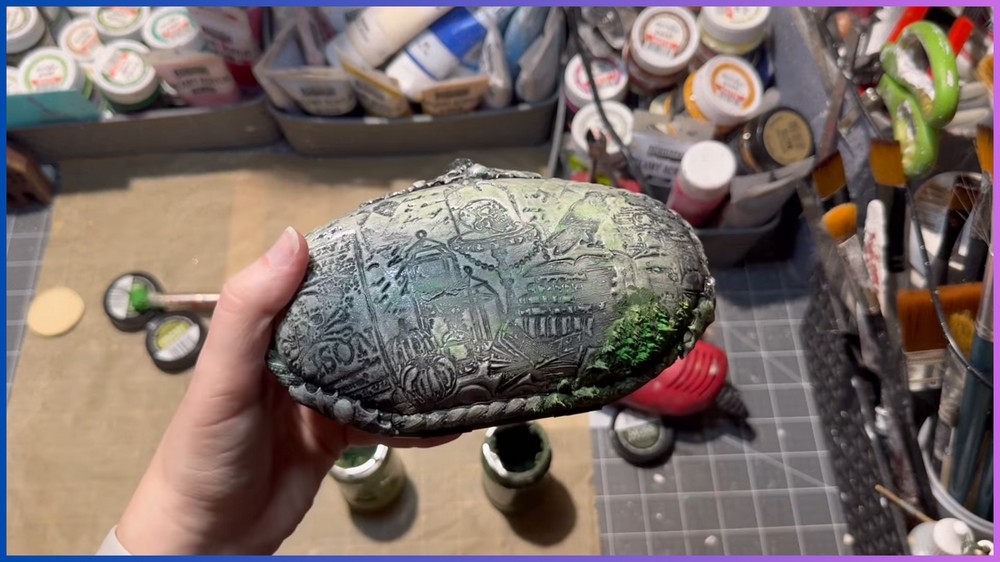
Final Result:
Your upcycled Halloween-inspired bag combines decoupage, stamping, clay molding, and creative painting to create a spooky yet stylish accessory ready for Halloween festivities!