
Looking for an eye-catching piece of Halloween décor? The Kraken Clock is a creative and creepy masterpiece that fits the season perfectly. Imagine an antique-style clock with tentacles curling out of its face—it’s spooky yet fun, making it a standout item for your haunted home setup, desk decoration, or even themed parties. This unique clock turns ordinary into extraordinary and captures the imagination.
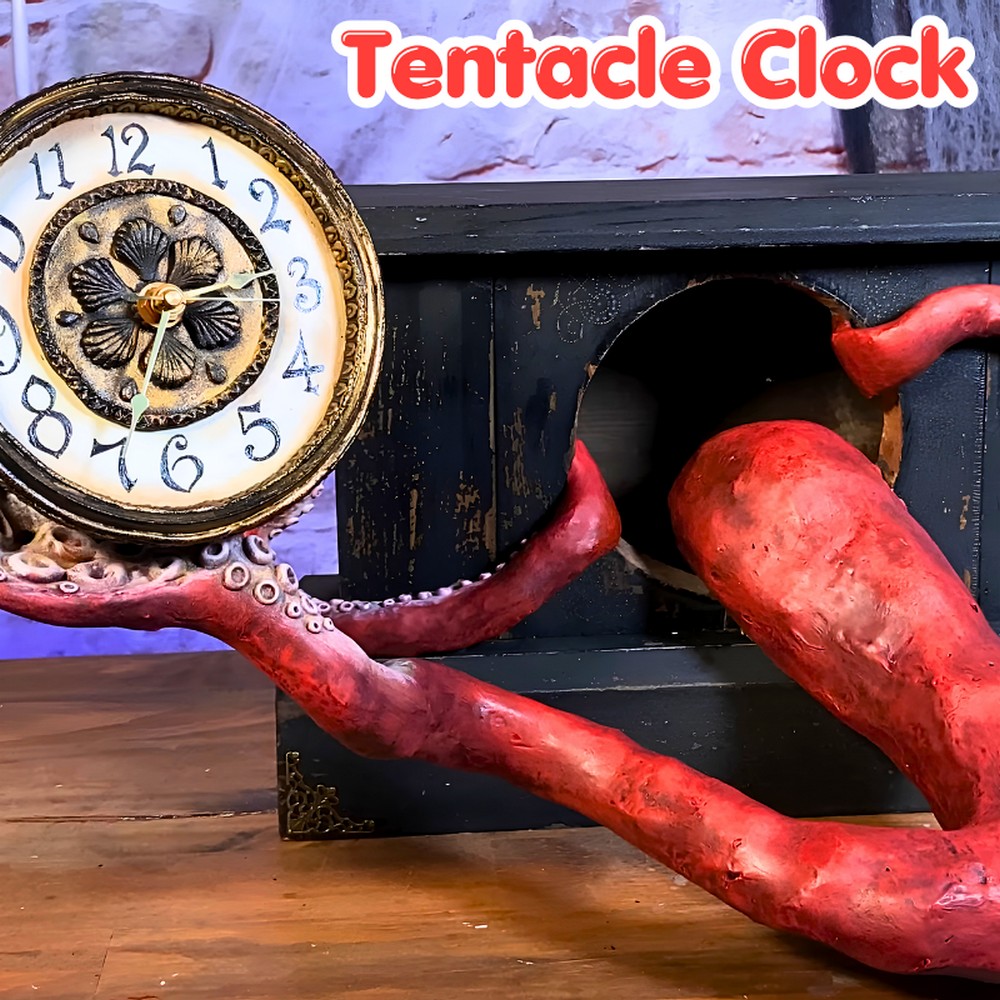
Crafting a Kraken Clock for Halloween
The process is about repurposing old or thrifted items and giving them a creative twist. An old clock frame transforms into the base, while foam clay and wire bring the tentacle design to life. Painting the tentacles in shades like red, purple, and cream lends them a lifelike appearance, adding character to the finished piece. You can also use details like metallic paints for a weathered, shipwrecked look. The beauty of this project is how it combines artistry and functionality—perfect for anyone who loves Halloween crafts, pirate themes, or mythical creatures.
Credit Mythical Makers Workshop
Required Materials:
For the Clock Base:
- An old mantle clock or similar wooden clock structure
- Replacement clock mechanism and clock face
- Warbla Black thermoplastic
- Heat gun
- Paints (White, Yellow Ochre, Black, Grecian Gold, Rub ‘n Buff)
- Brush and water for washing/weathering
For the Tentacles:
- 16-gauge galvanized steel wire
- Thicker heavy-gauge wire
- EVA foam circles, cut in 2-inch diameter (descending in size)
- Tin foil
- Masking tape
- EVA foam clay
- Paints for tentacle colors (Yellow Ochre, Wine Red, Vermilion Red, Cream, Purple)

For Details:
- Optional brass corner embellishments (for clock structure)
Important Notes:
- Safety with Heat: Warbla Black thermoplastic requires a heat gun for activation. Be cautious, as it gets very hot. Keep a bowl of water nearby to cool down the material or your hands if needed.
- Attention to Detail: Be precise when painting clock numbers. The creator mentions a slightly “wonky” outcome because they eyeballed the placement instead of planning it out carefully.
- Clock Face Embellishments: Adding embellishments (medallions) to the plain clock face with Warbla Black helps give it an antique, weathered appearance.
- Tentacle Armature: Use steel wire for structure, and strengthen the main tentacle holding the clock face with heavier wire.
- Dry Brushing: Layering paint and using dry brushing techniques add depth and an aged, organic texture to the project.
- Inspiration Style: The project imagines a story in which the clock is a relic from a shipwreck, further adding to its mysterious and weathered appearance.
Step-by-Step Instructions:
Step 1: Preparing the Clock Base
- Start by sourcing an old mantle clock (either a hollow clock or one with missing internal components).
- Strip the clock of any remaining decorations, leaving just the wooden structure.
- Replace the clock face. If the clock mechanism is broken, purchase a replacement.
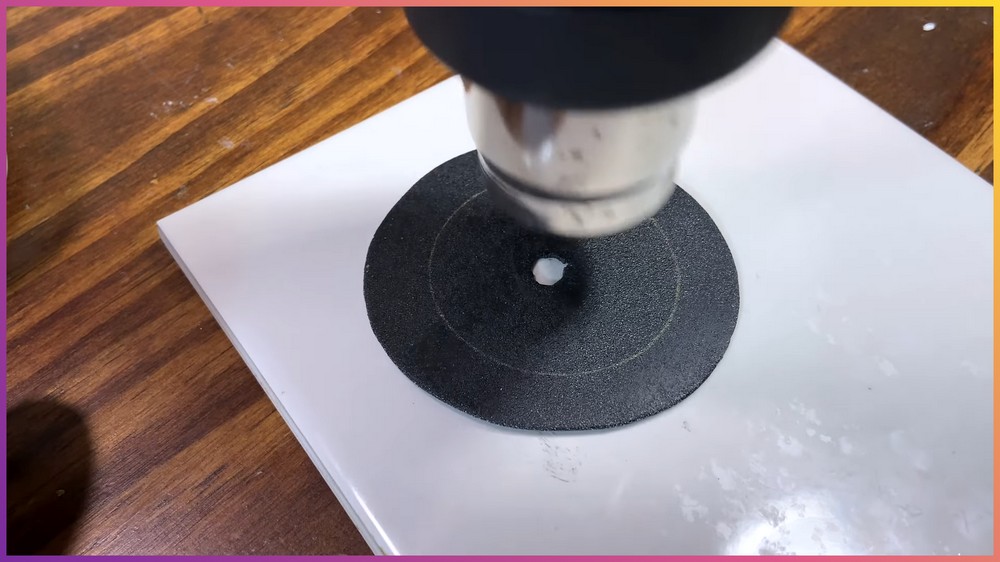
- Use Warbla Black to embellish the clock face:
- Heat the Warbla Black with a heat gun carefully until it softens.
- Shape and press it to create trim, a medallion, or any additional details.
- Keep a bowl of water nearby to cool your hands as needed.
Step 2: Painting the Clock Face
- Prime the clock face and add a coat of white paint.
- Age the appearance by applying a yellow ochre wash over the white base.
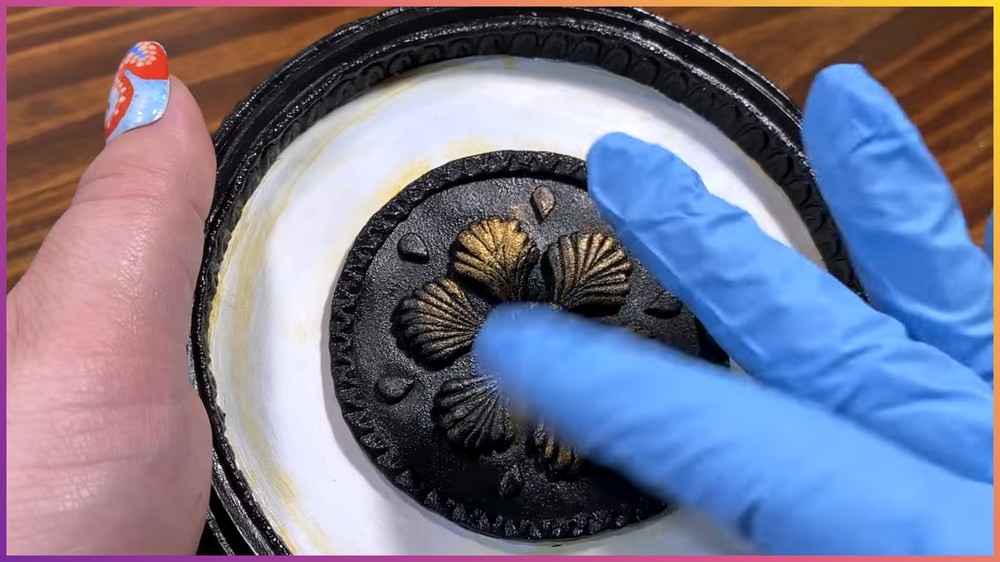
- Highlight details with Grecian Gold paint and Rub ‘n Buff for an antique finish.
- Use black paint to hand-paint the numbers onto the clock face. (Optional: Plan spacing in advance for more precision).
Step 3: Buffing and Weathering the Clock
- Once the paint has dried, lightly buff the gold areas to enhance their shine.
- Apply light weathering to the clock base using burnt umber paint, emphasizing its worn, aged look.

Step 4: Constructing the Main Tentacle (Armature)
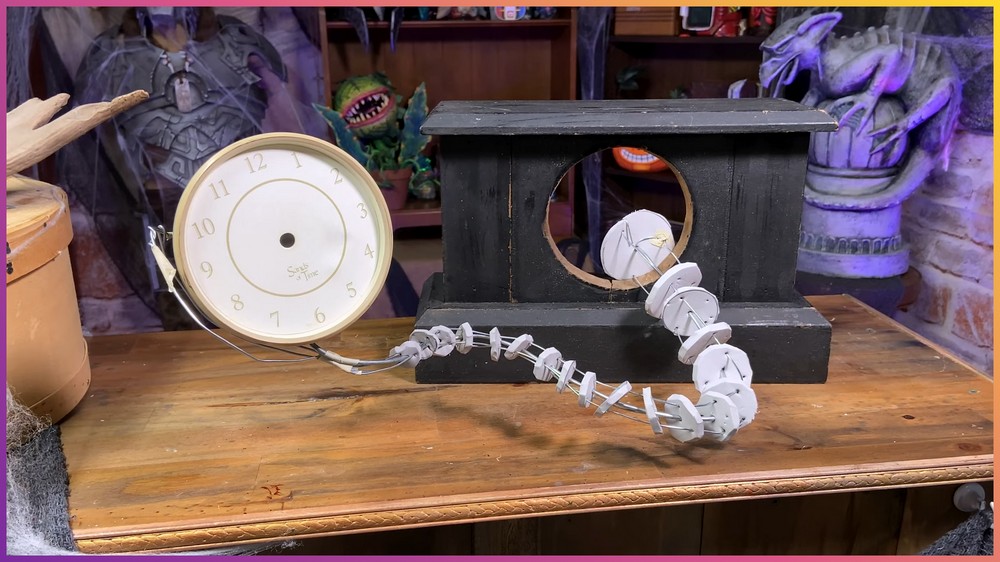
- Use 16-gauge galvanized steel wire to create the frame for the tentacle.
- Add structure with descending EVA foam circles (cut in 2-inch diameter and reducing).
- Strengthen the tentacle by inserting a thicker-gauge wire through the center.
- Bulk out the shape with tin foil and masking tape.
- Cover the frame with EVA foam clay:
- Use an organic “smushing” technique to apply clay evenly around the armature.
- Let it dry.
Step 5: Constructing Smaller Tentacles
- For the other tentacles, use tin foil to create frames.
- Apply EVA foam clay in the same manner as the main tentacle.
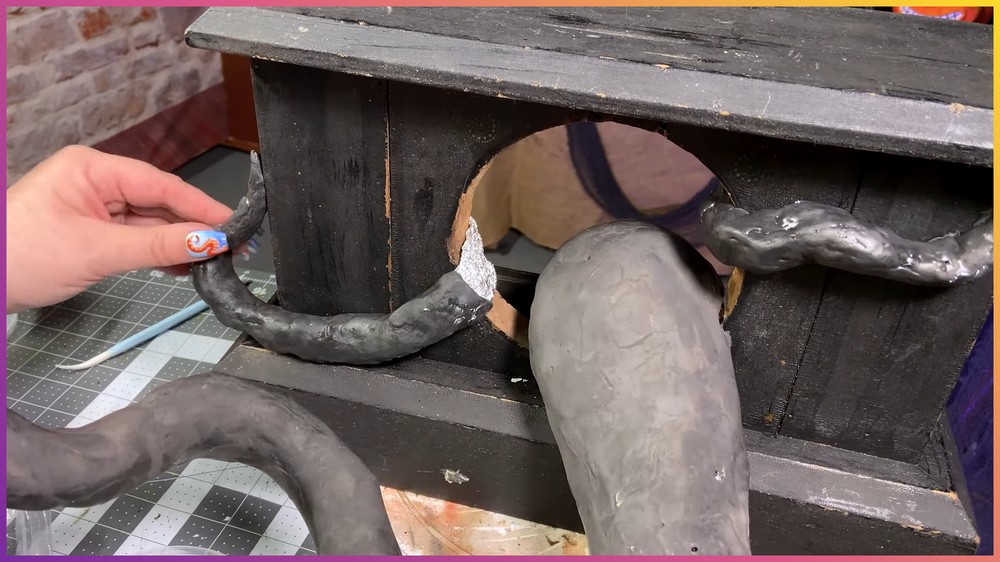
Step 6: Painting the Tentacles
- Use a base coat of yellow ochre.
- Add depth with layers of wine red.
- Finish with dry brushing using vermilion red to highlight edges and texture.
- Repeat this painting process for all tentacles.
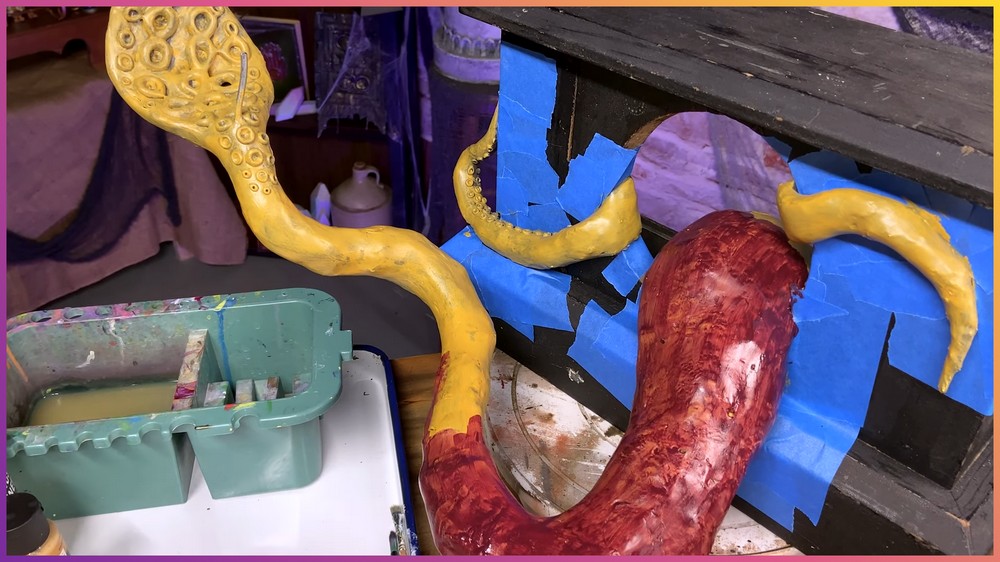
Step 7: Adding Final Touches to the Tentacle Holding the Clock Face
- Use the main (larger) tentacle with a “club end” to securely hold the clock.
- Attach the clock face to the club end of the tentacle.
Step 8: Weathering and Decorative Additions
- Minimal weathering is required on the clock itself since it likely already has an aged appearance. Enhance its old look with light masking.
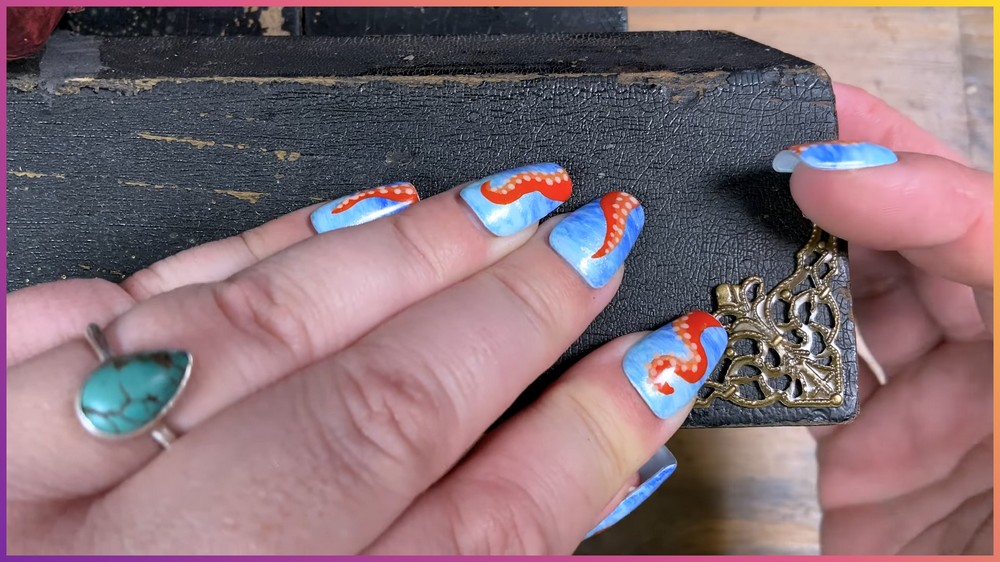
- Attach optional embellishments, like brass corner pieces, to the clock structure to elevate its aesthetic appeal.

Step 9: Final Assembly and Display
- Reassemble the clock once all the paint and clay have dried thoroughly.
- Position the tentacles to make it look as if they are emerging from the clock.
- Place the clock on your display shelf, ready to show off its eerie Kraken-like charm!

