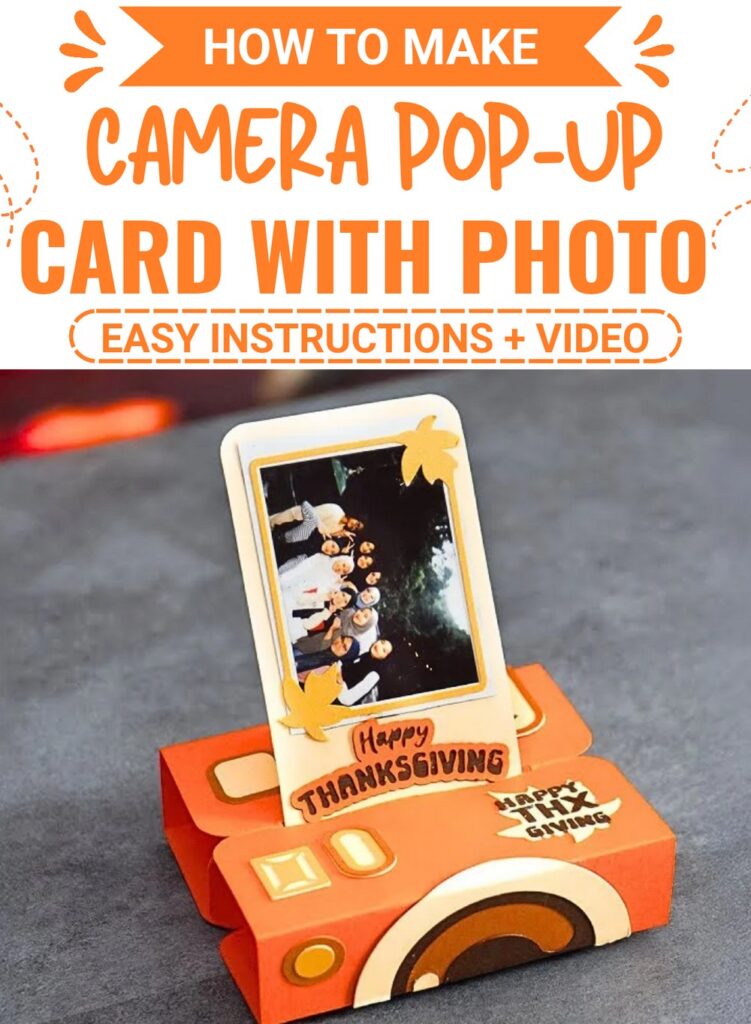
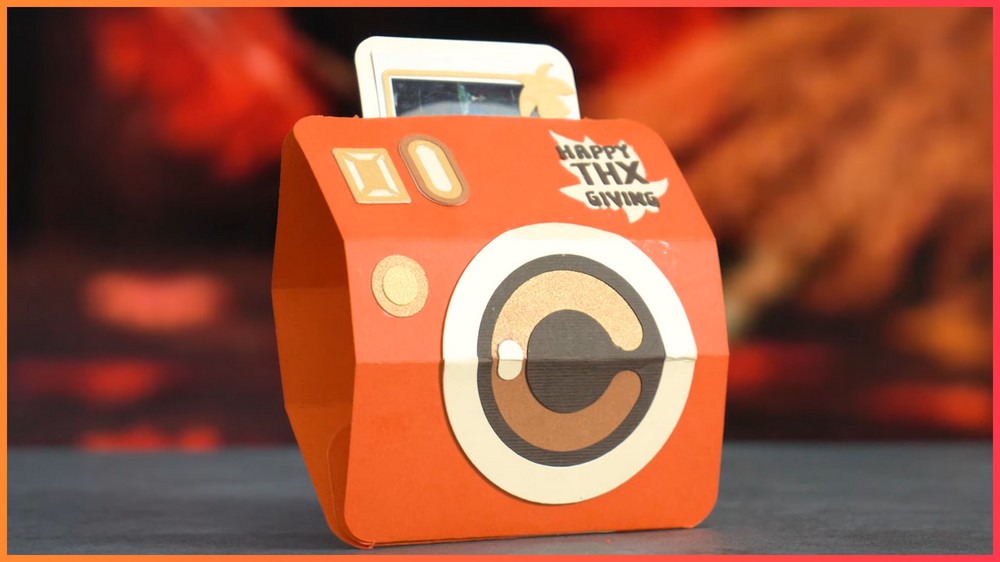
Make Thanksgiving greetings more memorable with a handmade camera card that opens to reveal a framed photo, layered notes, and charming paper camera details.
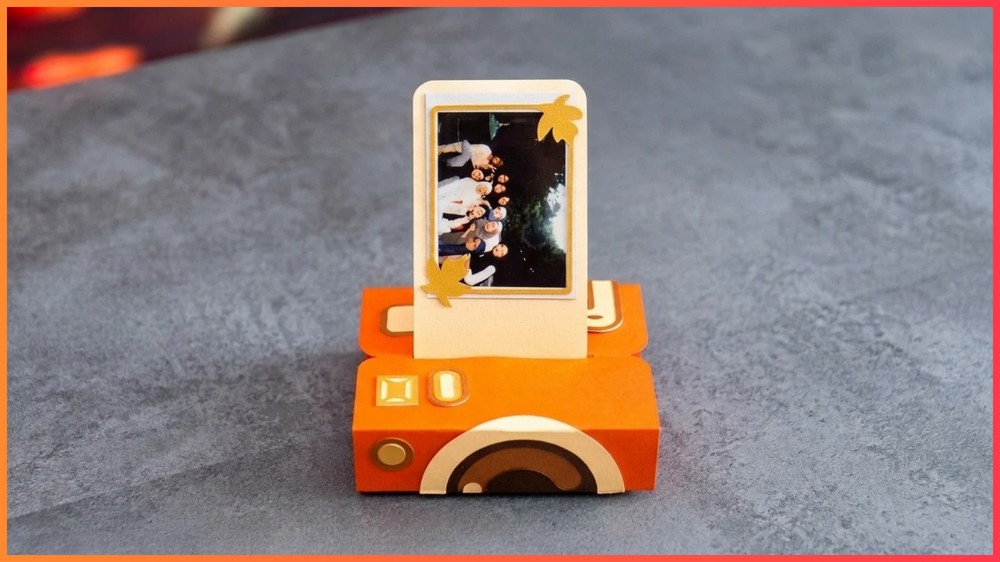
A handmade card can become much more memorable when it does something unexpected. This Thanksgiving camera pop-up card combines the familiar shape of a camera with layered notes and a photo that rises when the card is opened.
The outside can be decorated with Thanksgiving colors, small paper details, stickers, or a personal message. Inside, the photo creates the interactive surprise, making the card feel more like a keepsake than an ordinary greeting card.
Several small pieces come together to create the finished camera. The layered notes, lens, flash, shutter button, and photo frame each have their own place, so assembling them in stages makes the process easier to manage.

The most important part is the moving photo mechanism. Before permanently securing the photo, test its movement inside the card. This lets you catch a positioning problem while the pieces can still be adjusted.
Things that you need before crafting:
- Cardstock or paper for the camera base
- Colored paper for the camera details and layered sections
- Craft glue or glue stick
- A printed photo, such as a Polaroid-style picture
- Plain paper for the note section
- Lined paper for the note section
- Paper for framing the photo
- Small decorative paper pieces
- Stickers, markers, or other decorations
Choose colors that suit a Thanksgiving theme, such as warm autumn shades, or use the recipient’s favorite colors.
How To Make:
Fold the Camera Base First
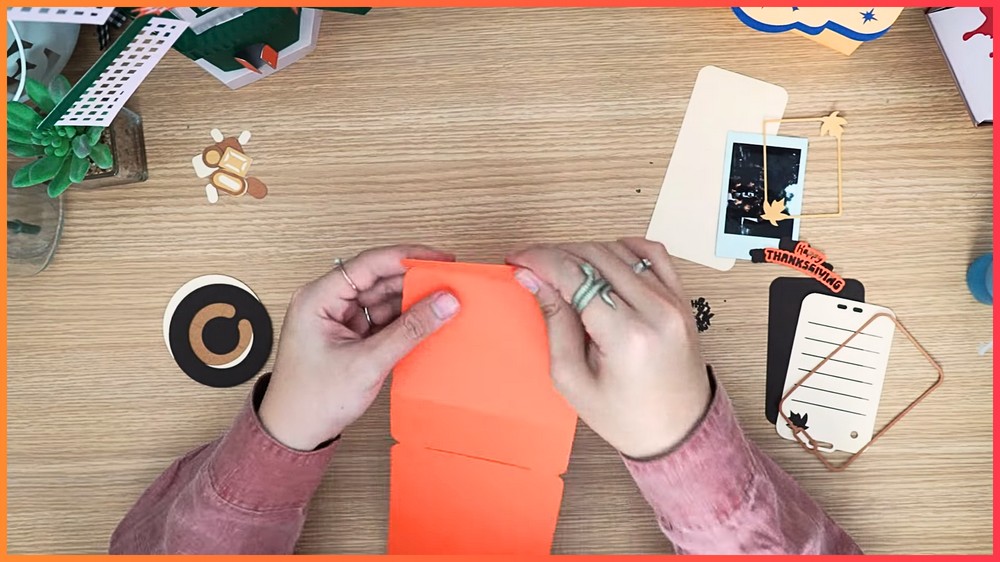
Begin with the main camera template or base.
Fold each section that has a scored line, taking care to make the creases neat and accurate.
Start with the base before assembling the decorative pieces. The base gives you the main shape that the other components will eventually attach to.
Why the folds matter
The scored folds determine how the camera opens and how its different sections sit together.
If a fold is made beside the intended crease, the finished layers may not line up correctly. Run your finger firmly along each crease after folding so the paper remembers the intended shape.
If a fold looks uneven, correct it before adding glue.
Build the Layered Notes
Create the small note section separately before attaching it to the camera.
Start with a plain piece of paper as the base.
Add the lined paper on top, then place the coordinating frame around it as the final layer.
Apply glue to the back of each layer and press it down carefully.
Keep the layers centered
Before the glue sets, check the edges around the note section.
The frame should sit evenly around the inner paper rather than covering too much of the writing area.
If one layer has shifted, gently reposition it while the adhesive is still workable. This is much easier now than trying to lift a fully dried paper layer later.
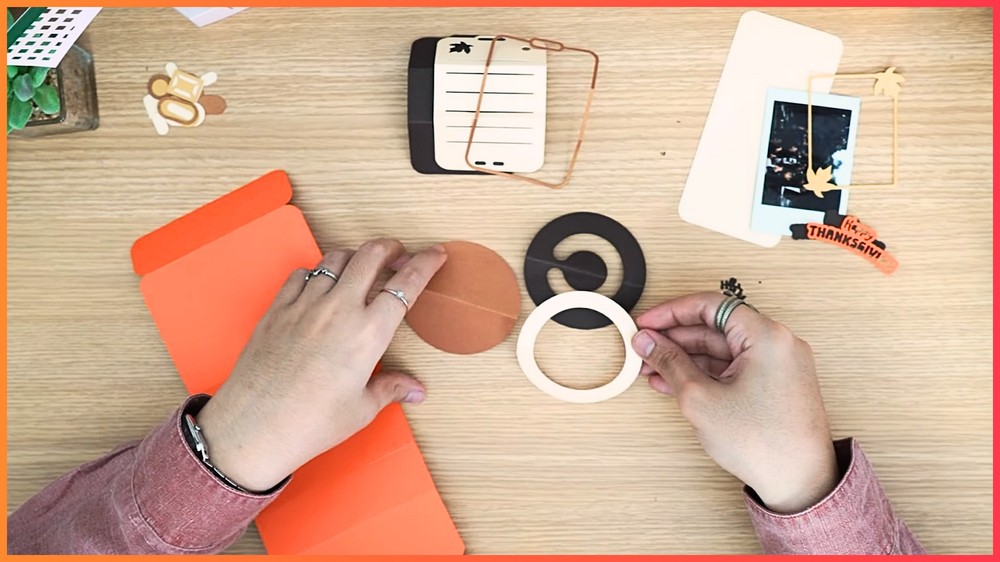
Layer the Camera Lens
Build the lens as its own small section.
Start with the light brown background piece.
Attach the central lens detail over it, then add the outer frame as the top layer.
Small paper accents can be added around the lens if desired.
Why build the lens separately?
Working with the lens as a separate layered piece makes it easier to keep its circles or surrounding shapes aligned before it is attached to the camera body.
Place the pieces one at a time rather than gluing several layers at once.
Check the center after each layer so the lens does not gradually shift to one side.
Add the Flash and Shutter Button
Prepare the small paper pieces for the camera’s secondary details.
These can include the flash and shutter button, along with small decorative accents.
Glue each piece into position while keeping the edges neat.
Because these pieces are small, use only a little adhesive. Too much glue can spread beyond the paper edges and leave the camera front messy.
Attach the Lens to the Camera Body
Once the lens is complete, attach it to the front of the camera.
Position it carefully near the center of the camera face and press it down.
Then add the flash, shutter button, lettering, stickers, or other Thanksgiving details.
Check the front before moving on
Hold the camera upright and look at it from the front.
The lens should appear centered rather than noticeably tilted or shifted.
If it is slightly off while the glue is still wet, gently move it into position. Once the adhesive dries, correcting the placement becomes more difficult.
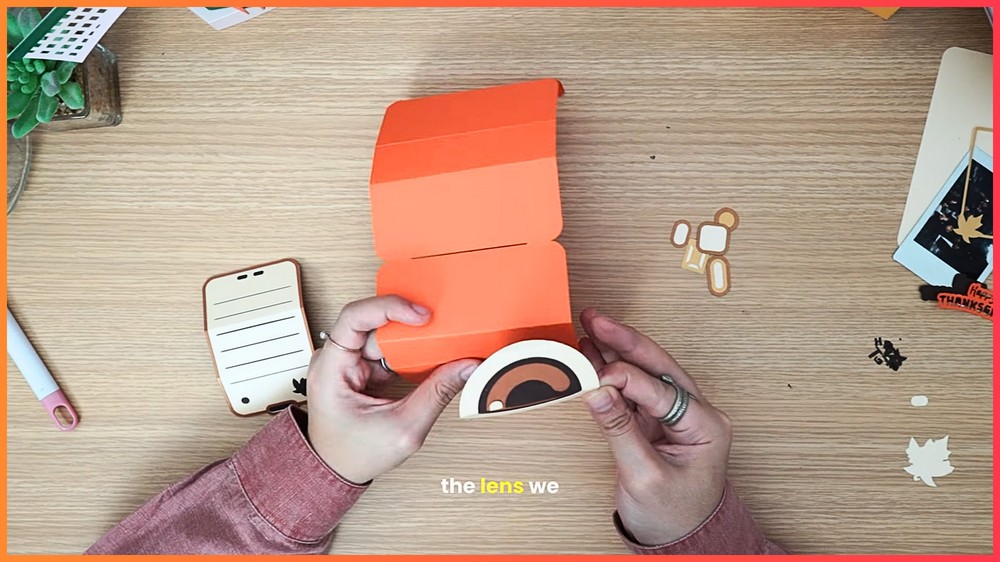
Add the Layered Notes
Take the note section you prepared earlier and attach it to the camera in the intended position.
Before gluing, make sure the writing area is facing the correct direction.
Press the section down firmly enough to secure it without adding unnecessary glue around the edges.
Leave any area that needs to remain flexible free from adhesive.
Prepare the Photo Section
Choose the photo you want to feature inside the card.
Place it onto a slightly larger piece of paper to create a simple frame around the picture.
Add small decorations around the border if you like.
You can also write a short caption or Thanksgiving message underneath the photo.
Keep the photo frame manageable
Avoid adding bulky decorations around the photo, especially near the parts that will move through the card.
The photo needs to slide through its opening smoothly, so the framed piece should remain relatively flat.
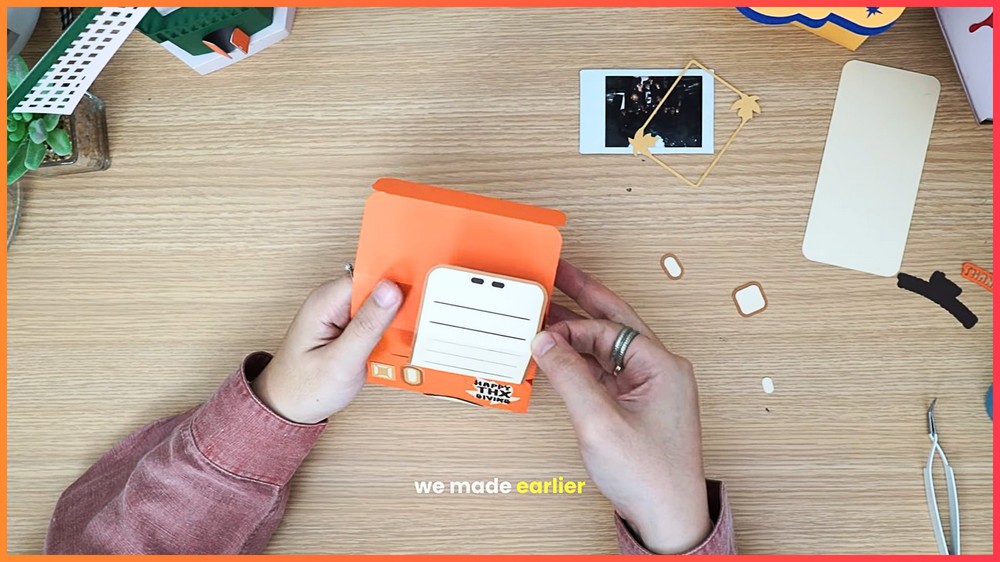
Test the Pop-Up Mechanism Before Gluing
This is the most important check before permanently attaching the moving section.
Insert the prepared photo into the top slot without applying the final adhesive yet.
Open and close the card gently and watch how the photo moves.
What to check
Make sure:
- The photo rises when the card opens.
- The photo retracts when the card closes.
- The edges do not catch on the surrounding paper.
- The photo remains upright.
- No decorative piece blocks its movement.
If the photo catches, do not force the card closed.
First check whether the photo is sitting too far to one side or whether one of the surrounding paper edges is interfering.
Adjust the position while the mechanism is still unglued.
This dry test is worth doing before the final attachment because once the mechanism is secured, fixing a movement problem can mean loosening parts of the card.
Secure the Pop-Up Mechanism
Once the photo moves smoothly, apply glue to the appropriate side edges of the paper mechanism.
Insert the photo into the slot again and press the anchored sections firmly into place.
Allow the adhesive to set.
Do not repeatedly open and close the card while the glue is still wet. The moving mechanism can shift before the anchors have fully secured.
After the adhesive has set, open the card gently and test the movement again.
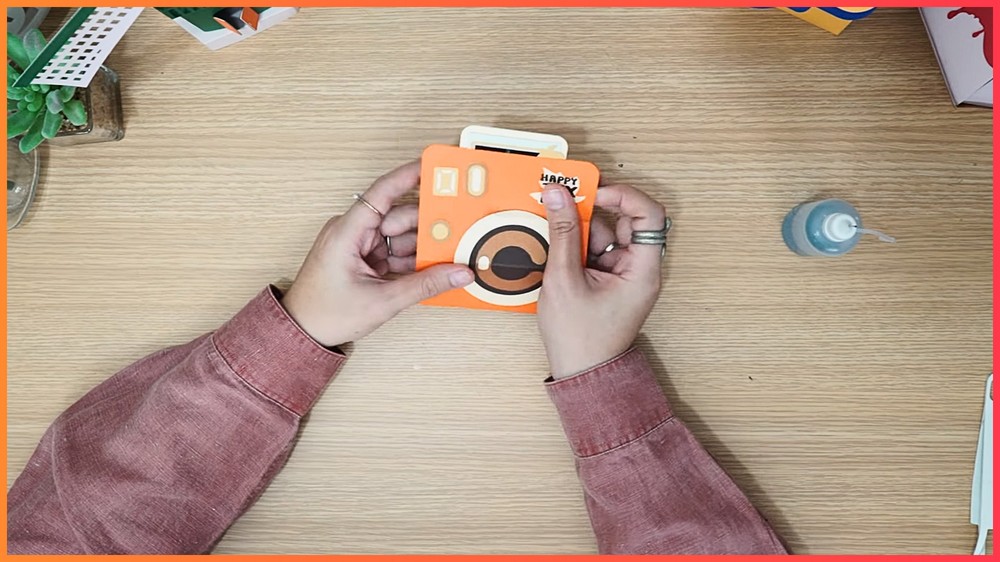
Add Your Thanksgiving Personal Touches
Now that the functional parts are secure, add any final decorations that do not interfere with the moving photo.
You can use:
- Thanksgiving-colored paper
- Small seasonal cutouts
- Stickers
- Handwritten messages
- Simple drawings
- Decorative camera labels
- A short note beside the photo
Keep the decorations flat around the moving area so the pop-up remains free to travel.
Adapt the Camera Card for Other Occasions
The basic camera design does not have to remain a Thanksgiving card.
Change the colors, message, photo frame, and decorations for birthdays, anniversaries, graduations, Christmas, or another special occasion.
The photo can also be replaced with another flat keepsake-style insert as long as it fits the mechanism and can move freely.
Note: If you face any hurdles in creating this project, then you can watch the tutorial here.
Final Movement Check
Before giving the card away, open and close it several times slowly.
Watch the photo as it rises and retracts.
If everything moves smoothly and the photo remains secure, the interactive card is ready to share.
The combination of the handmade camera, personal photo, notes, and moving surprise gives the recipient something to open, discover, and keep.