
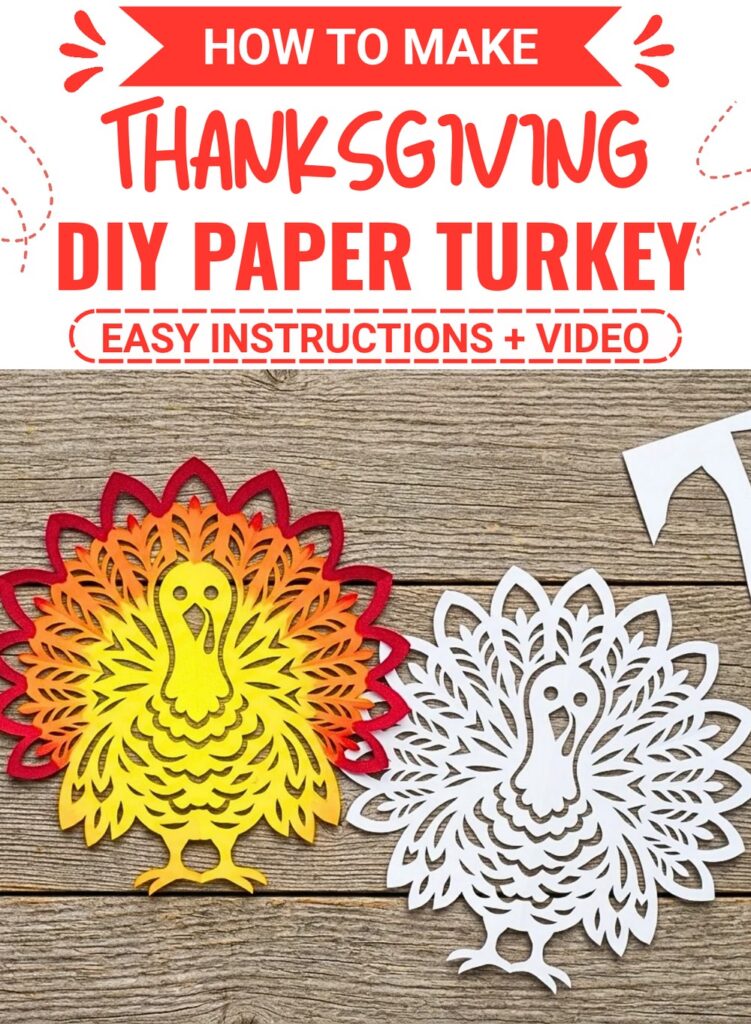
Create a colorful paper turkey with a large fan of patterned feathers, made by folding, cutting, and unfolding a single sheet of paper.
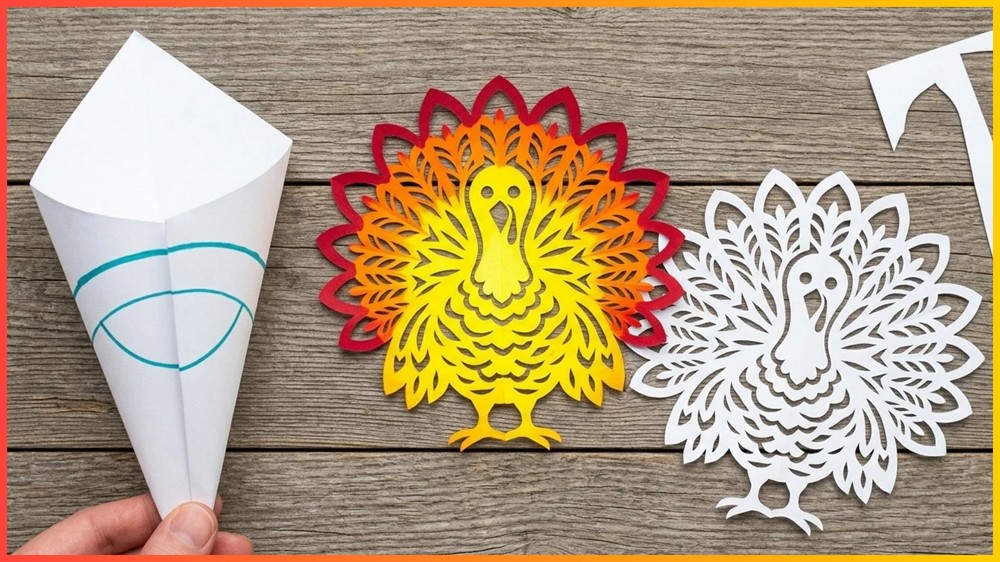
Thanksgiving decorating can be as simple as turning a sheet of paper into something colorful and cheerful. This easy paper turkey combines folding, cutting, and a few basic shapes to create a decorative bird with a large fan of patterned feathers.
The feather fan is the most eye-catching part of the craft. A square sheet is folded into several layers, then decorative curves and loops are drawn along the edges before the paper is cut and opened.
Because several layers are being cut at once, the placement of the folds and pencil pattern matters. A small change in one section can be repeated across the unfolded paper, which is what gives the finished feather fan its symmetrical appearance.

The turkey body is simpler to make and sits in the center of that fan. Once the two parts are joined, you can change the colors, add small details, or write Thanksgiving messages on the feathers to make the decoration your own.
Things that you need before crafting:
- Square sheet of paper for the feather fan
- Additional paper for the turkey body and head
- Colored paper in autumn shades such as red, orange, yellow, and brown, optional
- Scissors
- Pencil or pen
- Glue or paper-safe adhesive
The paper size can be adjusted depending on how large or small you want the finished turkey to be.
How To Make:
Prepare the Paper for the Feather Fan
Start with a square piece of paper.
Fold it diagonally in half to create a triangle.
If your paper began as a rectangle, trim away the excess first so you have a clean square. A properly squared starting sheet makes the later folds easier to manage.
Press along the fold so the crease is easy to see.
Why the first fold matters
This diagonal crease becomes part of the guide for the repeated folds and later cutting. If the first fold is loose or uneven, the layers may not line up as neatly when you continue.
Take a moment to straighten the edges before moving on.
Fold the Triangle Into Sections
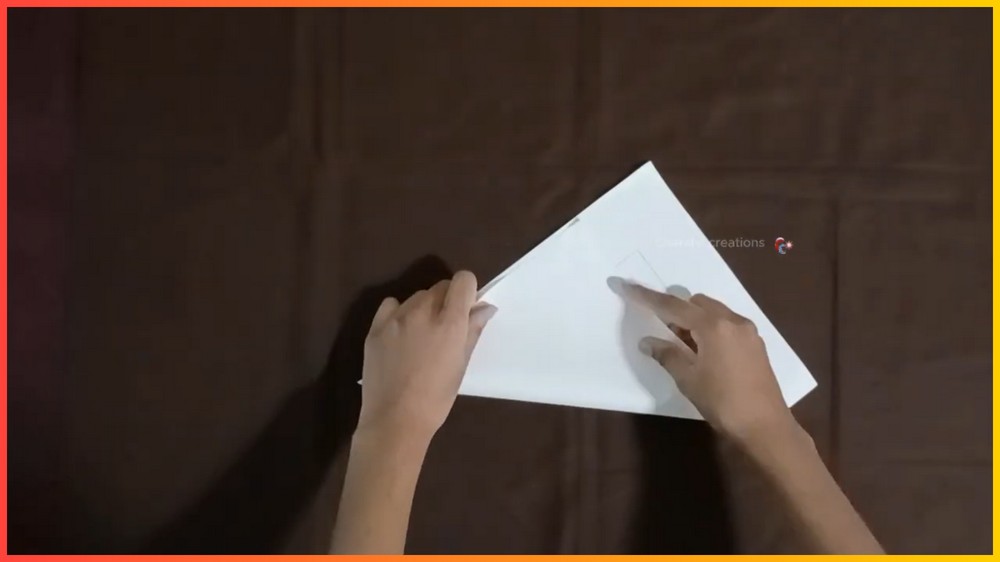
Continue folding the triangle to create several layers.
Press each crease firmly enough that it remains visible while you work.
The folded paper should stay compact and reasonably even along its edges. These layers are what allow one cut pattern to create repeated feather shapes when the paper is unfolded.
Check the folded edges before drawing
This is the one important checkpoint to make before you start sketching.
Look at the folded triangle from the outside and make sure the layers and edges are sitting together rather than slipping apart.
If one corner has shifted, unfold just enough to correct it and refold the section. Starting the pattern with uneven layers can make the finished feather fan look irregular.
Once the folded shape is aligned, keep it flat while drawing.
Draw the Feather Pattern
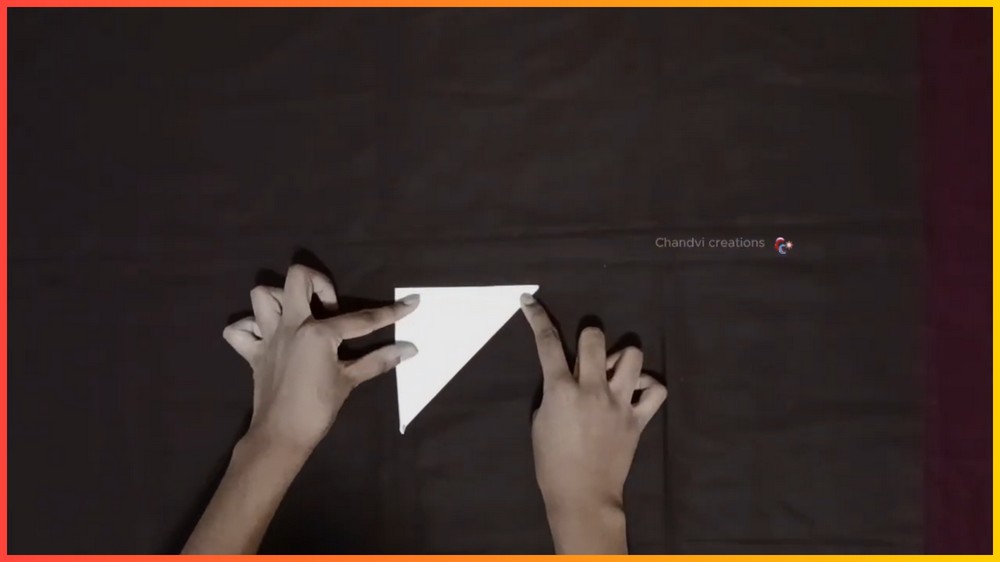
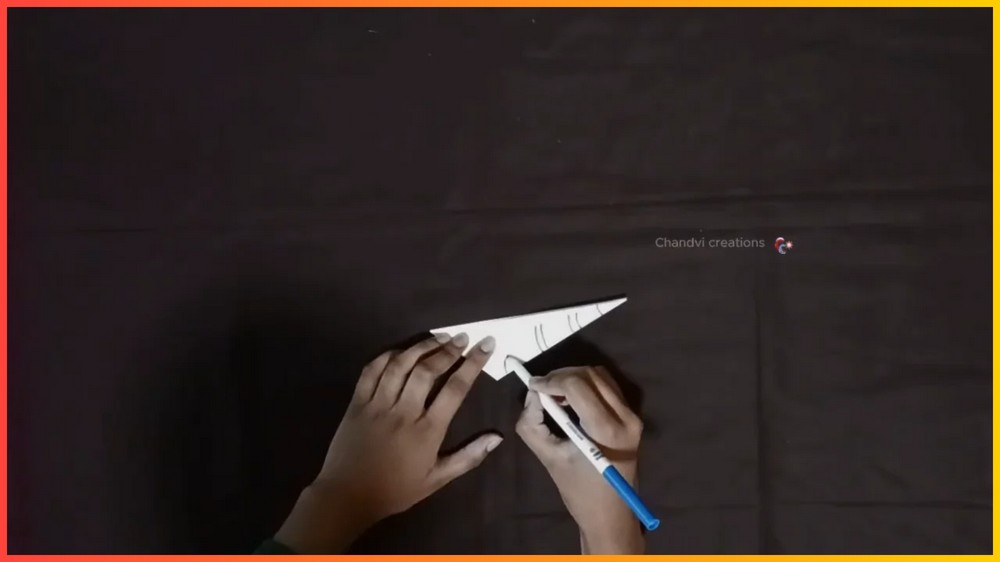
Use a pencil or pen to draw looping feather shapes and arches along the folded edges.
You can keep the curves simple. The important part is that the lines create open decorative areas that will become visible once the paper is cut and unfolded.
Keep the cutting lines away from the wrong edges
Look carefully at where each pencil line begins and ends.
You want to create decorative openings without accidentally cutting through a section that needs to hold the folded paper together.
If a drawn curve looks too close to an edge, adjust it before picking up the scissors. Pencil marks are easy to change at this stage; cuts are not.
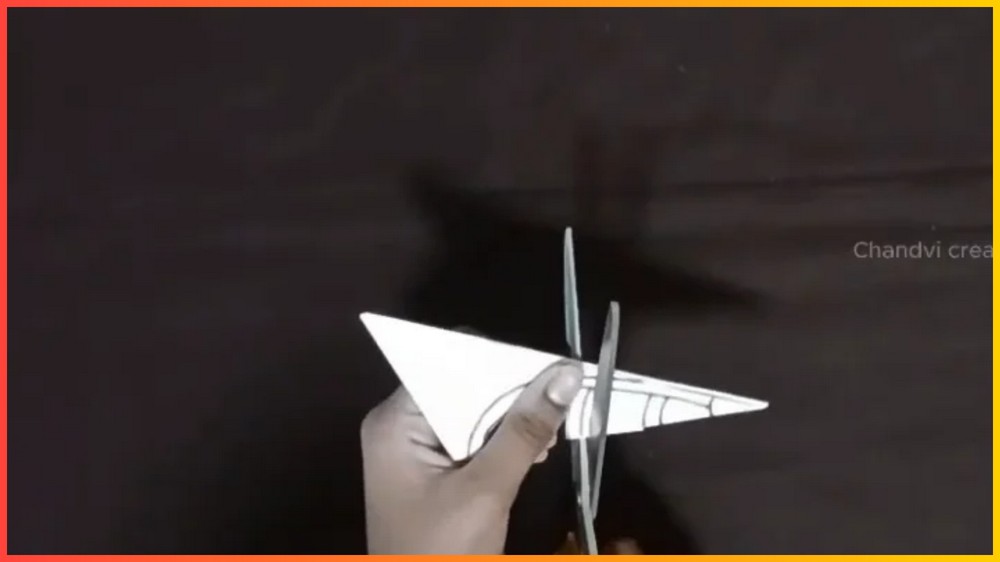
Cut the Folded Feather Pattern
Carefully cut along the pencil lines.
Because the paper is folded into several layers, move the scissors slowly through the curves rather than rushing through them.
Keep the folded sections together as you work so the repeated design remains consistent.
If a cut does not look even
Do not keep cutting farther just to make the shape match another section.
Instead, stop and inspect the surrounding layers. A small difference in one curve can still look attractive once the paper is unfolded, while an extra cut can remove a section that was needed to hold the fan together.
Work gradually around the pattern.
Unfold the Feather Fan
Once the cutting is finished, carefully open the paper.
The repeated cuts should reveal a large decorative feather fan with a circular, symmetrical appearance.
Open each folded section gently rather than pulling the paper apart quickly.
Let the design open naturally
If one section seems stuck, check whether two layers are simply pressed together before forcing them apart.
Small paper cuts can be delicate, so opening the folds slowly helps preserve the decorative edges you just created.
Set the completed feather fan aside while you make the turkey body.

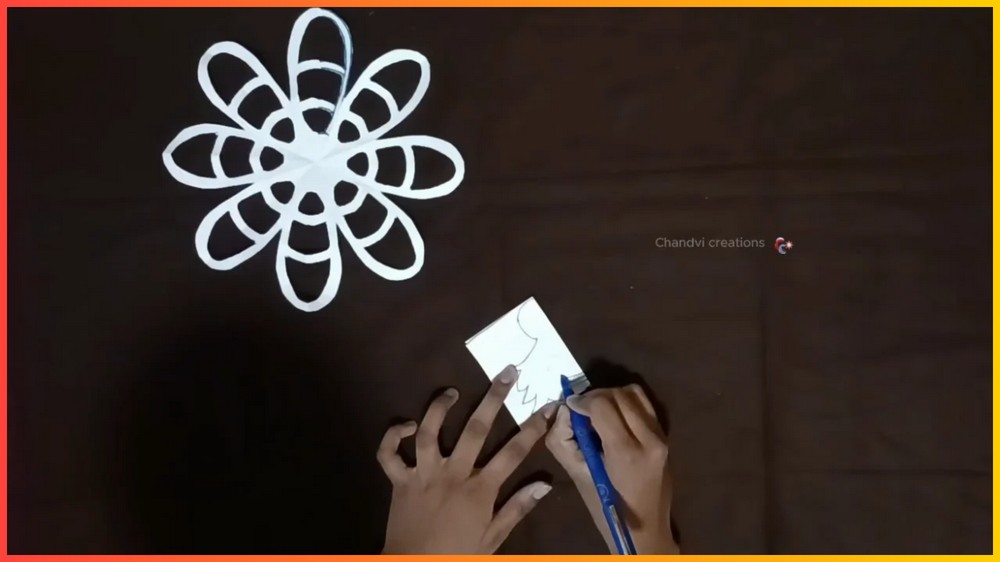
Draw the Turkey Body
Take a separate piece of paper for the turkey.
Sketch the body and head shape, including simple feather details around the chest if desired.
Add the beak and eye details to the design.
You can draw the body freehand rather than following an exact template, since the shape can be adjusted to fit the center of your feather fan.
Match the body to the feather fan
Before cutting, hold the paper body over the center of the finished fan.
Check that the body will cover the middle area without hiding too much of the decorative feather pattern.
If the body appears too wide, make the outline slightly narrower before cutting.
Cut Out the Turkey Body
Carefully cut around the body and head outline.
Cut the smaller facial details as needed.
Keep the edges smooth, especially around the head and chest, since these areas will remain visible against the decorative fan.
If you want additional color, use separate paper pieces for the beak or other small accents.

Attach the Turkey to the Feather Fan
Place the paper turkey over the center of the large feather fan without glue first.
Check that it sits centrally and that the decorative feather pattern remains visible around it.
Once the position looks right, apply glue to the back of the turkey body.
Press it onto the center of the feather fan.
Give the center a quick alignment check
Look at the turkey from the front while the glue is still fresh.
If the body has shifted too far toward one side, gently reposition it before the adhesive sets.
A centered body lets the feather pattern spread evenly around the turkey and keeps the finished decoration visually balanced.
Add the Final Details
Finish the turkey with any small paper accents you want to include.
A tiny beak detail can add definition to the face, while an eye drawn with a black marker or pen can make the bird easier to recognize.
Keep these details small enough that they complement rather than cover the larger feather design.

Choose Thanksgiving Colors
The feather fan can look completely different depending on the paper colors you choose.
Traditional autumn combinations such as red, orange, yellow, and brown give the turkey a warm Thanksgiving appearance.
For a softer look, try lighter shades or mix neutral paper with one or two brighter colors.
Add Gratitude Messages
For a more meaningful Thanksgiving activity, write short messages about things you are thankful for on the individual feather sections.
Children can add names, words, or short thoughts before the turkey is assembled.
If the feather fan has already been glued together, write in the open areas where the message can be seen without covering the decorative cuts.
Note: If you face any hurdles in creating this project, then you can watch the tutorial here.
Change the Size
The starting paper size can be adjusted to make different versions of the turkey.
A smaller version can work well as a table or place-setting decoration, while a larger version can create a more noticeable seasonal display.
When changing the size, keep the proportions of the folded paper and body reasonably consistent so the turkey still fits together naturally.

[…] outside can be decorated with Thanksgiving colors, small paper details, stickers, or a personal message. Inside, the photo creates the interactive […]