
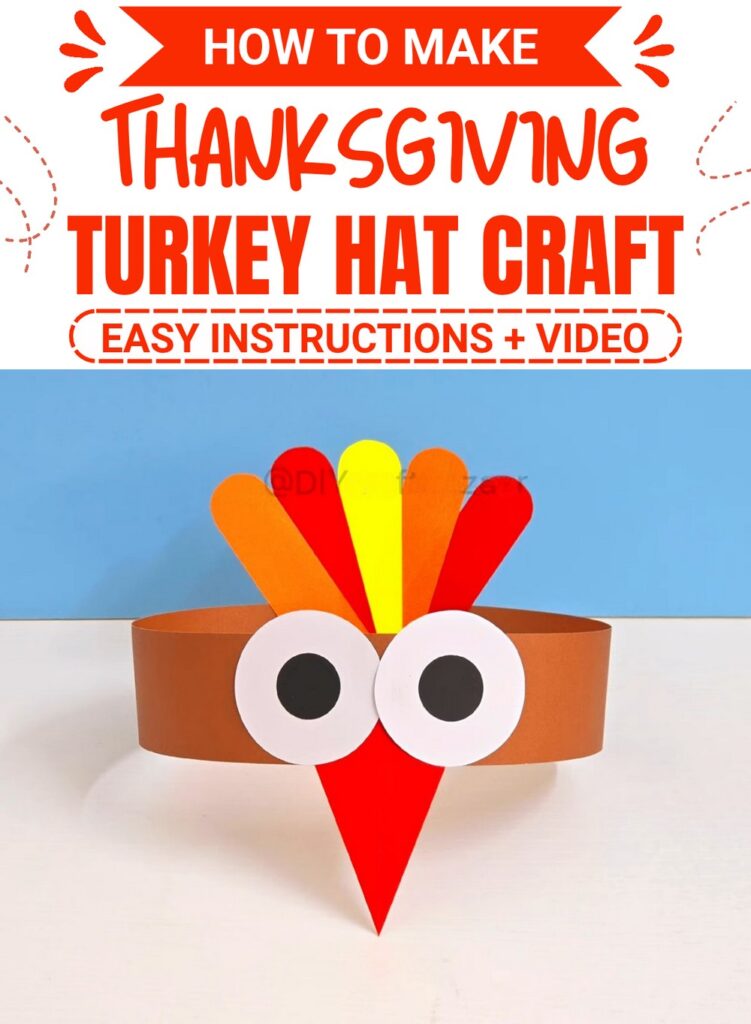
Looking for a fun Thanksgiving turkey hat with colorful paper, simple shapes, and a few easy assembly steps. It’s a cheerful craft kids can wear and personalize for the holiday.
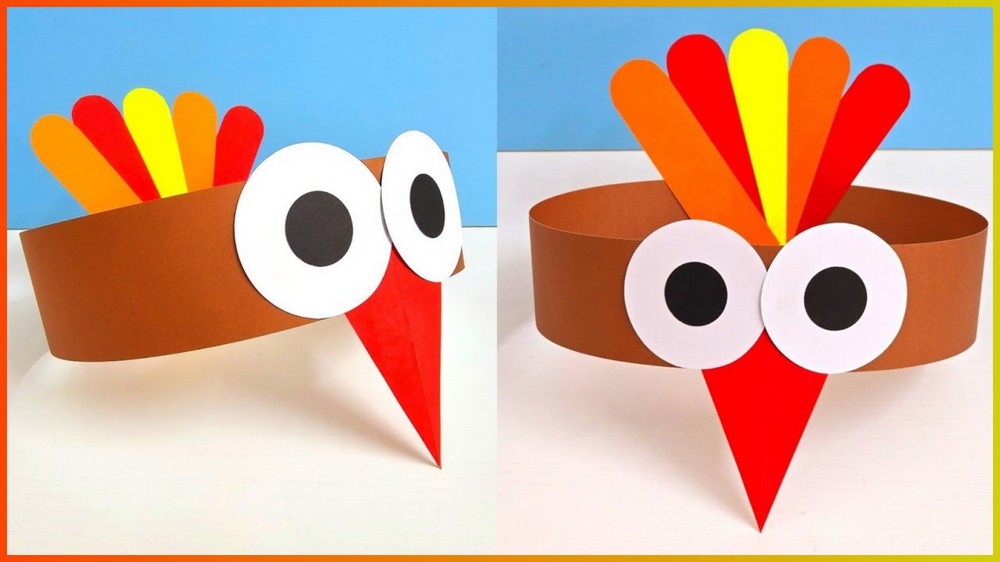
Thanksgiving celebrations become even more playful when children can wear something they have made themselves. This turkey hat turns a few sheets of colored paper into a cheerful headpiece with a turkey face at the front and bright feathers behind it.
The hat is built around a long brown paper strip, while smaller paper shapes create the eyes, beak, and feathers. The measurements in the tutorial provide a starting point, but the headband fit is the part that should be checked before it is permanently joined.
The order of assembly also makes the craft easier. Making the face before closing the headband gives you a flat surface to work on, while shaping the feather strips before attaching them keeps the finished fan neat.
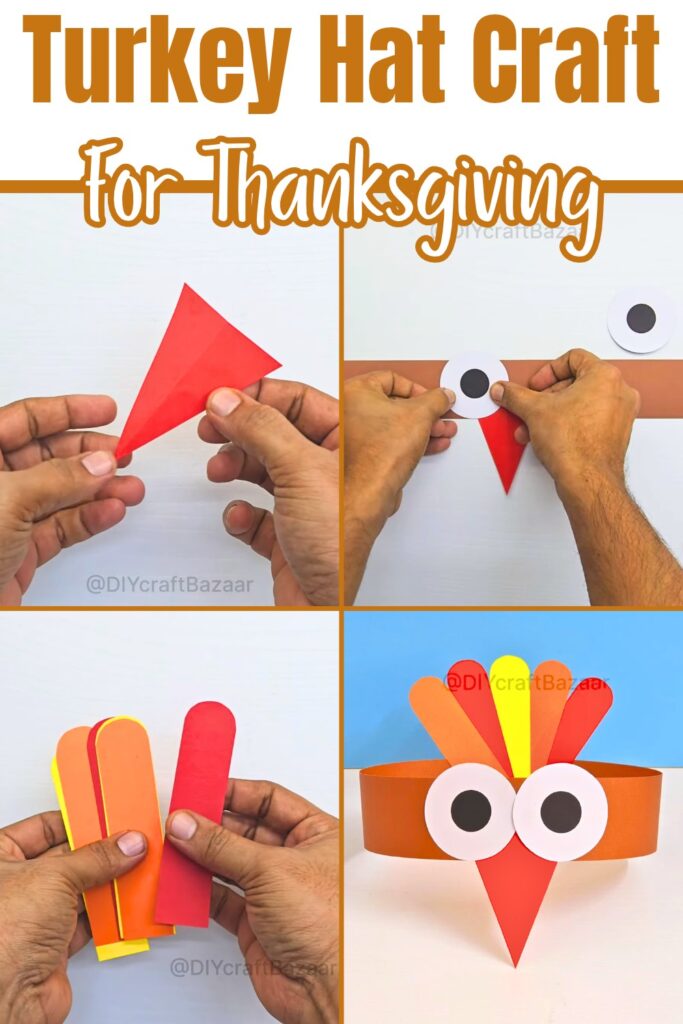
With a few simple cuts and folds, you can turn the basic pieces into a festive turkey hat ready for Thanksgiving fun.
Things that you need before crafting:
- Red paper
- Brown paper
- White paper
- Black paper
- Yellow paper
- Orange paper
- Scissors
- Glue stick
- Ruler
- Pen or pencil
- Small circular object, such as a glue-stick cap, for tracing the feather curves
How To Make:
Make the Turkey Beak
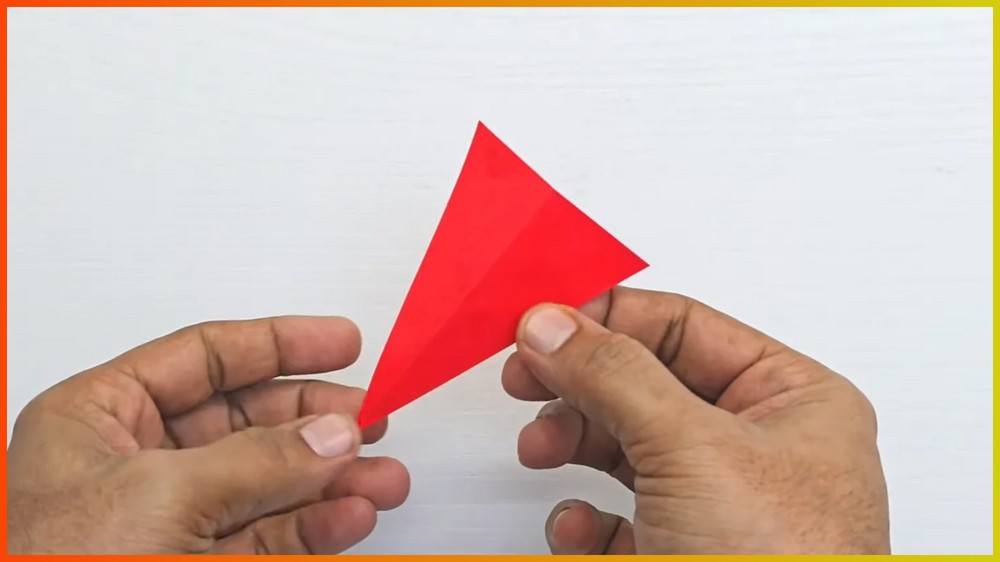
Begin with a 6 cm × 9 cm piece of red paper.
Fold it in half lengthwise.
Using the folded shape as your guide, cut the paper into a triangle to form the turkey’s beak.
Why fold the paper first?
The fold gives the beak a central line and helps both sides match when you cut the triangular shape.
If the two sides look uneven after cutting, trim the wider side slightly rather than trying to recut the entire piece.
Set the finished beak aside while you prepare the headband.
Cut the Brown Headband
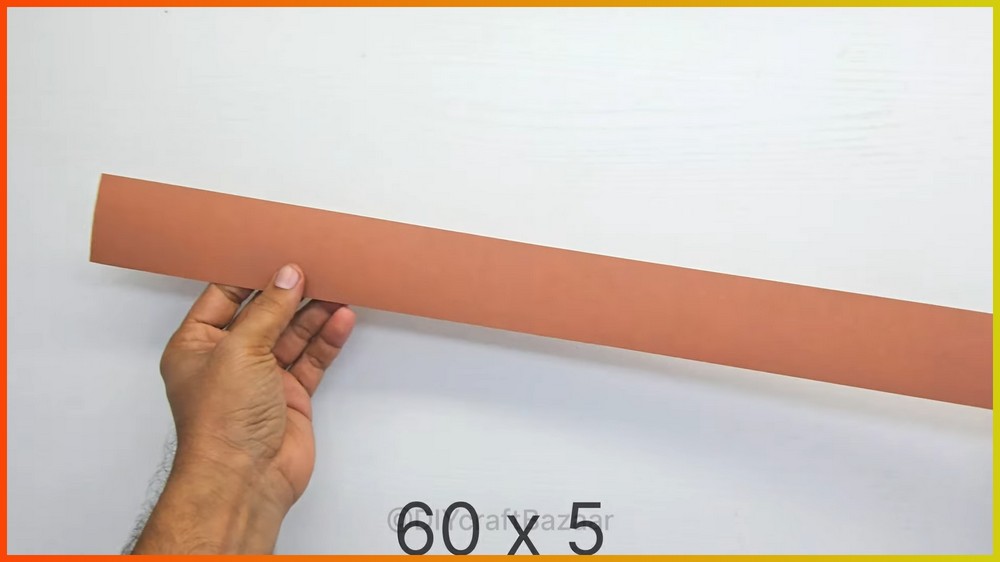
Measure and cut a 60 cm × 5 cm strip of brown paper.
This long strip forms the part of the hat that goes around the head.
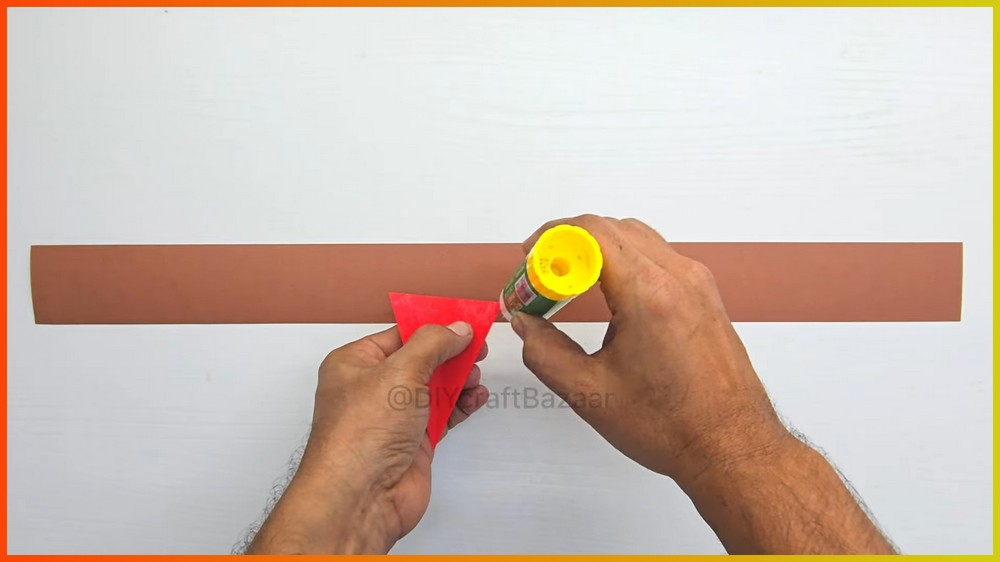
Before adding glue, lay the strip flat and identify its center. Glue the beak onto the center area of the strip.
Keep the beak centered
The center of the headband becomes the front of the hat, so placing the beak here gives you a useful reference point for positioning the eyes later.
If the beak has shifted while the glue is still wet, gently move it back to the center before continuing.
Add the Turkey’s Eyes
Cut:
- Two 3 cm white circles
- Two 1.3 cm black circles
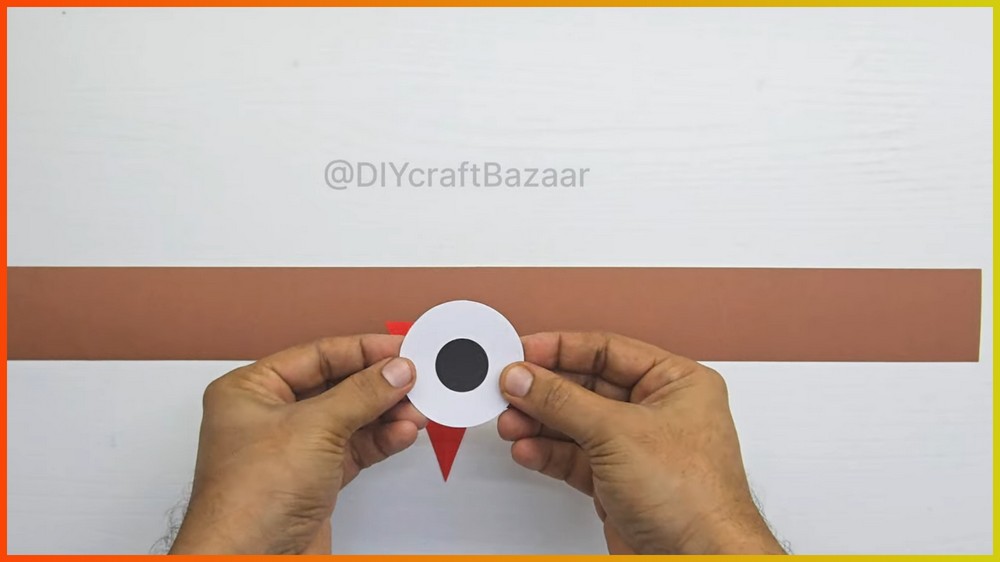
Glue each black circle onto a white circle to create the eyes.
Place the finished eyes on the brown strip just above the beak.
Check the face before moving on
Hold the strip flat and look at both eyes together.
They should sit at approximately the same height and remain close enough to the beak to read as one face.
If one eye is noticeably higher, reposition it while the glue is still workable.
Complete the Headband Fit
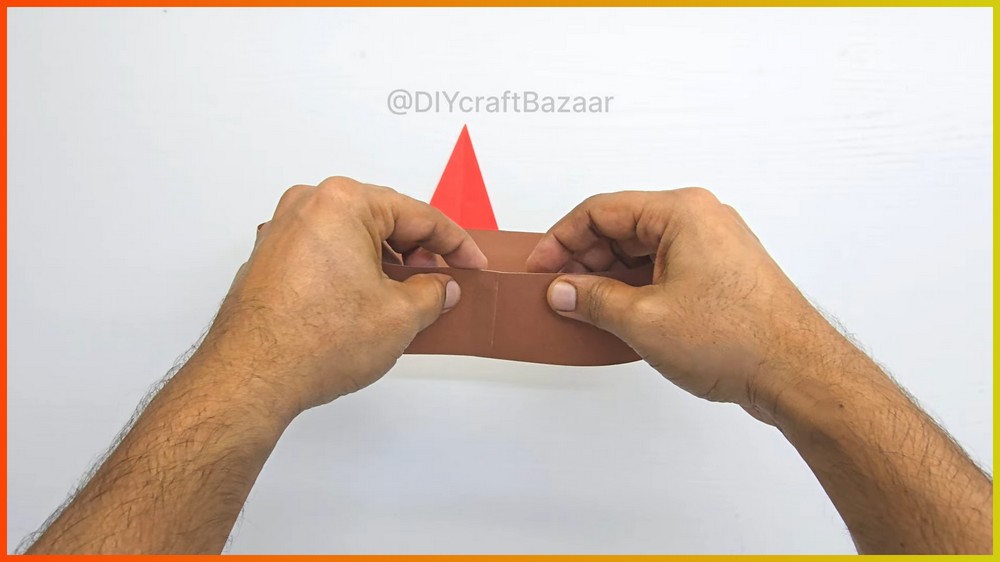
Now bring the two ends of the brown strip together to form the circular headband.
Do not glue the ends immediately.
Instead, place the unfinished band around the intended wearer’s head and adjust the overlap until it feels comfortable.
Why check the fit before gluing?
A paper strip that looks large enough on the table may feel different once it is wrapped around a head. Checking first lets you adjust the overlap without having to pull apart a glued seam.
If the band is too loose, overlap the ends a little more.
If it feels too tight, reduce the overlap or adjust the strip before joining it.
Once the fit is comfortable, glue the two ends together and hold them until the adhesive grips.
If the seam starts to open
Add a small amount of glue to the inside overlap and press the two layers together again.
Avoid covering the whole seam with excess adhesive. A small amount is enough to join the paper.
Prepare the Turkey Feathers
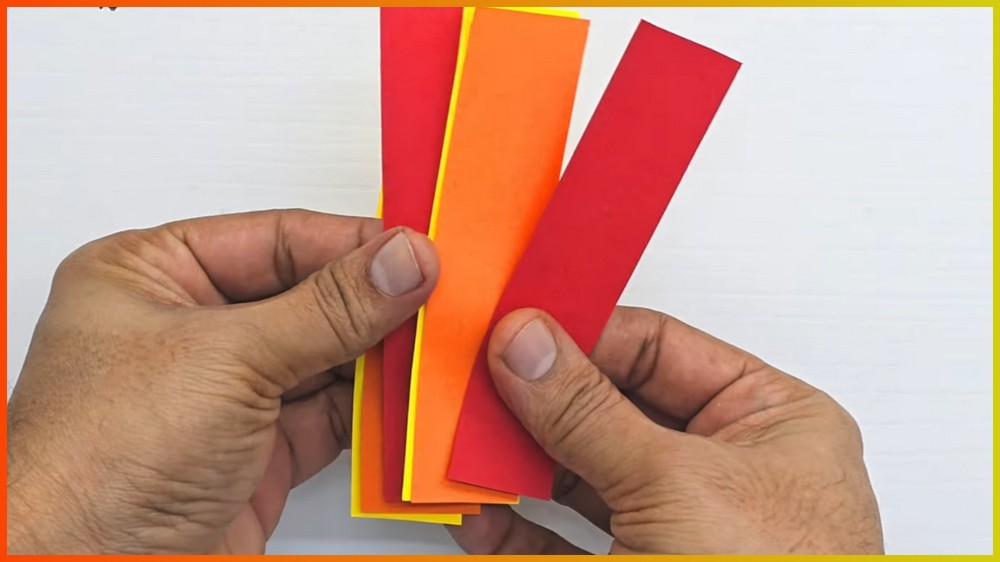
Cut five strips measuring 12 cm × 3 cm from red, orange, and yellow paper.
You can alternate the colors or choose your own combination.
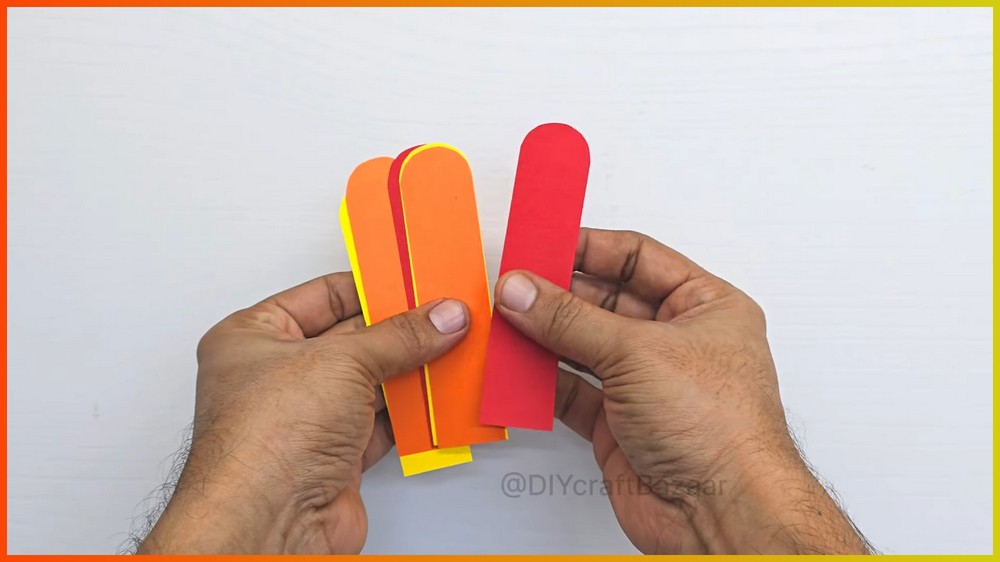
To round the top of each feather, place a small circular object such as a glue-stick cap near the end of a strip.
Trace the curved edge with a pencil and cut along the line.
Repeat for all five strips.
Keep the feather shapes consistent
The feathers do not need to be perfectly identical, but using the same circular guide for each one helps the finished fan look more coordinated.
If one curve is noticeably deeper or flatter than the others, trim it gently before attaching the feather.
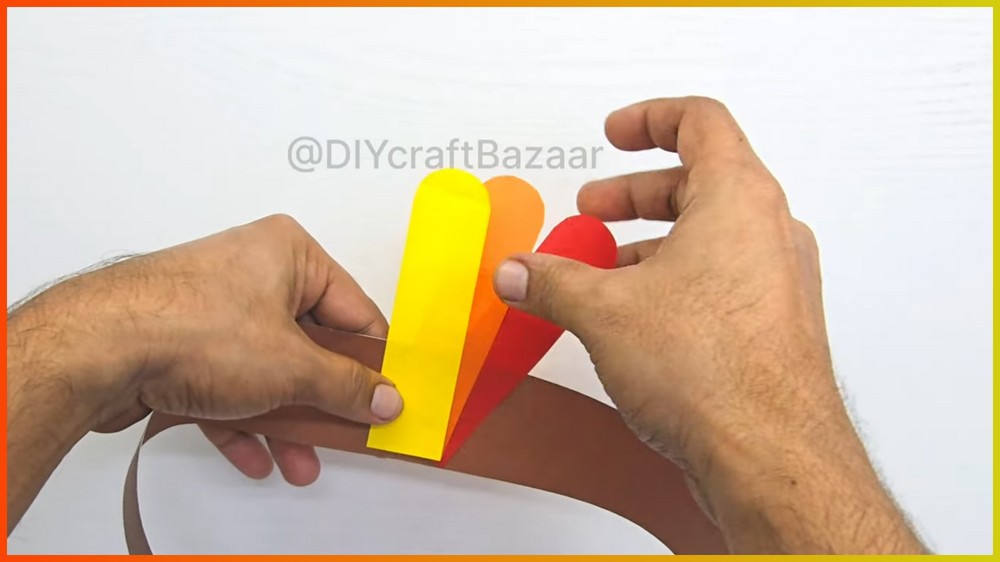
Attach the Feather Fan
Turn the headband so you can work on its inside.
Position the five paper feathers directly behind the eyes and beak.
Glue them to the inside of the headband, spacing them so they fan outward slightly.
Give the feathers room to show
Do not stack all five strips directly on top of one another. Spread them slightly so the different colors can be seen from the front.
Start with the center feather and then place the others to either side.
Once they are positioned, press the glued sections firmly against the inside of the headband.
If a feather shifts while the glue is wet, straighten it before the adhesive sets.
Let the Hat Set Before Wearing
Give the glued areas time to dry before putting the hat on.
Pay particular attention to the headband seam and the points where the feathers are attached.
Once the adhesive has set, gently place the hat on the head rather than pulling it outward aggressively. This helps protect the paper seam and the feather attachments.
Easy Ways to Personalize the Turkey Hat
The basic turkey hat can be changed with a few simple decorative touches.
Add Sparkle
Use glitter glue or sequins to decorate the feather shapes.
Keep decorative material away from the areas where the hat needs to flex around the head.
Add a Name or Thanksgiving Message
Write a child’s name or a short Thanksgiving message on the brown headband.
For a group celebration, each person can personalize their own hat.
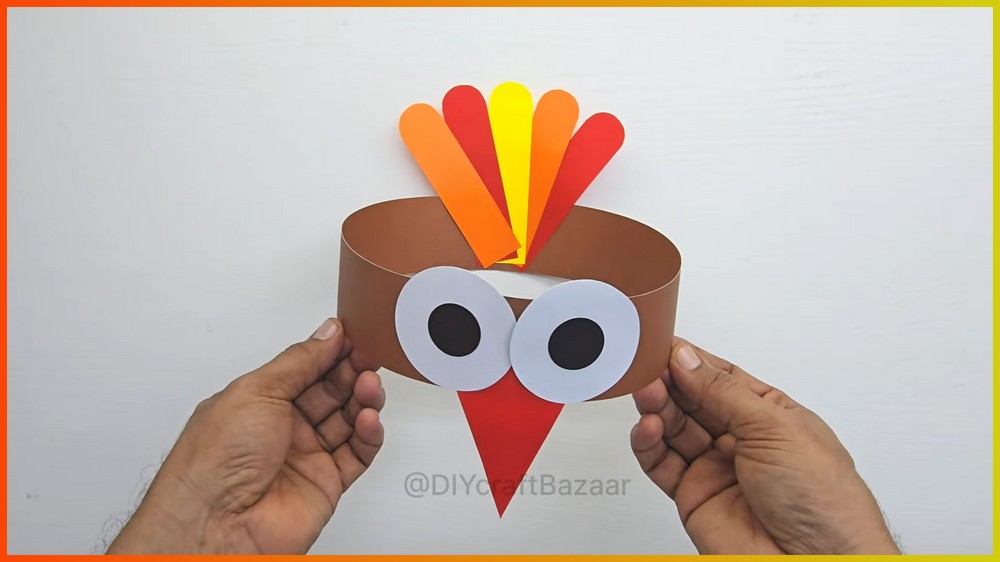
Note: If you face any hurdles in creating this project, then you can watch the tutorial here.
Change the Feather Colors
Red, orange, and yellow create a traditional autumn look, but you can choose other colors for a more playful turkey.
Try alternating two colors or giving every feather a different shade.

[…] pop-up turkey uses simple paper shapes and accordion folds to create a layered tail that opens with the card. The […]