
A single square of paper becomes a charming Thanksgiving turkey with folded wings, a pleated tail, and a simple shape beginners can follow.
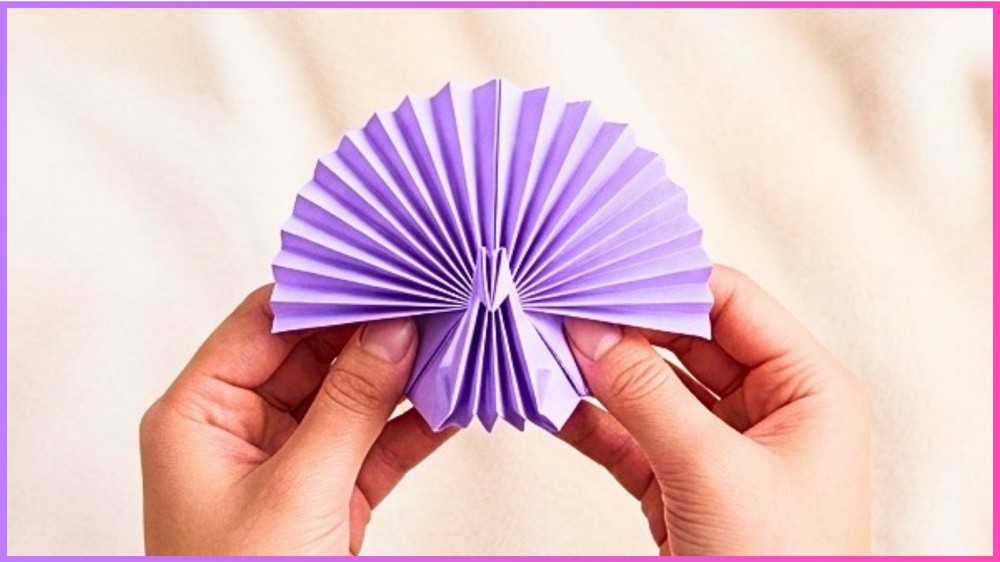
Thanksgiving decorations do not always need a collection of supplies. This little origami turkey begins with one square sheet of paper and turns a series of simple folds into a recognizable bird with a pleated tail.
The finished turkey gets its character from the way the paper is folded and compressed. The early creases establish the center line, while the later folds narrow the shape and give the body its form.
For beginners, the most important thing is not to hurry through the folds. Each crease becomes a guide for the next one, so taking a moment to check the paper’s position before continuing can make the later steps much easier.
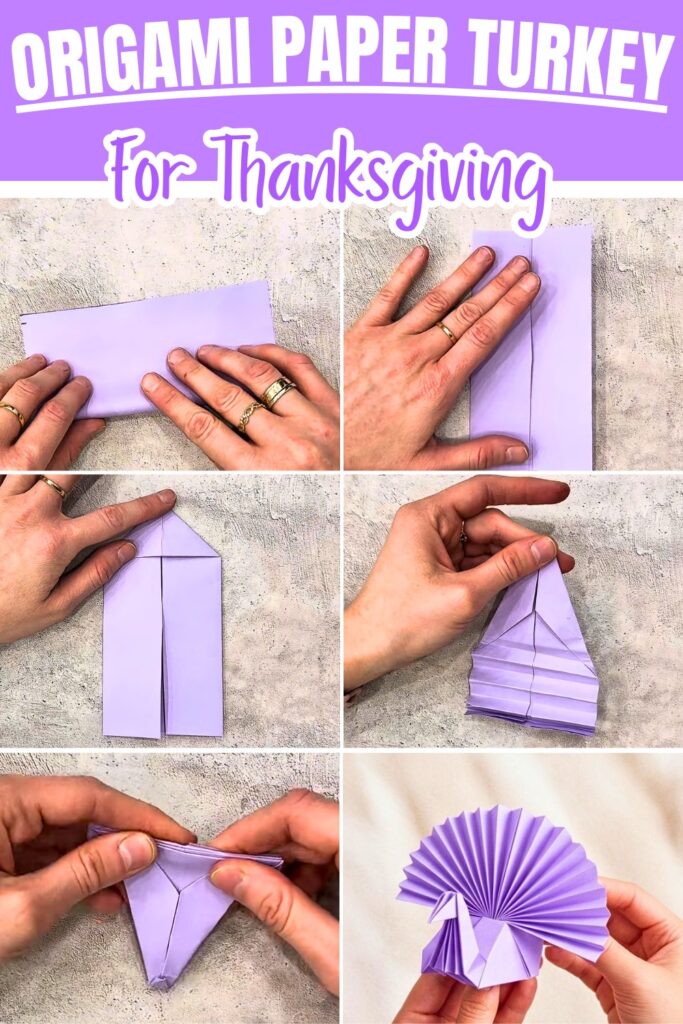
The tail is the most decorative part of the turkey. Small, even accordion folds create the pleated feather effect, while a tiny amount of glue holds the tail together without weighing down the paper.
Things that you need before crafting:
- One 15 × 15 cm square sheet of paper
- Scissors
- A small amount of glue or a glue stick
- Optional: marker for the eye
- Optional: colored paper for a tiny wattle
The tutorial uses light purple paper, but you can choose another color if you want a different look.
How To Make:
Start With a Square Sheet
Begin with the 15 × 15 cm square sheet of paper.
Fold the square in half to create a rectangle, then unfold it.
You should now have a clear crease running through the center of the square.
Check before cutting
Make sure the crease is straight and easy to see. This line will be used immediately for cutting, so an uneven first fold can make the two pieces different sizes.
If the crease is faint, reinforce it gently before unfolding.
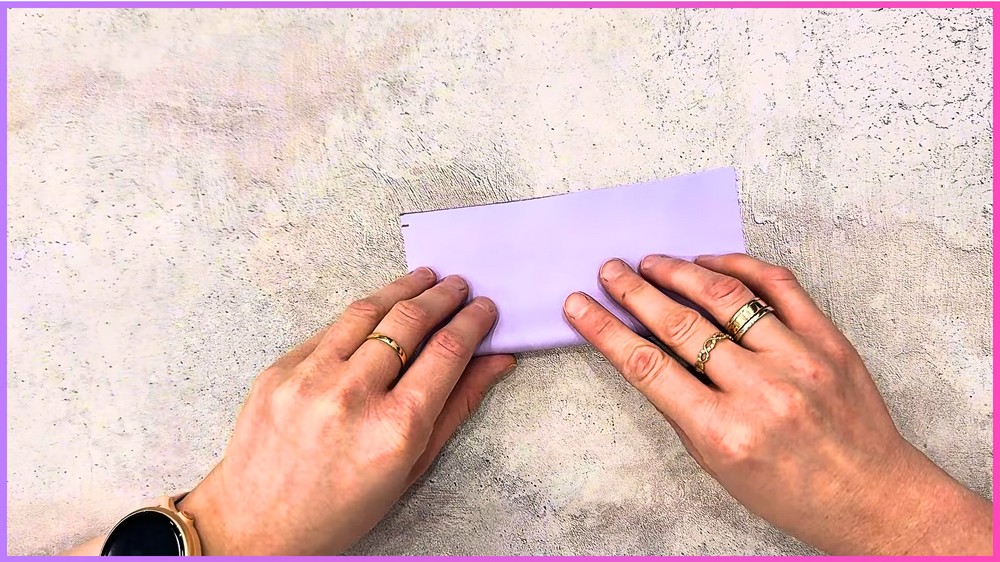
Cut the Paper in Half
Use scissors to cut directly along the center crease.
You will now have two equal rectangular pieces.
Only one rectangle is needed to make the turkey, so set the other piece aside for another paper craft.
Why the first cut matters
The rectangle created here becomes the starting shape for the turkey. Keeping the cut close to the original crease helps preserve the proportions needed for the following folds.
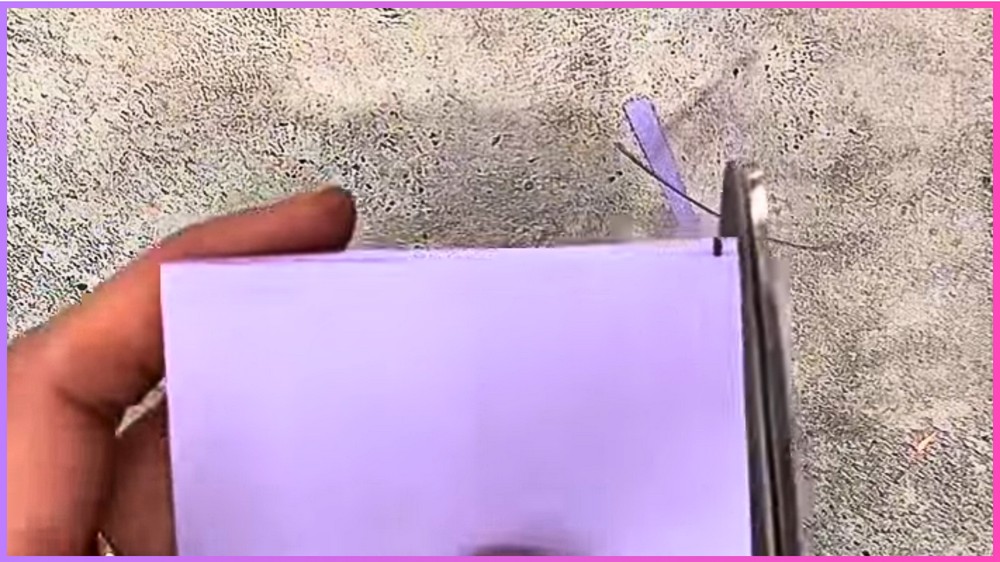
Create the Second Center Crease
Take one rectangular piece and fold it in half lengthwise, bringing the two long edges together.
Press the fold firmly, then unfold the paper.
You should now have another clear center crease running along the length of the rectangle.
This crease becomes the main reference line for several of the next folds.
Fold the Top Corners Toward the Center
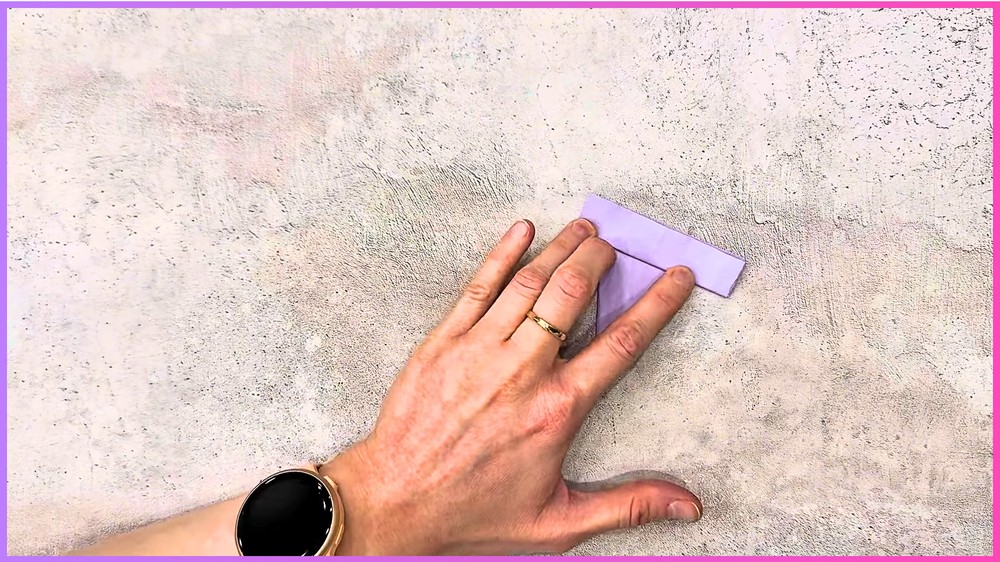
With the rectangle positioned in front of you, fold the two upper corners downward toward the center crease.
The folds should meet at the middle and create a pointed top, similar to the roof of a small house.
Press each crease firmly.
Check the point
Before continuing, look at the two folded corners.
They should meet neatly around the center rather than sitting noticeably to one side. If one corner crosses far beyond the other, unfold it and reposition it before making the crease sharp.
This small correction now can make the finished turkey much more even.
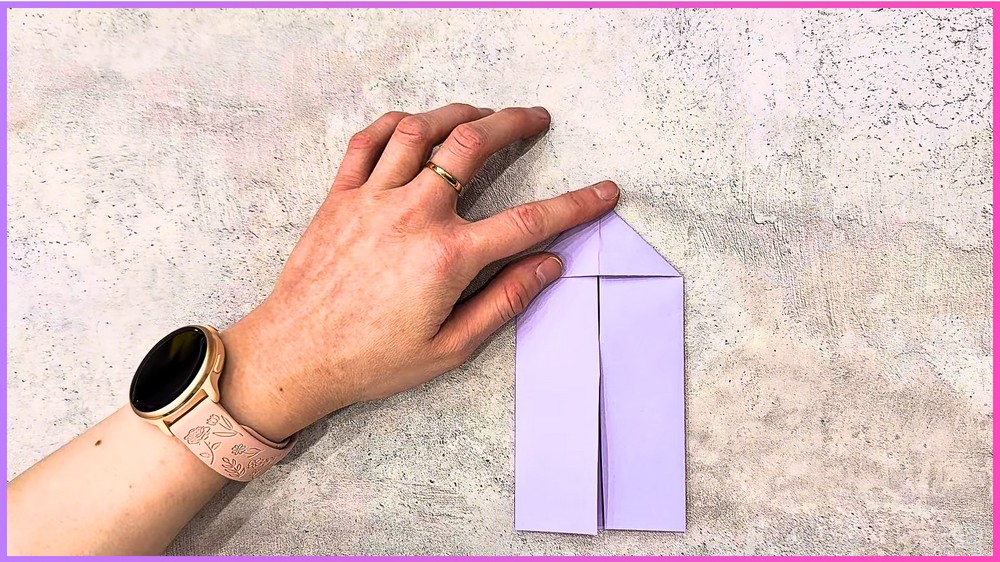
Narrow the Sides
Fold the two straight outer edges inward until they meet the center crease again.
The paper should become narrower as the sides move toward the middle.
Press both folds firmly.
Keep the center as your guide
The original center crease is your reference here. If one side stops noticeably farther from the center than the other, the finished shape can become uneven.
Unfold and adjust a side if necessary before moving on.
Fold the Shape in Half
Fold the entire shape in half along the original center crease.
Press the fold flat.
The paper should now have a compact, narrow form with the pointed section still visible.
This fold brings the earlier sections together and prepares the paper for shaping the turkey’s body.
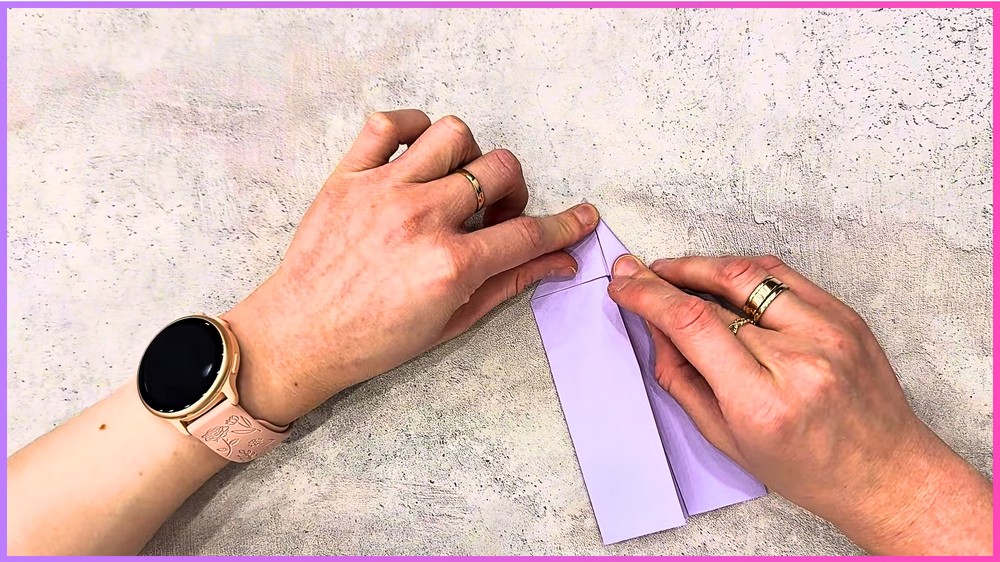
Shape the Turkey’s Body
Now begin forming the body from the folded shape.
First, fold the bottom straight edge upward slightly.
Then fold the pointed top section downward until it meets the folded edge.
Next, fold the two side corners inward so they meet near the middle.
Finally, fold the upper flat edge downward slightly.
Shape the upper corners
Fold the two top corners inward a little to soften the pointed shape.
These small folds help give the turkey a more rounded appearance instead of leaving the body looking completely angular.
Do not make the corner folds excessively large. The aim is simply to soften the outline while keeping the main body shape intact.
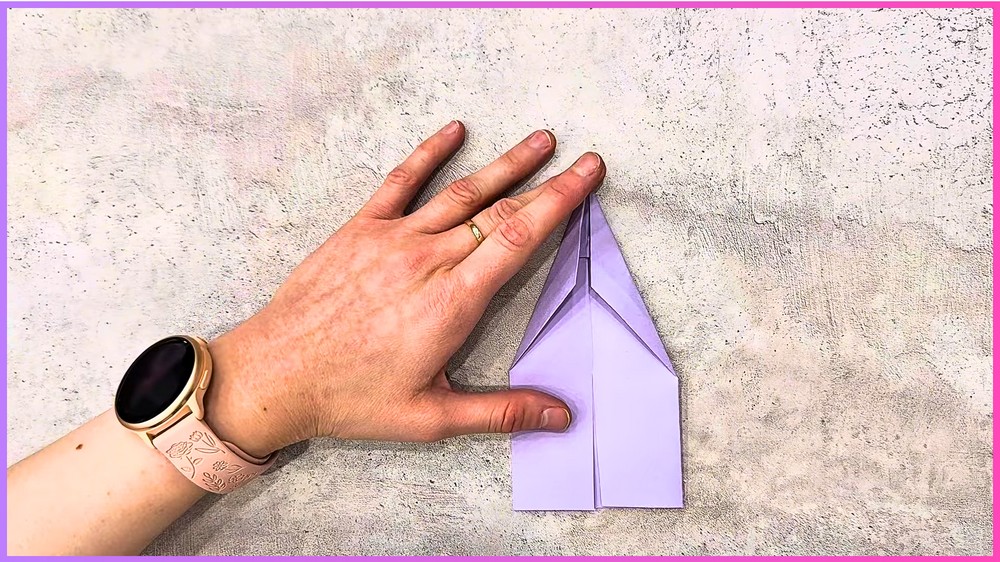
Check the Body Before Making the Tail
Pause here and look at the folded shape from the side and front.
The body should feel compact, with the upper section beginning to resemble the turkey’s head and the remaining paper providing the area that will become the tail.
If a fold has shifted, this is the easiest stage to correct it. Gently open the affected section and recreate the crease rather than trying to force the next folds over an uneven shape.
This checkpoint is especially helpful for beginners because later accordion folds are easier when the underlying shape is already neat.
Create the Pleated Tail
Fold the entire shape in half again.
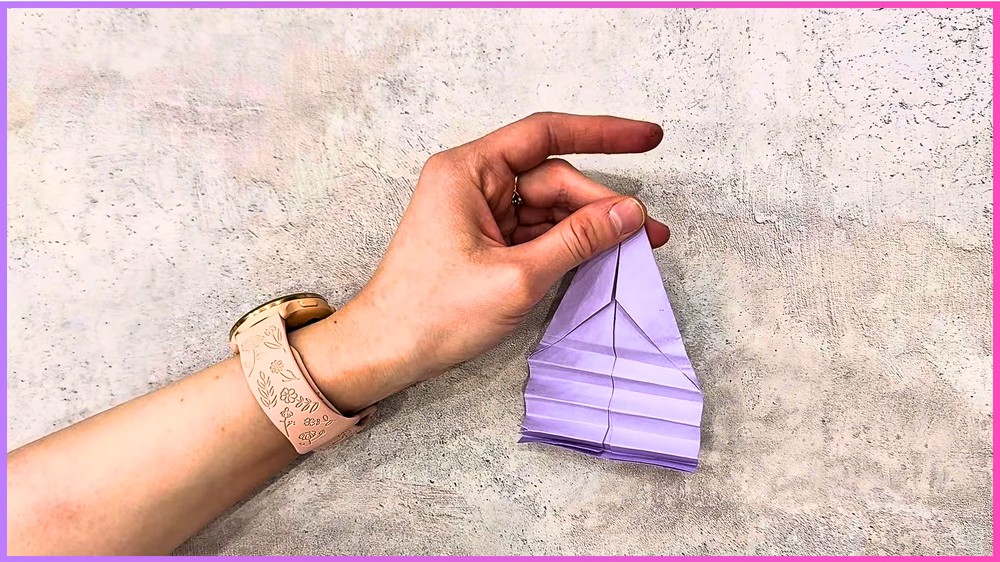
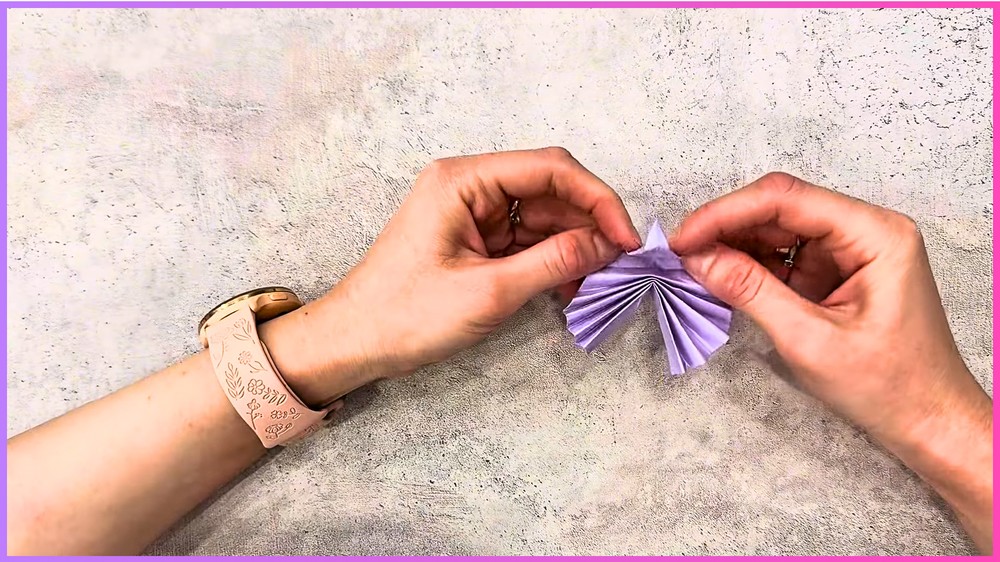
Now begin accordion-folding the paper from one end to the other.
Make a fold in one direction, then reverse the direction and continue back and forth in small, even sections.
The repeated folds create the pleated appearance of the turkey’s tail feathers.
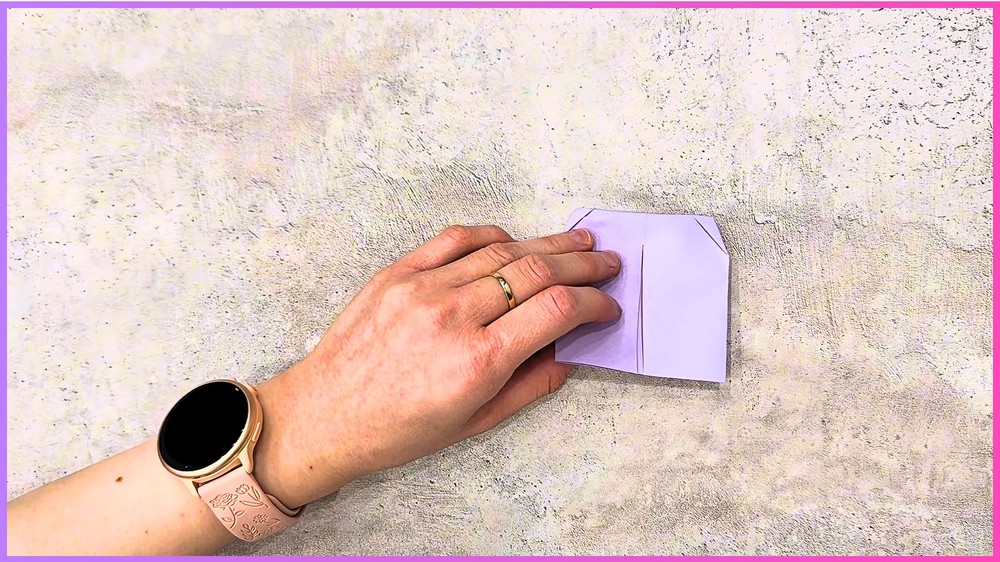
Keep the pleats consistent
Try to make each section approximately the same width.
If the first few folds are very wide and the later ones become narrow, the tail may not fan evenly. When you notice the spacing changing, unfold the most recent fold and adjust it before continuing.
There is no need to rush this part. The tail is one of the most visible features of the finished turkey, so careful folding makes a noticeable difference.
Shape the Head and Beak
At one end of the folded shape, find the pointed tip.
Fold this tip downward to form the turkey’s head and beak.
Keep the fold small enough to preserve the body and tail shape.
Check the direction
Before pressing the crease firmly, make sure the pointed section is folding toward the outside of the turkey rather than disappearing into the folded layers.
If the head looks as though it is pointing in the wrong direction, open the fold and reposition it while the paper is still easy to handle.
Secure the Tail
Once the accordion-folded tail is in position, apply a small amount of glue inside the folded tail section.
Press the sides together gently so the tail stays secured while the pleats can still fan outward.
Use only a little glue
Too much glue can dampen the paper and flatten the carefully made pleats.
A small dab is enough to hold the section together. Press briefly, then give the glue time to grip before opening or fanning the tail.
If the tail sticks together more than intended, gently separate the outer pleats before the glue has fully set.
Give Your Turkey a Face
The folded shape already creates the head and beak, but a few small details can make the bird easier to recognize.
Use a small marker to add an eye.
You can also cut a tiny wattle from red or another contrasting piece of paper and attach it beneath the beak with a small amount of glue.
These details are optional, so the turkey can remain completely paper-folded if you prefer a simpler finish.
Note: If you face any hurdles in creating this project, then you can watch the tutorial here.
Try Different Paper Looks
Once you are comfortable with the folding sequence, changing the paper is an easy way to create different turkeys.
Traditional Thanksgiving shades such as brown, orange, red, and yellow can give the bird a seasonal appearance. Patterned origami paper can create another look without changing the folds.
You can also experiment with different square sizes. A smaller starting square creates a smaller turkey, while a larger one gives you a larger folded shape.
If you are making several turkeys, using different paper colors can make each one look distinct even when the folding method stays the same.
Save this pin for future!


[…] few basic paper shapes are all you need to turn a sheet of colorful paper into a cheerful Thanksgiving turkey. Triangles, rectangles, and circles come together to create the body, eyes, beak, feet, and bright […]