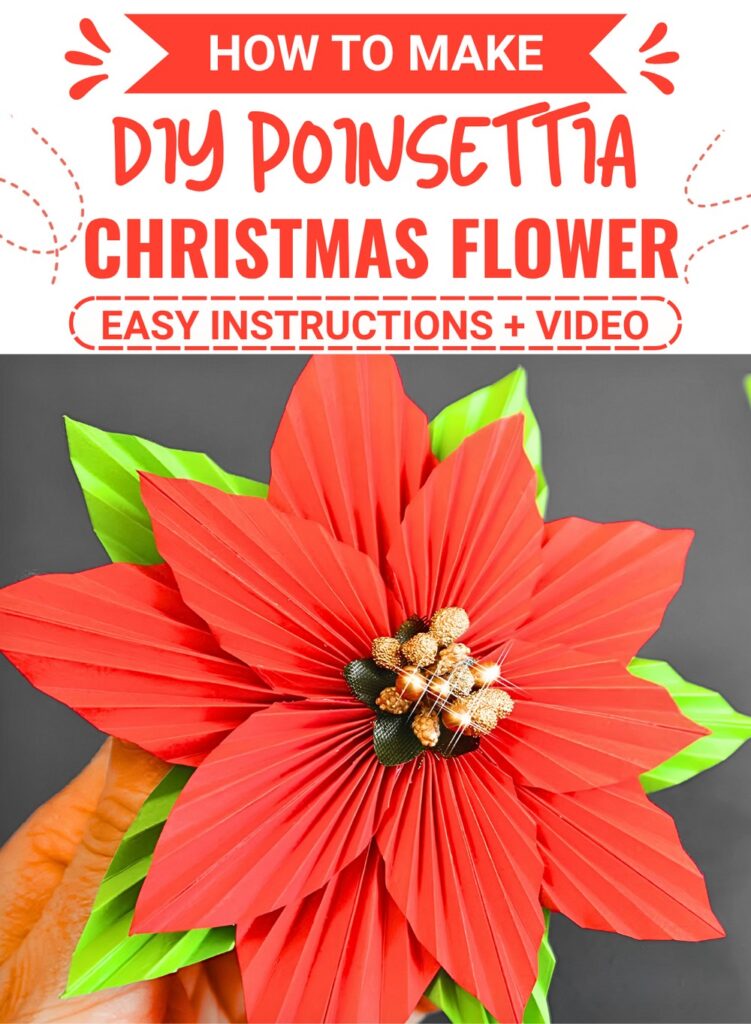
Bright red poinsettia flowers made of folded paper are a wonderful way to bring holiday cheer into your home. These lovely handmade blooms add warmth to any room during the festive season. You can use them to decorate your holiday table, hang them on your tree, or attach them to gift boxes to make presents special.
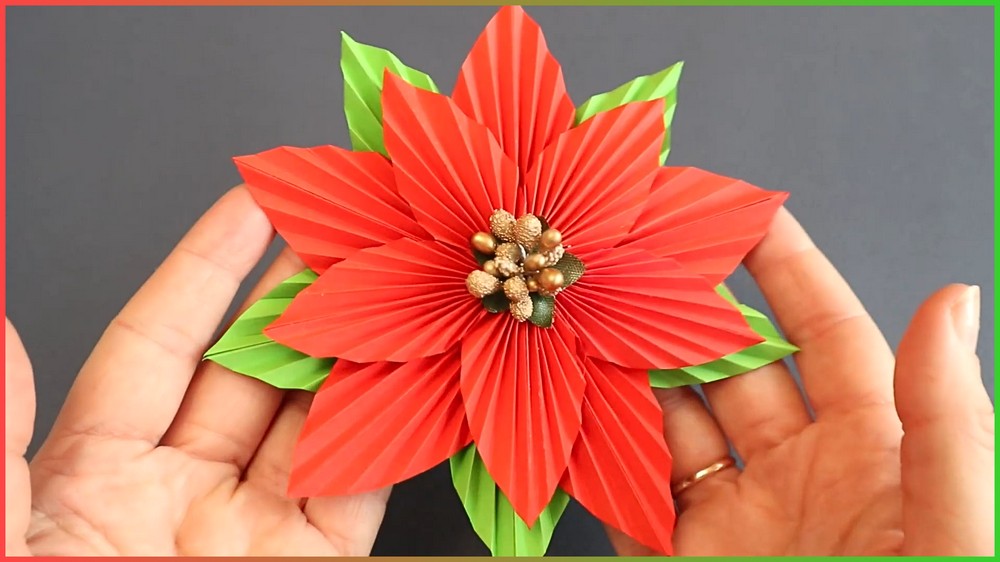
DIY 3D Paper Poinsettia
Making these paper poinsettias is a joyful activity that anyone can enjoy. By folding red and green paper sheets into neat fan shapes, you create full flower petals and leaves. Joining the pieces together and placing small golden accents in the middle makes a realistic flower that stays fresh all winter long.
You can place these paper flowers around your home to make every corner look bright and happy. Put them in small bowls, attach them to wall wreaths, or line them up along a fireplace mantle. They are light and easy to stick onto cardstock or ribbon, letting you decorate windows, doors, and party walls effortlessly.
Sharing these paper poinsettias with friends and family adds extra joy to the holiday season. Children and adults can work on them together during cozy afternoons at home. Giving handmade flowers as sweet gifts shows thoughtful care, bringing smiling faces and warm holiday feelings to everyone who receives one.
Materials & Tools Needed
Green Paper: 5 square sheets ($10 \times 10\text{ cm}$) for the foundational leaf tier.
Large Red Paper: 5 square sheets ($10 \times 10\text{ cm}$) for the main outer petals.
Small Red Paper: 5 square sheets ($8 \times 8\text{ cm}$) for the dimensional inner petals.
Adhesives & Hardware: Glue stick, hot glue gun, and a small green circular paper backing base.
Embellishments & Tools: Scissors, ruler, pencil, and artificial golden stamen berries.
Gauge
Each folded leaf or petal unit measures approximately $4\text{ cm}$ wide at the base, yielding a finished round poinsettia blossom with a total diameter of roughly $12\text{ cm}$.

This Project credit goes to Amazing Super Craft.
Construction Highlights & Features
Triangular Base Cutting: Dividing square sheets diagonally to establish clean baseline modules.
Accordion Pleating: Concertina-folding from the longest edge to apex to build deep, tactile texture.
Modular Ribbing: Folding pleated units in half and bonding inner edges to create sturdy fan shapes.
Star Configuration: Hot-gluing five identical units in a circle to form separate green and red star tiers.
Tiered Layering & Finishing: Stacking staggered layers with golden center stamens and a rear backing disc for a secure round form.
Crafting Pattern
Phase 1: Preparing and Cutting the Paper Modules
Begin by organizing your paper by size and color. Take the five $10 \times 10\text{ cm}$ green paper squares, the five $10 \times 10\text{ cm}$ red paper squares, and the five $8 \times 8\text{ cm}$ red paper squares. Work with one square sheet at a time.

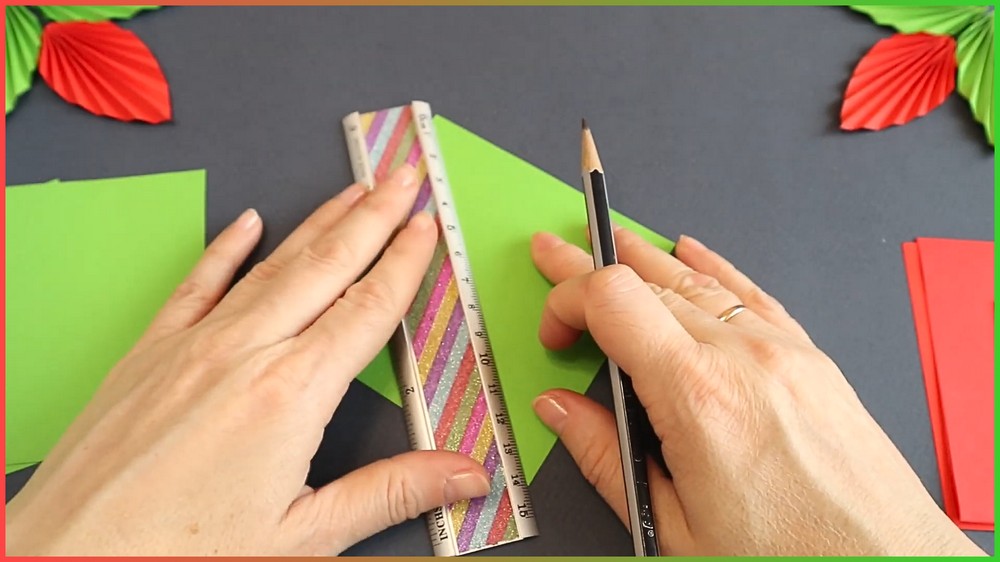
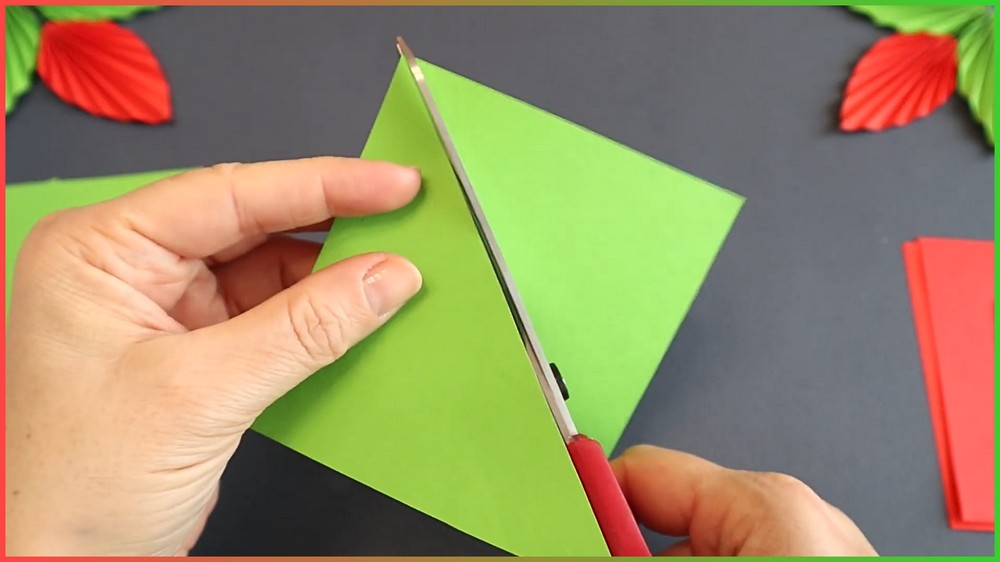
Using a ruler and pencil, mark a precise diagonal line from one corner across to the opposite corner. Carefully cut along this line to divide each square into two right-angled triangles.
Each triangle serves as the foundation for an individual leaf or petal unit, meaning you will produce two potential modules per square sheet (you will need five cut triangles per layer for a total of fifteen prepared triangles).
Phase 2: Accordion Folding and Unit Shaping
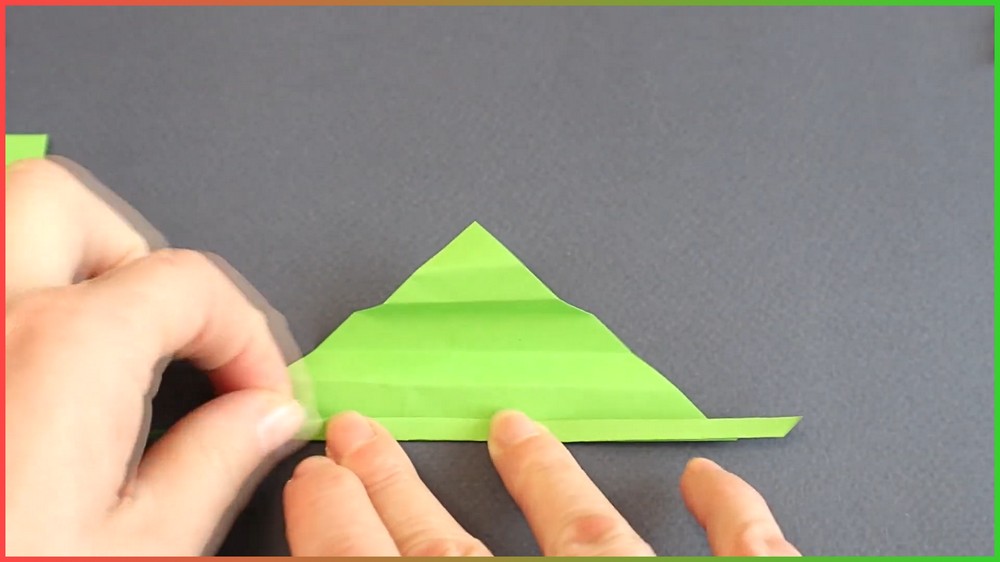
Lay a triangle flat on your working surface with the longest side (the hypotenuse) facing toward you. Beginning along this long straight edge, make a tiny forward fold of about $3\text{ mm}$ to $5\text{ mm}$. Flip the paper over and fold back by the exact same width. Continue this alternating concertina or accordion-style folding across the entire triangle, working your way gradually from the wide base up to the pointed top apex. Keep your pleats thin, parallel, and crisp by firmly pressing along each edge with your thumb or a bone folder.
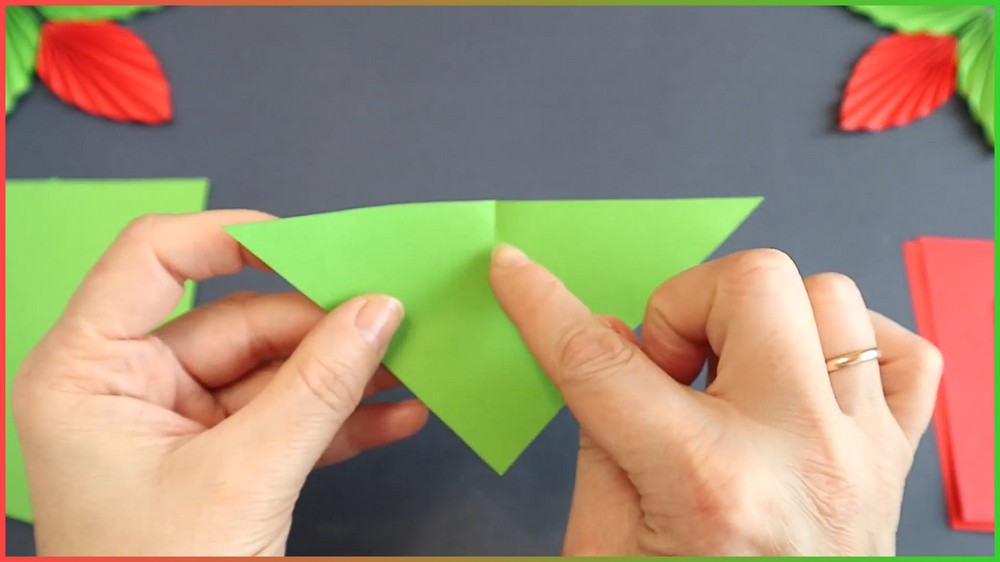
Once folded into a tight, pleated strip, hold the strip by its ends and bend it in half along its center point so that the two outer ends swing up to meet one another. Apply a thin line of standard craft glue stick along the inner meeting edges of the center fold, then firmly press and hold them together until set.
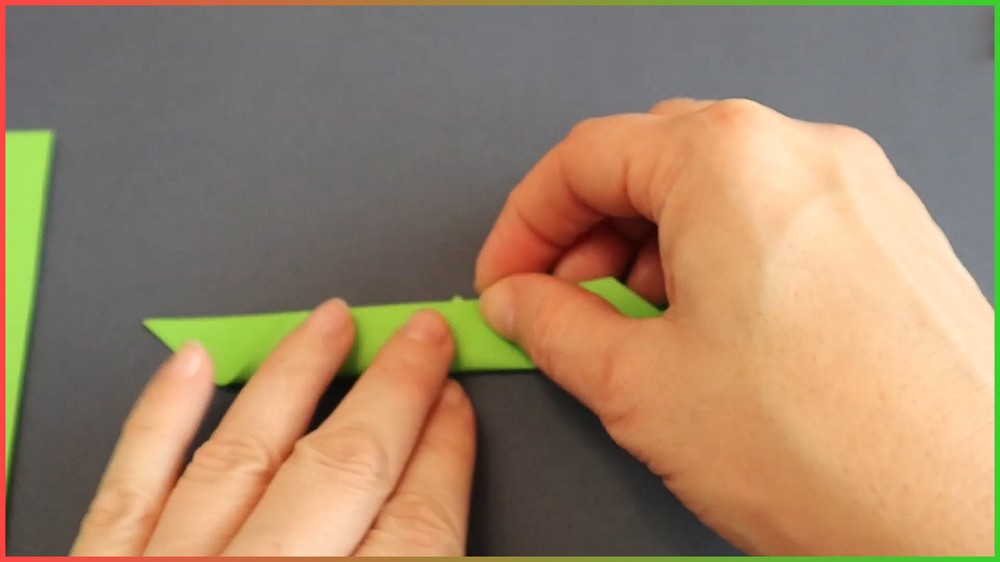
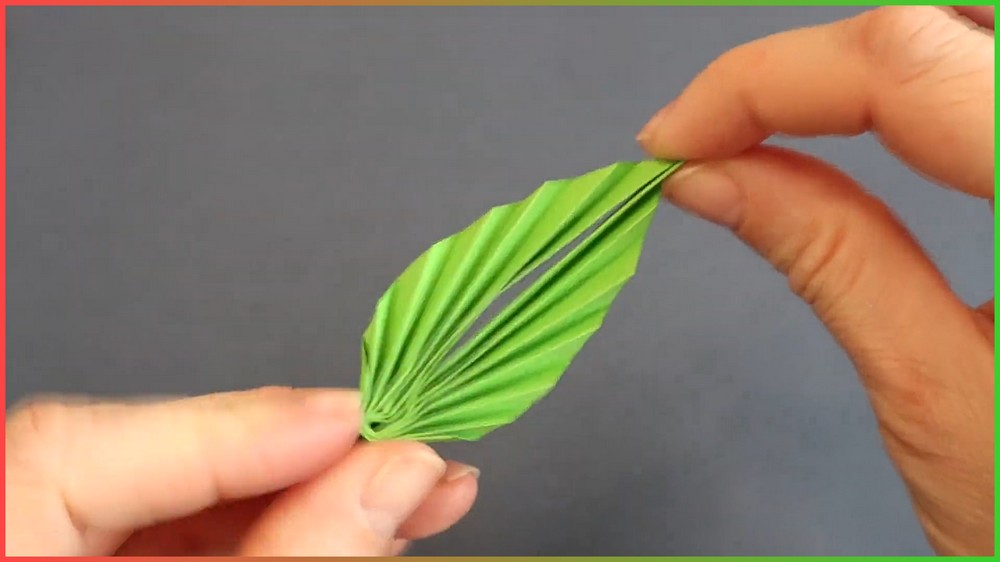
When released, the pleated strip fans out symmetrically into a textured, ribbed leaf or petal module with a distinct center crease and radiating folds. Repeat this process for all five green units, five large red units, and five small red units.
Phase 3: Modular Tier Assembly
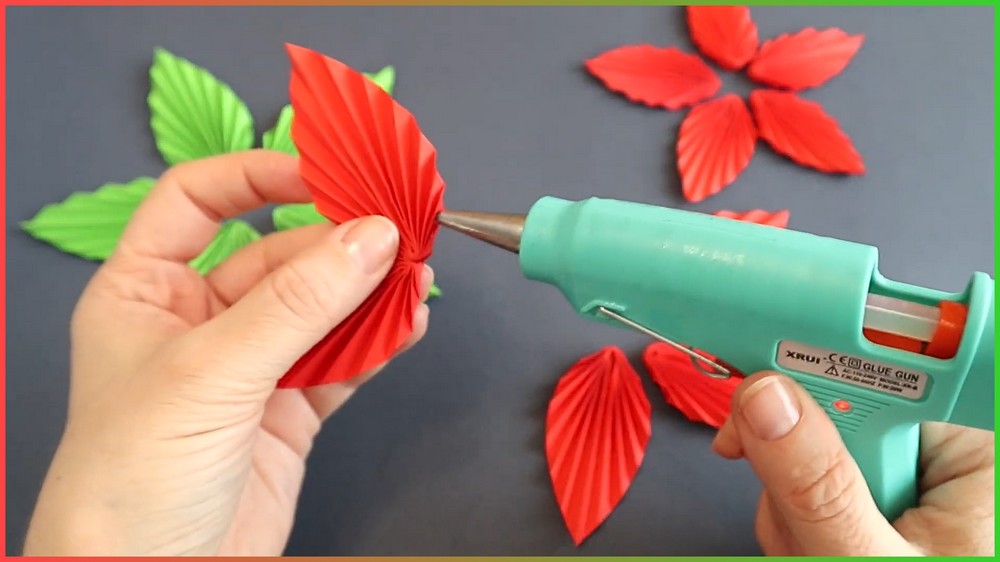
Heat up your hot glue gun. Take the five green modules to construct the base leaf layer. Apply a small bead of hot glue to the lower side corner near the inner tip of one green unit and join it to the side corner of a second green unit. Continue gluing all five green units together in a radial circle so their pointed tips meet at a single central point, forming a complete 5-pointed green starburst tier.
Repeat this exact circular assembly process with the five large red modules to create the main outer petal layer, and then once more with the five small red modules to construct the top inner petal layer. You will now have three distinct, rigid, 5-pointed star-shaped tiers.
Phase 4: Stacking, Layering, and Dimensional Shaping
To assemble the full, three-dimensional poinsettia bloom, place the green leaf tier face-up on your work surface. Apply hot glue around its center ring. Take the large red petal tier and press it firmly onto the green tier, ensuring that the red petal points are offset—nestled neatly into the structural gaps between the green leaves below rather than directly overlapping them.
Next, apply hot glue to the center of the large red tier. Press the small red petal tier onto the top, once again offsetting its petal points so that they align over the gaps of the tier directly underneath. This staggered stacking creates maximum visual volume, realistic depth, and a rich, rounded profile.
Note: If you face any hurdles in creating this project, then you can watch the tutorial here.
Phase 5: Center Embellishment and Base Finishing
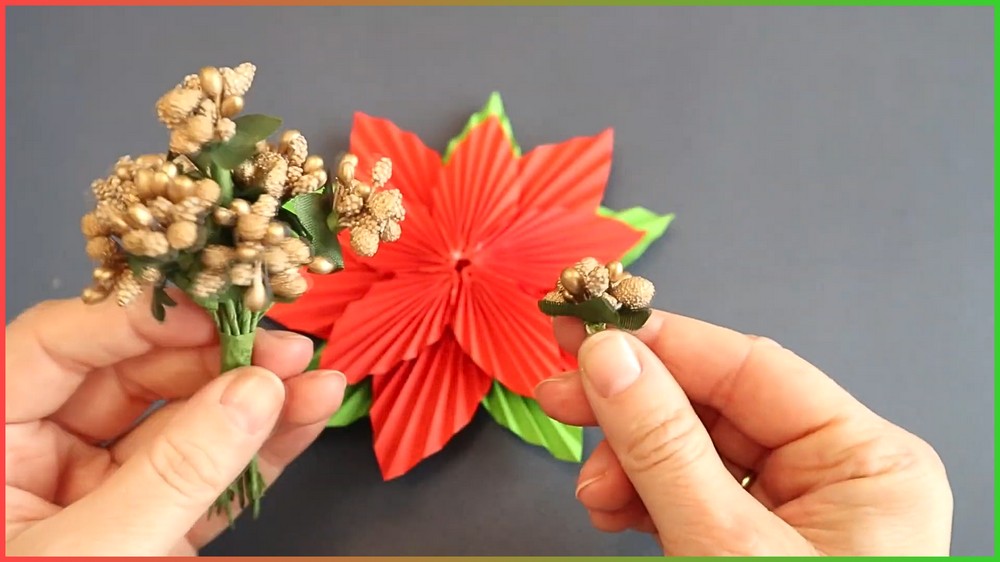
Take a cluster of artificial golden berry stamens and bundle their stems together. Apply a generous drop of hot glue directly into the open center well at the very top of your small red tier. Insert the base of the golden stamen cluster into the center hole, holding it upright until the adhesive sets completely so the gold berries sit flush and snug against the inner red petals.
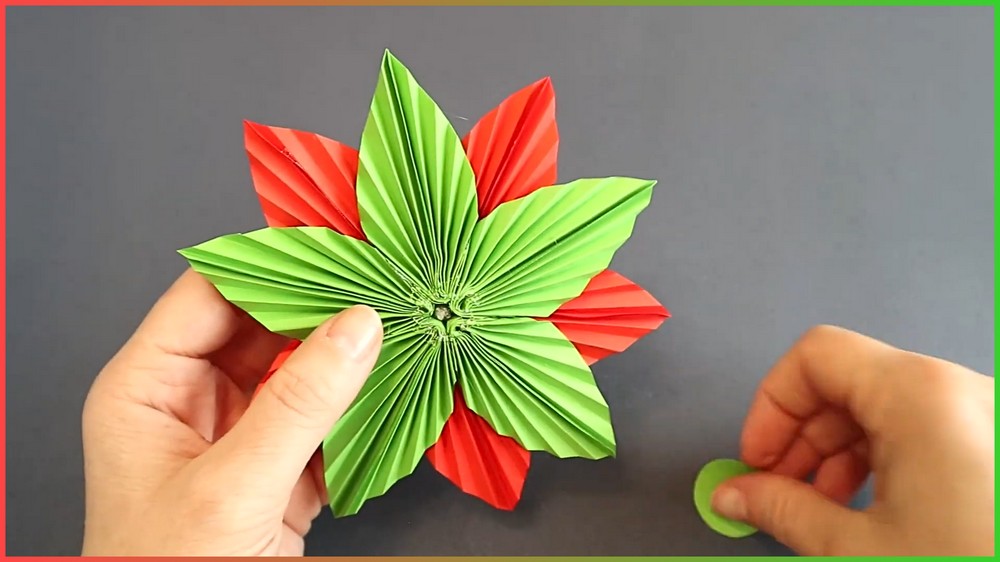
Finally, flip the entire assembled flower face down. Apply hot glue around the central cavity on the reverse side of the green base layer, and press a small circular piece of green paper over the central meeting points. Press firmly for a few seconds. This backing disc reinforces the joints, conceals all inner glue seams, and stabilizes the finished poinsettia into a durable, perfectly rounded flower.
Save this pin for future!