
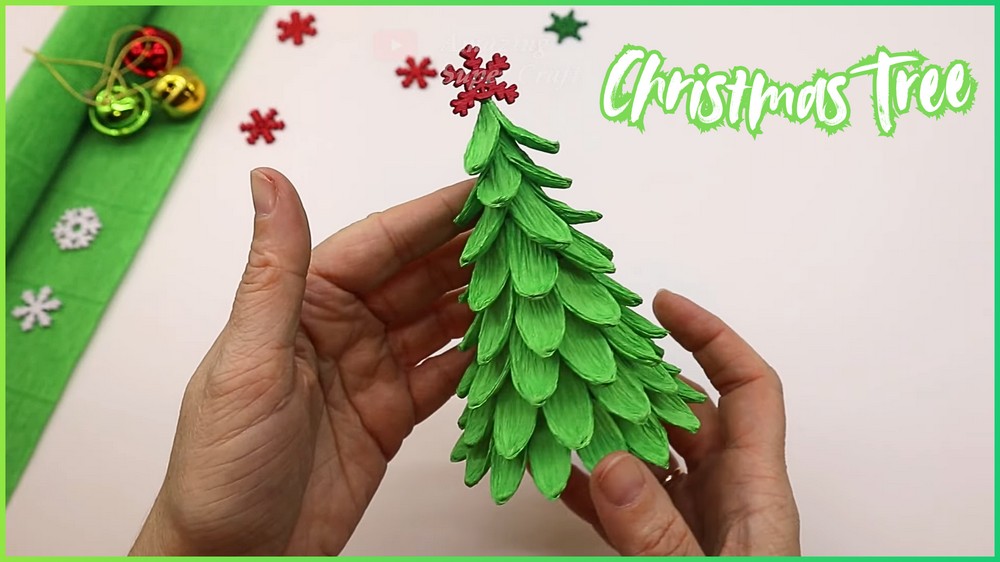
A mini paper Christmas tree brings holiday cheer to any room in your home. This cheerful craft turns simple green crepe paper and a cardboard tube into a festive decoration. You can set it on your study desk, place it on a bookshelf, or use it as a cozy centerpiece for your holiday family dinner table.
Paper Christmas Tree
Creating this tree is a simple and joyful activity for all ages. Small leaf shapes are cut from soft crepe paper and glued around a sturdy paper cone base. Layering these pieces creates a realistic textured look, giving the tree a full and lush shape that is easy and enjoyable to piece together.
This handmade ornament offers endless fun for holiday decorating. Children will love adding tiny red star toppers or shiny accents to personalize their creation. Because it is small and light, you can easily place it in school projects, gift displays, or festive holiday corners throughout the season.
Crafting your own holiday pieces adds a warm personal touch to your celebrations. Everyday craft supplies quickly transform into lasting holiday keepsakes. Gathering simple materials at home makes it quick to start, bringing bright colors and creative joy into your space while celebrating the holiday season.
Things that you need before crafting:
Green Crepe Paper: Used for fashioning all the individual twisted leaves and covering the bottom seal of the base.
Cardboard Toilet Paper Tube: 1 recycled tube used as the structural core for forming the standing cone base.
Hot Glue Gun & Glue Sticks: Essential for securing paper layers, assembling leaves, and bonding layers onto the cardboard core.
Scissors: Used for cutting paper strips, trimming leaf tips into shape, and cutting the cone base.
Ruler & Pencil: Essential for measuring out leaf dimensions (1 cm × 6 cm) and drawing 1.3 cm guidelines along the base.
Small Red Snowflake Ornament: A small glittery topper glued atop the peak for a charming decorative flourish.
Special Note:
This pattern uses simple folding, twisting, and layering techniques to convert basic materials into a textured 3D holiday tree.
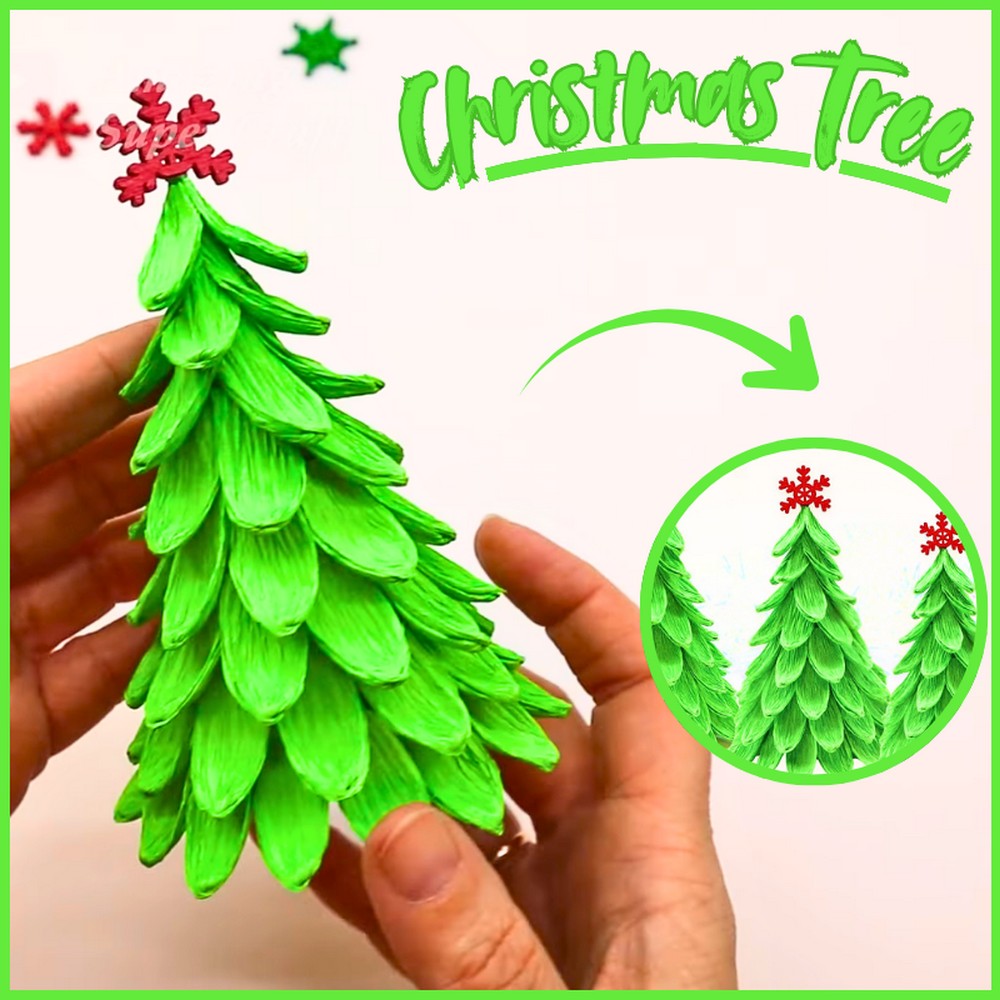
This Project credit goes to Amazing Super Craft.
Key Construction Features
Upcycled Core: Uses a standard cardboard toilet paper roll split open, rolled, and trimmed into a sturdy 9 cm cone.
Custom Textured Foliage: Each leaf is crafted by twisting a green crepe strip, folding it over, and trimming the tips into a pointed needle shape.
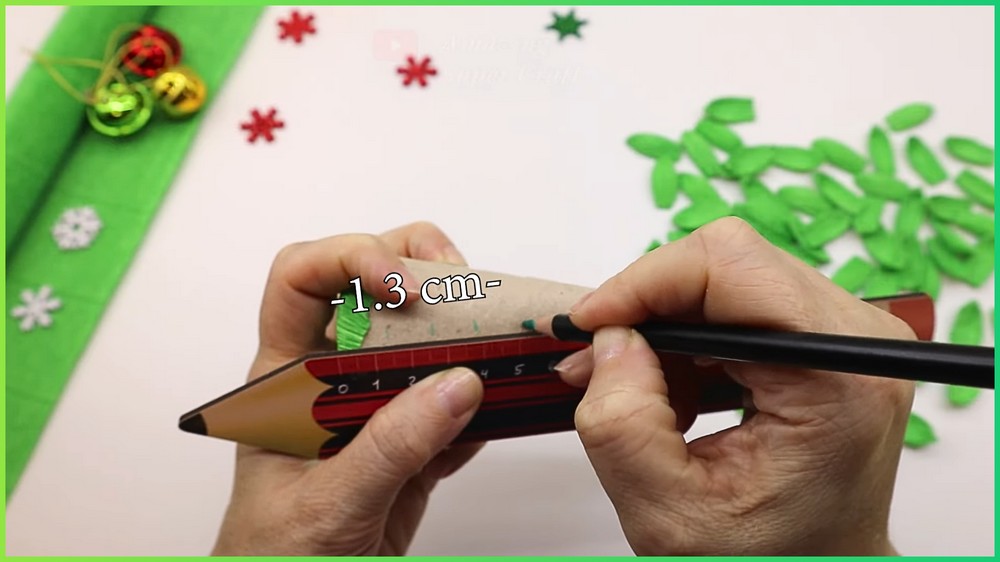
Layered Ring Assembly: Guided horizontal pencil lines spaced 1.3 cm apart ensure neat, evenly spaced rows of layered foliage.
Decorative Finish: Features a sealed crepe paper base for stability and a glittering red snowflake crown at the top.
How To Make:
Base Construction
To construct the foundation of the tree, cut open a standard toilet paper tube vertically and roll the cardboard into a tight, 9 cm tall cone with a sharp apex. Secure the long vertical seam with hot glue, then trim the bottom edge flat so that the cone stands completely level on a surface.
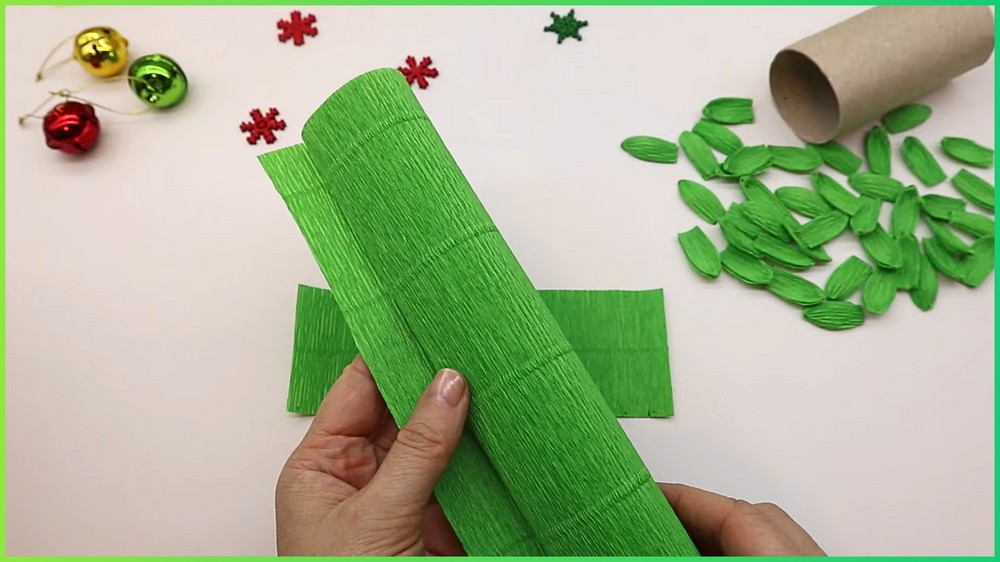
Once leveled, apply a line of hot glue around the bottom rim of the cone, press the glued rim firmly onto a square piece of green crepe paper to seal the base, and trim away the excess crepe paper flush around the rim with scissors.
Guideline Marking
To prepare the base for precise leaf placement, place a ruler vertically along the outer wall of the cone. Use a pencil to mark horizontal ring lines around the outer surface starting from the bottom edge and working up to the peak.
Space these guidelines at 1.3 cm intervals for the standard mini tree, adjusting the spacing to 1.8 cm for a medium tree or 2.5 cm for a large tree.
Foliage Preparation
To craft the tree’s foliage, cut your green crepe paper into uniform strips, preparing approximately 60 strips measuring 1 cm × 6 cm for the standard tree, or scaling up to 120 strips (1.5 cm × 8 cm) for a medium tree or 220 strips (2 cm × 10 cm) for a large tree. Take a single strip, make two tight twists at its exact center, and fold the strip in half over the twisted point to form a dual-layered petal.
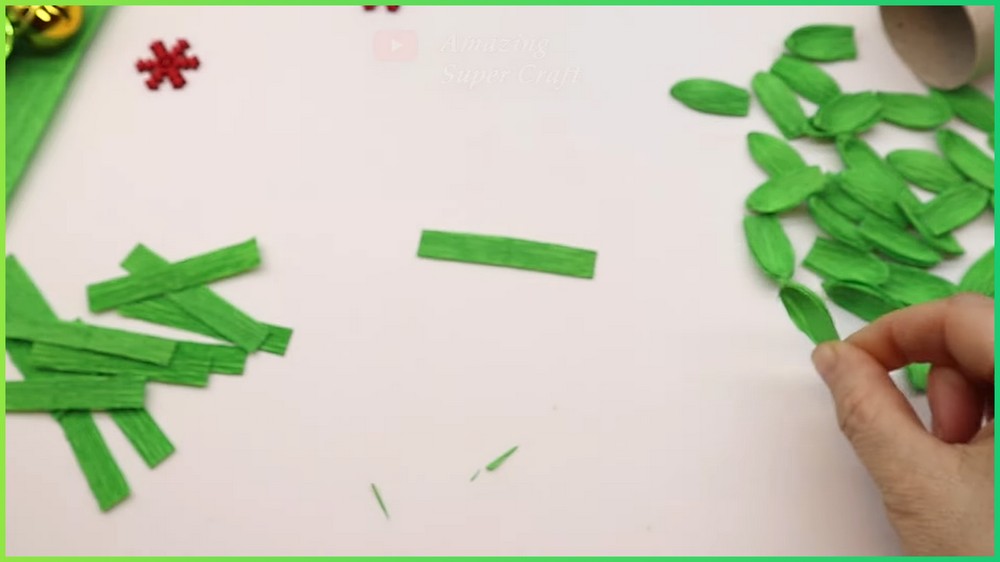
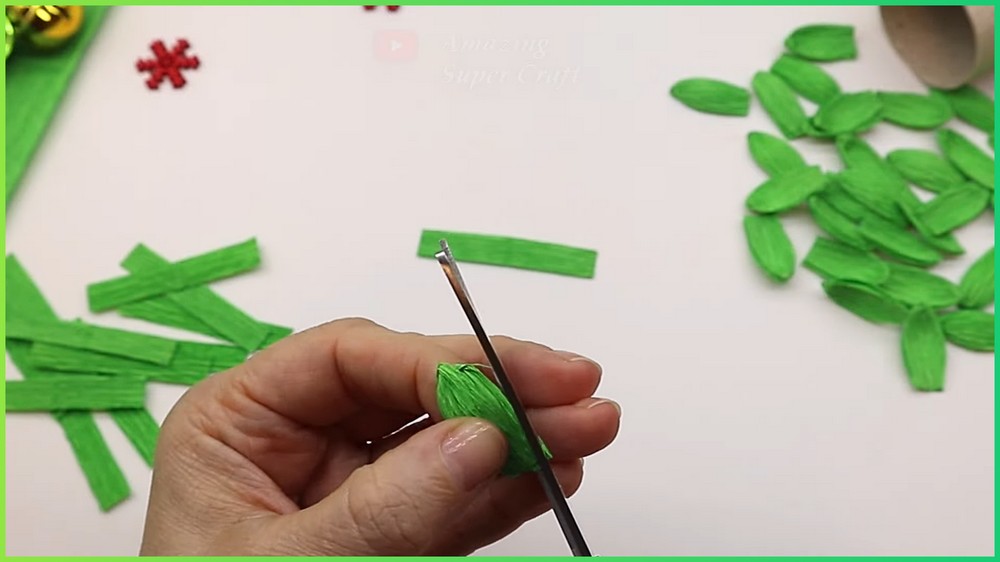
Secure the bottom base of the folded strip with a tiny dot of hot glue, then trim the outer top edges with scissors to shape it into a smooth, pointed leaf; repeat this entire process for all remaining paper strips.
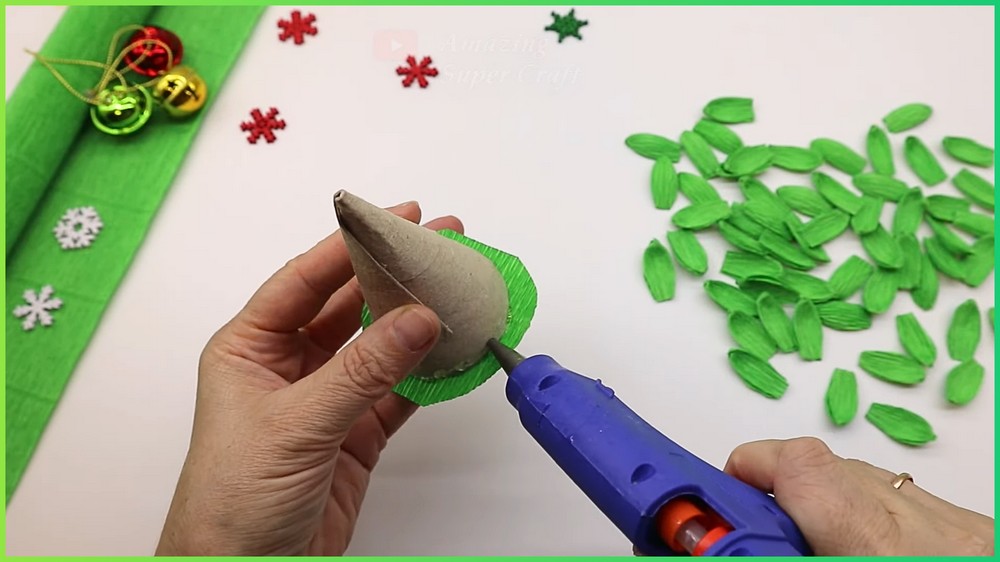
Foliage Assembly
To assemble the foliage onto the cone, apply a line of hot glue along the lowest ring mark on the cone base and position leaves side-by-side along the glued ring to form the first row. Apply hot glue along the next guideline above it and attach the second row of leaves, staggering their placement to slightly overlap the tops of the previous row.
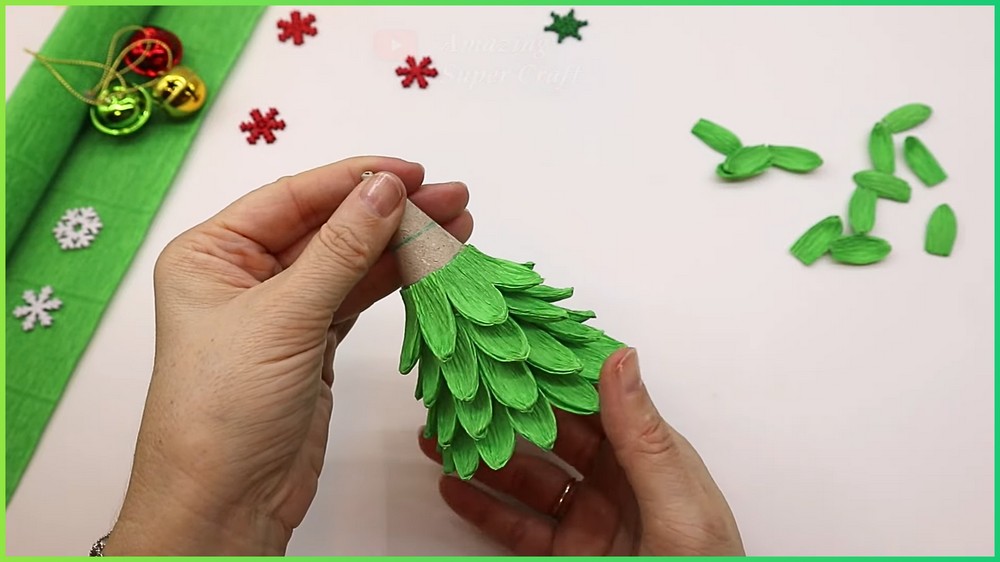
Continue gluing rows of leaves upward along each guided line toward the peak until the cone is covered, then create a small cluster using three leaves glued together in a trifold shape and secure this bundle directly over the peak to form a neat top crown.
Aging Techniques (Optional)
Once the foliage assembly is complete, select your preferred aging method to distress the finished greenery. For an antiqued sepia look, brush a foam sponge dipped in brown Distress Ink gently along the leaf edges. For a frosted winter effect, dry-brush white acrylic paint lightly onto the tips of the leaves. For a Victorian gilded finish, swipe antique gold wax lightly across the outer surface of the foliage to highlight the twisted paper texture.
Note: If you face any hurdles in creating this project, then you can watch the tutorial here.
Finishing Touches
To complete the tree, select a small red glitter snowflake ornament or star topper. Apply a small dab of hot glue to the back of the ornament and press it securely directly atop the peak of the tree crown.


[…] a simple piece of 1-inch craft foam into a sparkly reindeer Christmas decoration with paint, glitter, and a few festive finishing details. This DIY reindeer starts with a traced […]
[…] Christmas decorations do not always need a complicated supply list to look special. Here, a few inexpensive craft materials are shaped into a layered ornament with enough dimension to stand out among flatter tree decorations. […]
[…] Christmas tree becomes more personal when some of the decorations are made by hand. These five Christmas ornaments […]