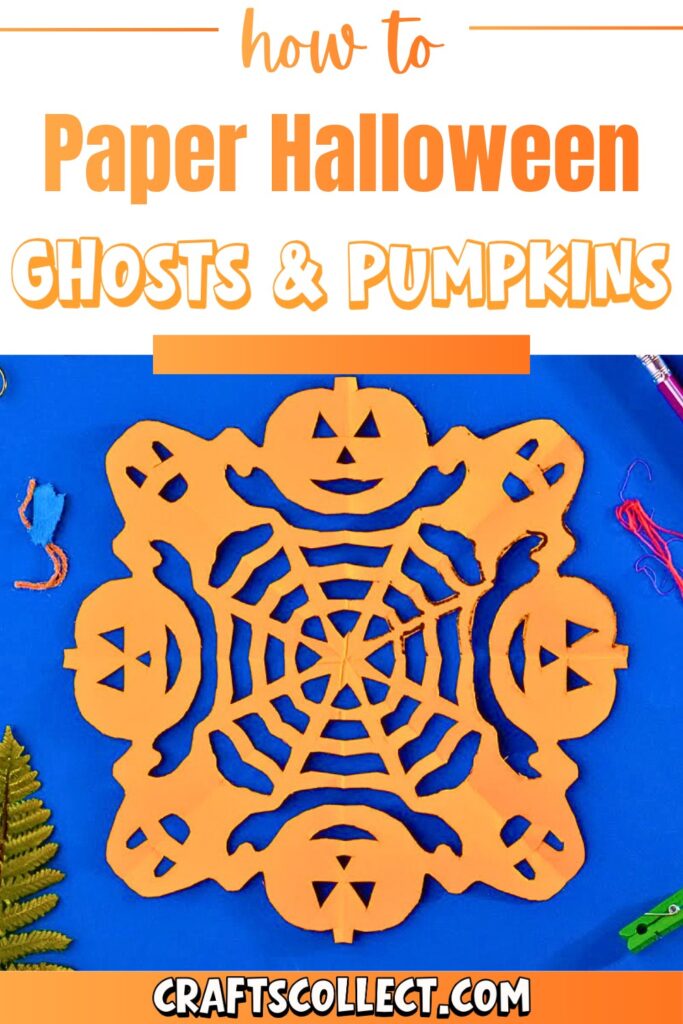
Paper Halloween decorations are a fun way to craft spooky vibes for your home. From cute ghosts to smiling pumpkins, they’re perfect for windows, walls, or party tables. Plus, they’re simple to make with paper, scissors, and a few folds, making them a great activity for all ages.

How to Make Paper Halloween Decorations
Start by grabbing a rectangular sheet of paper, scissors, and a pencil. Fold the paper step by step to create the base shape, then sketch your ghost or pumpkin design onto it. Cut along your pencil lines carefully. When you unfold it, you’ll have a unique Halloween decoration ready to display!
Credit Helpful Arts & Crafts
These handmade decorations can turn any space into a Halloween haven. Tape them to walls, hang them from string, or scatter them on a table. Whether you’re decorating for a party or adding festive touches to your home, these crafts are simple and bring lots of charm.
Kids and adults can enjoy this affordable DIY project together. It’s a great way to spend quality time during the spooky season while creating reusable decorations. So grab your supplies and start crafting your one-of-a-kind Halloween designs—it’s that easy!
Required Materials
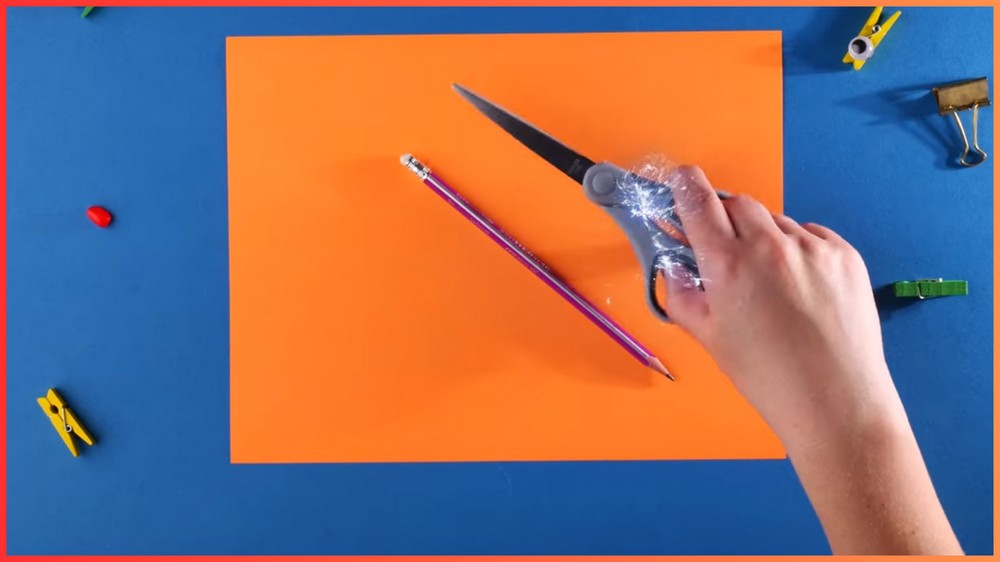
To create your Halloween paper ghosts and pumpkins, you’ll need the following supplies:
- A rectangular sheet of paper: Choose white or light-colored paper for ghosts and orange paper for pumpkins. You can use construction paper for durability or printer paper if that’s all you have.
- Pencil: You’ll need a pencil to outline your pattern before cutting.
- Scissors: A pair of sharp scissors ensures clean, precise cuts. Be sure to supervise children when using scissors.
Important Notes
Here are a few tips to make your crafting process easier and your designs prettier:
- Work in a clean, spacious area: A clutter-free space will help you fold and cut the paper with precision.
- Practice small folds carefully: The success of your project depends on neat and symmetrical folds, so take your time.
- Use patterns or stencils for designs: If you’re not confident drawing freehand, you can use printed templates or stencils for more consistent results.
- Safety first: When cutting small details, be cautious, as the folds can sometimes make the paper’s edges a bit delicate.
How to make paper ghosts and pumpkins
Prepare Your Workspace & Gather Materials
Start by setting up your workspace. Lay out your rectangular sheet of paper, pencil, and scissors. For a clean and precise look, ensure that your paper isn’t wrinkled or torn.
Fold the Paper Diagonally to Create a Square
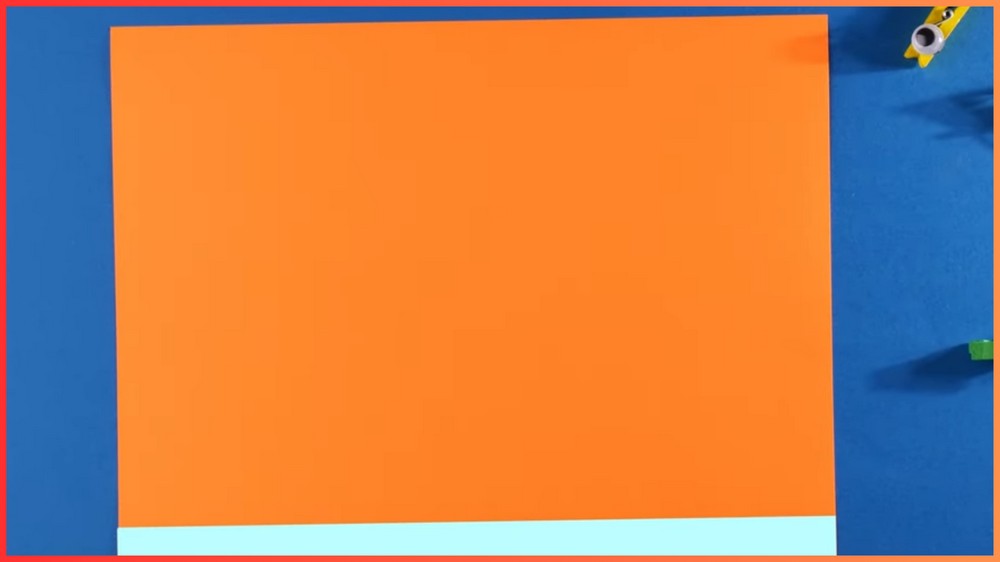
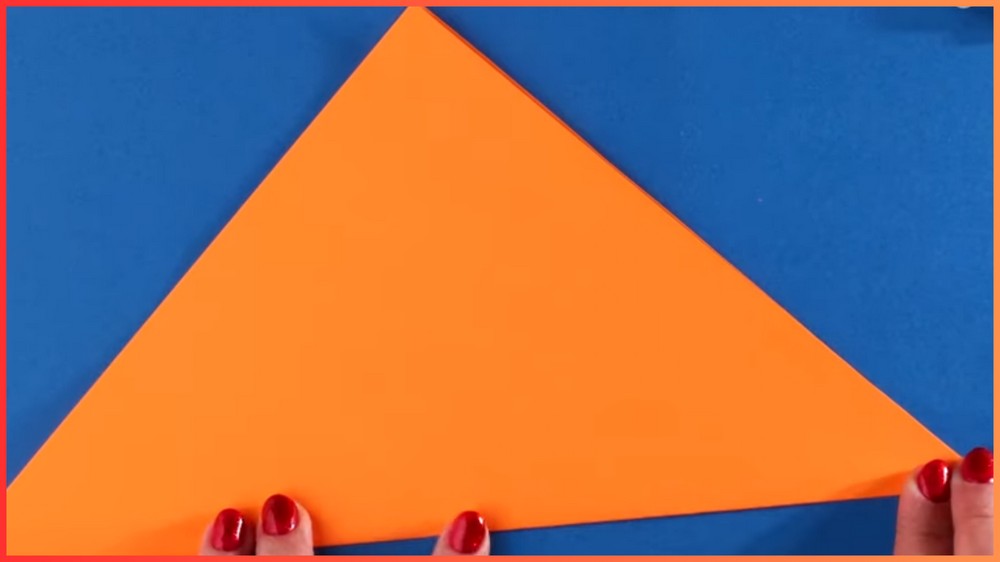
Take the rectangular sheet of paper and fold the bottom-left corner upward toward the top edge of the paper. Align the bottom edge with the side edge to create a neat diagonal fold. Smooth the crease firmly with your fingers to create a sharp fold. This will form a triangular section on one side and leave a small rectangle on the opposite side.

Trim the Excess Paper to Make a Perfect Square
Using your scissors, carefully cut off the small rectangular section that remains on the side of the folded paper. When you unfold the remaining paper, you should now have a perfect square.

Refold the Square into a Triangle
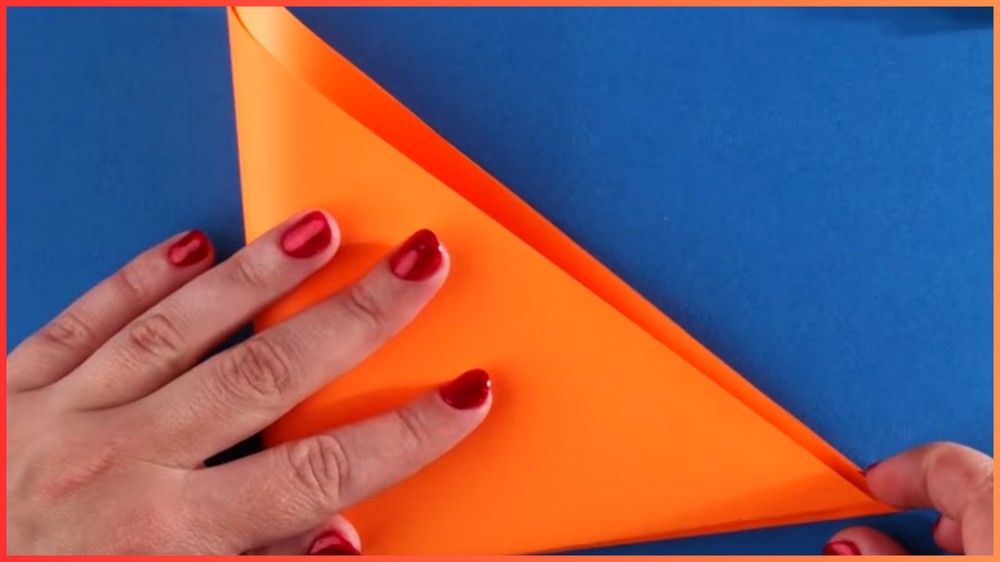
With the square paper in hand, fold it diagonally in half again by aligning one corner with its opposite corner. Press along the fold to form a sharp crease. You now have a folded triangle that will serve as the base for your Halloween design.
Create Another Fold to Section the Shape
Take the triangle you’ve just created and fold it in half once more. Align the corners carefully so that the triangle remains symmetrical. Press lightly on the crease to keep it neat. For larger and simpler designs, you can skip this step. However, further folding ensures more complexity and symmetry in your finished decoration.
Rotate the Paper and Fold Once More (Optional)
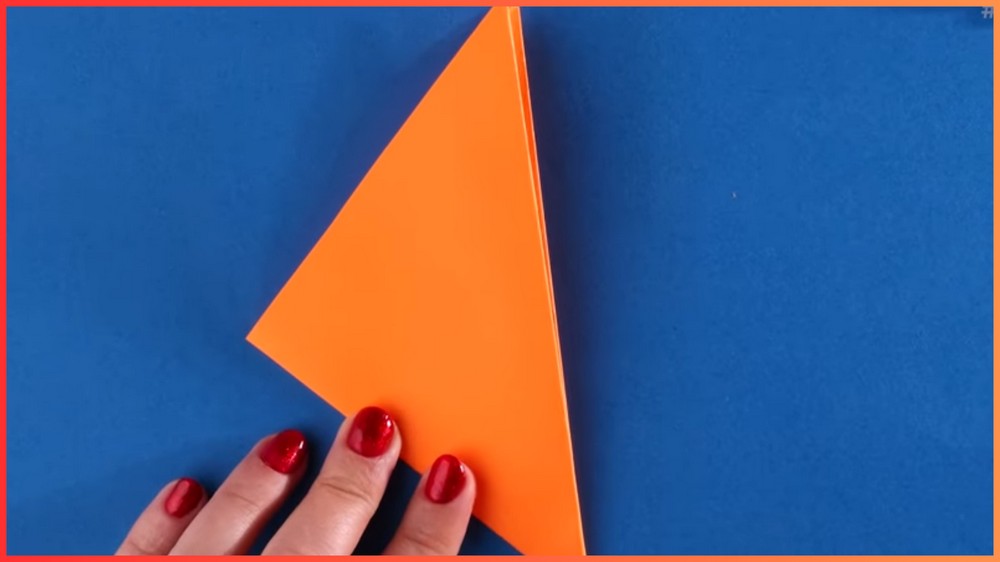
Rotate the triangle so that its longest side is now on top. Fold the left corner over to meet the right corner, ensuring all edges align. This will result in a smaller triangular shape. Each fold should be as straight as possible to maintain symmetry.
Draw Your Pattern
Now it’s time to design your ghost or pumpkin! With the pencil, lightly draw your desired outline pattern on the folded paper. For a ghost design, focus on curvy lines suggesting a flowing body or wavy arms. For a pumpkin design, sketch rounded shapes or a jagged pumpkin face with triangular eyes and a toothy grin.

Tip: If you’re unsure about drawing your own patterns, you can find printable Halloween stencils online, cut them out, and trace them onto the folded paper.
Cut Out Your Design
Carefully use scissors to cut along the lines of the pattern you’ve drawn. If the design has intricate details, cut slowly and steadily to avoid tearing the paper. While cutting, be mindful of the folds, as they will determine how the final decoration will look once unfolded.

Pro Tip: To create “holes” for windows, mouths, or other features, carefully poke the scissors into the designated area and start cutting.
Unfold and Reveal Your Halloween Decoration
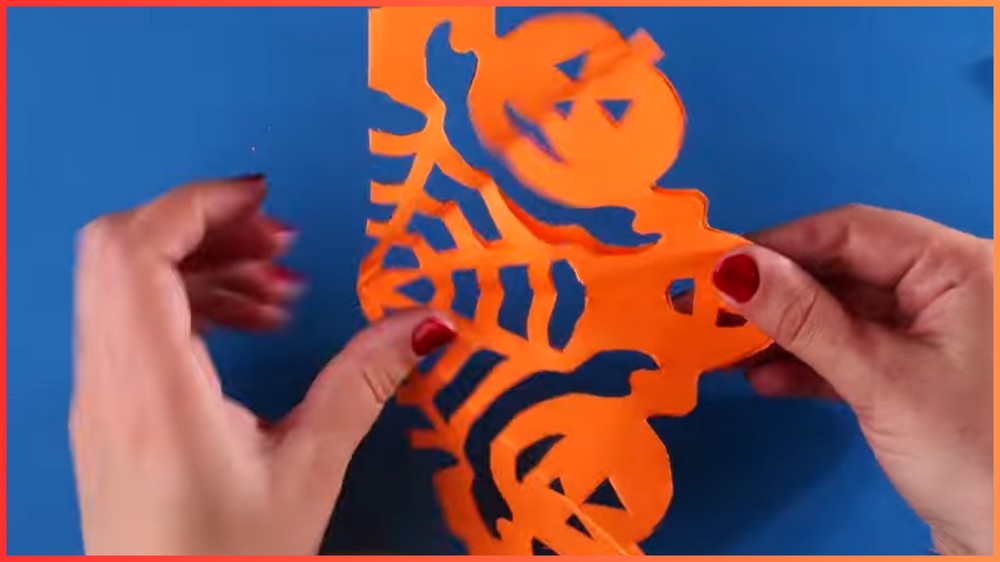
Once you’ve finished cutting the pattern, slowly and carefully unfold the paper. As you open it, you’ll see a symmetrical ghost or pumpkin design come to life! Be gentle while unfolding to avoid tearing along the folds, especially if your design has fine details.
- Add Finishing Details & Display
If desired, use a marker or colored pencils to add extra details to your decoration, such as faces, patterns, or highlights. For example, you can draw expressive eyes on your ghost or give your pumpkin some spooky shading. Once complete, hang your decorations around your home, tape them to windows, or string them together to make a festive garland.
Note: If you face any hurdles in creating this project, then you can watch the tutorial here.