
Paper plate animals are a simple and fun craft that lets you turn plain paper plates into adorable animal creations. Whether you’re making them for playtime, decorations for a party, or a cute art project to display, these crafts are full of creativity and joy. They’re perfect for kids who love adding their own personal touch to things.
DIY Paper Plate Animals
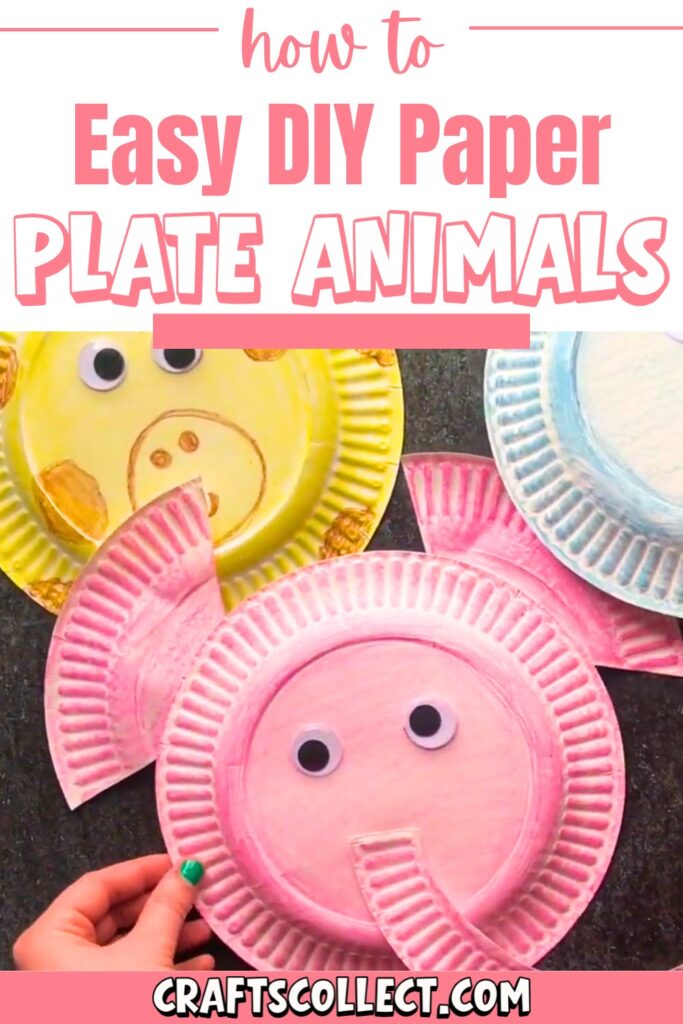
With just a few materials like paint, markers, and paper plates, you can create animals like lions, frogs, or owls. The process involves some cutting, painting, and sticking, making it a hands-on activity that’s great for kids and adults alike. You can use these adorable creations as wall décor, fridge magnets (with a small magnetic strip), or even as part of a homemade puppet show.
Credit Waterford.org
Required Materials
- Paper Plates (6 plates)
- Glue
- Scissors
- Googly Eyes (optional but recommended for adding personality to the animals)
- Crayons (or colored pencils/markers for decorating)
Important Notes
- Ensure you have a clean workspace for cutting, gluing, and coloring the paper plates.
- For younger children, adult supervision may be required, especially when using scissors and glue.
- Creativity is key! You can use additional craft supplies (like colored paper, stickers, or glitter) to make the animals more unique.

Step-by-Step Instructions
Here is a breakdown of the instructions for crafting the paper plate animals, based on the information compiled:
Step 1: Prepare Your Materials
- Gather all the required materials in one place for easy access.
- Ensure the paper plates are clean and flat, ready to be cut/folded.

Step 2: Create the Animal Base
- Decide what type of animal you want to create (e.g., a cat, mouse, or turtle).
- Use one paper plate per animal for the body, and additional plates for parts like the face, ears, or limbs.
Step 3: Cut Out Animal Features
- Use scissors to carefully cut out the necessary parts of the animal:
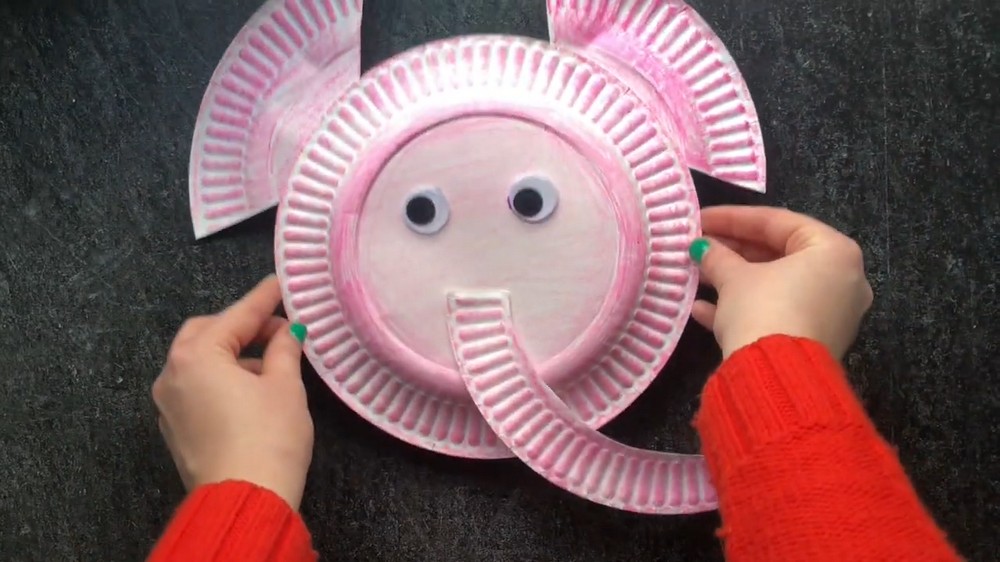
- For example, ears can be created by cutting semi-circle shapes from spare paper plate sections.
- Tail or legs can also be cut from spare paper sections.
- Be creative! You can also mix-and-match shapes to create features like wings, horns, or fins.

Step 4: Glue the Features Together
- Use glue to attach the animal parts onto the main plate:
- Glue the ears onto the top edge of the plate for the face.
- Add tail, legs, or wings wherever appropriate.
- Allow the glue to dry for a few minutes before moving onto the next step.
Step 5: Add Googly Eyes
- Stick googly eyes onto the face of the animal to give it a fun and playful appearance.
- If you don’t have googly eyes, you can draw eyes using crayons or markers.

Step 6: Decorate Your Animal
- Use crayons to color and add details to the animal:
- Draw a nose, whiskers, or smile.
- Use different colors to create patterns (spots, stripes, etc.).
- Let your imagination guide you! Add any unique touches to the design.
Step 7: Repeat for Other Animals
- If desired, repeat these steps to create additional animals, using different designs for each paper plate.
Final Thoughts
Once all animals are complete, let them dry fully before displaying or playing with them. This project is a perfect way to spark creativity and can be a fun activity for kids or even adults.
