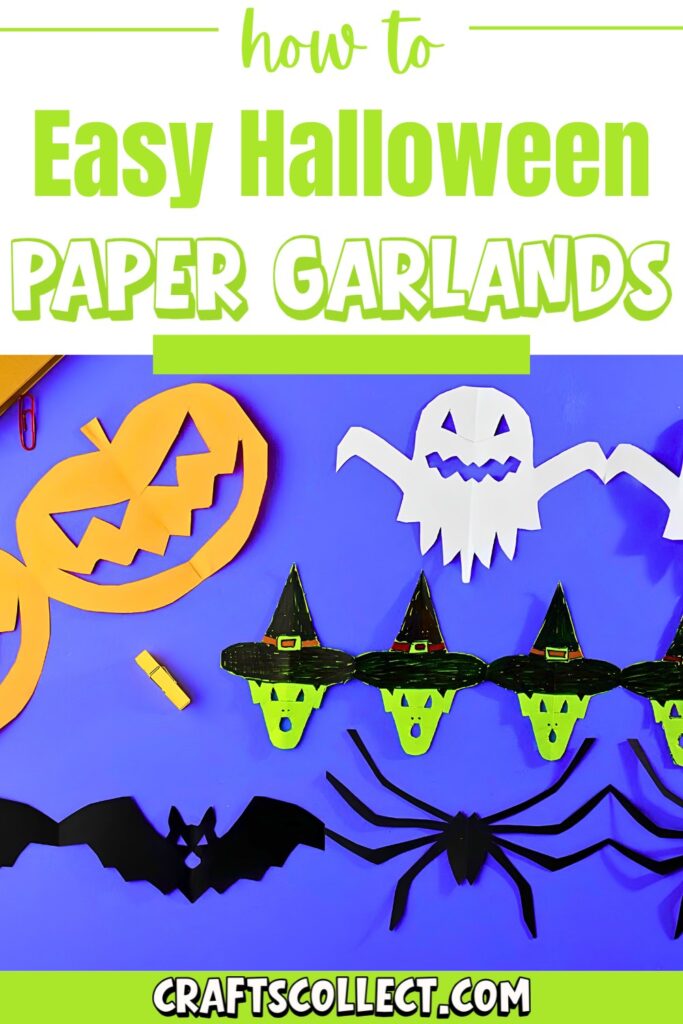
Halloween paper garlands are fun and simple decorations that add charm to your home or celebrations. Whether it’s ghosts, bats, witches, or even skulls, these crafts are perfect for kids and adults. All you need are paper, scissors, markers, and some creativity to get started.

Halloween Paper Crafts for Kids
Making these garlands is easy! You fold the paper and trace patterns of spooky shapes like bats, spiders, or witches’ hats. After carefully cutting along the lines, you unfold the paper to reveal connected designs. You can color or decorate your garlands with markers, pencils, or paint to give them extra flair.
Credit Helpful Arts & Crafts
These creations can be used in various ways. Add them to walls, hang them across doorways, or even decorate windows for a festive Halloween vibe. They also work as fun craft activities for kids during Halloween parties, keeping them engaged while making something colorful.
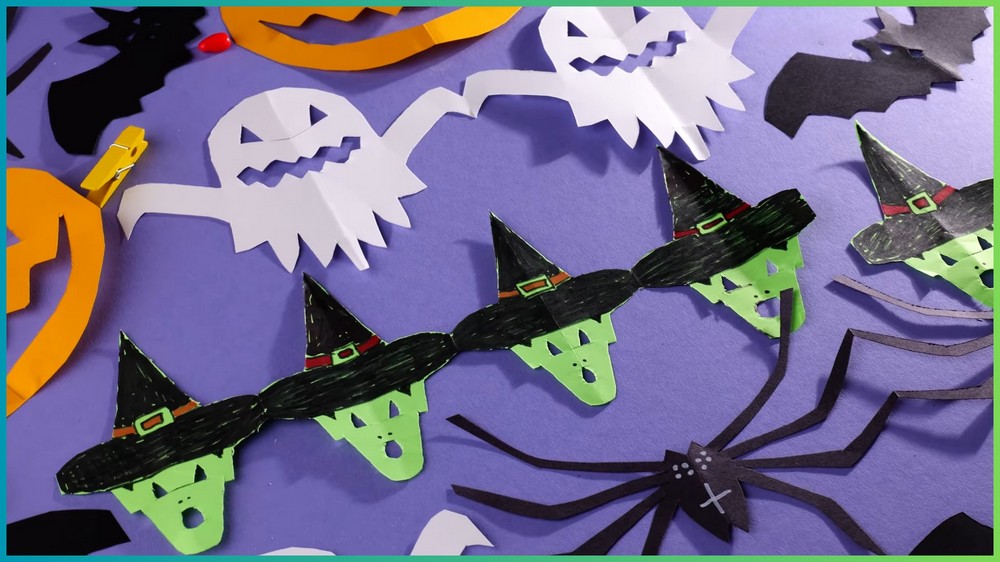
Make your decorations unique by mixing designs. Combine ghosts with bats or witches and spiders to form a playful Halloween chain. If you’d like longer garlands, just attach pieces together using tape or glue. These crafts are budget-friendly, easy to make, and guaranteed to brighten your Halloween.
Required Materials:
- Rectangular sheets of paper (colored, white, or black—your choice)
- Scissors
- Pencil or marker
- Adhesive tape or glue
- Coloring materials (e.g., markers, colored pencils, paints)
- Optional: White correction fluid (if using black paper)

Important Notes:
- Always fold the paper carefully to ensure neatness. Sharp and even folds will make your designs look better.
- Be gentle when cutting out patterns to avoid accidentally tearing the paper.
- If you want longer garlands, connect multiple pieces together with adhesive tape or glue.
- You can customize your designs by coloring them with markers, colored pencils, or paint.
- Each garland has its own unique folding and cutting process, so follow the instructions step by step.
1. Classic Paper Chain Tutorial
To make a Classic Paper Chain, start with a rectangular sheet of paper. Fold the bottom edge of the paper up to meet the top edge and ensure the edges are aligned. Then, fold the paper in half again, pressing firmly along the folds. Repeat the folding one more time.

Once the paper is folded, use a pencil to draw simple and repetitive patterns along the folded edge, such as stick figures, geometric shapes, or pumpkins. Carefully cut the shapes along the lines, making sure not to cut all the way through where the connecting points need to stay intact.
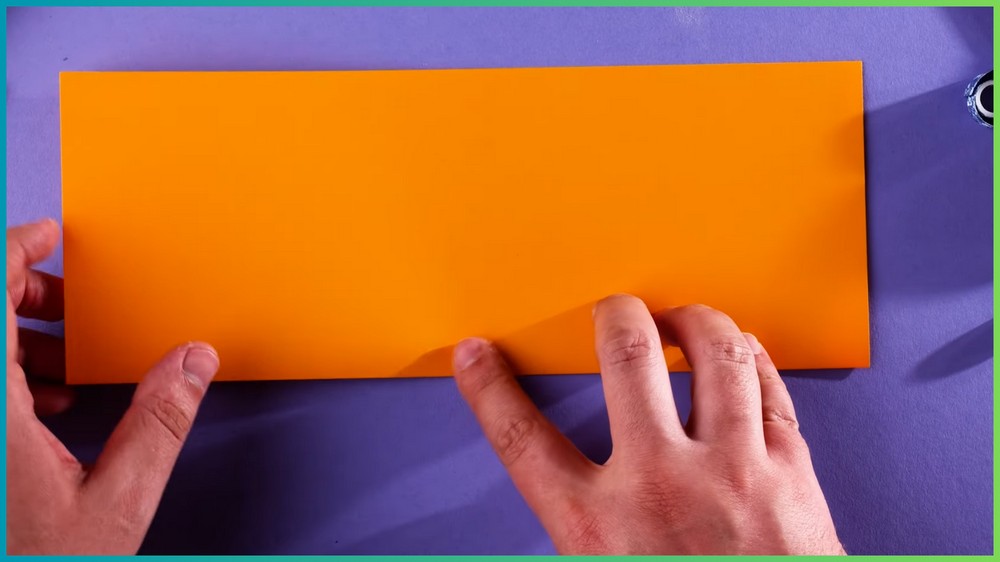
When you’ve finished cutting, unfold the paper to reveal the chain. Multiple paper chains can be connected using glue or tape for a longer decoration.

2. Ghost Garland Tutorial
For a Ghost Garland, take a rectangular piece of paper and fold it in half along the long side so that the two edges meet neatly. Fold the paper again along the short side and press firmly, repeating this step one more time.
Draw the shape of a ghost on the folded paper with a pencil, making sure to leave connection points along the edges of the ghosts so they stay attached when unfolded. Carefully cut the ghost shapes along the outline you’ve drawn. Once you’ve finished cutting, gently unfold the paper to reveal the ghost garland. You can repeat this process or join pieces together to create a longer string of ghosts.

3. Spider Garland Tutorial
To create a Spider Garland, choose either black or white paper depending on your theme and preferences. Fold the paper into three equal parts to prepare the base. Use a pencil to sketch patterns of spiders and their legs along the folded edges, ensuring the legs connect at specific points to maintain the garland.
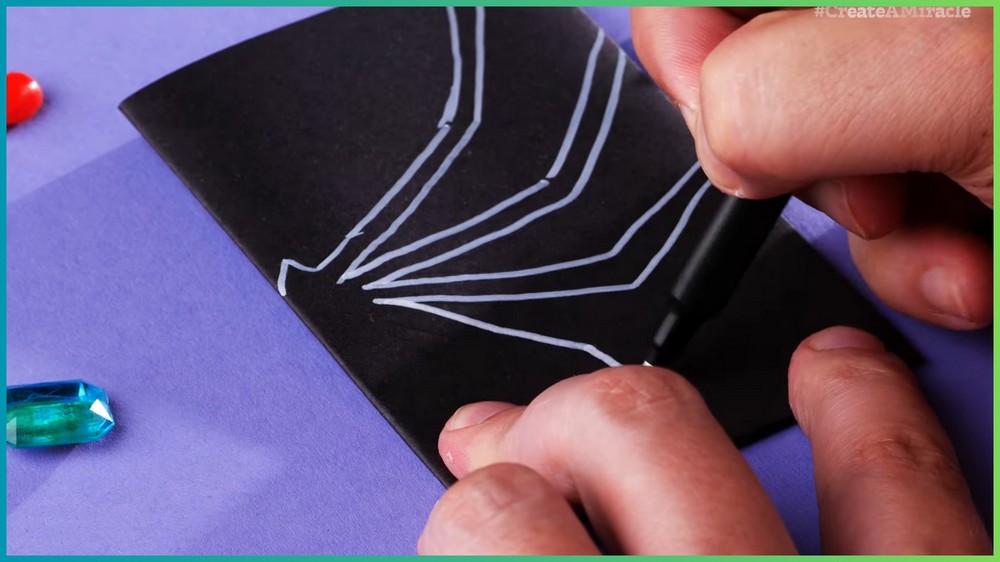
Once the design is complete, cut out the shapes of the spiders, carefully preserving the connecting sections. When finished cutting, unfold the paper, revealing connected spider designs. If using black paper, white correction fluid or a white marker can be used to add details like spider eyes or web designs.

4. Bat Garland Tutorial
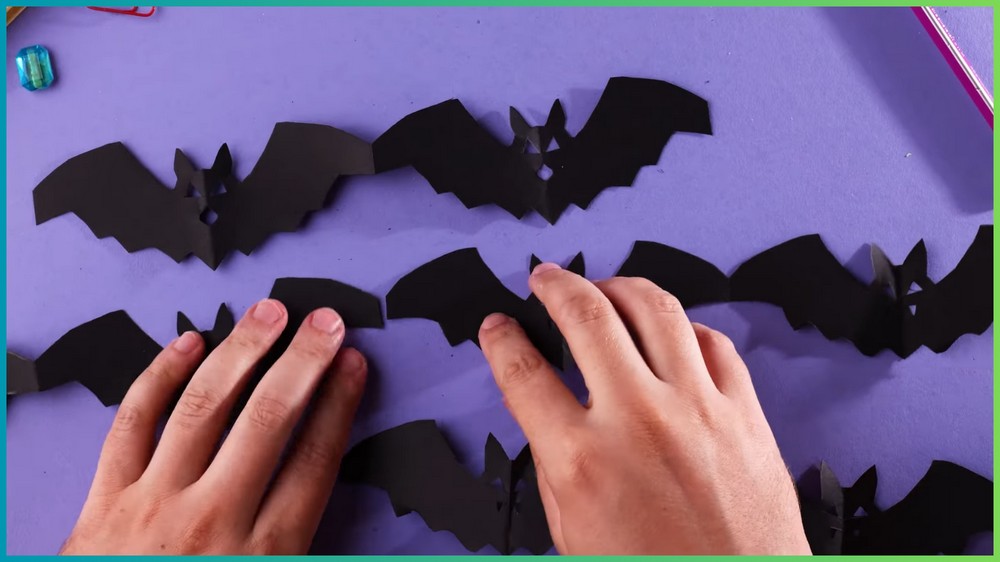
For the Bat Garland, start by folding a rectangular sheet of colored paper, as described earlier. On one side of the folded paper, draw a bat silhouette, ensuring the wings of each bat connect at the fold so they remain attached in the garland.
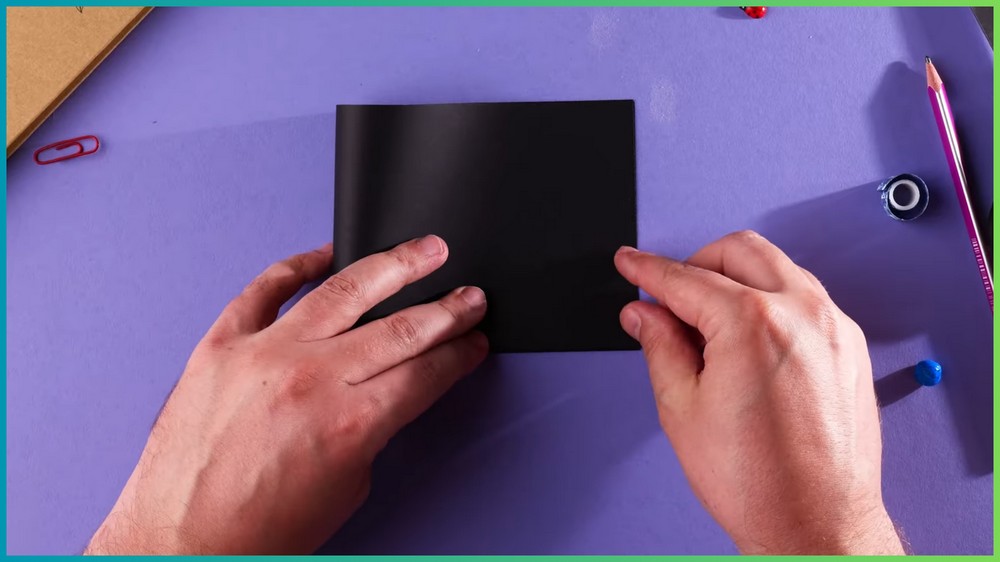
Once you’ve finished sketching, cut along the outline of the bat shapes, being careful not to cut through the areas where the bats connect. After cutting is complete, unfold the paper to reveal a garland of bats. If desired, additional bat chains can be attached with glue or tape to make the decoration longer.
5. Witch in Hats Garland Tutorial
Another fun option is the Witch in Hats Garland. Begin by folding the paper several times as in previous crafts to create a stable base. You can make additional folds to increase the number of sections for designs. Carefully draw witches wearing pointy hats on the folded paper, being sure to leave connecting points along the edges where the witches will remain attached.

Cut the outline of the witches and their hats, then unfold the paper to reveal your garland. You can add details such as belts, buckles, or hair to the witches’ hats using markers, paints, or colored pencils to make them more festive.

Note: If you face any hurdles in creating this project, then you can watch the tutorial here.
Final Touches
Once you’ve created all your garlands, you can further customize them with markers, colored pencils, or paint to enhance the designs. Hang the garlands around your home—on walls, doorways, or windows—to add a spooky and festive touch to your Halloween decor. Happy crafting!