
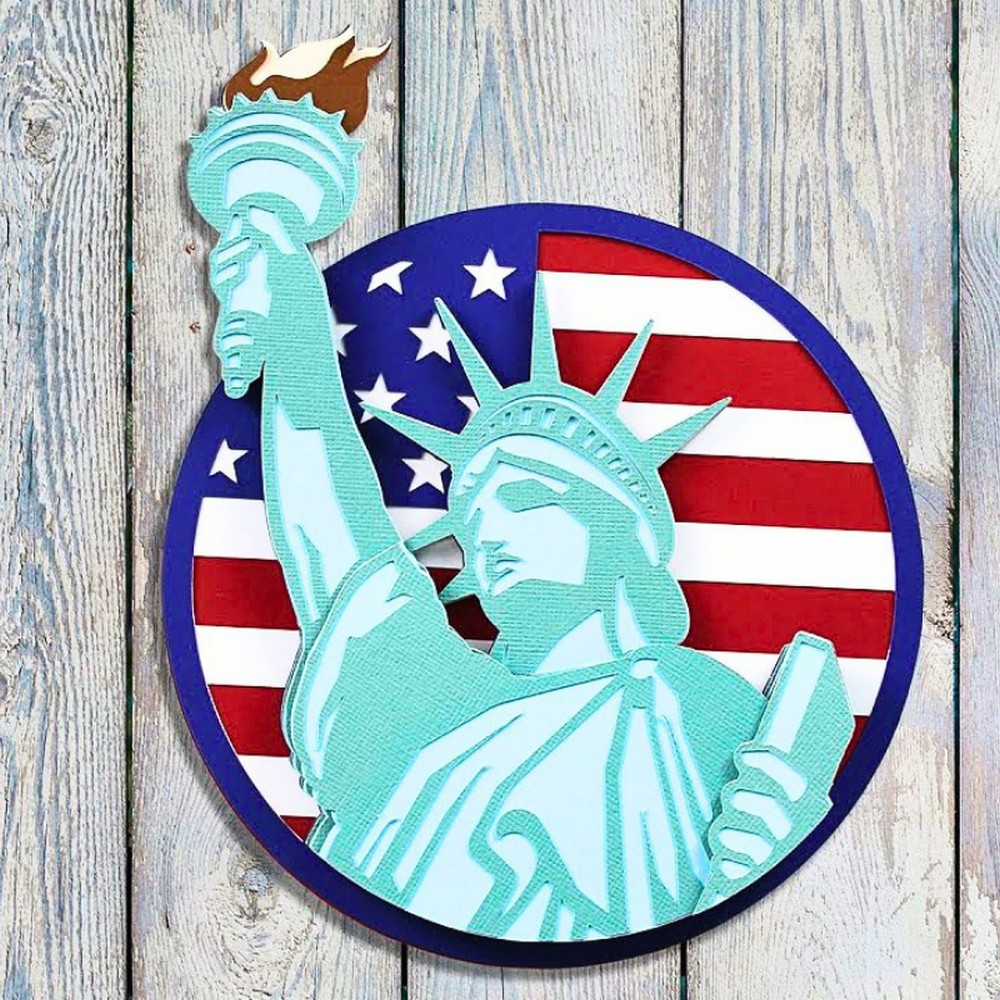
This free layered Statue of Liberty SVG is a bold and beautiful design made for patriotic crafts. It shows the statue standing in front of a flag, with lots of layers that give it real depth and dimension. It is perfect for 4th of July decorations, American-themed rooms, or any project that celebrates freedom and unity. You can turn it into wall art, a shadow box centerpiece, or a special greeting card that feels strong and proud.
Free Layered Statue of Liberty
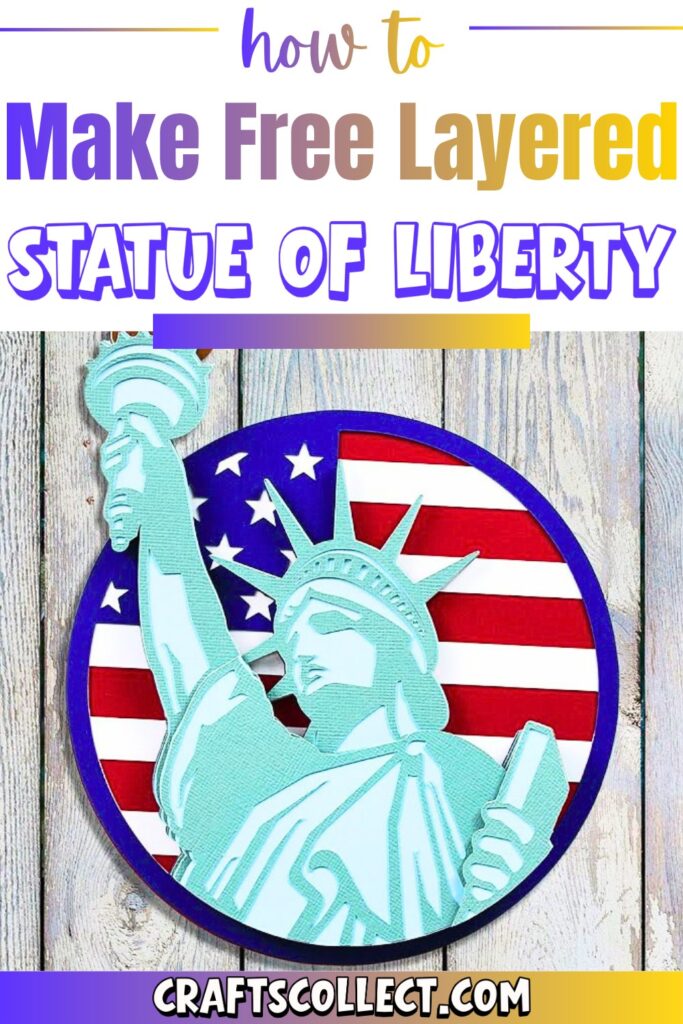
You use the SVG with your cutting machine to create each layer from colored cardstock. The design is already set up with all the layers stacked in order, so you just resize it to fit your project and send it to cut. Once the pieces are ready, you build it from the bottom up. Some layers are glued flat, and others are raised with foam pads to make the flame, face, and robe stand out. The finished piece has amazing depth, like you are looking up at the real statue. It is a fun craft that looks impressive, yet the steps are simple and relaxing to follow.
You can display your Statue of Liberty in a frame, on a shelf, or on the wall for celebrations. It can brighten a classroom, craft room, or living room and make a lovely handmade gift for anyone who loves American landmarks or patriotic themes.
Credit Craft With Sarah
Required Materials
- Free SVG File: Downloadable from any website.
- Cricut Machine: For cutting the design.
- Craft Cardstock: Different colors for layering.
- Collall Glue: This glue prevents bending or wrinkling of cardstock.
- Needle Tip Applicator Bottles: For precise glue application (available on Amazon).
- Foam Squares: For adding depth to layers (recommend Dot&Dab, but any brand works).
- Optional: Art Glitter Glue or Bearly Art Glue.
- Computer with Cricut Design Space.
Important Notes
- File Compatibility: Ensure you upload the correct SVG file from the unzipped folder to Cricut Design Space (files starting with “SVG”).
- Sizing: Resize the design in Cricut Design Space according to your display method (e.g., shadow box or card). Ensure the proportions stay intact by locking the padlock icon in the sizing options.
- Material Saving: Organize pieces on the mat in Design Space to minimize material usage—this may involve moving and rotating objects.
- Assembly Guide: Check the included PDF in the download folder for the order of sticking layers.
- Layering: Alternate foam squares and glue for key layers to achieve depth and dimension.
Step-by-Step Instructions
Step 1: Download & Prepare the File
- Download the Statue of Liberty SVG file from any website.
Unzip the Folder: Make sure you unzip the downloaded file to access individual files. - Open Cricut Design Space and start a new project.
Step 2: Upload the SVG File
- Press Upload (left menu) and then click Upload Image.
- Drag the SVG file into Design Space or browse to find it on your computer.
- Select the correct SVG file (ensure it starts with “SVG” in the file name).
- If the layers appear beside each other rather than stacked, re-upload the correct file.
- Once uploaded, click it to highlight (green border), then press Add to Canvas.
Step 3: Resize the Design
- View layers on the right-hand side of Cricut Design Space.
- Adjust the sizing:
- Set the height or width as desired. For proportional resizing, ensure the padlock icon is closed.
- Example: Change height to 7.75 inches and press enter; width adjusts automatically.
Step 4: Organize the Mats
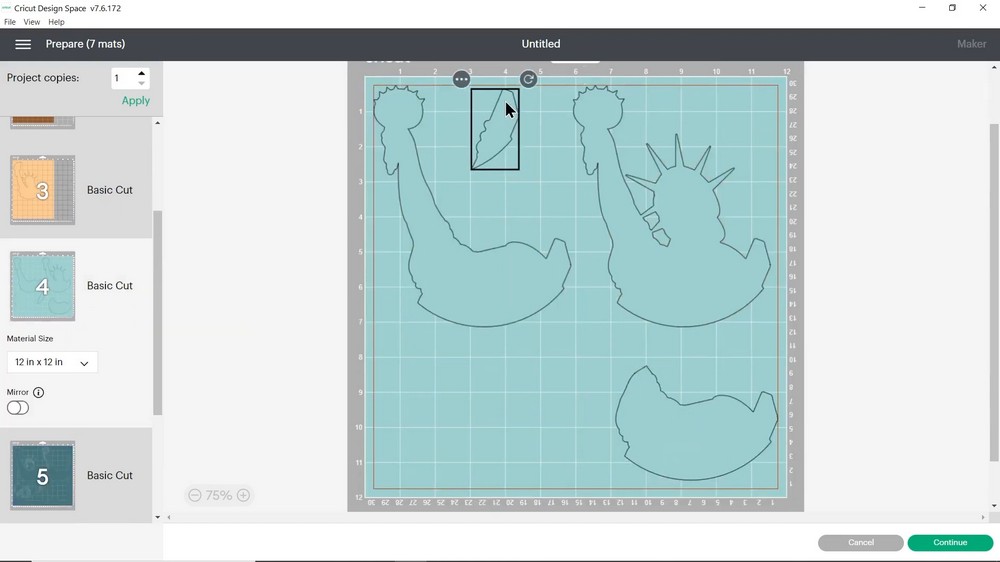
- Click Make It (top right) to split the design into different mats for each color.
- Adjust the paper size in the dropdown for every color mat.
- Rearrange pieces on the mat by clicking and dragging to minimize material waste.
- Example: Rotate or move pieces to fit them onto one sheet instead of two.
- If a mat appears empty after moving objects, it disappears once cutting begins.

Step 5: Cut the Pieces
- Press Continue and connect your Cricut machine.
- Follow on-screen instructions to cut each layer using the chosen cardstock colors.
Step 6: Assemble the Layers
- Lay all cut layers on your workspace and divide them into pairs—solid layers and detailed layers.
- Use the assembly guide PDF to understand the order of sticking layers.
Step 7: Assemble the Flag Background
- Start with the flag base:
- Turn it upside down and apply Collall Glue around the edges and middle.
- Align the first layer with the Statue’s flame to ensure proper placement.
- Add the blue section using the same glue process.
Step 8: Add the Flame Layers
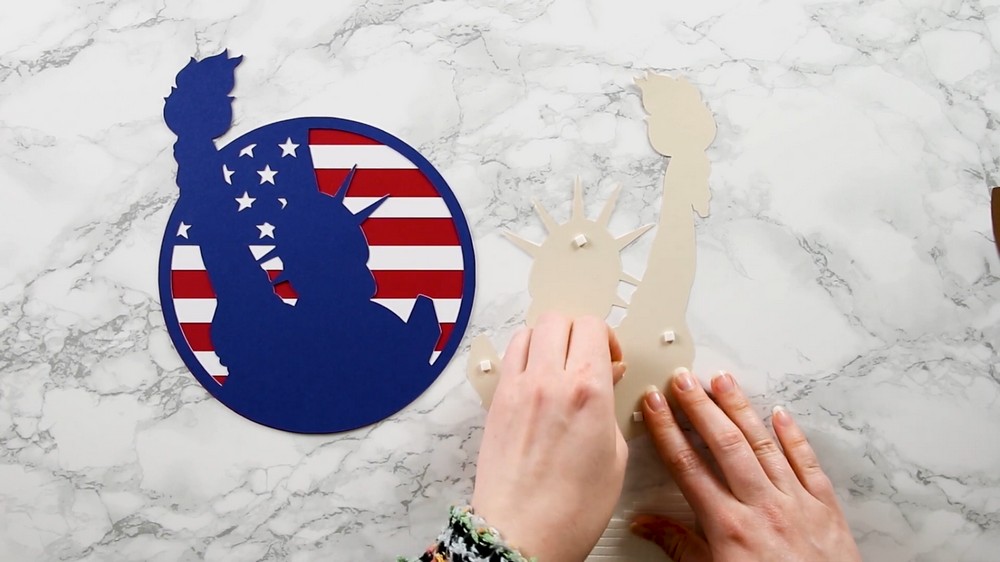
- Turn the first flame layer upside down and apply foam squares to the back.
- Place foam squares evenly, including the middle, to prevent sagging.
- Gently place the layer on the background, ensuring alignment, then press down to secure foam pads.
- Glue the top flame detail layer on top of the foam layer. Use needle-tip bottles for precise glue application.
Step 9: Assemble the Statue Layers
- Proceed layer by layer:
- First Statue Layer: Glue it to avoid excessive thickness.
- Second Statue Layer (Face Details): Glue this layer carefully, ensuring small details (like head features) adhere securely without over-gluing.
- Continue alternating foam squares for solid layers and glue for detailed ones.
Step 10: Torch and Arm Details
- Apply foam squares to the solid torch layer for depth, then press it into place.
- Glue the detailed torch layer on top using Collall Glue. Ensure precise placement to avoid tearing.
- Repeat the foam-and-glue pattern for the arm layers.

Step 11: Final Layers
- Fix the remaining body and hand layers as per the assembly guide.
- Identify any small tweaks to layer placement (like fixing missing filled spaces).
Step 12: Adjust & Finish
- Ensure each layer is properly secured. Use gentle pressure to avoid damaging alignment and prevent glue from squishing outside edges.
- Tilt the design to check depth visibility; the layered effect should create a 3D look.
- Display your design in a shadow box frame or directly on a wall for your 4th of July celebrations.
Helpful Tips
- If the design is small, take extra care during assembly to prevent cardstock tearing.
- Test the design fully before finalizing the project. Craft with Sarah ensures her designs are tested and refined.

Final Thoughts
Enjoy crafting this layered Statue of Liberty SVG and creating a stunning 3D decoration. Don’t forget to check the description in the YouTube video for cardstock recommendations and links to extra resources.
