
Step into the joyful world of Paper Star Crafts, an enchanting project perfect for children and creative enthusiasts alike. This craft boasts a mesmerizing blend of simplicity and beauty, making it the ideal activity for a rainy afternoon or as part of an engaging classroom project. With just a few folds and snips, you can bring this delightful star to life, showing that anyone can be a crafting star with just a bit of paper and imagination.
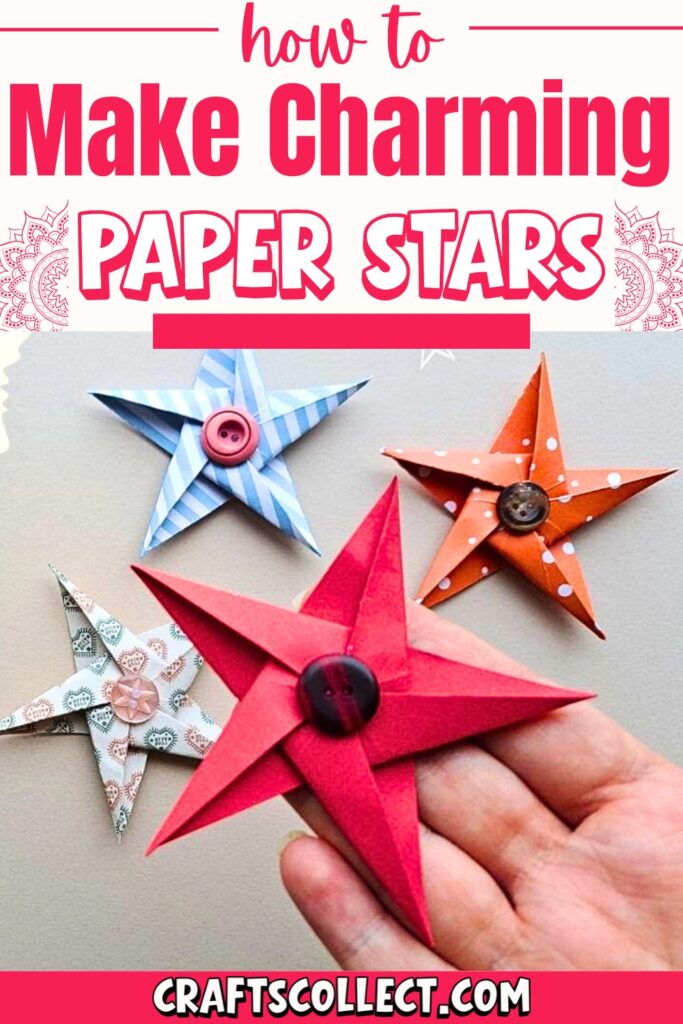
DIY Paper Star Crafts For Children
This project revolves around crafting elegant paper stars that can serve as decorations, gifts, or even personal keepsakes. What sets this craft apart is its charming ability to transform simple sheets of paper into stunning shapes, sparking inspiration with its effortless elegance. Made for beginners, it’s pleasantly quick and can be personalized with various colors and patterns to suit any occasion. These stars can adorn tree tops, act as unique gift toppers, or brighten up any room in your home.
Credit DIY Craft Hub
How To Make Paper Star
Required Materials
- Square piece of paper
- Scissors
- Optional: Button for decoration
- Optional: Glue gun (for attaching the button or decorations)
Important Notes
- Precision Matters: Carefully match edges and corners while folding—precision will ensure your star looks neat.
- Take Your Time: The trickiest folds require patience and practice to get right, especially when creating the star shape.
- Decoration Options: You can decorate with buttons, sequins, or beads. Alternatively, make double-sided stars to make them visually appealing from both sides.
- Creative Uses: Paper stars can be used as ornaments, gift tags, or even decorations for holiday trees.

Step-by-Step Instructions
1. Initial Folds
- Start with your square piece of paper.
- Fold the paper in half lengthwise. Press firmly to create a clean crease.
- Take one corner and fold it diagonally to line up with the opposite edge. Press down.
- Fold the opposite corner diagonally, mirroring the previous step. Press firmly.

2. Cone Shape & Folded Segment
- Locate the folded edge and bring the bottom corner up to the newly created point. Press to crease.
- Fold the top corner back on itself, aligning it with the folded edge. This creates a cone-like shape.
- Fold this edge outward to align it with the newly created side.
3. Cutting & Shape Formation
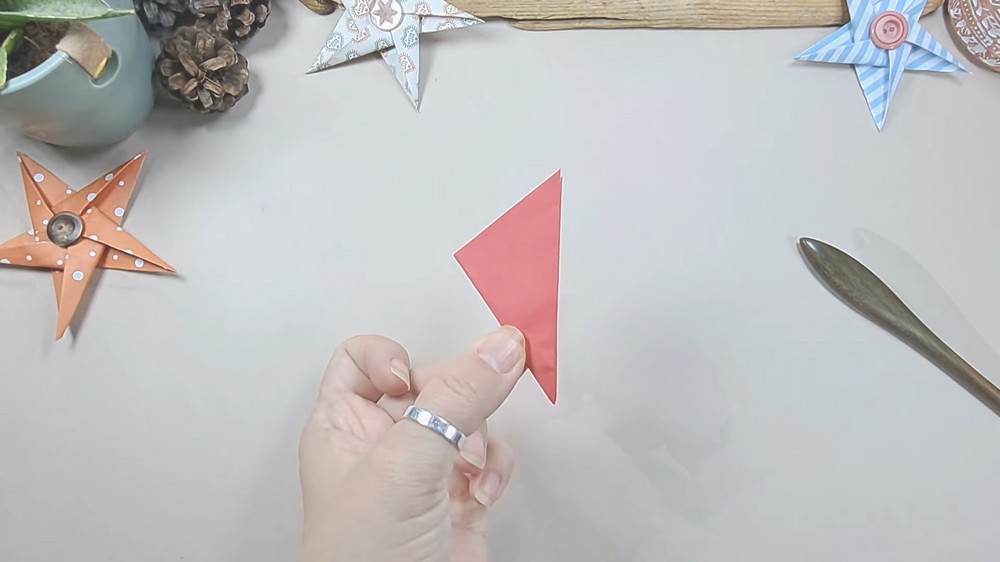
- Fold the entire paper in half, which leaves you with a folded, triangular shape.
- Using scissors, cut along the triangular edge (the long, unfolded side). Discard the excess paper.
- Open the paper to reveal the preliminary star-shaped folds.
4. Create the Star Creases
- Begin folding each side upward, aligning the corners with the intersecting lines on the shape instead of the center point. These folds help define the star’s creases.
- Continue folding all five sections until the outlines of a star start forming.
5. Pinching the Corners
- Pinch two sides of the star together, creating a fold that points outward from the edges. Crease firmly.
- Open the star fully. Repeat the pinching and folding process for all five corners.
6. Shape Finalization
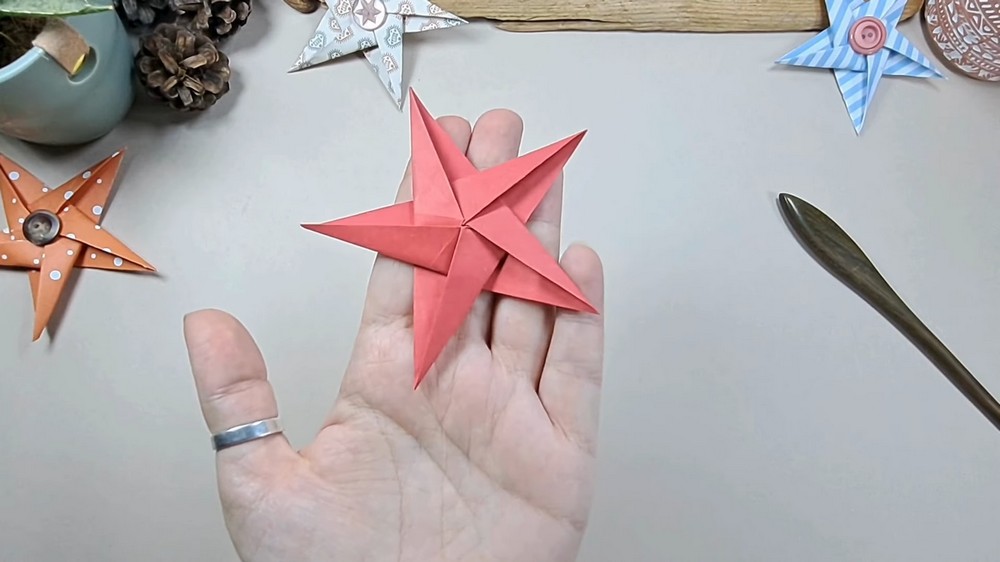
- Once all folds are complete, gently pinch the corners together and twist slightly. The folds will interlock, forming a clean star shape.
- Turn the star over and adjust any uneven folds. At this stage, the star base is complete.
Note: If you face any hurdles in creating this project, then you can watch the tutorial here.
7. Optional Decoration
- Add a small blob of glue to the center and attach a button, bead, or sequin as decoration.
- Allow the glue to dry before handling.

Creative Uses for Paper Stars
- Ornaments: Thread a needle through the top of the star to make a hanging decoration.
- Double-Sided Stars: Glue two stars back-to-back with string in between for double-sided hanging ornaments.
- Gift Tags: Attach finished stars to gifts for a creative and personal touch.
- Upcycled Stars: Use old book pages or scrap paper to create vintage-style stars.
