
An origami cat is a fun and charming paper craft that is ideal for kids and adults alike. It can be used as a playful decoration, a creative gift, or even a desk companion, adding a touch of personality to your space. Its easy-to-follow design makes it a great activity for beginners learning origami or anyone who loves expressing creativity with simple materials like paper.
Origami Cat With Easy Tutorial

Making this origami cat requires only a square piece of paper and a few folds. The process includes basic steps like folding triangles, aligning corners, and creating creases to shape the cat’s head and body. You can personalize it further by drawing a cute face or shaping the tail more creatively after finishing. Whether it’s for leisure, a school project, or a bonding activity with friends and family, crafting this cat is a rewarding and enjoyable experience.
Credit Easy Origami and Crafts
Required Materials:
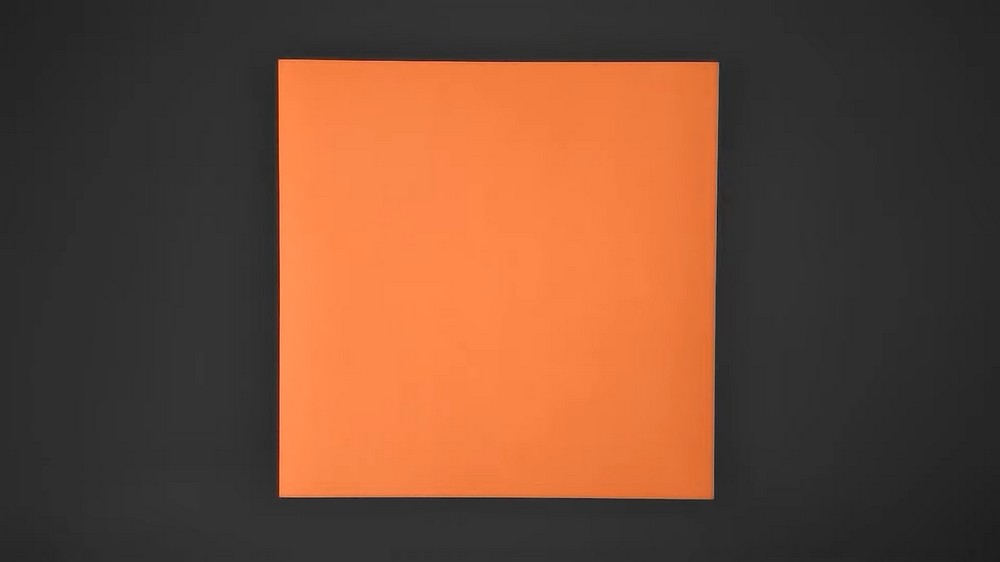
- A square piece of paper (20×20 cm is used in the example, but any size works).
Important Notes:
- Ensure your folds and creases are sharp and clean for a neater final result.
- Pay close attention to the alignment of edges when folding.
- Repeating certain steps on both sides is key to symmetry.

Step-by-Step Instructions
Step 1: Create the Initial Creases
- Take your square paper.
- Fold it in half diagonally by bringing one corner to the opposite corner.
- Crease well and unfold it. You now have one diagonal crease.
Step 2: Create Two More Diagonal Folds
- Rotate the paper slightly and fold it along the new diagonals:
- Bring the right-hand bottom edge toward the middle (diagonal line).
- Crease well and repeat on the other side (left-hand bottom edge).
- Flip the paper over and fold the bottom corner upwards to create another crease. Unfold it.
Step 3: Fold in Half
- Fold the bottom corner of the paper upward to meet the top corner.
- Reinforce the fold.
- With the folded paper, fold the two side corners inward:
- Start with the right-hand side, align it well, and crease.
- Repeat with the left-hand side.

Step 4: Create New Diagonal Creases
- Unfold the middle section of the paper.
- Fold the right side back into the middle mark, creating a new diagonal crease. Then unfold it.
- Repeat this step on the left-hand side.
Step 5: Form the Cat’s Face
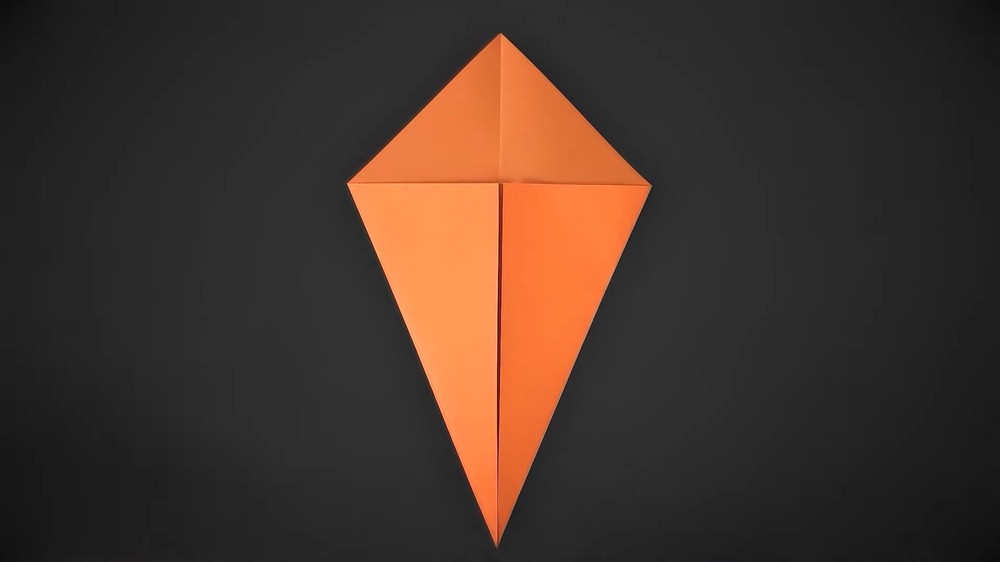
- Fold the top corner of the paper downward towards the middle and crease.
- Fold once more to connect the corners and then unfold only the last step.
Step 6: Shape the Head
- Bring the paper’s right side to the middle and then do the same with the left side. They should meet in the center, forming a closed shape.
- Using the existing creases, fold up the first layer toward the top.
- On the bottom section, fold the existing crease on the right-hand side upward and flatten the remaining layer of paper.
- Repeat the fold on the left-hand side to complete the base of the head.
Step 7: Create a Reference Fold
- Look at the small corner left on the back layer. Fold this tiny corner backward to form a reference crease, then unfold it.

Step 8: Start the Middle Fold
- Close the middle section by moving it to the left side.
- Take the horizontal edge and fold it upward to meet the diagonal edge at the top, creating a new diagonal crease. Then unfold it.
- Fold the corner upward along this diagonal line and flatten the paper.
Step 9: Mirror the Fold on the Other Side
- Move the middle section to the right side and repeat the same steps:
- Fold the diagonal.
- Fold the corner toward the top and flatten the paper.
- With both sides complete, unfold the middle layer to reveal the cat’s head.

Step 10: Shape the Tail and Body
- Rotate the entire figure and fold it in half.
- Take the larger lower side and fold it upward diagonally to form the cat’s tail. Crease and then unfold it.
- Open the paper slightly, reinforce the existing creases, and fold that section upward.
- Close the paper back, making sure to maintain the tail’s fold.
Step 11: Adjust the Layers
- To form the body, fold the front layers, splitting the paper in half toward both sides equally.
- Gently open the body section and close the head portion over it.

Final Step: Final Adjustments
- Fold the remaining corner behind (using the crease you created earlier) to refine the shape.
- Adjust any uneven folds or creases, and reinforce all parts of the cat.
- Optional: You can draw a face on the cat or shape the tail further for extra detail.
Completion
- Congratulations! Your origami cat is now complete.
- Feel free to personalize it by adding creative touches.

