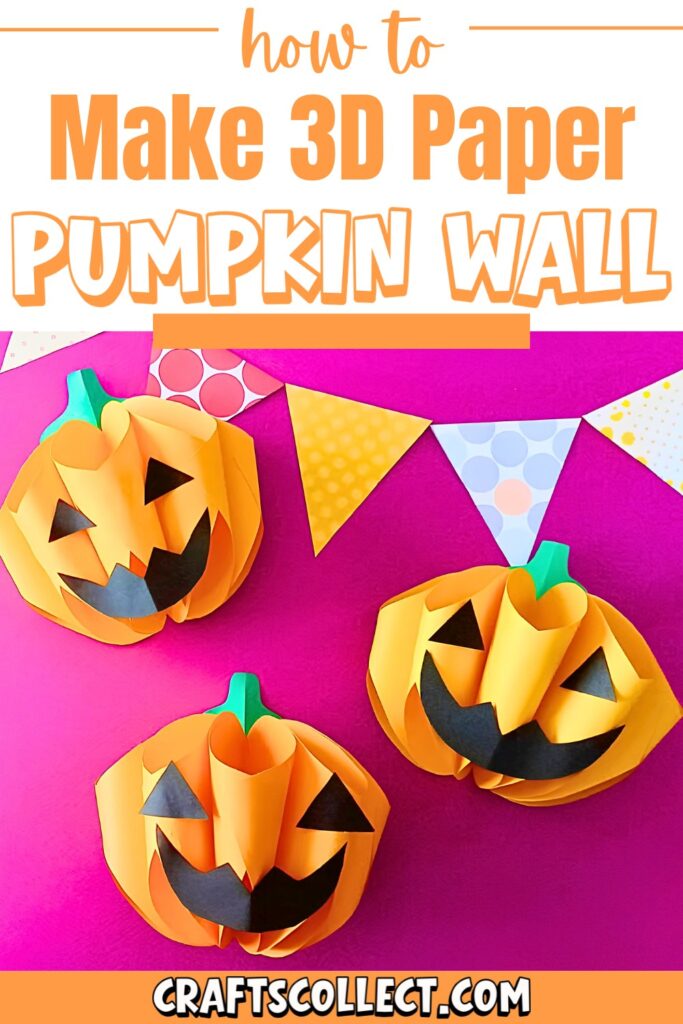
Let’s bring Halloween spirit to your walls with fun paper pumpkin decorations! These cheerful pumpkins are perfect for creating a festive touch in your home. A few simple materials like colored paper, scissors, and glue turn into stunning wall designs that can be customized with different shapes, colors, and even cute jack-o’-lantern faces.
Paper Halloween Pumpkin Wall Decorations
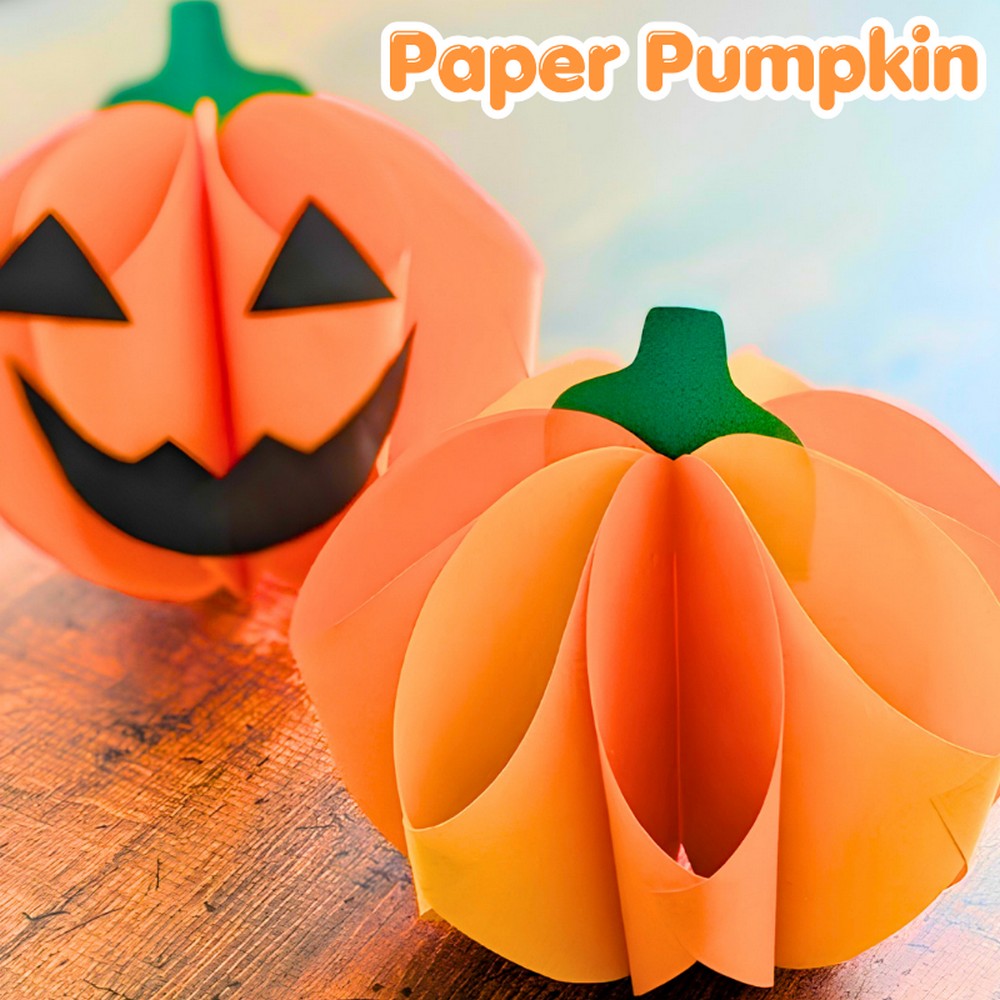
To make these decorations, start by cutting 5 sheets of square paper into pumpkin shapes. Glue them together for a 3D effect, overlapping the edges to create depth. Once the base pumpkin is ready, cut out triangles for eyes and a jagged mouth from black paper to make it look fun and spooky. Stick these features onto your pumpkin, and you’ll have wall decor that stands out! Try mixing colors, sizes, or even adding goofy faces to make your wall decorations one-of-a-kind.
These paper pumpkins are lightweight, easy to hang, and a great project for kids or family crafting time. Use them to dress up your walls, windows, or even doorways for a lively Halloween ambiance.
Credit Emiko Yamamoto Paper decoration
Materials & Tools Needed
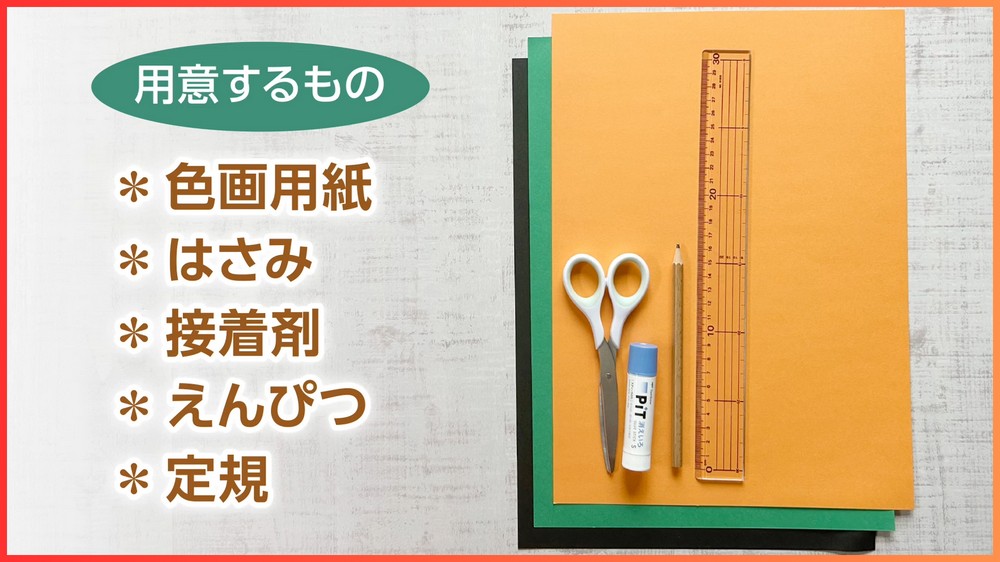
- Colored drawing paper (15 cm x 15 cm squares recommended for pumpkins; 6 cm x 6 cm for stems; 10 cm x 10 cm for facial features)
- Suggested colors: orange, yellow (pumpkins) and black (eyes and mouth)
- Scissors
- Glue (preferably quick-drying for paper crafts)
- Pencil
- Ruler
Finished Size & Customization Ideas
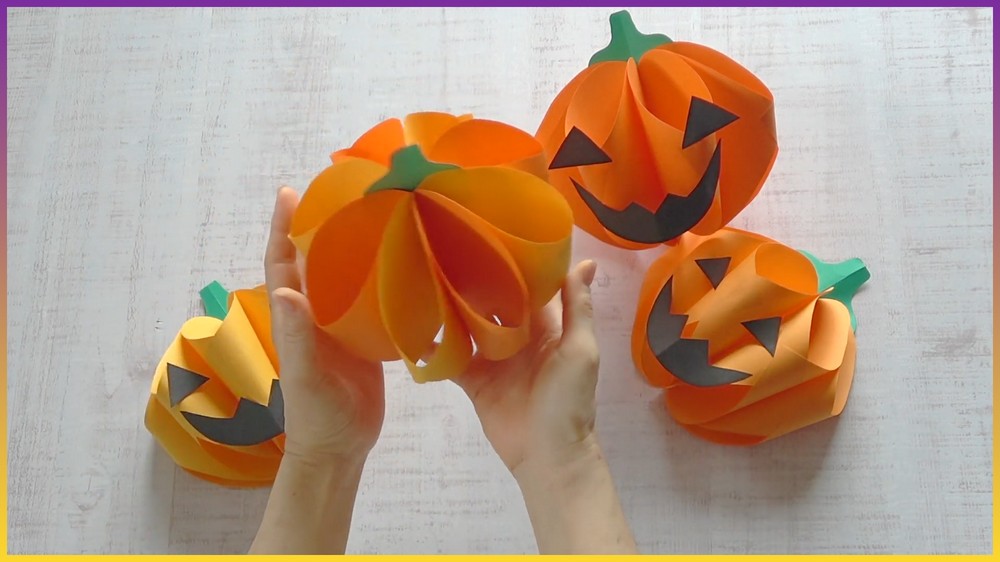
- Base Pumpkin Size: Dependent on paper dimensions. In the example, 15 cm x 15 cm squares create medium-sized pumpkins.
- Customization:
- You can adjust the size by using larger or smaller paper. For smaller pumpkins, use 10 cm x 10 cm squares.
- Decorate with faces (eyes and mouth in black paper) or use various colored papers (e.g., yellow and orange) for a layered effect.
- Add green or brown stems for a more realistic look.
Step-by-Step Detailed Instructions
Part 1: Making the Base Pumpkin for the Wall Decoration
- Prepare Paper:
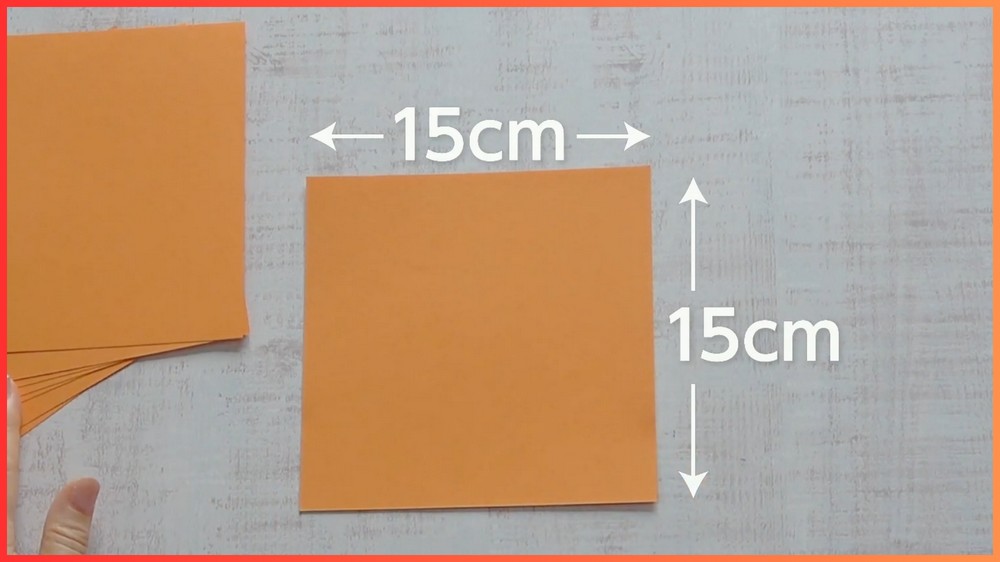
- Cut 5 pieces of 15 cm x 15 cm colored drawing paper into square shapes.
- Fold and Mark:
- Fold one square diagonally into a triangle.
- Mark approximately 1/4 of the folded edge; for a 15 cm square, this equals roughly 5 cm.
- Draw the Pumpkin Shape:
- From the marked point, draw a curved line extending to the peak of the triangle. Repeat this curve on the opposite side to form a pumpkin-like shape.
- Cut the Pumpkin:
- Cut along the drawn lines to create a rounded triangular shape.
- Use this piece as a template to mark and cut the remaining 4 pieces of paper.
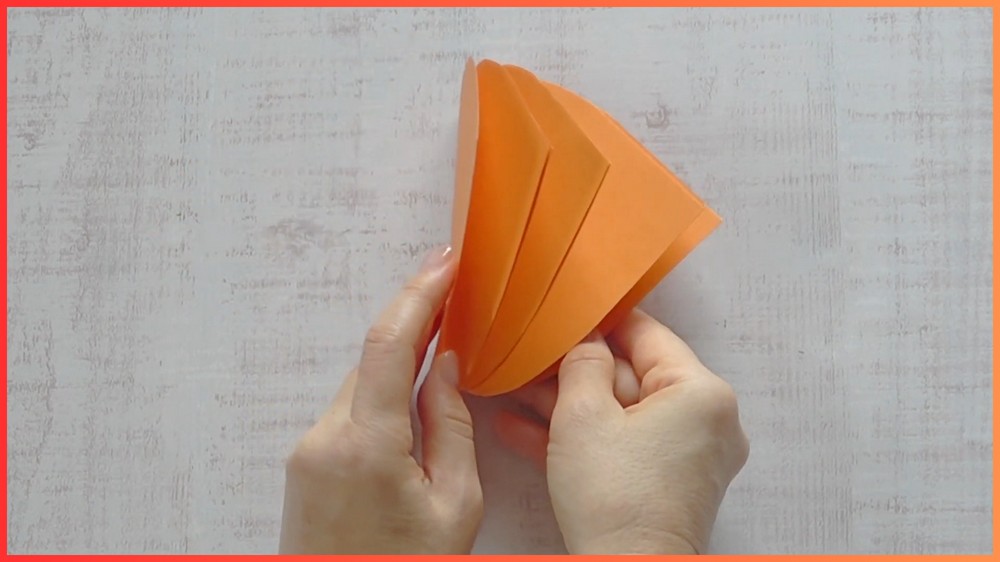
- Glue the Pumpkin Sections Together:
- Apply glue along one edge (approximately 2 cm from the crease) and stack a second piece on top, ensuring the creases align perfectly.
- Repeat this process until all 5 pieces are glued together.
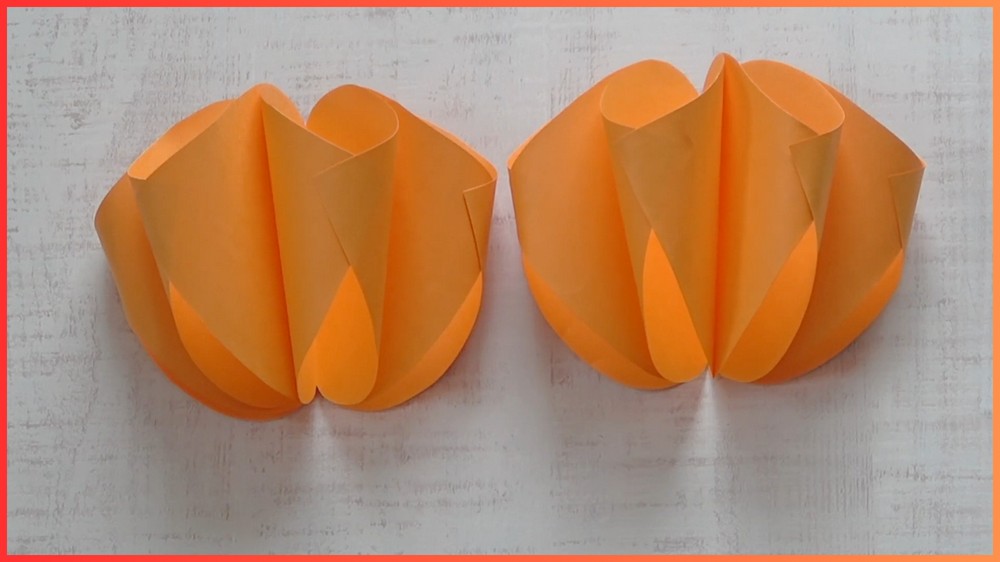
- Expand the Pumpkin:
- Slightly tilt the overlapping pieces to ensure the top of the pumpkin spreads wider than the base. Adjust as necessary before the glue dries.
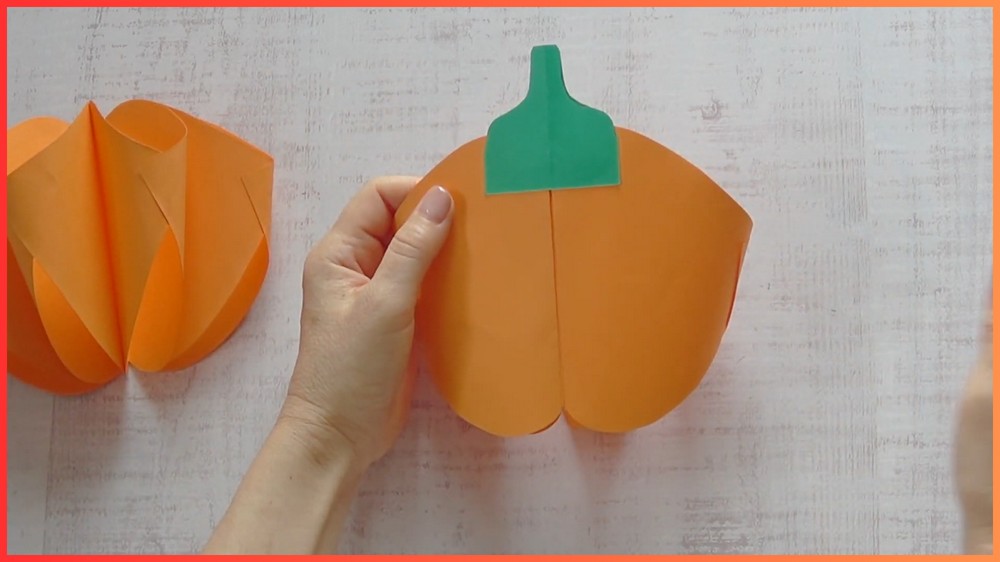
- Stem Creation:
- Cut a 6 cm x 6 cm square.
- Fold in half lengthwise and mark points about halfway up and 1/4 from the bottom.
- Cut a slightly curved line across these points to form a tapering stem shape.
- Attach this stem to the top/back of the pumpkin using adhesive.
Part 2: Adding Facial Features
- Prepare Eyes and Mouth:
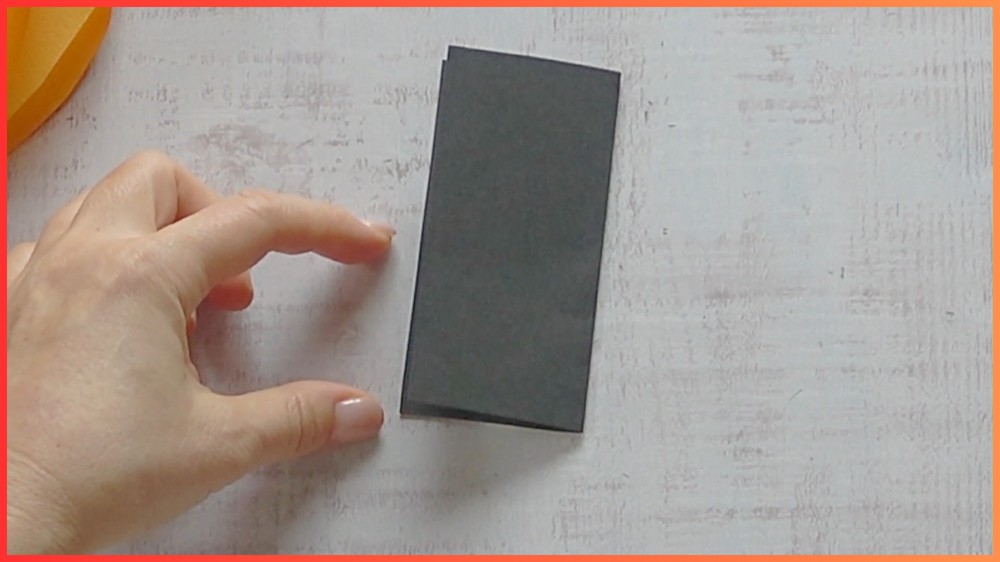
- Cut a 10 cm x 10 cm piece of black paper.
- Fold it in half and, starting at the top folded edge, draw a curved crescent for the mouth. Add triangular jagged edges for “teeth” to give the mouth some spooky character.
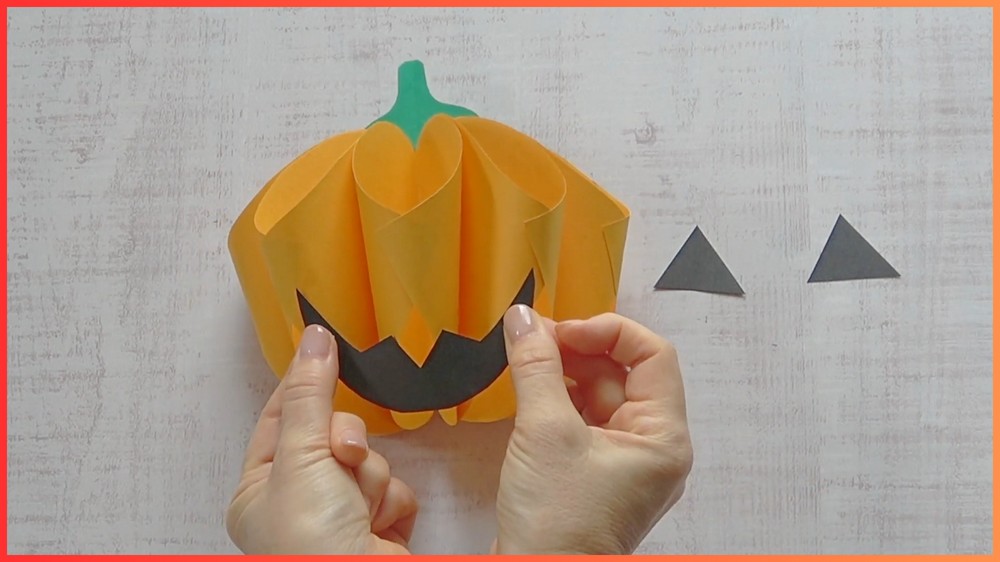
- Cut triangular shapes for the eyes.
- Attach Features:
- Glue the mouth and eyes onto the center of the pumpkin face in your desired arrangement.
- Ensure the features are evenly positioned and securely glued.
Additional Tips for Customization:
- Experiment with multiple colors for pumpkins and stems for variety and charm.
- Embellish further with glitter, stickers, or stamps for a fun and festive look.
- Use string to hang the pumpkins if desired—simply punch a hole near the top of the stem.