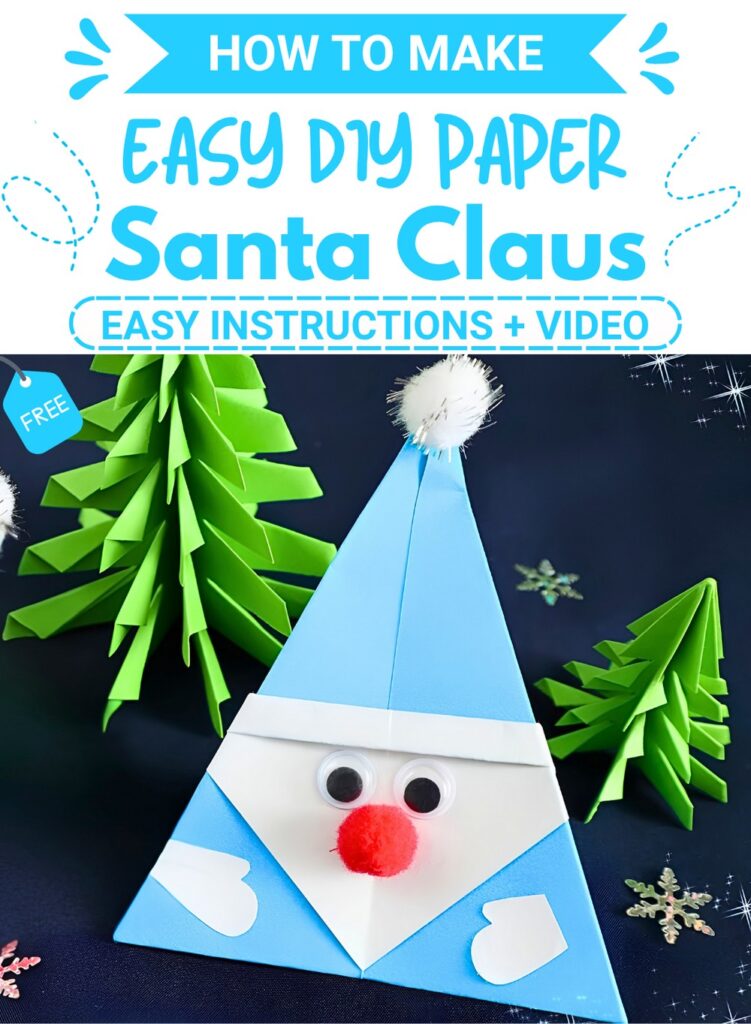
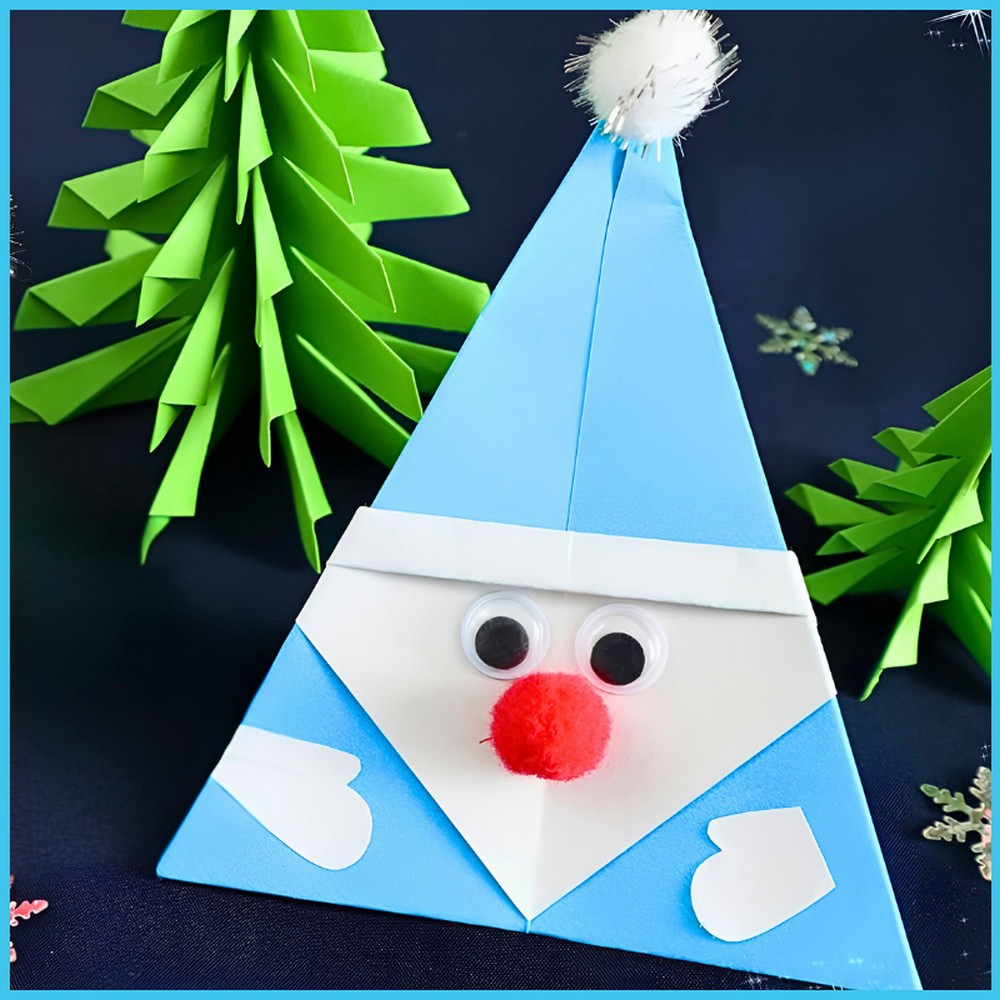
Making a paper Santa Claus is a fun holiday project for children and families. This simple craft turns a single square piece of colored paper into a cheerful festive character. It works wonderfully as a Christmas tree ornament, a gift tag decoration, or a bright holiday display for your home or classroom desk.
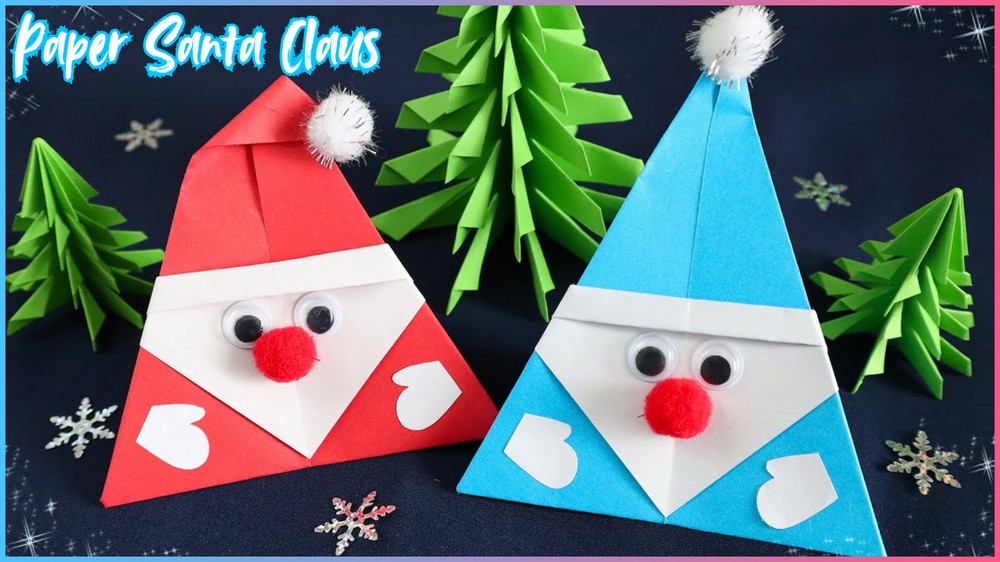
Origami Paper Santa Claus
The crafting process uses easy folding techniques that make a pointed red hat and a clean white face shape. A few neat folds form the main body quickly. After completing the paper shape, adding small details like googly eyes, a fluffy pom pom nose, and tiny paper mittens brings the character to life instantly.
This handmade ornament brings a personal touch to your holiday celebrations. Kids can customize their creations by using different colored papers or adding tiny handwritten names to turn them into place cards for holiday meals. Hang them on garlands, paste them onto handmade cards, or line them up along a window sill.
Crafting these festive paper figures offers a relaxing way to spend a winter afternoon together. The project encourages creativity while letting everyone enjoy the holiday spirit through hands on fun. With just paper, glue, and basic craft accents, you can build a whole collection of cheerful holiday friends.
Things that you need before crafting:
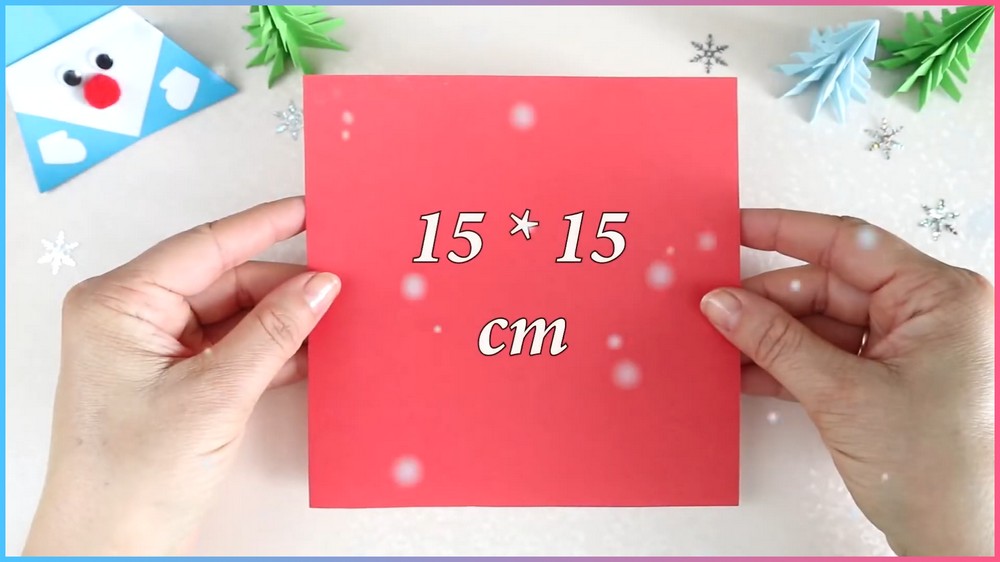
Paper: 1 square sheet of single-sided colored origami paper (15 cm × 15 cm, red on one side and white on the reverse). A small scrap piece of plain white paper for cutouts.
Embellishments: 1 small white fuzzy pom-pom (for the hat tip), 1 small red pom-pom (for the nose), and 2 small plastic googly eyes.
Tools: Craft scissors, a glue stick, and a hot glue gun (or craft glue).
Notes & Gauge
Instruction Note: Use single-sided origami paper so the white reverse side naturally forms Santa’s beard and hat trim as you fold. Ensure all folds are pressed flat with a fingernail or bone folder for sharp edges.
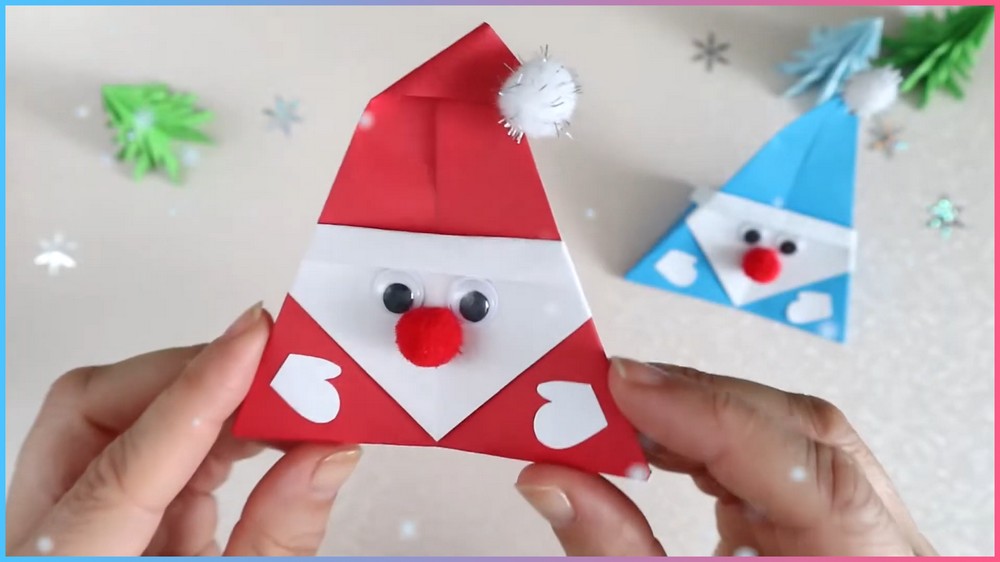
Gauge: One 15 cm × 15 cm paper square yields a finished Santa figure measuring approximately 10 cm tall and 9 cm wide.
This Project credit goes to Amazing Super Craft.
Key Construction Features
Geometric Origami Base: Converts a simple square sheet into a structured triangular body and pointed hat through clean diagonal crease folds.
Color-Contrast Detailing: Leverages the white backside of single-sided paper to reveal an integrated beard and neat hat brim without requiring extra paper layers.
Mixed-Media Finishing: Combines traditional paper folding with tactile 3D elements like fluffy pom-poms, googly eyes, and custom paper mitten cutouts.
How To Make:
Establishing the Creases
Start by placing your 15 cm × 15 cm square paper flat on your work surface with the white side facing up.
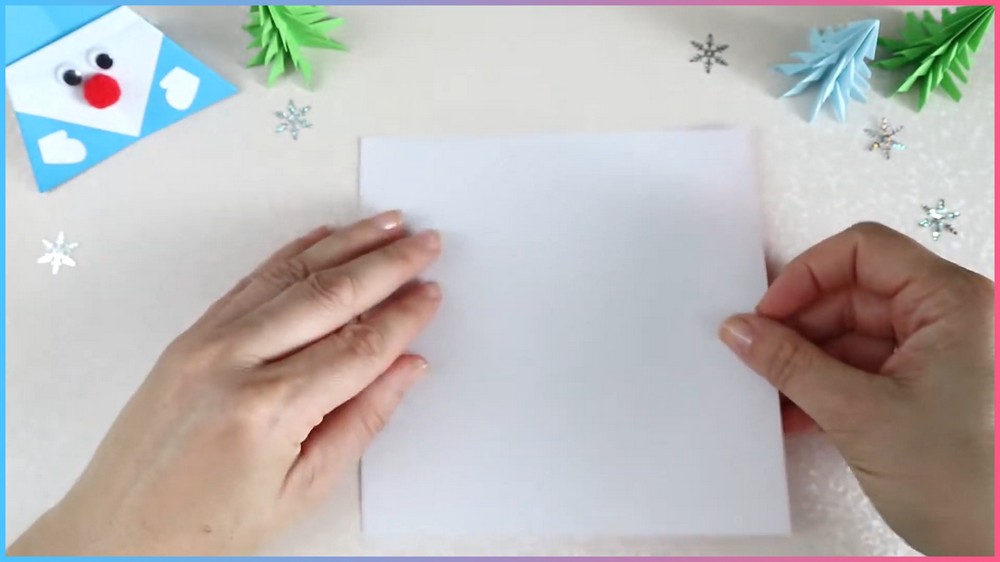
Fold the square diagonally in half by bringing the top-left corner to meet the bottom-right corner, crease firmly, and unfold.
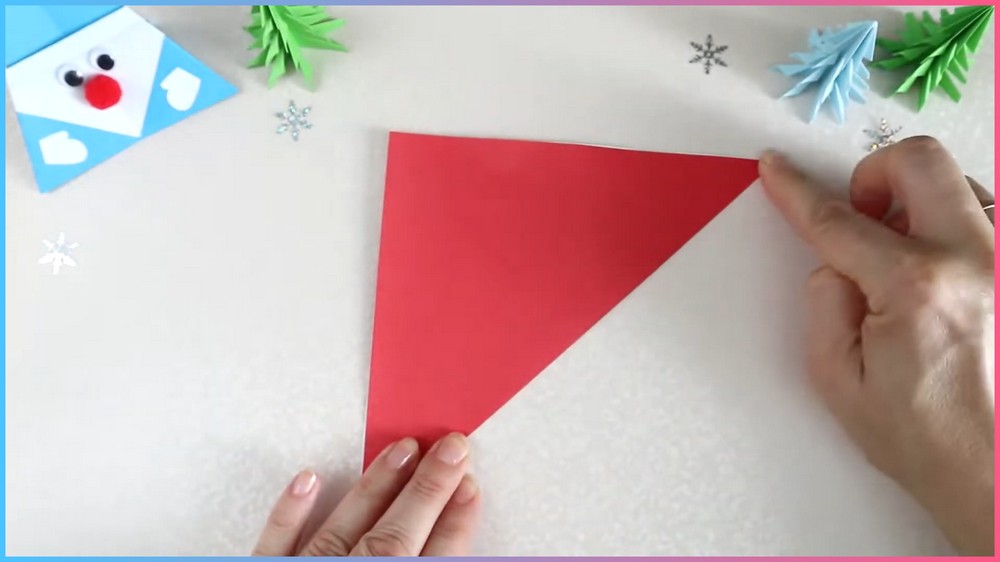
Repeat this diagonal fold with the opposite corners (top-right to bottom-left) and open the paper flat again so you have a crisp “X” crease instruction across the center.
Forming the Kite Base
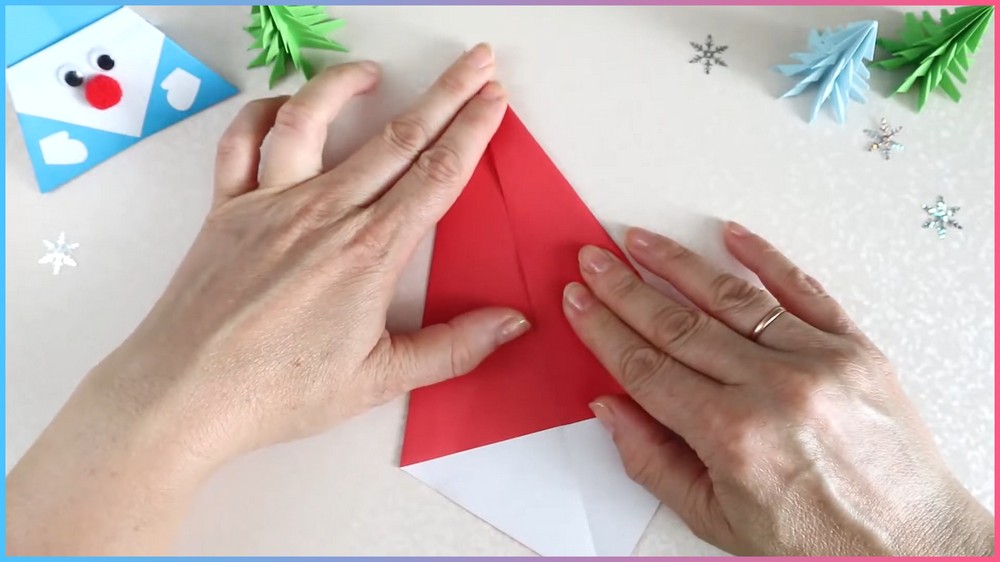
Next, perform a standard kite fold: take the upper-left and upper-right edges and fold them inward so their outer edges align precisely along the vertical center diagonal crease. Press the edges flat to form a sleek, pointed kite shape.

Squaring the Bottom
To square off the lower body, take the pointed bottom tip of the kite and fold it straight upward along the horizontal line formed by the bottom of your side flaps. Smooth the crease to complete the base pentagon shape.

Creating the Hat Brim
To form the hat rim, take the narrow horizontal fold line at the top of the newly formed beard section and fold a thin strip (about 0.5 cm wide) upward once or twice over itself.
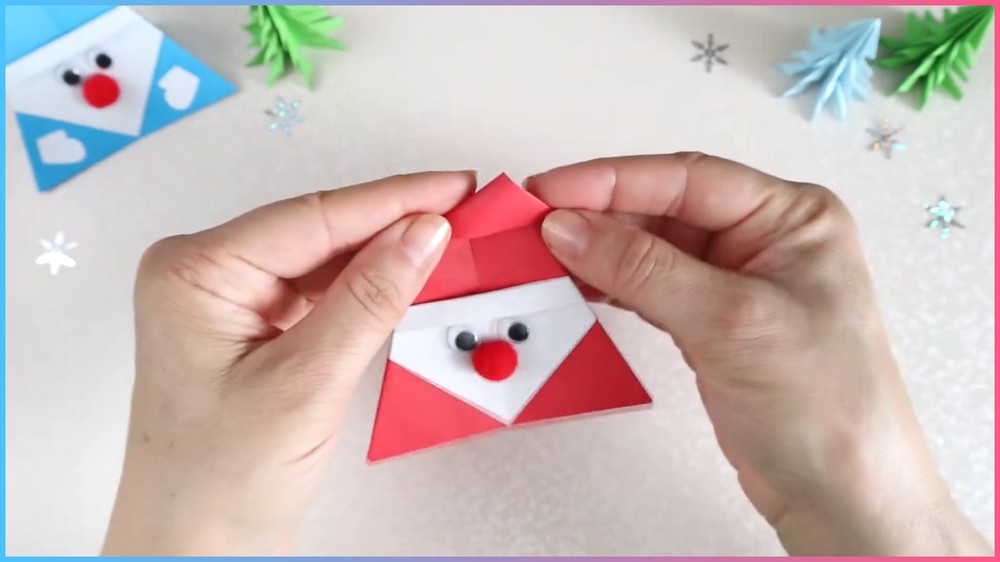
Press firmly along the length of the fold to create a clean, crisp white brim at the base of Santa’s red hat.
Adding the Facial Details
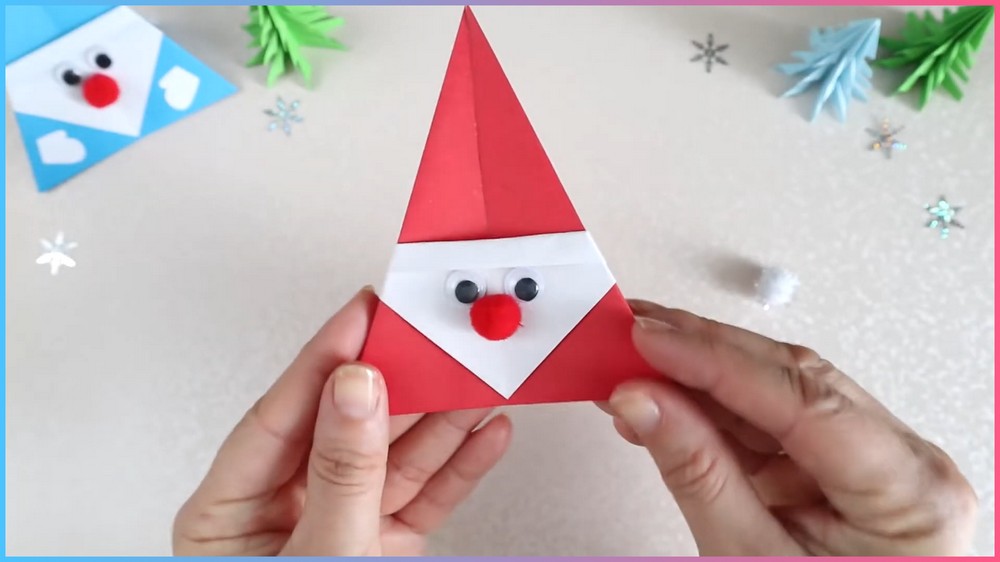
With the front of your folded Santa facing up, select your adhesive. Place a small dot of glue in the center of the white beard section and firmly press the small red pom-pom in place to form Santa’s classic nose. Just above the nose, on the exposed white area beneath the hat brim, apply two small dots of glue and attach the googly eyes side by side.
Locking the Structure
Flip the model over to the back once more. Take the excess outer side flaps on the left and right and fold them inward toward the center back. Secure these flaps flat using a dab of glue from your glue stick to lock the structural body in place permanently.
Revealing the Beard
Flip the folded paper piece over to the front side. Take the top layer of the pointed white flap and fold it straight downward until its sharp tip meets the bottom edge of your base shape. This step exposes the white reverse side of the paper to define Santa’s full triangular beard.
Tilting and Decorating the Hat
To give Santa’s hat a festive tilt, take the sharp top red point of the hat and fold it gently to the left or right at a slight angle. Apply a drop of glue behind the fold to keep it flat, then use hot glue or craft glue to attach the white fuzzy pom-pom directly onto the folded tip of the hat.
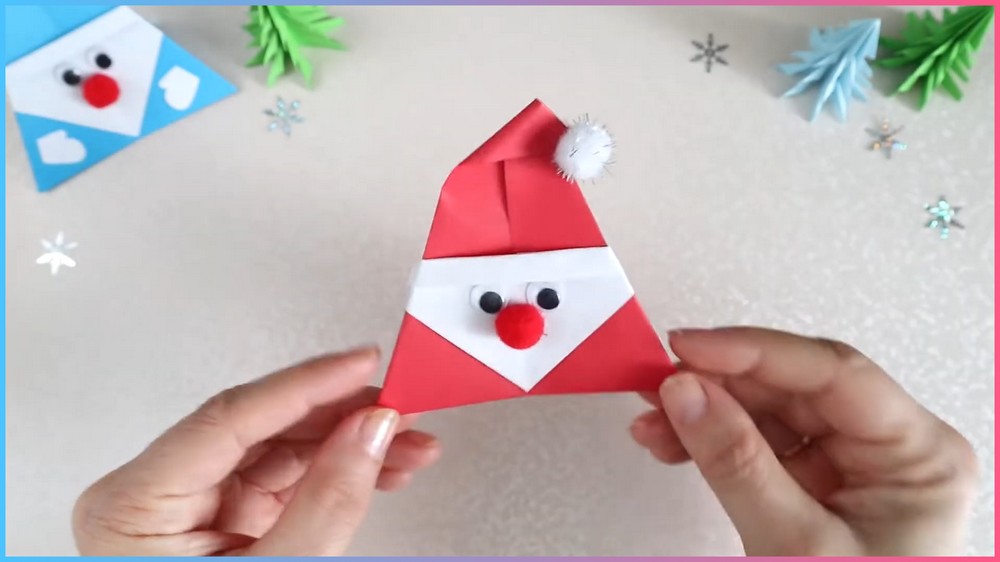
Note: If you face any hurdles in creating this project, then you can watch the tutorial here.
Attaching the Mittens
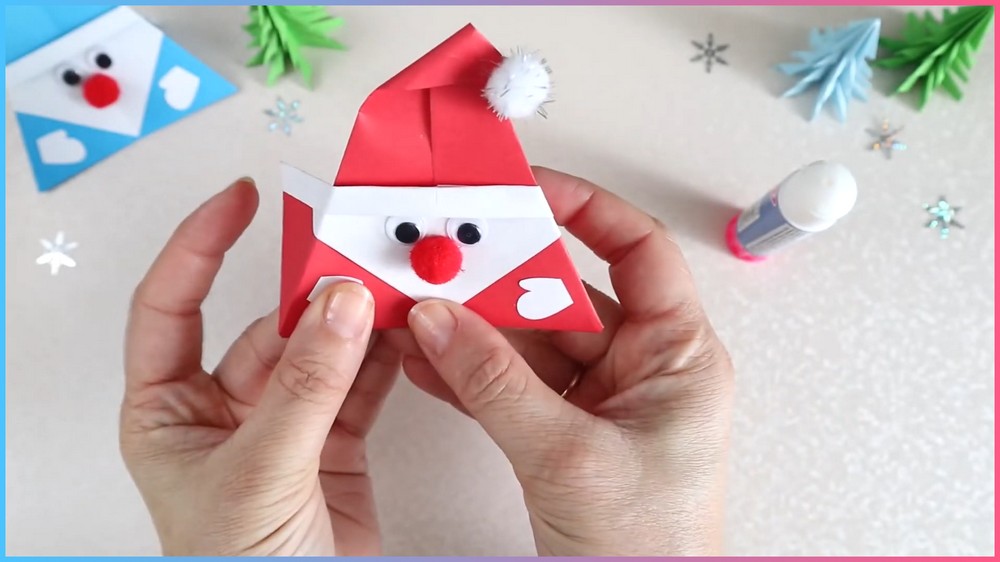
Finally, prepare Santa’s hands: fold your small scrap piece of white paper in half so you can cut two layers simultaneously. Using your scissors, cut out a small mitten shape (about 2 cm in length). Unfold or separate the two mitten cutouts. Apply a dab of glue stick to the back of each mitten, then slip them under the bottom outer corners of Santa’s body and press down to secure. Your detailed, three-dimensional Paper Santa Claus is now complete!
Save this pin for future!