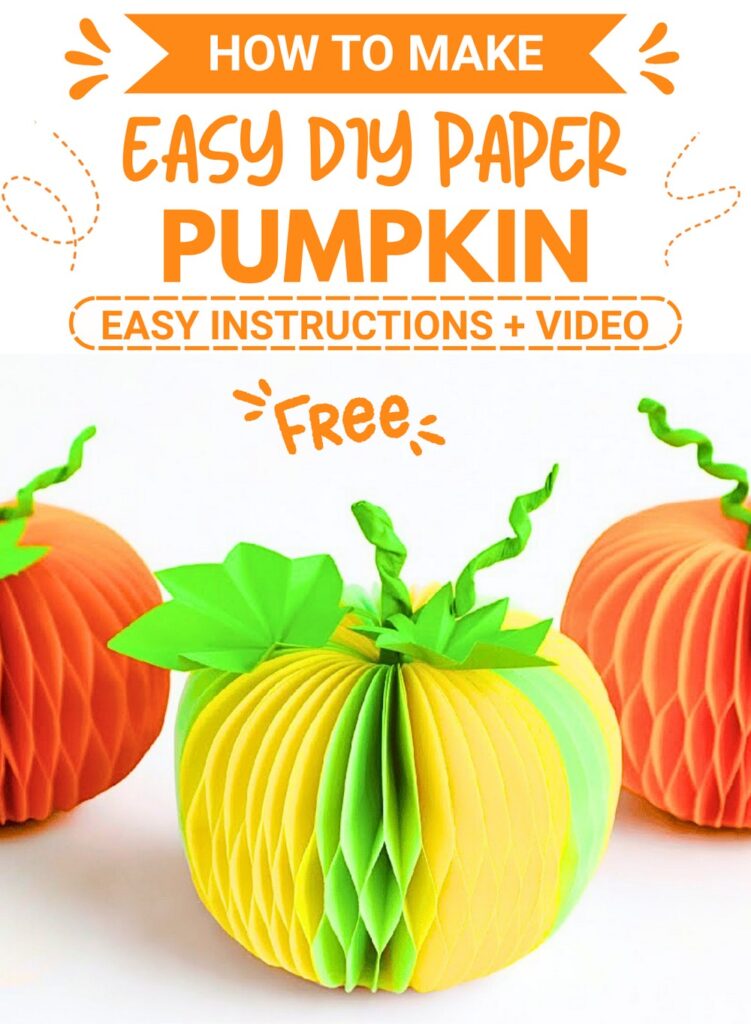
Brighten your space with a charming 3D paper pumpkin decor item. This round, colorful paper creation brings a cheerful autumn touch to any room in your home. You can place it on a study table, set it on a shelf, or give it to friends as a sweet handmade gift during festive seasonal gatherings.
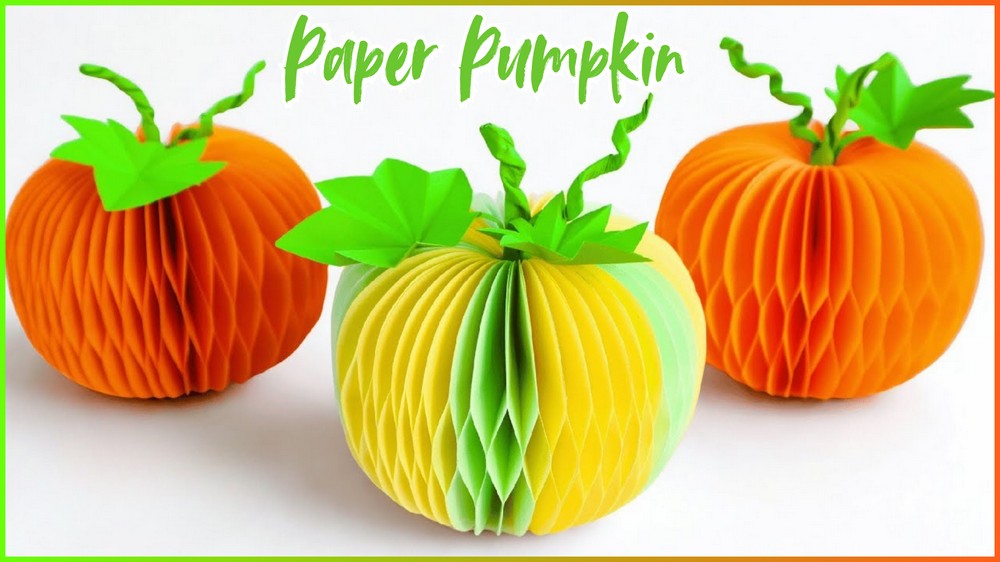
Paper Pumpkin Craft
Making this paper pumpkin is a fun activity that anyone can enjoy. You only need simple paper sheets, glue stick, and scissors. By folding and joining colorful paper pieces together, you form a soft honeycomb shape. Top it off with green paper leaves and a stem to complete the cute look in no time.
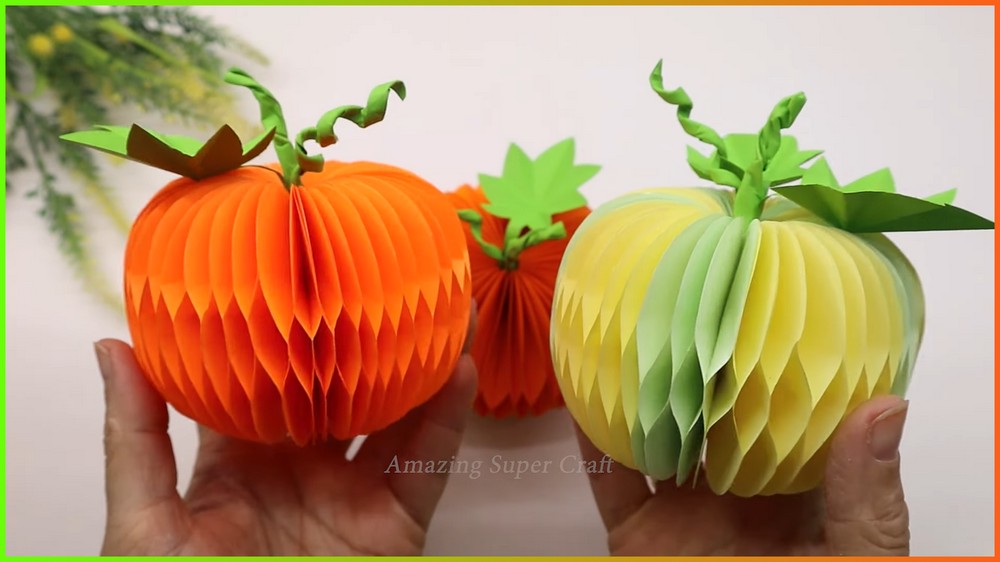
Children and adults alike will enjoy crafting these paper decorations. You can mix and match bright orange, yellow, or soft green paper colors to build your own mini pumpkin patch. It is a relaxing craft project that brightens up your creative afternoon and brings lots of smiles to your cozy home.
Displaying these handmade pumpkins around your living room creates a warm festive atmosphere. They stand up easily on flat surfaces, making them perfect table centerpieces for fall celebrations. Enjoy spending time creating simple paper art that adds color and happiness to your daily home life today.
Craft this charming 3D Paper Pumpkin using simple paper-folding and alternating glue techniques to create a full, expandable honeycomb design that brings vibrant autumn warmth to any home decor!
Things that you need before start crafting:
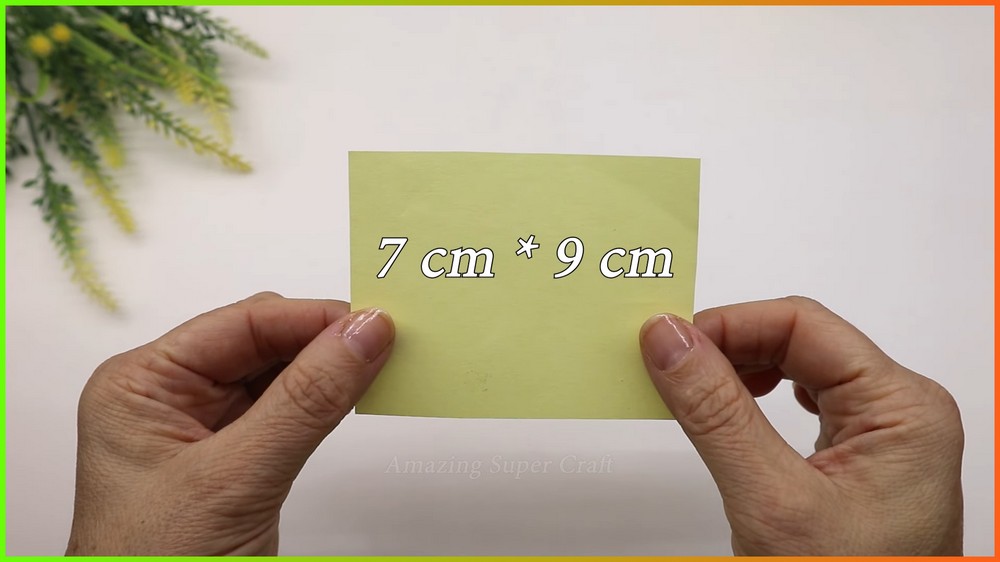
Main Body Paper: 40 sheets/pieces of orange or yellow paper (cut to 7 cm × 9 cm)
Accent Paper (Green):
Leaf: 1 piece (7 cm × 7 cm)
Vine Tendril: 1 piece (3 cm × 9 cm)
Stem: 1 piece (6 cm × 9 cm)
Template Cardstock: 1 small cardstock piece (7 cm × 9 cm) for drafting the pumpkin profile
Adhesive: Craft glue stick or liquid paper glue
Cutting Tools: Precision craft scissors
Forming & Clamping Tools: Thin wooden skewer, toothpick, pencil, and binder clips
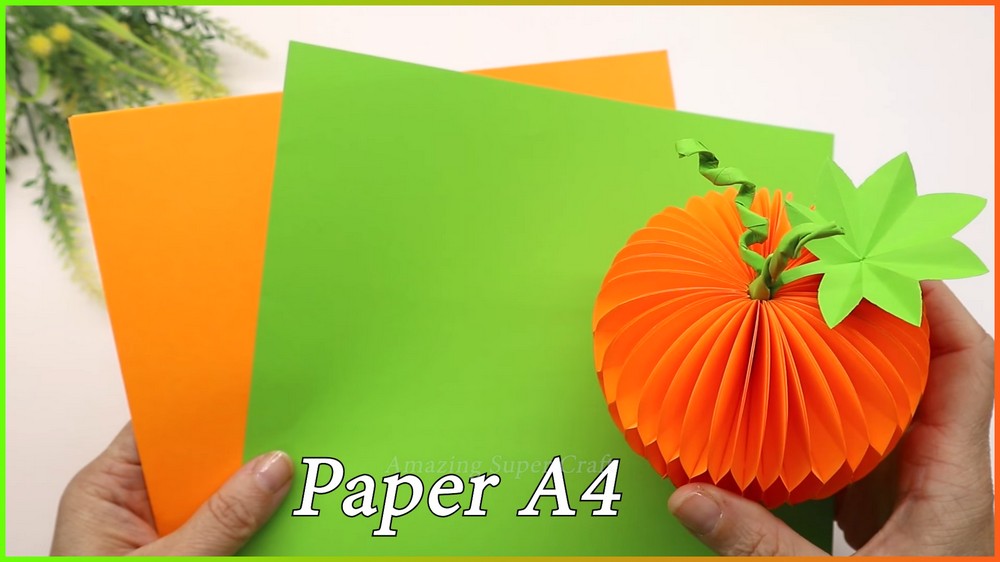
Instruction Note
This project uses a precise 3-line alternating gluing strategy to create a 360-degree expandable honeycomb structure. Maintaining accurate alignment during trimming and layer stacking is key to ensuring a smooth, symmetrical expansion.
This Project credit goes to Amazing Super Craft.
Key Construction Features:
3D Honeycomb Structure: Uses 40 stacked, folded paper profiles bound by alternating glue placement to form a full round shape.
Easy Symmetrical Drafting: Made using a custom-cut fold-over template to ensure uniform shape across all layers.
Textured Accents: Includes a hand-cut multi-point leaf, a tightly spiraled paper tube tendril, and a rolled paper stalk stem.
Zero-Sew Assembly: Simple cut-and-glue construction suitable for all skill levels.
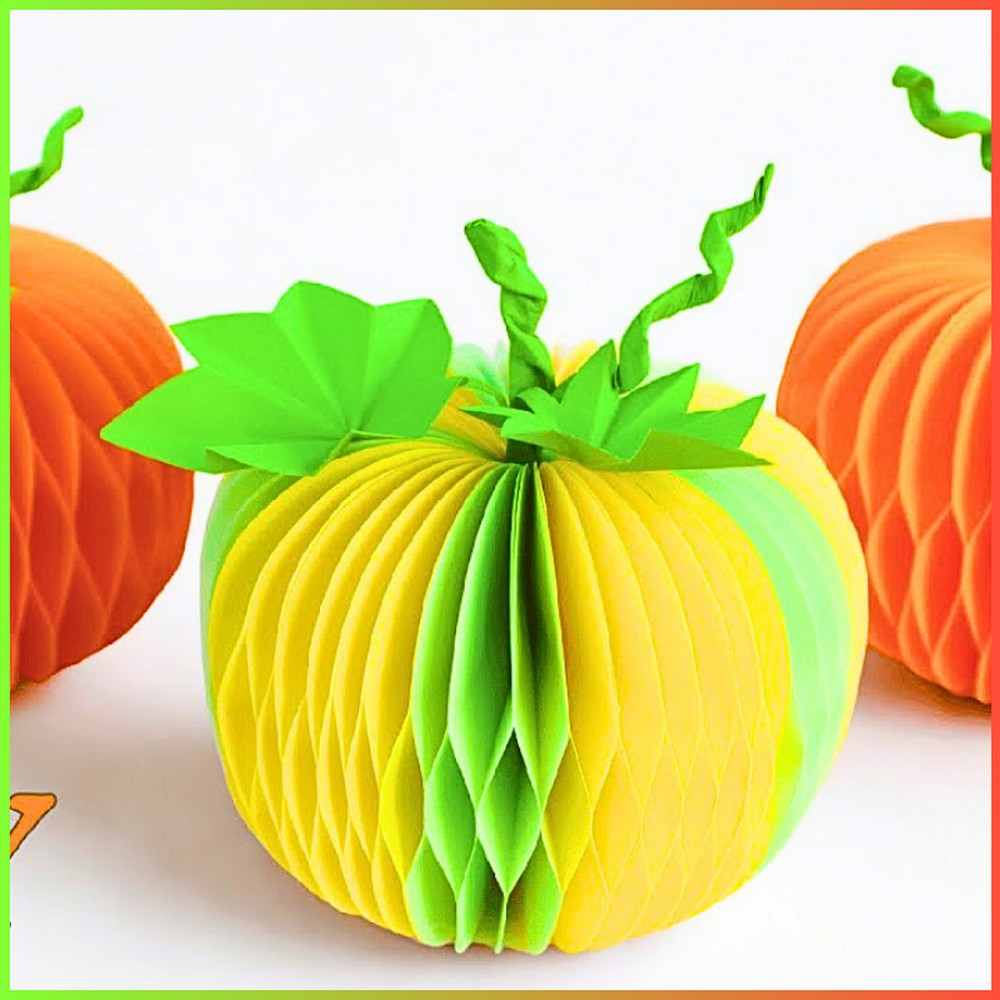
How To Make:
Step 1: Crafting the Master Template and Cutting the Pumpkin Layers
Begin by preparing the master template card to ensure all 40 pumpkin segments are identical. Take the 7 cm × 9 cm cardstock piece and fold it in half vertically so it measures 3.5 cm × 9 cm. Starting from the folded crease, trace a smooth half-pumpkin profile featuring a gently curved top and bottom that tapers outward at the center.
Carefully cut along your line and unfold the cardstock to reveal a fully symmetrical, double-lobed pumpkin template. Next, take your orange or yellow paper and fold it into matching 7 cm × 9 cm segments.
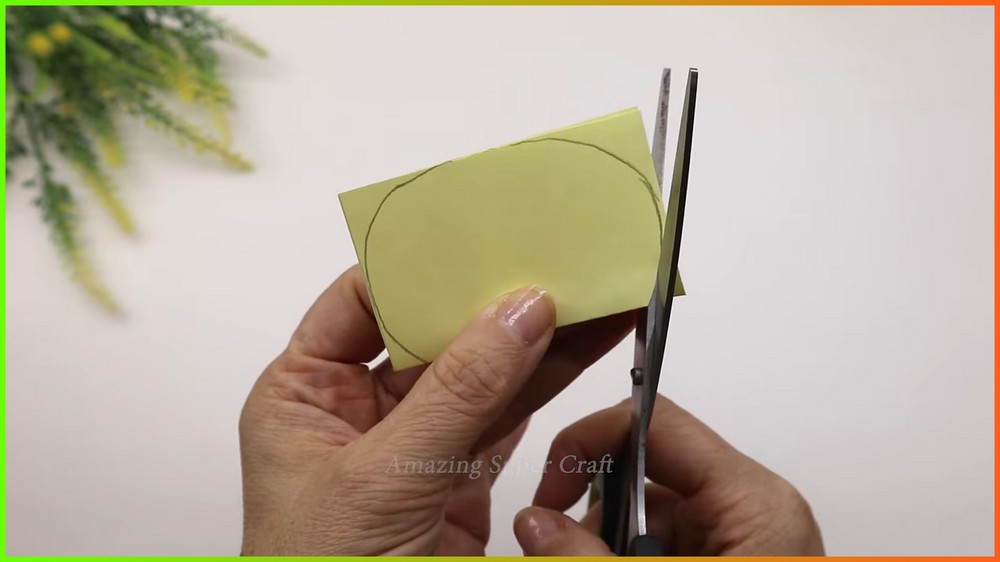
Trace your master template onto each folded section and cut them out using sharp scissors until you have exactly 40 identical folded pumpkin pieces.
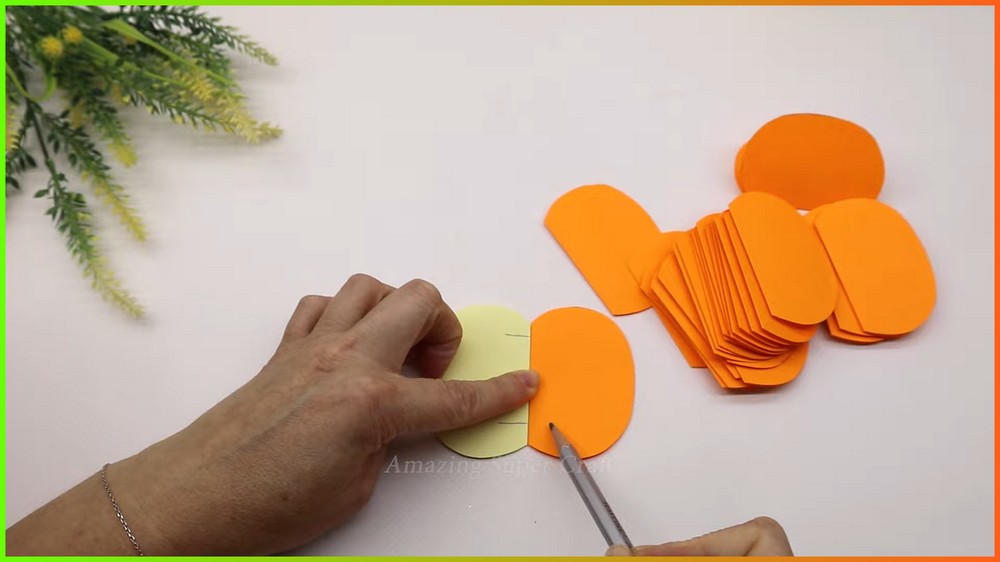
Step 2: Preparing the Honeycomb Glue Alignment Guide
To achieve the expandable honeycomb effect, you must establish an alternating glue Instruction across all layers. Take your original cardstock template and draw three precise horizontal placement lines on one half of its face. Mark two outer lines (one located about 1.5 cm from the top edge and one located about 1.5 cm from the bottom edge) and one center line located directly across the middle.
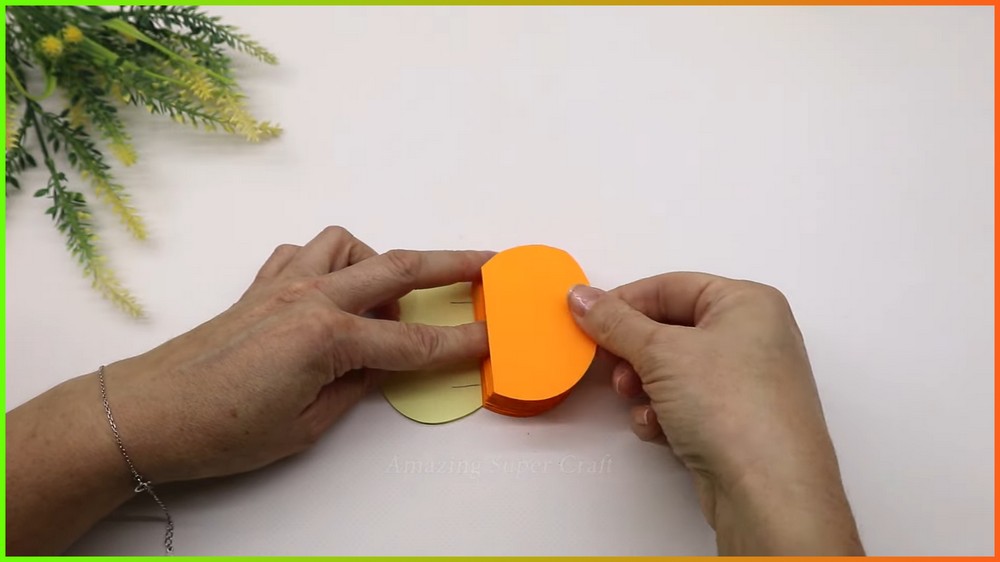
This marked template will sit beneath your pumpkin pieces during assembly to guide your glue applications accurately.
Step 3: Assembling the Layered Honeycomb Pumpkin Core
Place your marked guide template flat on your workspace and lay your first folded pumpkin piece directly over it.
Layer 1 (Outer Glue Lines): Apply a neat, thin strip of glue along the two outer line positions only. Place the second folded pumpkin piece directly on top of the first, pressing down gently along the glue lines so they adhere securely.
Layer 2 (Center Glue Line): For the next layer, apply a thin line of glue along the single center line position only. Lay the third folded pumpkin piece over the stack, aligning the outer edges perfectly, and press down in the center to set the bond.
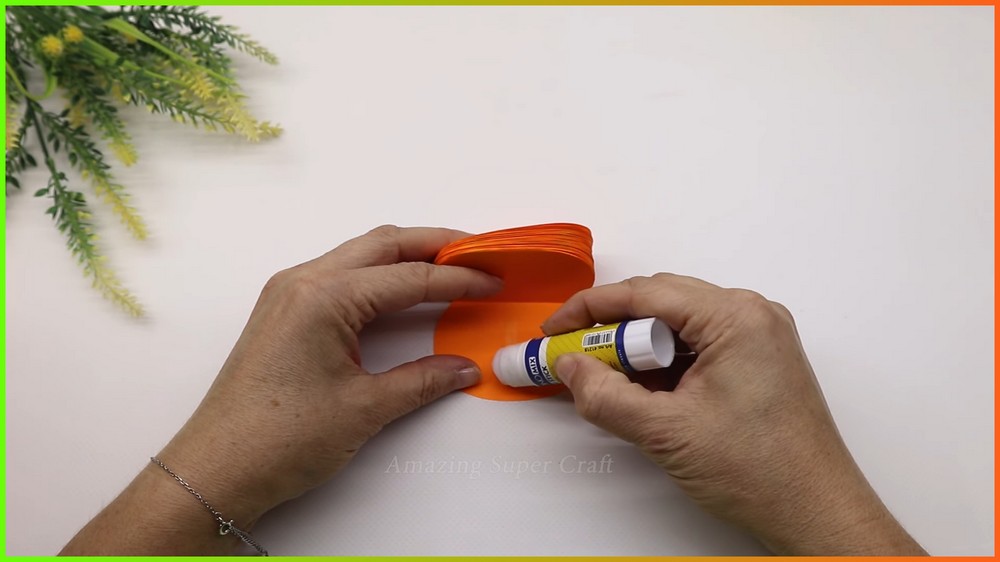
Continue this strict alternating sequence—outer lines on one layer, center line on the next—until all 40 folded pumpkin pieces are glued into a single, compact stack. Place binder clips on the top and bottom edges of the stack to hold the paper firmly in place, and set it aside to dry completely for a few minutes.
Step 4: Expanding into a 3D Sphere
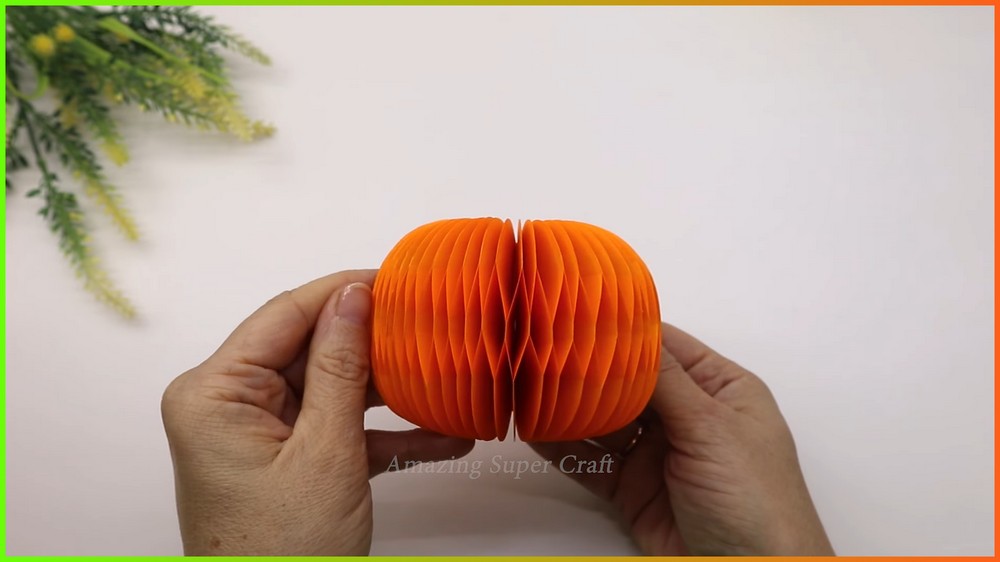
Once the glue has fully dried, remove the binder clips. Hold the front cover of the stack in one hand and the back cover in the other. Gently pull the two outer covers around in a complete circle; the internal alternating glue points will pull the folded layers open, creating a multi-faceted 3D honeycomb sphere.
Apply a generous layer of glue across the exterior face of the front cover piece, bring it around to meet the back cover piece, and press the two outer ends together to seal the spherical pumpkin body. Secure the seam with binder clips until the glue sets completely.
Step 5: Shaping the Green Stem, Leaf, and Tendril Accents
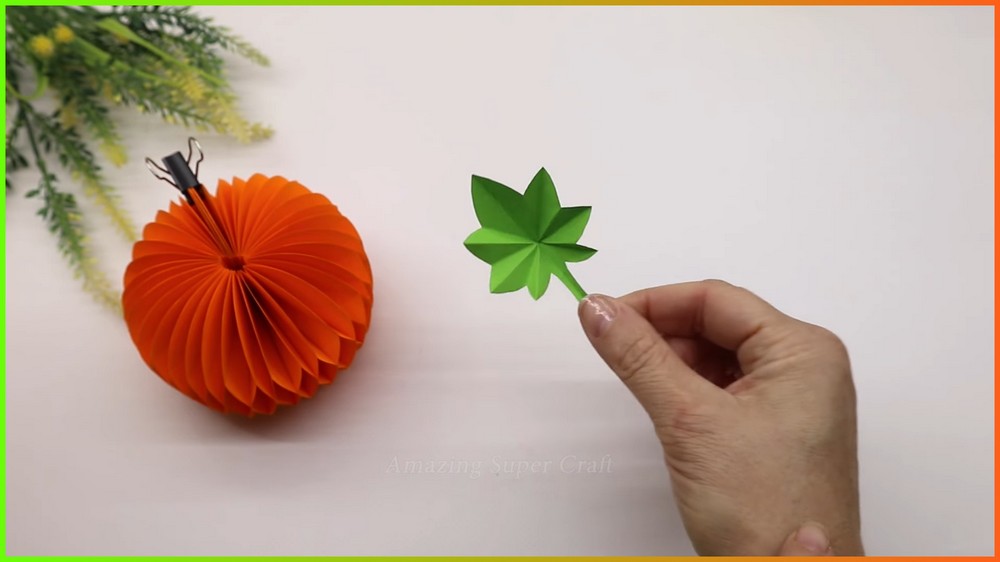
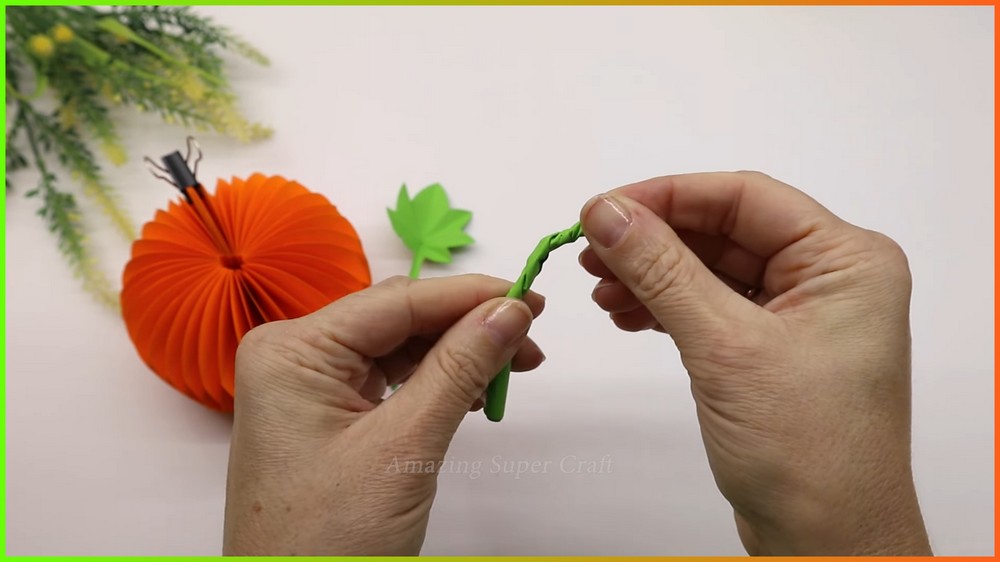
The Center Stem: Take the 6 cm × 9 cm green paper rectangle and lay a wooden skewer along its bottom edge. Roll the paper tightly around the skewer from bottom to top until it forms a stiff cylindrical tube, then slide the skewer out. Pinch and slightly twist the top tip of the paper tube to give it an organic stem appearance.
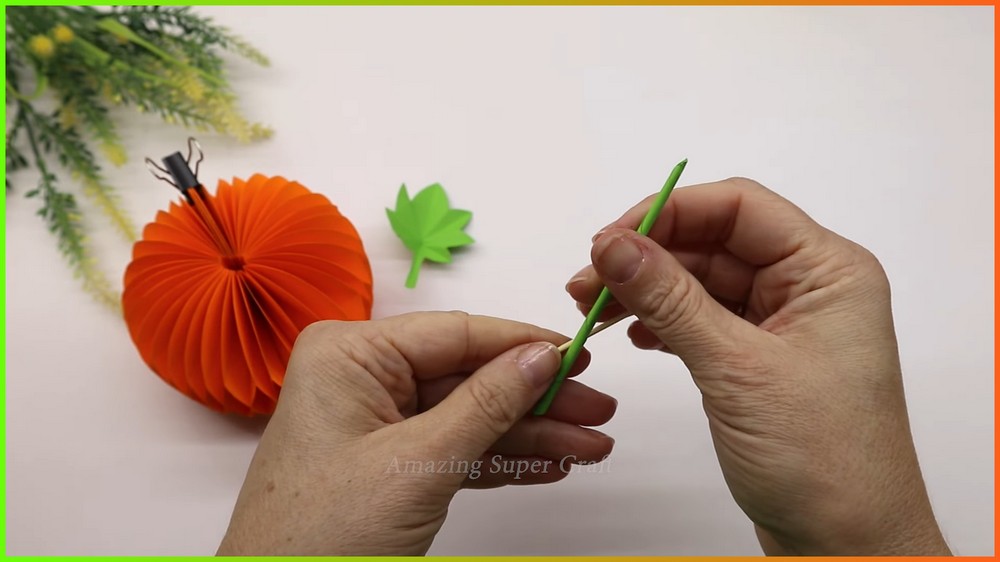
The Curled Vine Tendril: Take the 3 cm × 9 cm green paper strip and roll it tightly around a toothpick into a thin paper rod. Seal the end with a dab of glue. While the paper is still pliable, wrap the paper rod around the toothpick in a tight spiral to create a coiled vine tendril. Slide it off the toothpick so it retains its spring-like shape.
- The Jagged Leaf: Take the 7 cm × 7 cm green paper square and fold it in half diagonally to form a triangle. Fold it diagonally twice more into smaller triangles. Using scissors, trim the outer curved edge into sharp angular notches. Unfold the paper completely to reveal a multi-pointed autumn leaf shape.
Note: If you face any hurdles in creating this project, then you can watch the tutorial here.
Step 6: Final Assembly and Finishing Touches
To complete your round paper pumpkin, apply a small ring of glue around the base of the green paper stem and insert it firmly into the center cavity of the expanded paper pumpkin body. Apply a drop of glue to the base of your folded green leaf and attach it securely beside the stem at the top opening.
Finally, glue the curled vine tendril right next to the stem and leaf, adjusting the coils so they drape gracefully over the side of your 3D pumpkin.
Save this pin for future!