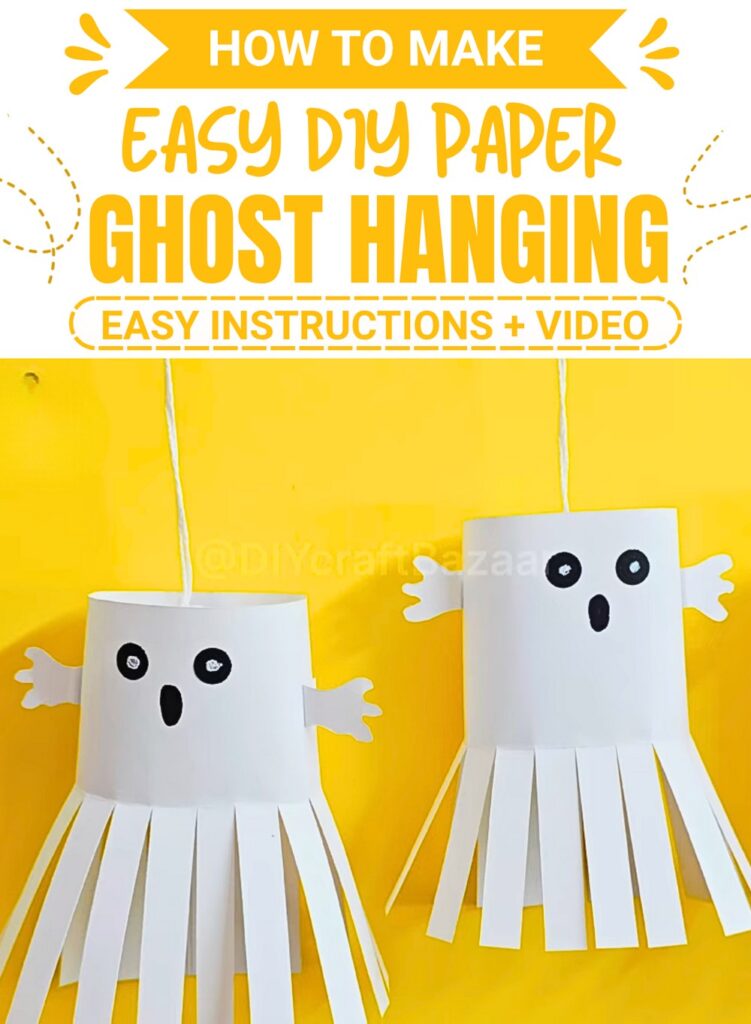
These cute hanging paper ghosts make fantastic Halloween decorations for your home or classroom. Crafted with simple white paper, they feature friendly faces and moving paper fringes that swing gently in the air. Kids will love hanging them near windows or doors to bring festive fun to any space.
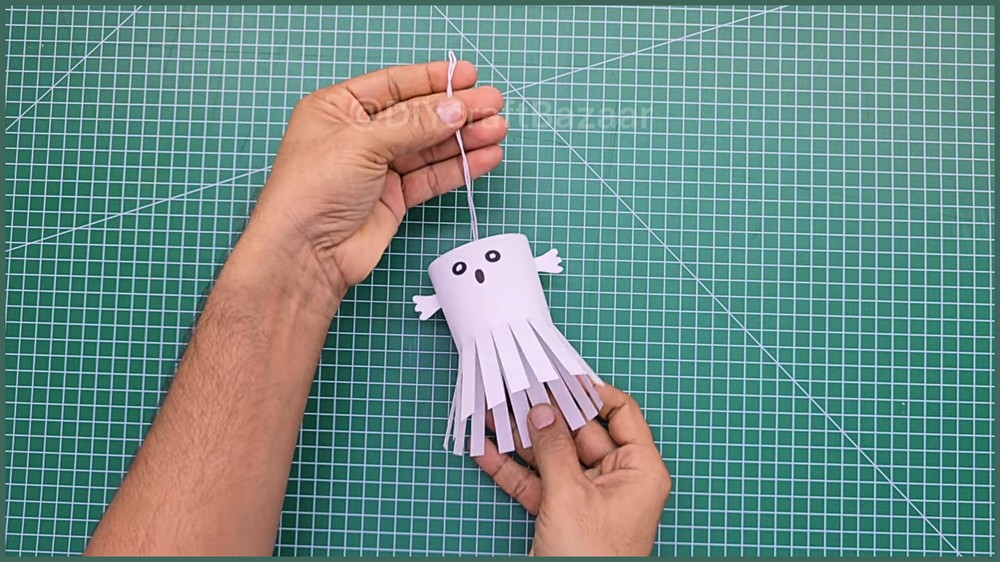
DIY Paper Ghost Hanging Decoration
Making these friendly paper figures is an easy activity for little crafters and families. You only need everyday items like paper, scissors, glue, and a marker. With just a few simple folds and cuts, you can build a whole family of floating spooky friends ready to decorate party rooms or hallways.
You can create several ghost decorations to make a full hanging garland across your living room or doorway. They sway with every soft breeze, adding playful movement to your holiday setup. These lightweight paper crafts are easy to move, so children can change up their display whenever they wish.
Bringing these festive characters to life gives kids a wonderful feeling of pride in their handiwork. Each finished ghost adds warmth and cheer to your seasonal party. Hang them up, turn on some cheerful music, and enjoy a wonderful handmade Halloween setup filled with smiles and creativity.
Things that you need before crafting:
- White Craft Paper:
- 1 sheet cut to 18 cm × 11 cm for the main body
- 1 piece cut to 6 cm × 2 cm for the hands
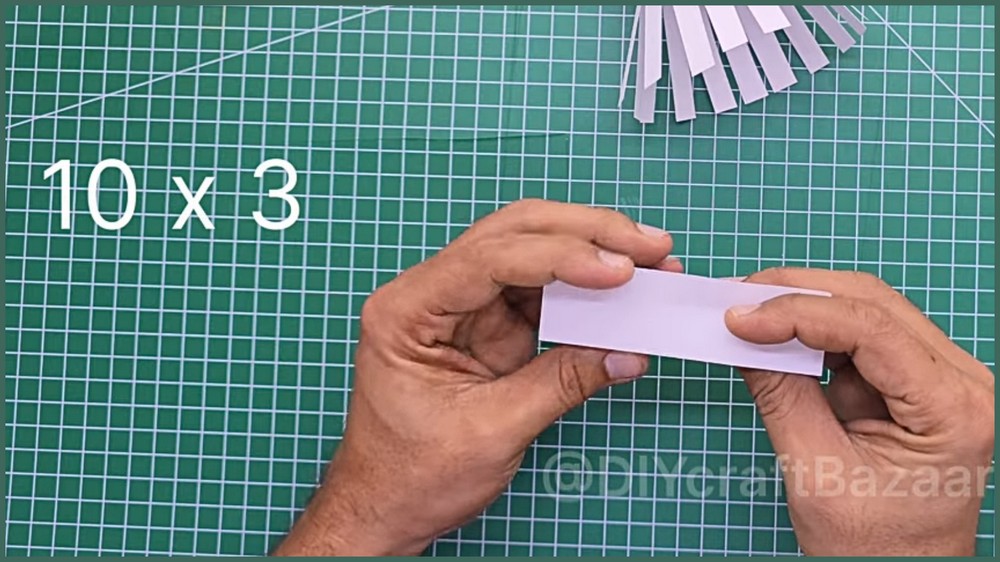
- 1 strip cut to 10 cm × 3 cm for the internal support bridge
- Black Fine-Tip Marker: For outlining and detailing the facial features.
- Black Gel Pen or Marker: For filling in the eyes and mouth.
- White Paint Pen or Gel Pen: For adding shiny pupil highlight dots to the eyes.
- Scissors or Precision Craft Knife: For making smooth fringe cuts, shaping small hand silhouettes, and piercing thread holes.
- Strong Paper Glue Stick or Liquid Craft Glue: For joining seams, attaching limbs, and securing the inner hanging bracket.
- Ruler & Graphite Pencil: For marking exact paper dimensions and drawing straight guide lines.
- Hanging Thread or Nylon String (approx. 20–25 cm): For suspending the finished ghost ornament.
- Needle or Push Pin: Optional tool for piercing the center hanging hole smoothly.
Notes
- Skill Level: Beginner-friendly; ideal for fast Halloween prep and kid-friendly crafts with supervision.
- Finished Size: Approximately 11 cm in height and 5.5 cm in diameter (excluding hanging thread).
- Crafting Tip: Use lightweight white paper (around 80–100 GSM) for the main body to allow the fringe to flare out softly, and medium cardstock (around 160 GSM) for the support bridge so it remains rigid when suspended.
Gauge
- Fringe Density: Precision-cut vertical strips spaced approximately 0.5 cm apart along the bottom 5 cm section of the body cylinder.
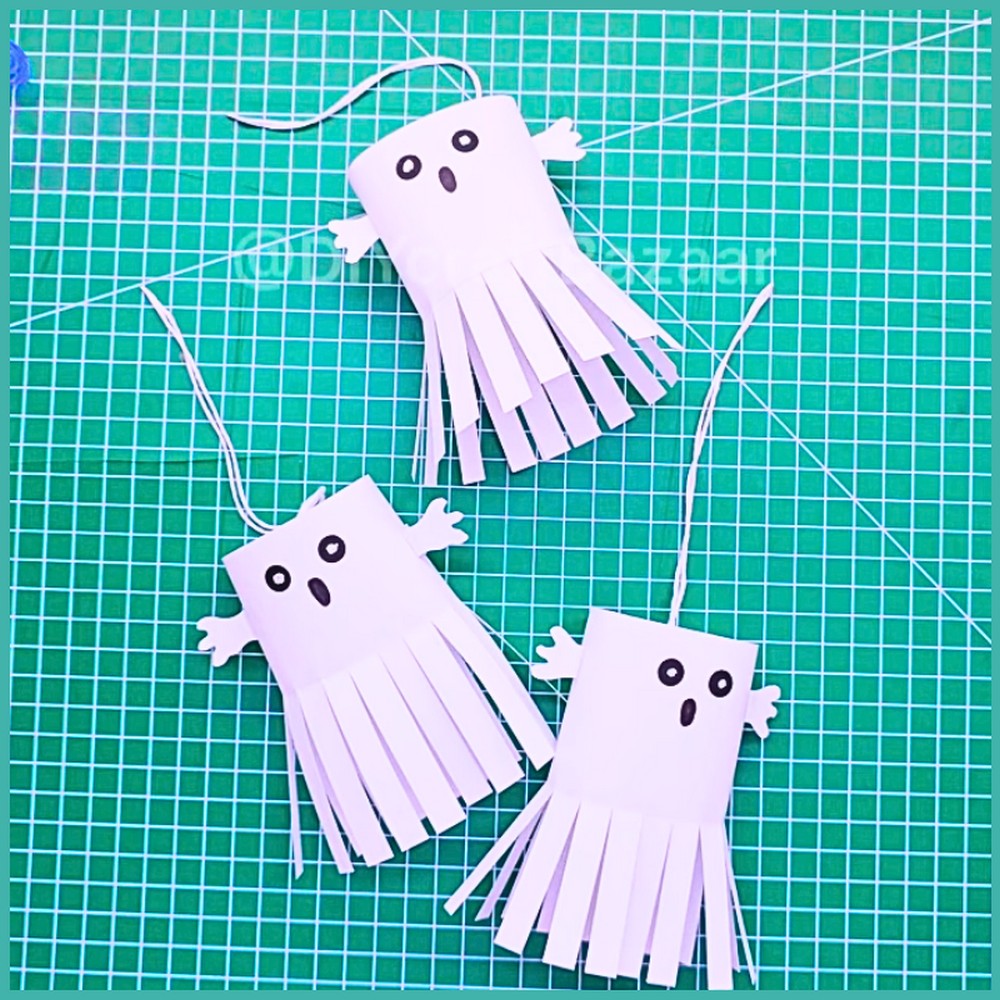
Key Construction Features
- Cylindrical Structure: The ghost’s main core is formed by rolling a measured paper rectangle into a uniform tube.
- Layered Fringe Skirt: Precision vertical cuts along the lower portion create a dynamic, multi-strip fringe that flares gently to simulate movement.
- Expressive Facial Details: Hand-drawn eyes with bright white pupil highlights give the character personality and depth.
- Articulated Hand Extensions: Symmetrical side-mounted paper hands extend outward to enhance the floating ghost silhouette.
- Concealed Support Suspension: An internal folded paper cross-bar hides the mounting point inside the cylinder top, keeping the string perfectly centered without warping the exterior.
How To Make:
Step 1: Measuring and Marking the Ghost Body
Lay flat an 18 cm × 11 cm sheet of white craft paper on a clean workspace with the 18 cm edge positioned horizontally.
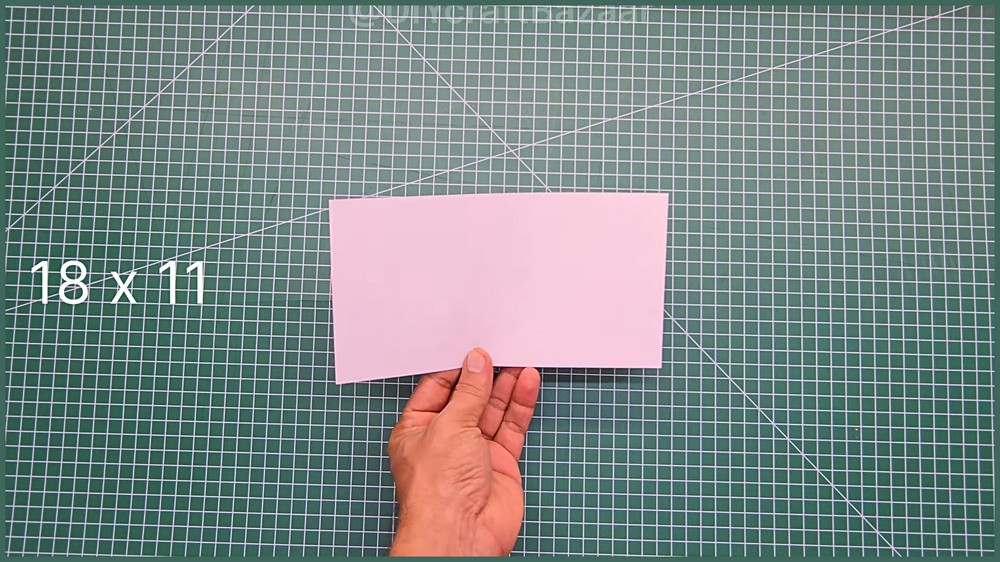
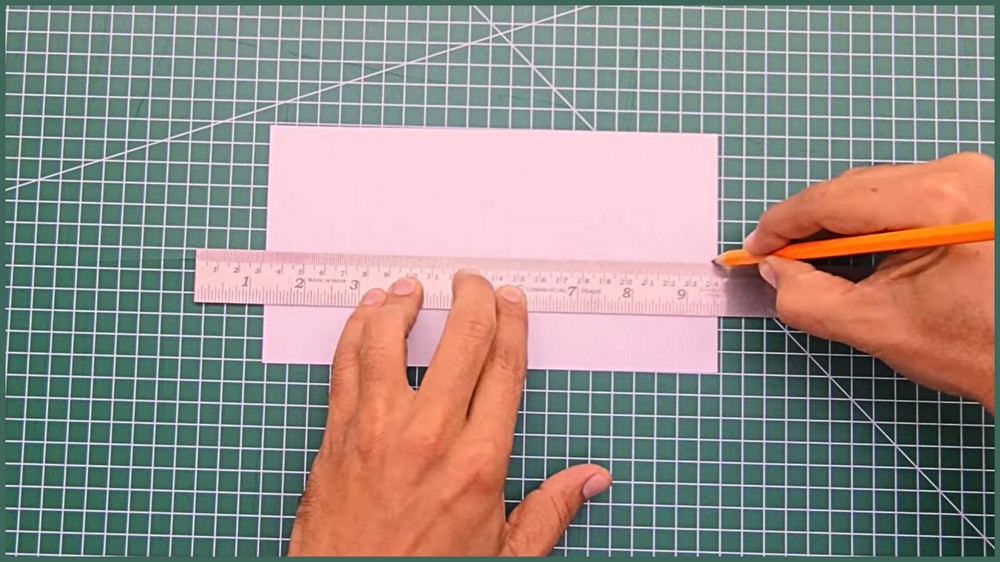
Using a ruler and graphite pencil, make light tick marks 5 cm up from the bottom edge on both the left and right sides.
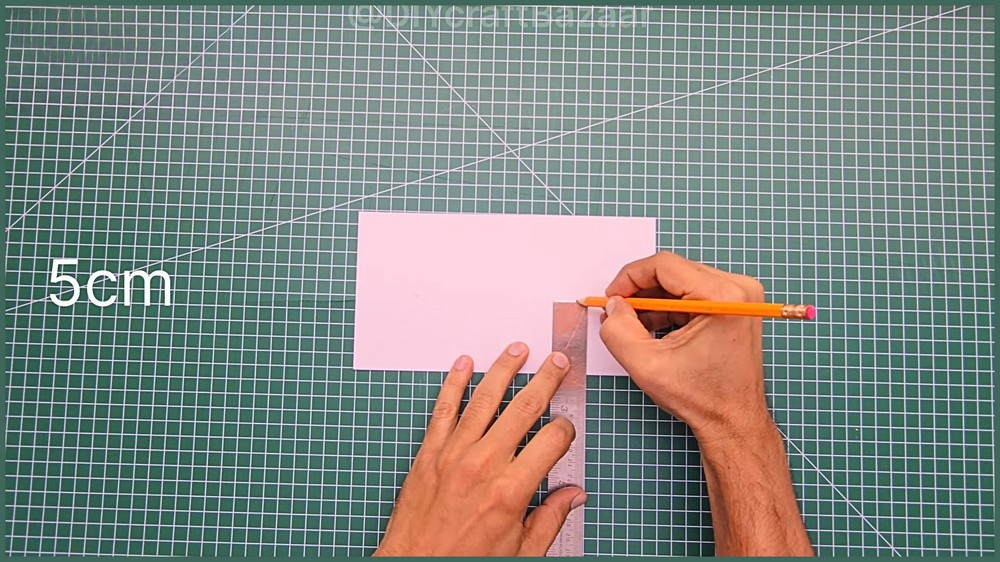
Connect these marks with a faint, horizontal pencil line across the full width of the paper. This horizontal marker defines the stopping point for your skirt fringe and preserves a solid 6 cm upper band for the facial features.
Step 2: Cutting the Fringe and Drawing the Face
Starting from the bottom 18 cm edge, cut clean vertical slits straight up to the 5 cm horizontal guideline using sharp scissors. Space the cuts consistently every 0.5 cm across the entire width to create approximately 35 to 36 thin fringe strips.
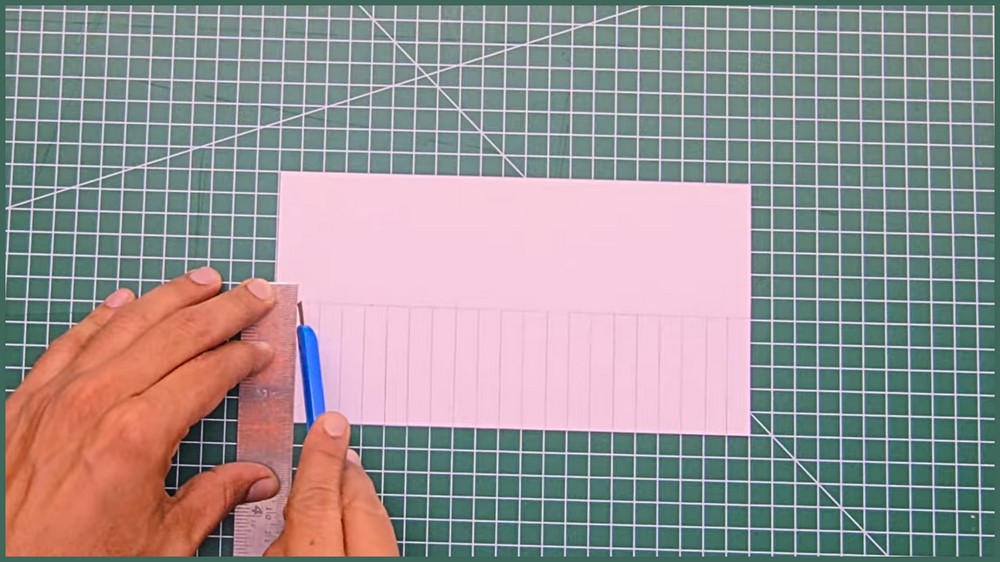
Once the fringe is complete, focus on the top 6 cm un-cut section of the paper. Centered between the left and right edges, draw two large, oval-shaped black eyes using a fine-tip marker and fill them in completely.
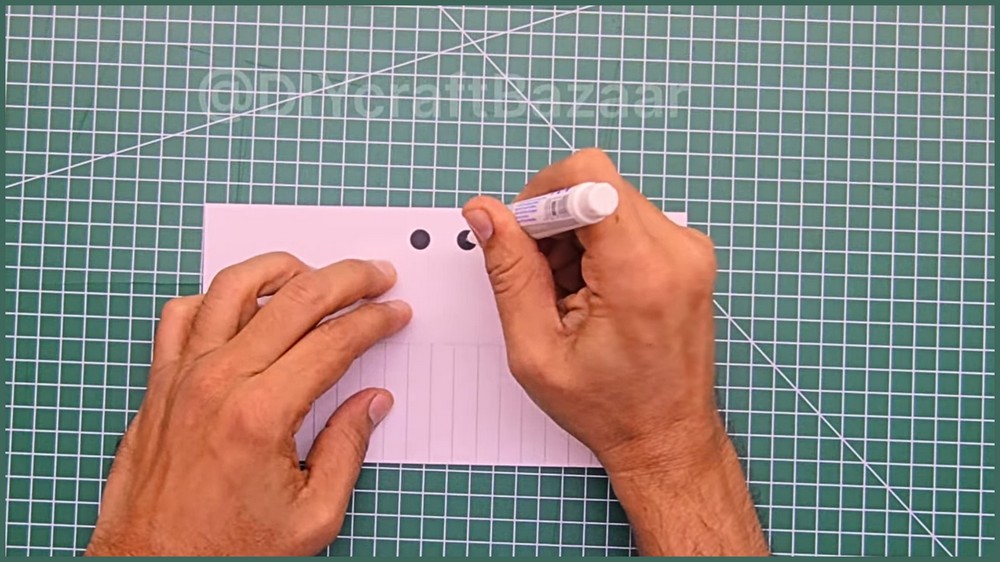
Add a smaller oval mouth directly below the eyes to give the ghost an open-mouthed expression. Using a white gel pen or acrylic paint pen, place a small white highlight dot inside the upper corner of each black eye to give them a polished look.
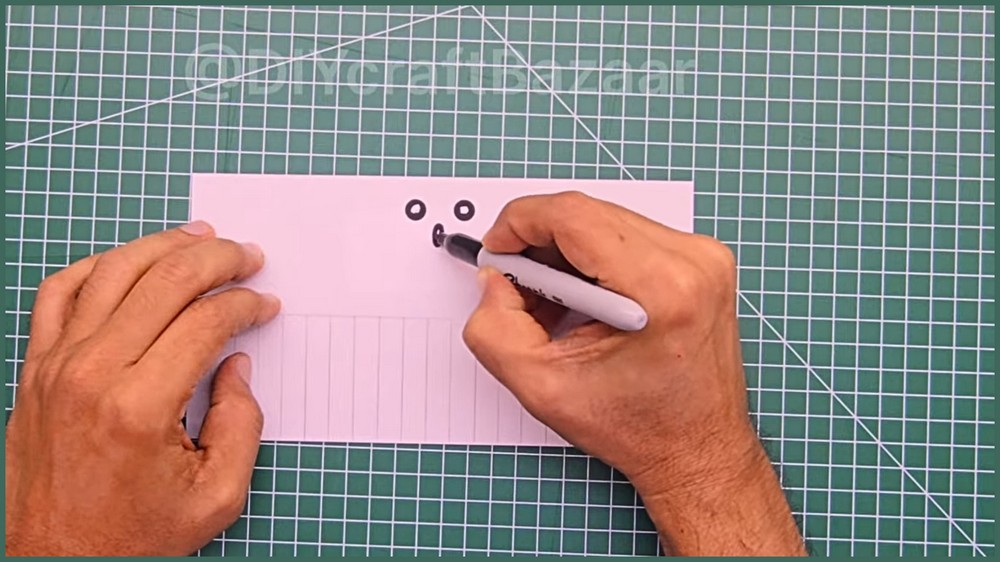
Step 3: Rolling and Assembling the Cylinder
Flip the paper over so the drawing faces down, and apply a thin, even layer of paper glue along the entire right vertical edge (about 0.5 cm wide).
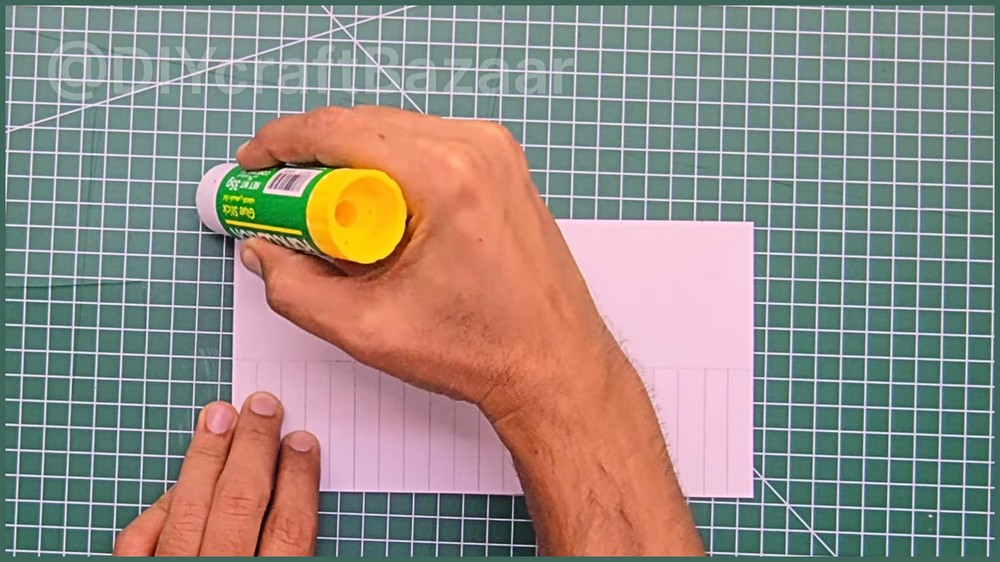
Carefully curl the paper into a tube, overlapping the un-glued left vertical edge directly over the glued right edge.
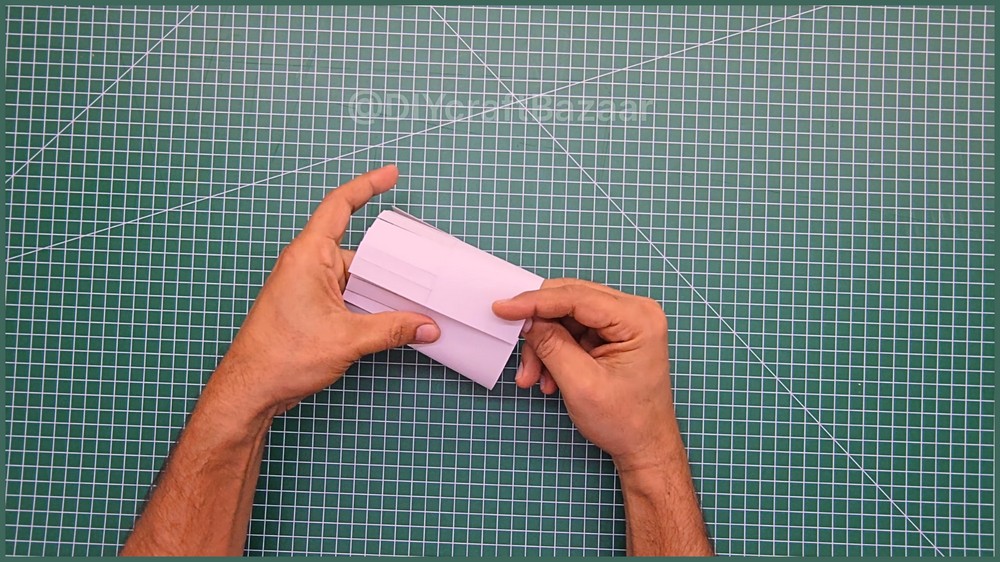
Align the top and bottom borders cleanly so the cylinder remains straight, and press the seam firmly from the inside using your index finger until the adhesive sets. Once secured, insert your fingers into the bottom opening and gently press the fringe strips outward, curling them slightly up and away from the base to create a wide, floating skirt effect.
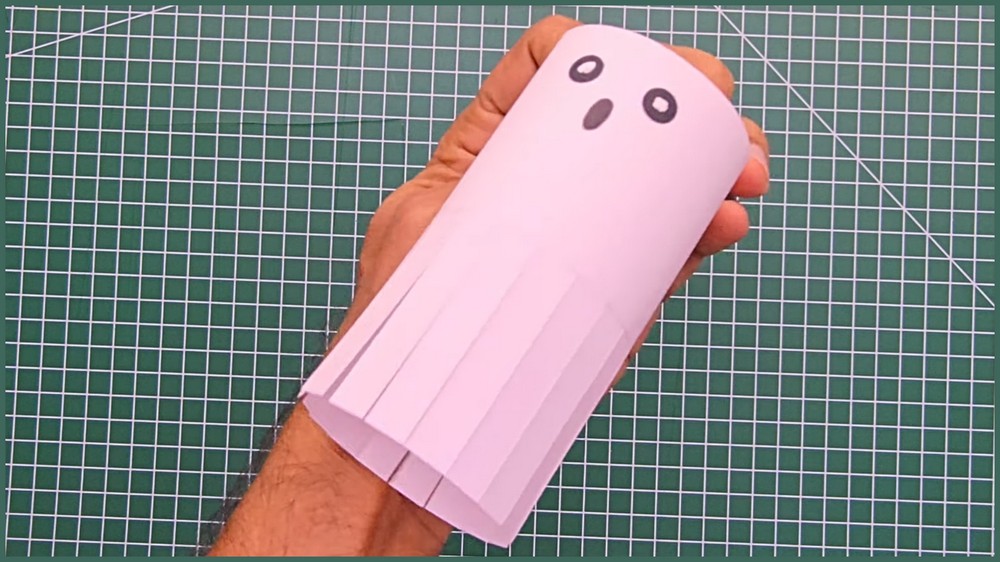
Step 4: Cutting and Attaching the Ghost Hands
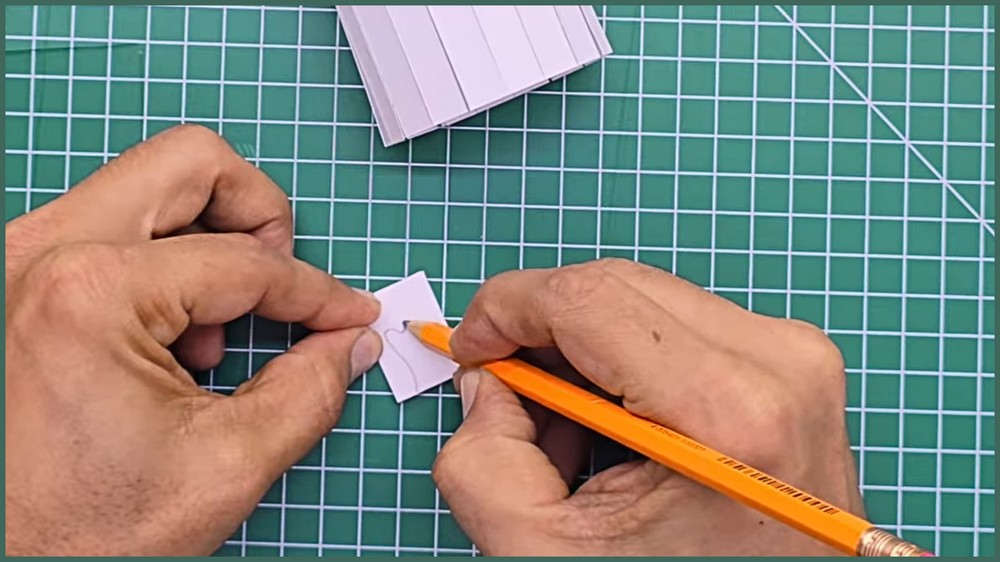
Take the 6 cm × 2 cm strip of white paper and fold it in half crosswise so it measures 3 cm × 2 cm. On the top layer, use a fine pencil to sketch a small mitten or simple three-fingered hand silhouette, keeping the wrist base connected toward the edge.
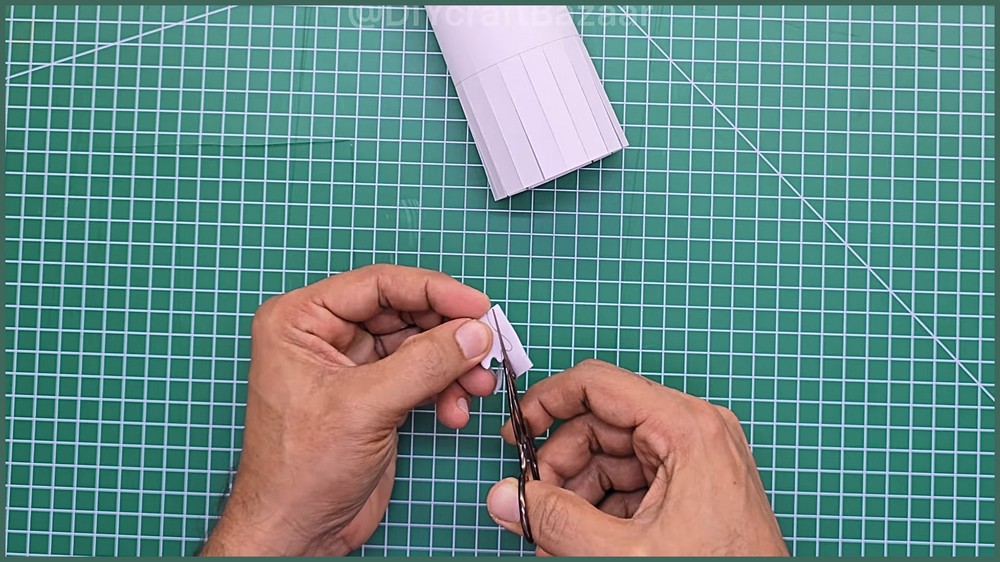
Cut carefully through both paper layers simultaneously along the drawn outline to yield two perfectly matching hand pieces.
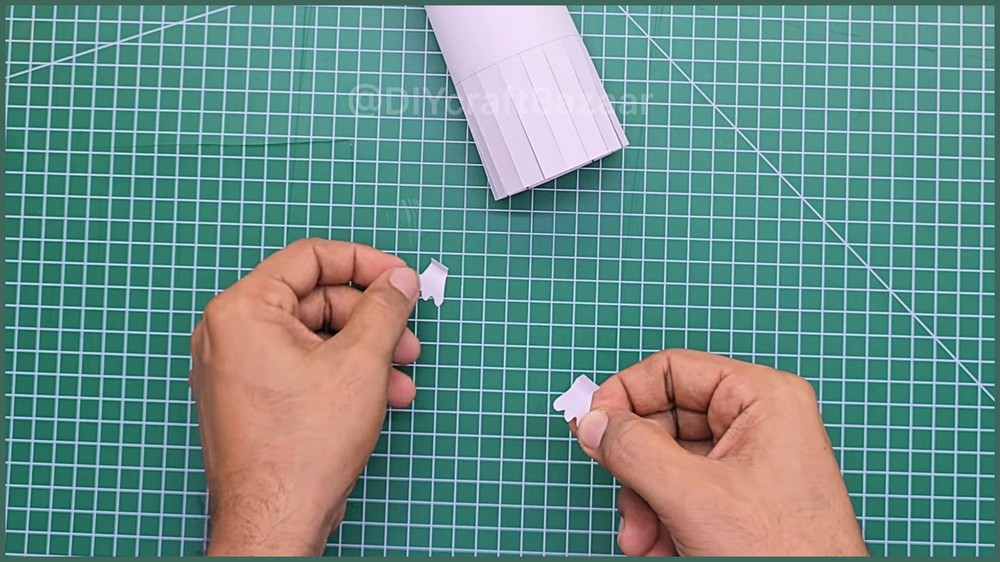
At the wrist end of each hand, fold a tiny 0.3 cm mounting tab backward. Apply a small dot of glue to these tabs, and press one hand onto each side of the ghost cylinder, positioned approximately 1 cm below the eye level.
Step 5: Constructing the Internal Bridge Support
Take the 10 cm × 3 cm paper strip and fold it lengthwise in half to create a doubled, sturdy 10 cm × 1.5 cm support bar.
Fold a 1 cm tab outward at right angles on both the left and right short ends of the bar.
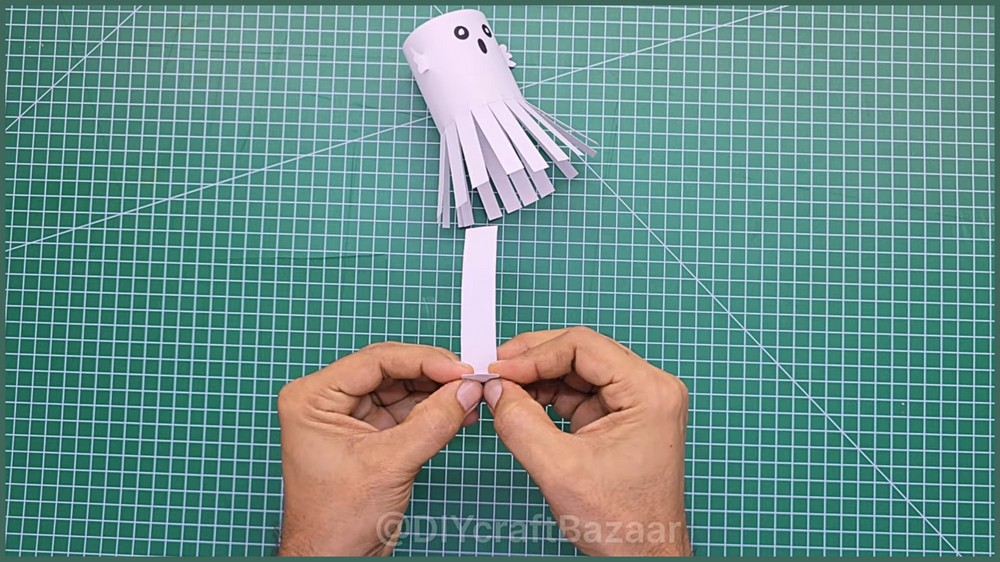
Measure to find the exact center point (4 cm from either end) along the folded fold line, and use a push pin or craft knife tip to pierce a clean hole through the center fold.
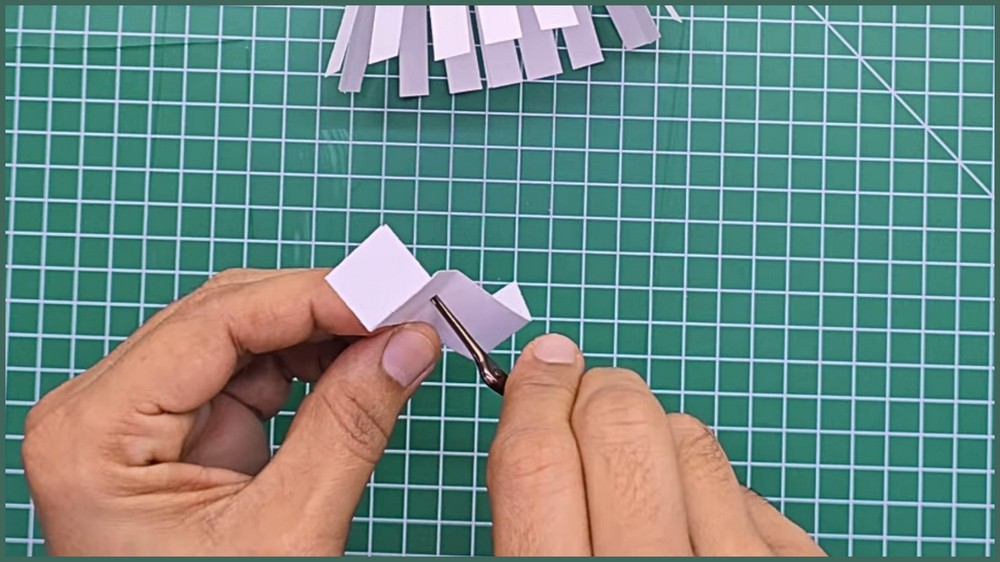
Note: If you face any hurdles in creating this project, then you can watch the tutorial here.
Step 6: Threading and Final Assembly
Cut a 25 cm length of hanging thread or thin string. Push both loose ends of the thread down through the top of the center hole in the paper bridge, pulling them through from the bottom until a small loop remains on top, or tie a thick double knot at the bottom of the string so it cannot pull back through the hole.
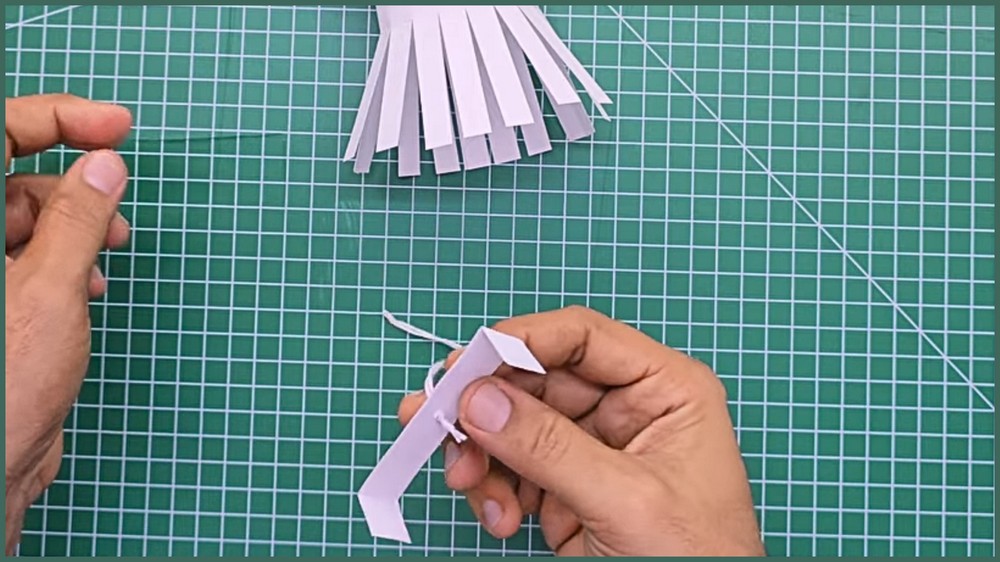
Next, apply a generous layer of glue to the outer sides of the two 1 cm end tabs on the bridge. Slide the paper bridge vertically into the top opening of the ghost cylinder, seating it about 0.5 cm below the top rim so it remains hidden. Press the glued end tabs firmly against the interior left and right walls of the cylinder until completely bonded. Allow the glue to dry thoroughly before suspending your paper ghost.
Save this pin for future!