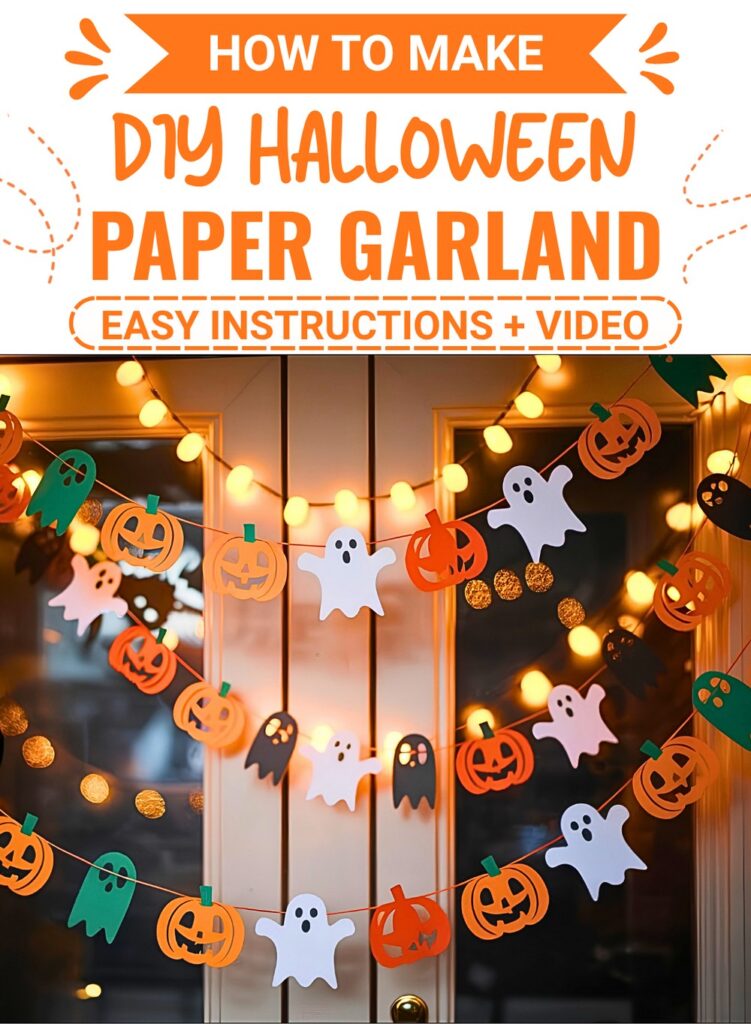
Making paper garlands is a wonderful way to bring bright festive cheer into your home. These light crafts transform basic sheets into connected chains of spooky shapes. They add instant color to any room and bring playful energy to your space. Kids and adults can easily enjoy crafting together for Halloween.
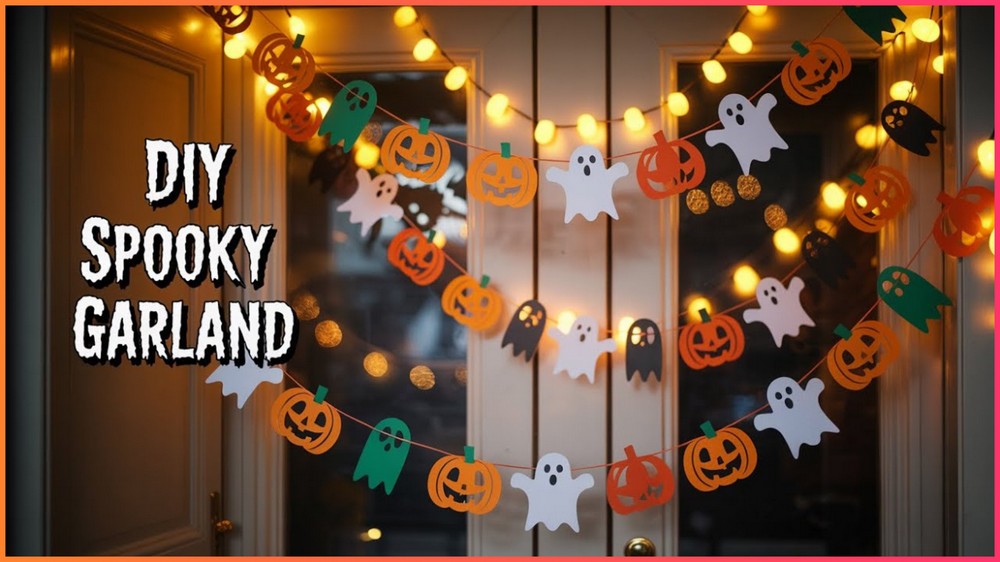
How to Make Halloween Paper Decorations
Bright orange pumpkins, smiling ghosts, and sweet bats come together to create eye-catching Halloween trim. Each shape links hand in hand to form a long banner full of personality. You can mix different colors like purple, black, and white to make your decor feel lively, friendly, and extra unique.
Hanging these lightweight banners across doors, windows, or party tables creates a welcoming festive atmosphere. They move gently with the room breeze and brighten up plain walls instantly. You can also drape them over bookshelves or frame a cozy hallway to give your home a cheerful seasonal touch.
Creating these garlands only requires folding strips of paper, drawing simple outlines, and making quick cuts with scissors. When you stretch the folded paper open, a whole row of connected figures appears like magic. It is a quick and satisfying activity that fills your afternoon with cozy crafting.
Things that you need before crafting:
Colored A4 Paper Sheets: Lightweight craft paper in White (Ghosts), Orange/Yellow (Pumpkins), Red/Dark Orange (Bats), and Purple (Spooky Cats) works best for crisp, clean accordion folds.
Precision Scissors: Small, sharp detail craft scissors to easily snip inner cutouts like eyes, stems, and mouth jagged edges.
Pencil & Ruler: Essential for measuring out a precise grid along the paper before folding and sketching motifs.
Fine-Tip Markers & Hole Punch: Fine black markers for adding facial expressions, plus an optional paper punch for neat round eyes.
Clear Craft Tape or Glue (Optional): To join individual paper strips together into extra-long garlands.

Notes & Gauge
Note: The defining secret to successful connected paper chains lies along the outer folded edges. When sketching your motifs, ensure side contact points (such as a ghost’s reaching hands, a pumpkin’s side curves, or a bat’s wing tips) touch the outer edges of the accordion fold completely. Do not cut through these side connection points, or your chain will separate into loose single cutouts.
Gauge: Each repeating accordion segment measures exactly 2.4 cm in width by 6 cm in height.
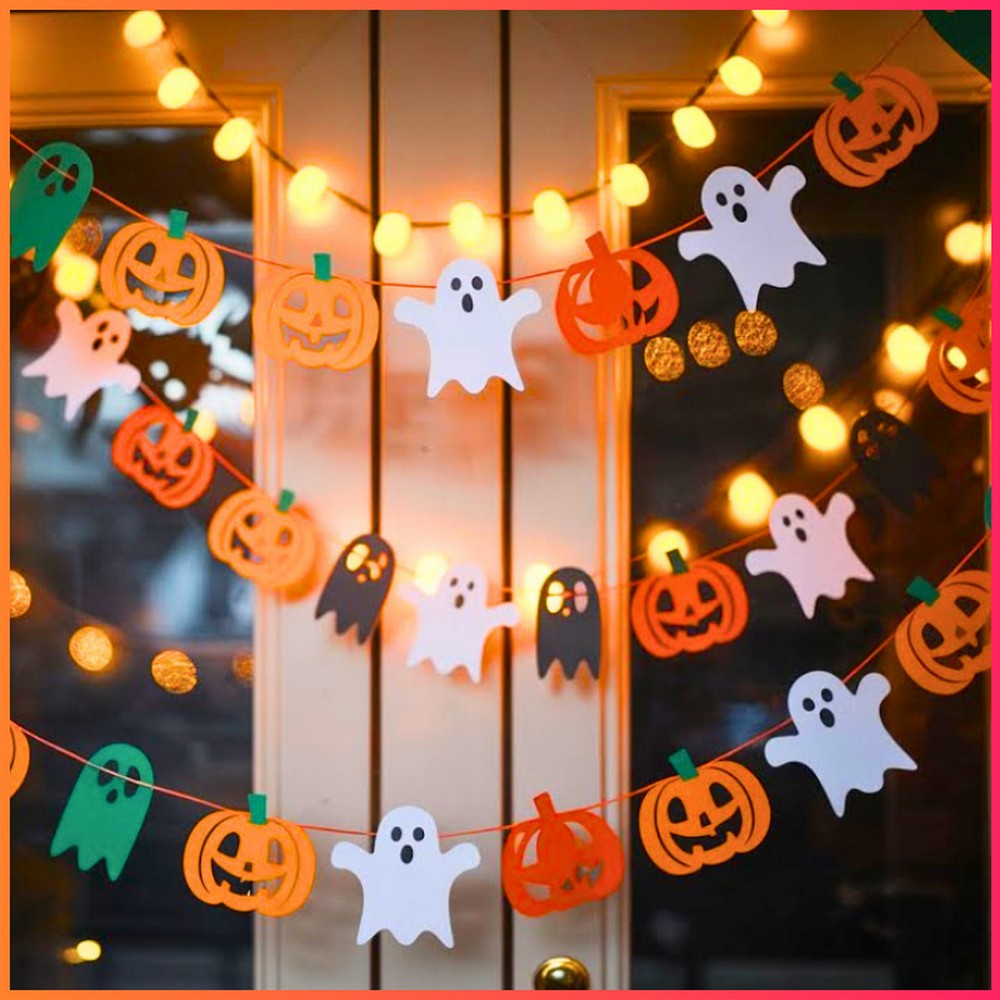
This Project credit goes to Paper Art | Origami.
Key Construction Features
Grid-Based Precision: Uses a measured grid layout across A4 paper to ensure perfectly uniform accordion panels.
Accordion Folding Technique: Alternating concertina folds stack paper layers so a single cutout creates multiple repeating figures.
Negative Space Cutouts: Fine interior snips form glowing jack-o’-lantern eyes, toothy mouths, and sinister bat wing arcs.
Modular Assembly: Strips can be kept compact or taped end-to-end to drape across doorways, walls, and mantels.
How To Make:
1. Paper Sheet Grid Marking & Preparation
Lay an A4 sheet of colored paper horizontally on a clean, flat cutting surface. Position your ruler at the top edge of the paper and use a pencil to make small tick marks every 2.4 cm horizontally and every 6 cm vertically to map out a uniform grid matrix. Lightly draw straight grid lines connecting these points across the length of the sheet. Take your scissors or paper trimmer and cut straight along the horizontal grid guidelines to transform your single sheet into multiple long, continuous paper strips of uniform width.

2. Precision Accordion Folding Technique
Select one of your long paper strips and position it vertically before you. Begin at the bottom edge, making a crisp fold forward along the first 2.4 cm line. Flip the paper strip over and fold backward along the next line, continuing this alternating forward-and-backward concertina motion along the entire length of the strip. Press firmly along each fold with a bone folder or your thumbnail to ensure every crease is razor-sharp, leaving you with a perfectly aligned, compact stack of uniform rectangular paper panels.
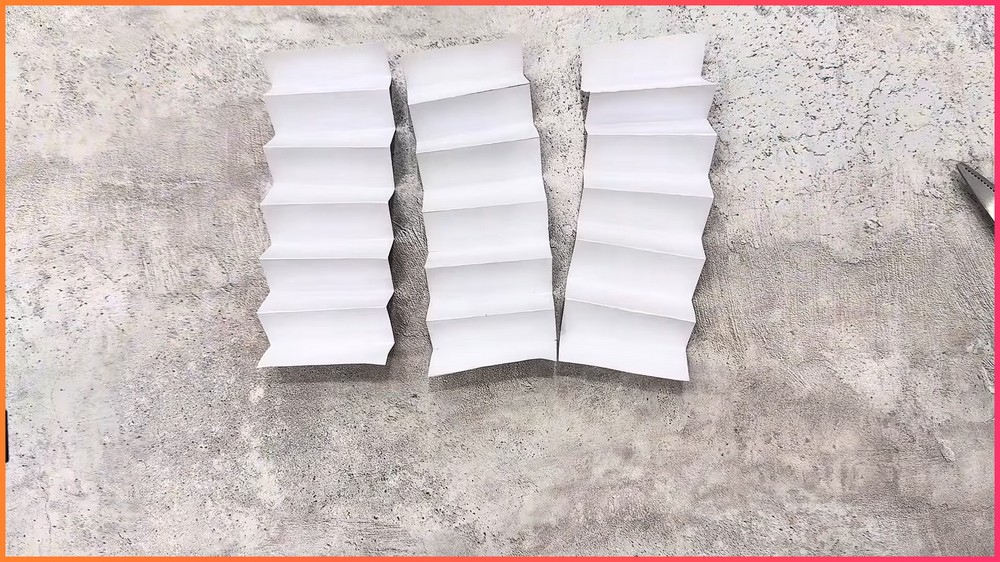
3. Motifs Tracing & Boundary Contact
Position your folded paper stack flat on the table so the side accordion edges face left and right. Take a pencil and sketch your desired Halloween motif directly onto the top panel, making sure the design spans the entire 2.4 cm x 6 cm area. Ensure that critical side points—such as a ghost’s outstretched hands, a pumpkin’s widest outer curves, a bat’s sweeping wing tips, or a cat’s cheek tabs—press firmly against both the left and right creased edges without leaving any gap.
4. Interior Detail Snipping & Outline Cutting
While holding the folded paper stack squeezed tightly together between your thumb and index finger, begin by cutting out all internal details first. Carefully insert the sharp tip of your precision detail scissors into the center of the drawn eyes, nose, and toothy mouth sections, gently trimming away the interior paper bits. Once the face details are carved out, trim around the outer perimeter of your main motif, taking care to stop right at the side folded contact points so you do not snip through the connecting side paper bridges.

Note: If you face any hurdles in creating this project, then you can watch the tutorial here.
5. Unfolding, Display Assembly & Round-Form Display
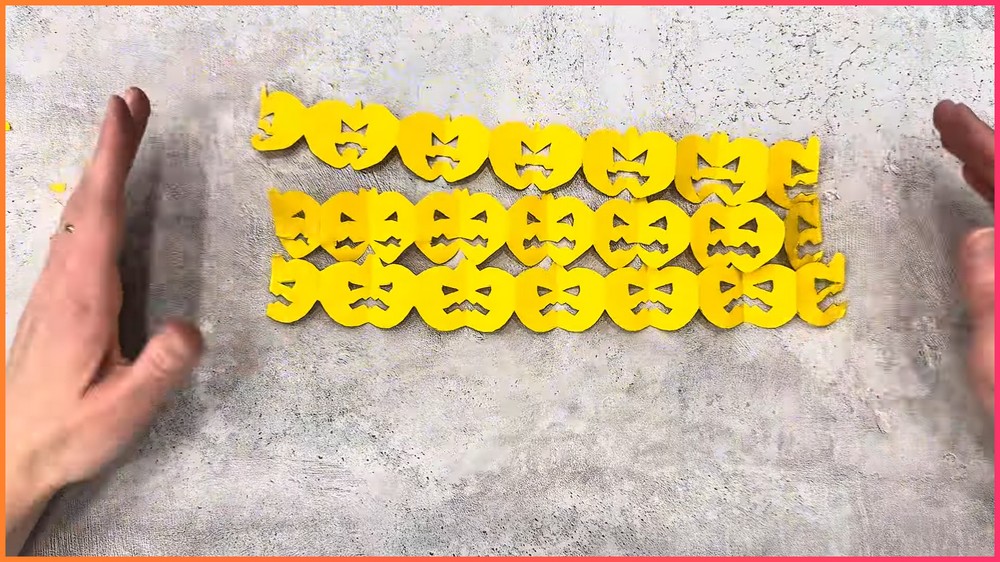
Gently release your grip on the cut paper stack and pull the two outer ends outward to reveal a continuous, seamless chain of repeating Halloween figures holding hands or wings. Repeat this full process using different colored paper sheets to build up a collection of ghosts, jack-o’-lanterns, bats, and spooky cat masks. To assemble a complete round-form display, take the end tab of one completed garland chain and join it to the starting tab of another using a small dab of clear craft glue or a tiny strip of tape, forming a continuous circular loop or a draped festive display across your space.
Save this pin for future!