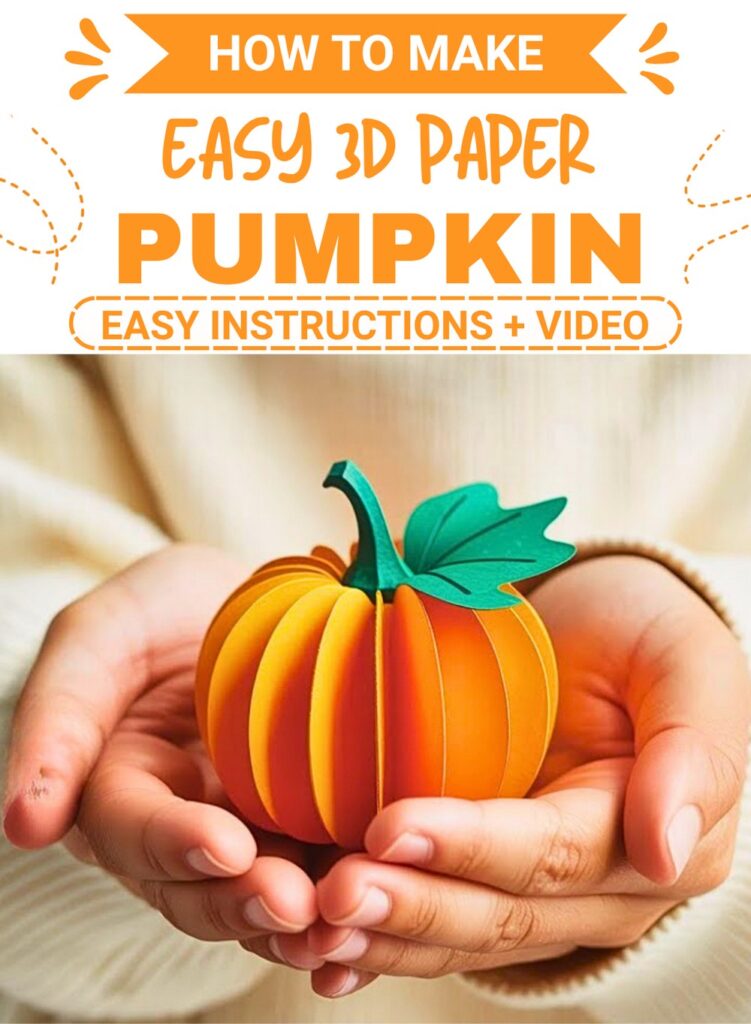
A 3D paper pumpkin decoration is a bright and festive crafting project made to bring color into your home. This cheerful ornament adds a playful touch to any table, shelf, or mantle during Halloween. It serves as a fun classroom activity, a party accent, or a sweet handmade gift for friends.
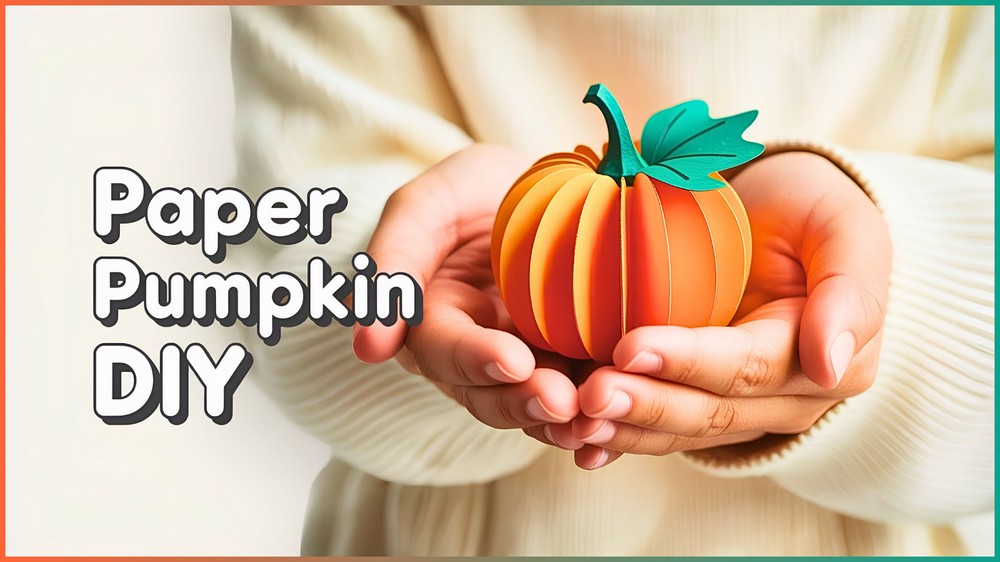
3D Paper Pumpkin Decoration
Creating this centerpiece is simple and fun for all ages. By folding bright yellow or orange paper sheets and layering glued paper circles together, a full round shape takes form. A green paper stem and small leaf details complete the design, giving it a classic look with very little effort.
Children and parents can work together to craft these charming pumpkins for Halloween celebrations. They look delightful placed in groups across a dining table, placed on windowsills, or strung together as a party garland. Their lightweight makes them safe and easy for kids to handle.
You can customize your paper pumpkins with different paper shades or drawn instructions. Mixing various sizes creates a vibrant display that brightens any room. Making these paper ornaments brings people together and provides a rewarding hands-on activity that everyone can enjoy all season long.
Things that you need before crafting:
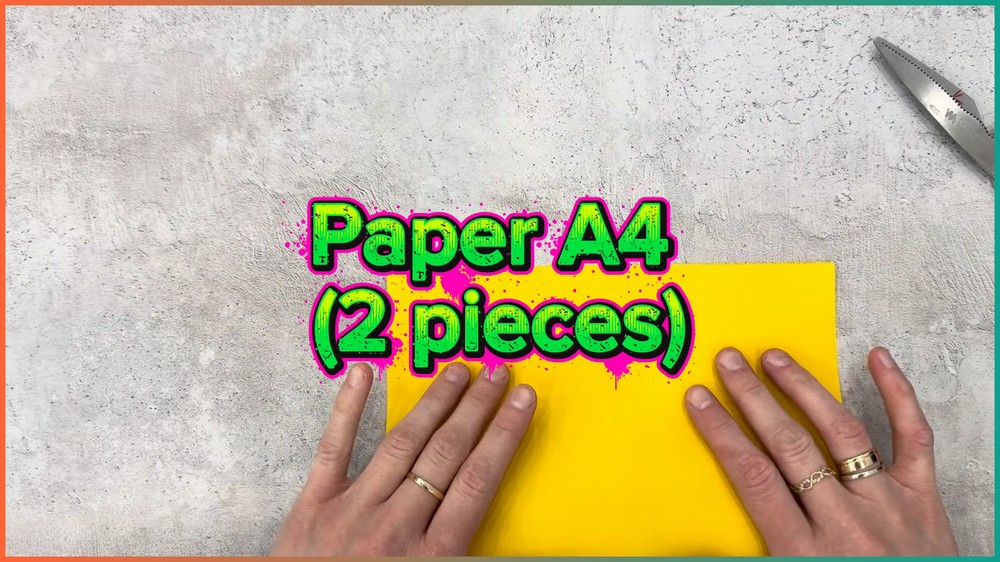
Yellow/Orange Paper: 2 sheets of A4 colored paper (standard weight, approx. 80–100 gsm).
Green Paper: 1 sheet or small strip of green colored paper for the stem and leaf.
Glue Stick: Standard craft glue stick for securing paper layers.
Scissors: Craft scissors for cutting multi-layered paper stacks.
Marker/Pen: Black marker or fine-liner pen for tracing shapes and adding leaf details.
Tracing Object: A small circular jar lid or cap (approx. 2 inches in diameter) to trace templates.
Notes
Finished Size: Approx. 3–4 inches in diameter (palm-sized).
Skill Level: Beginner / Classroom-friendly.
Gauge
Paper Yield: 2 sheets of A4 paper folded into 16 double-circle segments (yields 16 joined rib sections when cut).
This Project credit goes to Paper Art | Origami.
Key Construction Features
Layered Folding & Tracing: Multiple paper folds allow cutting several identical linked-circle pairs simultaneously.
Connected Dual Circles: Tracing a circular object across a folded edge yields paired “figure-8” shapes that form double-sided ribs.
Accordion Stacking: Layering and gluing folded segments sequentially creates a honeycomb effect.
3D Radial Expansion: Fans out 360 degrees to transform flat stacked paper into a round, spherical pumpkin.
Embellishment Details: Includes a curled green paper stem loop and a hand-drawn detailed leaf accent.
How To Make:
Preparing and Cutting the Paper Segments
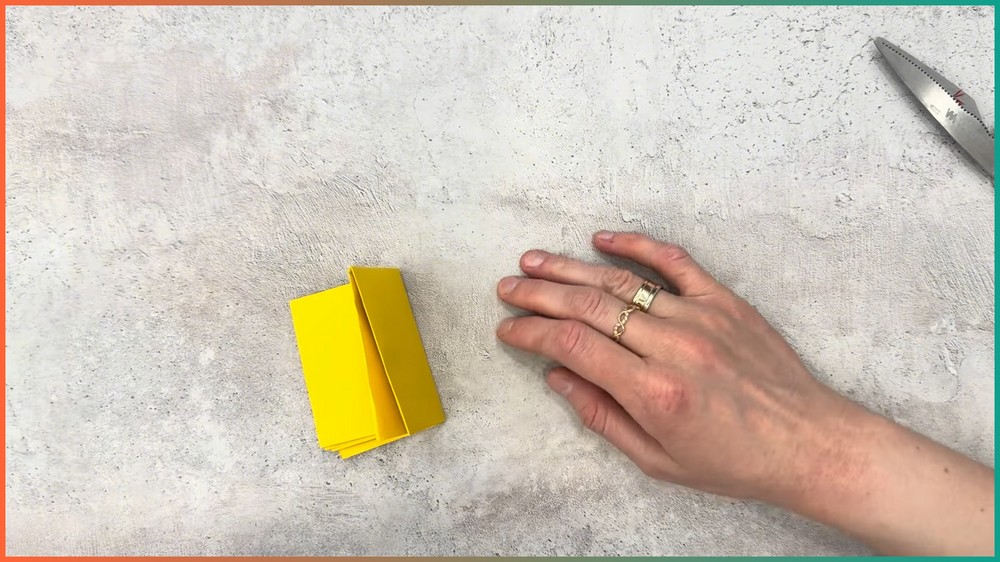
To construct the 3D paper pumpkin, begin by stacking the two sheets of yellow or orange A4 paper directly on top of each other, ensuring all edges align evenly. Fold the stacked sheets together repeatedly in half—first vertically, then horizontally—until you form a small, multi-layered rectangular block consisting of several paper layers.
Take your circular tracing object and position it onto the folded paper block. It is essential to let a small section of the circle overhang one of the folded crease edges; this ensures that each cutout piece remains connected in the middle rather than separating into individual circles.

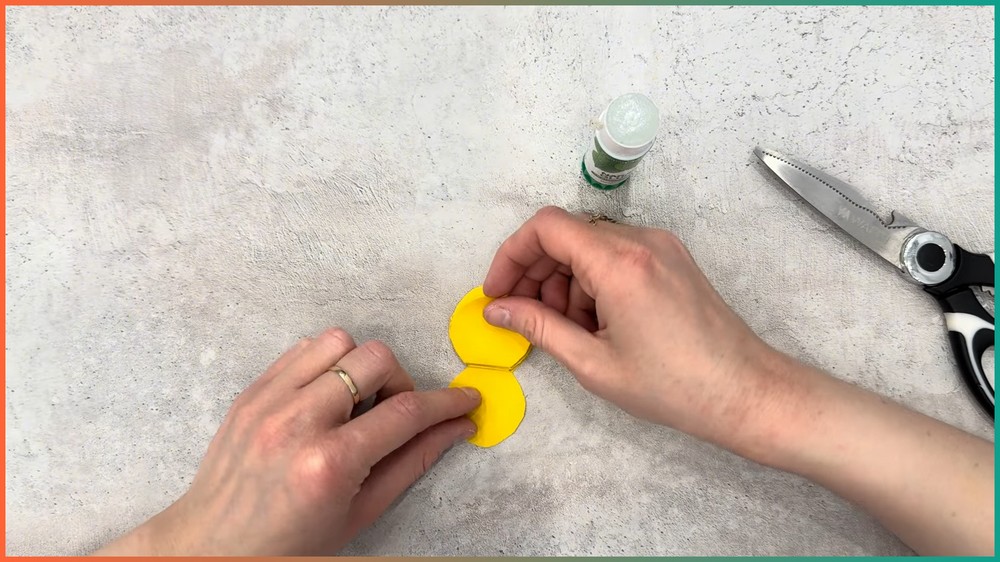
Trace carefully around the circular edge using your marker. Hold the folded stack tightly to prevent shifting, then use sharp craft scissors to cut through all the paper layers along the traced line. Unfold the resulting cut pieces slightly to reveal a series of connected double-circle “figure-8” shapes, each joined securely by the central folded hinge.
Assembling the Accordion Rib Stack
Once all your linked circle pairs are cut, prepare them for assembly by making sure each piece is cleanly creased down its center join. Lay the first folded segment flat on your workspace. Apply an even layer of craft glue across the top outer face of the folded segment, making sure to cover both the center and the edges for a strong hold. Align a second folded paper segment directly over the first one and press down firmly to adhere them together.
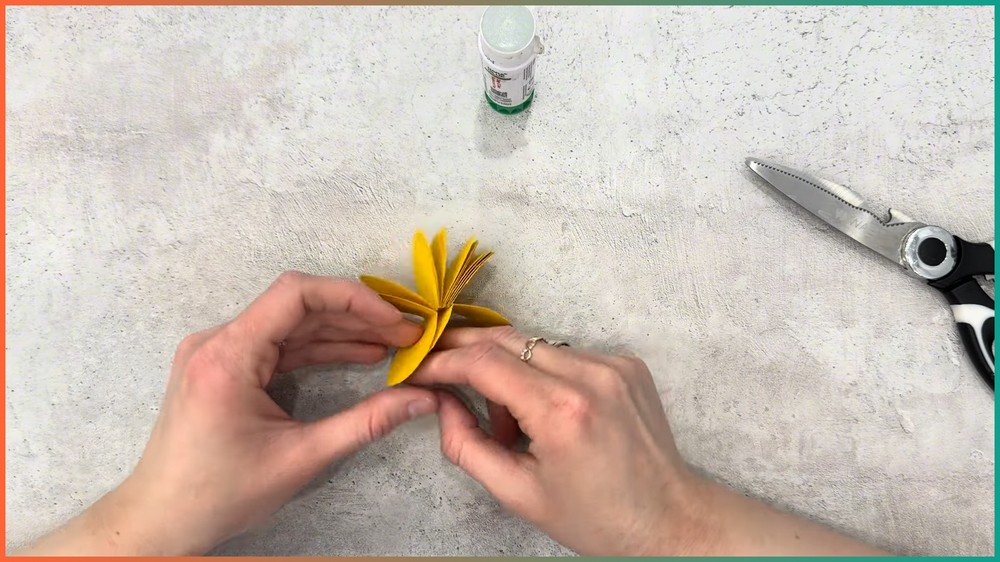
Repeat this exact process for every remaining segment: layer a new piece on top, align the outer curves, apply glue, and press into place. Continue stacking and gluing each folded piece sequentially in a single neat column. As the stack grows, burnish the spine down the center crease with your fingers to reinforce the bond. Once all segments are attached, you will have a dense, layered paper block that acts as an accordion core for the pumpkin’s ribs.
Note: If you face any hurdles in creating this project, you can watch the tutorial here.
Shaping the 3D Sphere and Adding Finishing Touches
To transform the flat stack into a rounded pumpkin, gently take the two outermost unglued faces of the paper stack and pull them around toward each other, fanning the interior layers outward in a complete 360-degree radial circle. Spread the accordion ribs evenly so the sphere takes on a balanced, uniform shape.
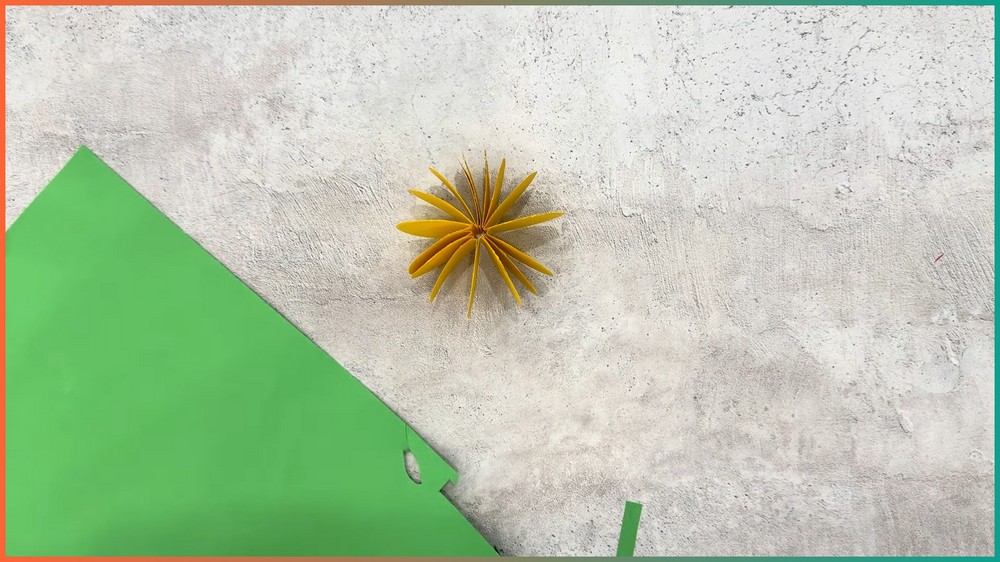
Apply a generous layer of glue to the outer faces of the first and last segments, bring them together, and hold them firmly for a few seconds until the adhesive sets, permanently locking the pumpkin into a 3D globe shape. To craft the stem, cut a thin strip from your green paper (about 1/2 inch wide and 4 inches long). Curl the strip slightly by drawing it gently across the dull edge of a pair of scissors or wrapping it around a pencil. Fold the base of the strip into a loop, apply glue to the bottom end, and tuck it securely down into the top center hole of the pumpkin sphere.Finally, sketch a small, classic leaf shape onto green paper with your marker, add detailed vein lines down the center, cut it out, and glue it directly adjacent to the curled stem to finish your craft.

Save this pin for future!