
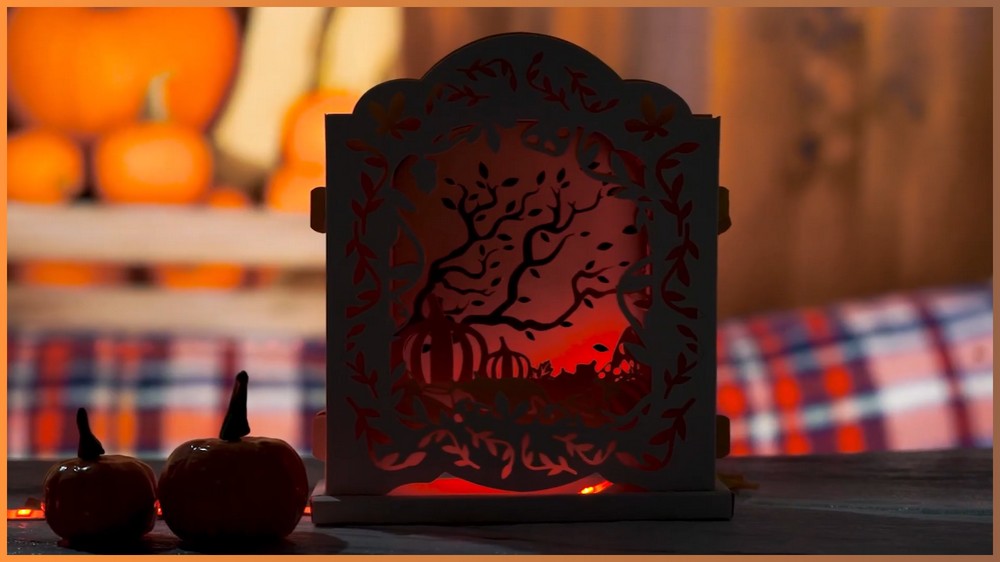
This Thanksgiving light box is made with folded paper panels and a small light, creating a simple glowing decoration with a patterned design.
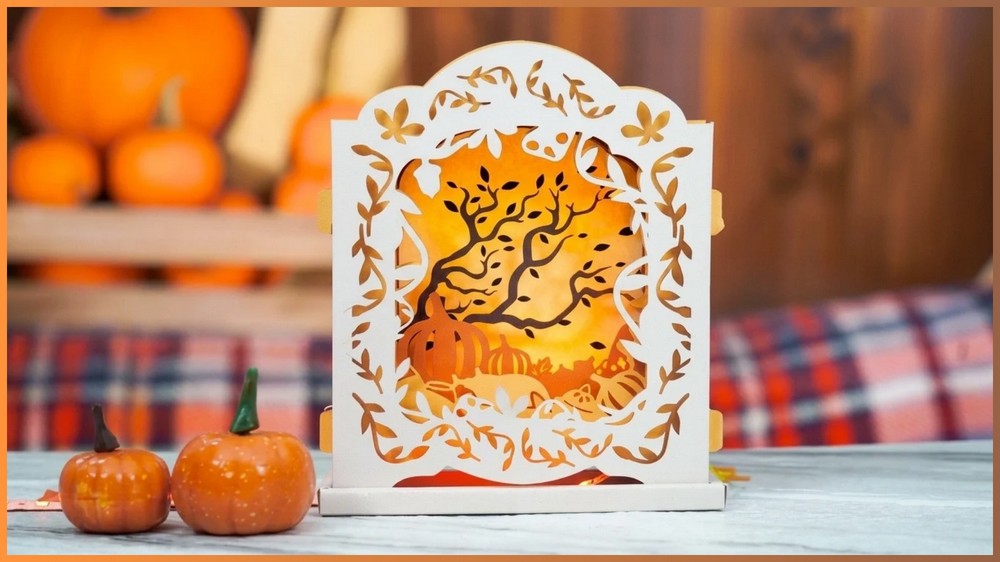
Warm lighting can make a seasonal display feel especially inviting, and you do not need complicated materials to create that effect. This Thanksgiving light box uses patterned or pre-scored paper pieces, adhesive, and a small light source to create a simple glowing decoration.
The paper pieces are folded along their crease lines and joined to form the base and outer walls. Once the panels are connected, a small light source can sit inside the lower portion and shine through the paper structure.
For beginners, the most important part is paying attention to the folds and the direction of each pattern piece. A panel that is turned the wrong way or glued before it is properly aligned can make the final box harder to close neatly.
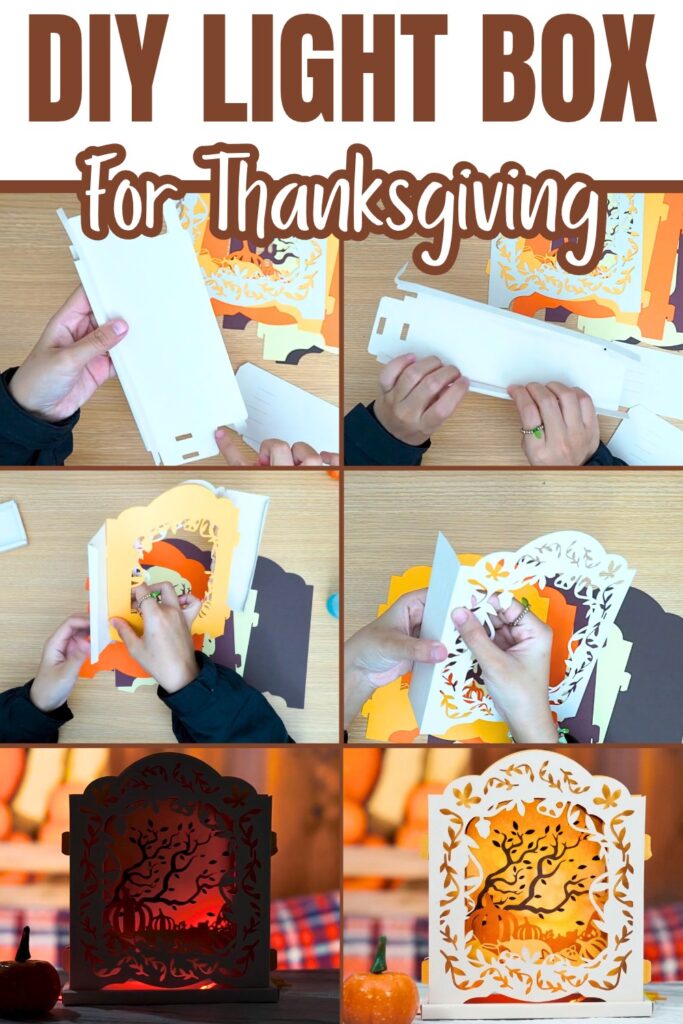
It is also worth checking the lighting position before completing the outer assembly. A quick dry-fit gives you a chance to make sure the light fits comfortably inside the base before the remaining panels are permanently secured.
Things that you need before crafting:
- Craft paper or pre-scored template sheets
- Glue, double-sided tape, or another paper-safe adhesive
- Small light source
- Optional colored paper or alternate template colors
If your template is already scored, use those lines as your main folding guides. The exact paper size and template dimensions will depend on the template you are using.
How To Make:
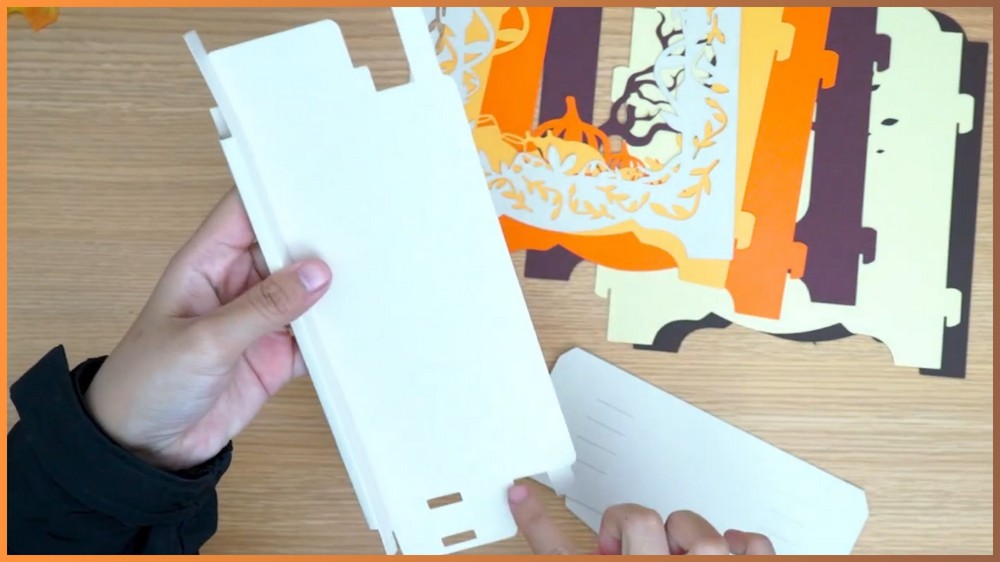
Fold the Main Base
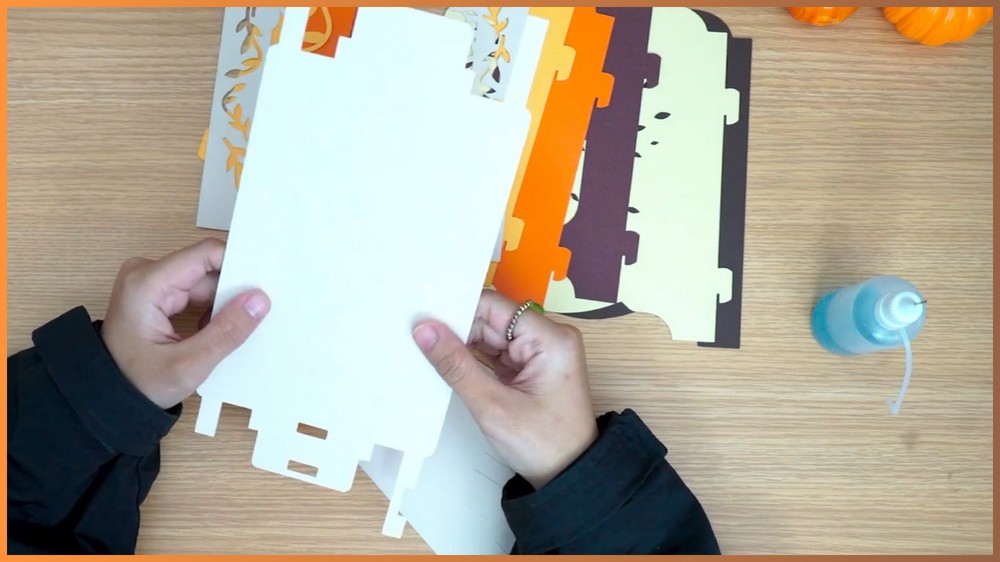
Begin with the first template sheet.
Look closely at the pre-scored lines before making any folds. Gently fold along each crease until the sheet begins to take the shape of the box base.
Work gradually rather than bending the paper sharply all at once.
Why follow the scored lines carefully?
The crease lines determine how the different sections meet. If a fold is made beside the intended line, the tabs may no longer sit in the correct position when you begin assembling the box.
If a fold starts to look uneven, stop and flatten the section before continuing. It is easier to correct a crease before adhesive is added.
Secure the Bottom of the Box
Once the base has been folded into shape, identify the areas intended to connect the bottom.
Apply a small amount of glue or use double-sided tape on the designated tabs.
Press the sections together firmly enough to hold them in place.
Use only enough adhesive to secure the tabs
Too much glue can spread beyond the joining areas and leave the paper looking messy. It can also make the paper softer while you are trying to hold the shape.
If glue squeezes out from a tab, wipe away the excess carefully before it dries.
Allow the bottom to hold its shape before moving on to the upper sections.
Check the Light Placement Before Closing the Box
Before the outer walls are completely assembled, place your small light source at the bottom of the structure.
This is the best point to check how the light fits inside.
Make sure the light or its connecting elements can sit within the available space without interfering with the paper walls.
Why check this now?
Once all the upper panels are attached, reaching inside the box to reposition the light can become difficult.
If the light does not sit comfortably, adjust its position before continuing with the final assembly. This small check can save you from having to loosen glued paper later.
Keep the light source positioned as intended before closing the remaining sides.
Fold the Upper Pattern Pieces
Take the remaining template pieces and begin folding along their crease lines.
Handle the paper gently, particularly around narrow tabs and connecting edges.
If your paper has a printed or decorative pattern, pay attention to which side should face outward.
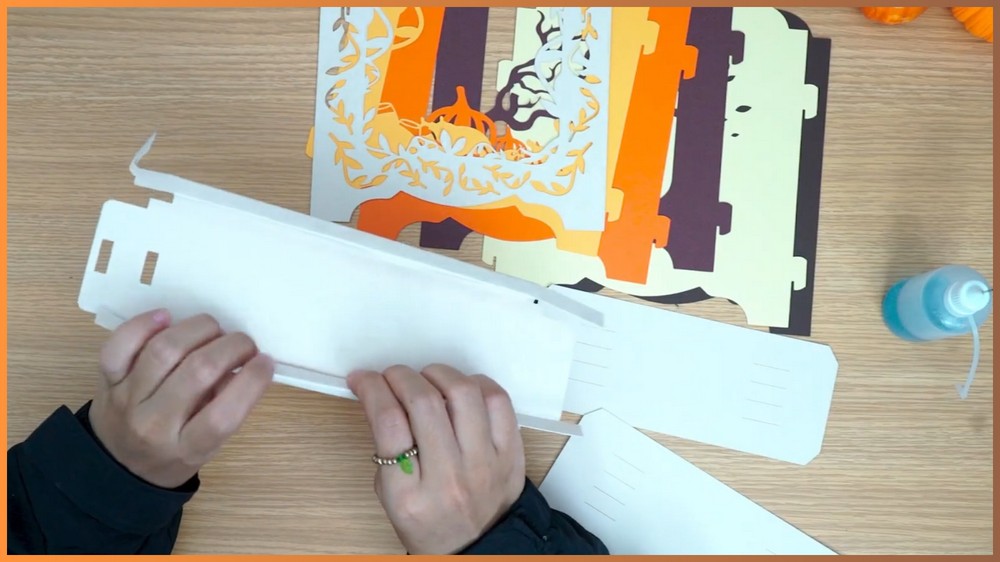
Check the direction before using glue
Hold each folded panel against the developing box without adhesive first.
Look at the design from the outside and confirm that the pattern is upright.
If a panel appears upside down or reversed, correct its position now. Once it has been glued, repositioning it may damage the paper or weaken the tab.
Connect the Side Panels
Apply a small amount of adhesive to the connecting edges or tabs.
Bring the side pieces together carefully and press them into position.
Hold each connection briefly so the adhesive can grip before moving to the next section.
Keep the walls straight
As you connect the panels, look at the box from more than one angle.
If one side begins leaning inward or outward, gently straighten it before the glue sets.
You do not need to force the paper into position. The goal is simply to keep the edges meeting cleanly so the finished light box has an even shape.
Continue Around the Outer Walls
Work your way around the remaining panels, connecting each section in the intended order.
Use small amounts of adhesive at each joining point.
If several tabs meet in one area, give yourself a moment to line them up before pressing them together.
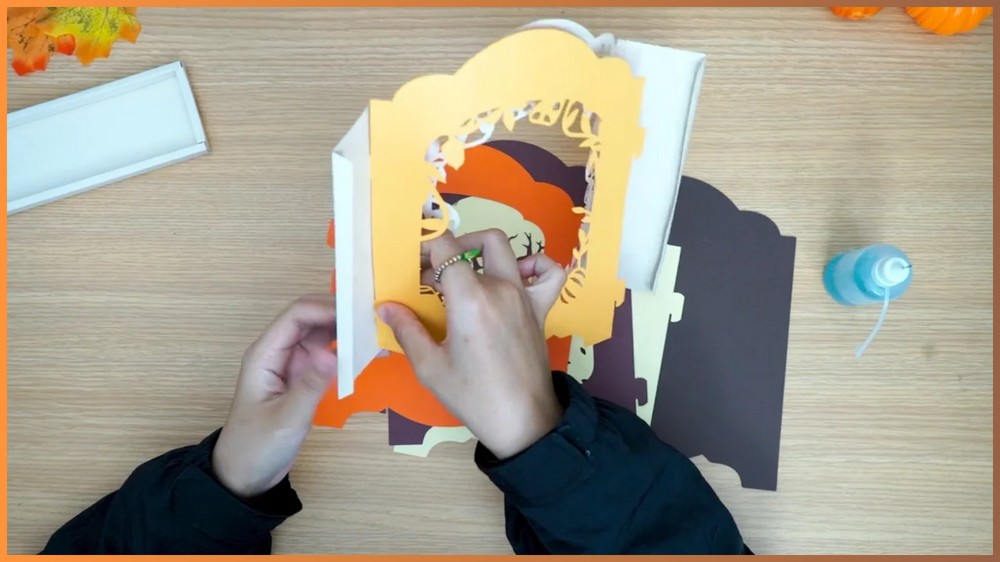
If two edges do not meet correctly
Do not immediately add more glue to force them together.
First check whether one of the previous folds is slightly out of position. A misplaced crease or incorrectly oriented panel can cause the later edges to appear too short or shifted.
If the adhesive has not fully set, gently release the connection and realign the panel.
Close the Final Edge
Once the side panels have been connected, bring the final edge around to close the perimeter of the box.
Apply adhesive to the remaining tab or connecting area and press it smoothly into place.
Hold the final connection until it is secure.
Look around the completed perimeter and check for any loose tabs.
If a tab is lifting, add a small amount of adhesive underneath it and press it flat rather than covering the whole area with extra glue.
Let the Paper Assembly Set
Give the glued sections time to hold their shape before handling the light box repeatedly.
Keep the box upright while the adhesive settles so the walls remain in the position you just established.
Once the connections are secure, place the light source at the base as planned.
The finished paper structure should now surround the light and create the warm illuminated effect intended by the design.
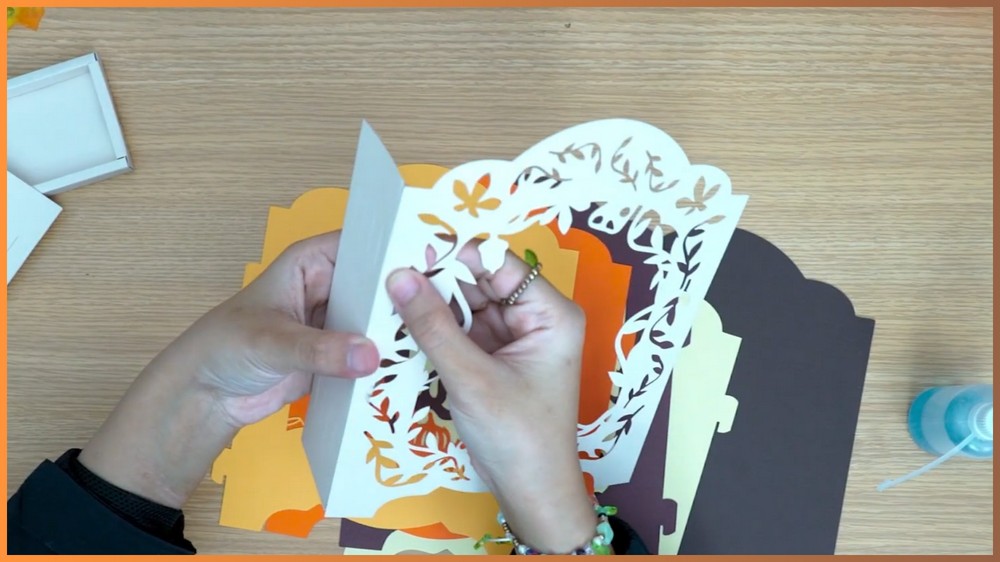
Choose a Color That Fits Your Thanksgiving Display
The same template can take on a different appearance simply by changing the paper color.
White gives the light box a clean, simple appearance, while pink, green, or autumn-inspired colors can create a different seasonal mood.
You can also use additional holiday cutouts or decorative details if they do not interfere with the box’s folds or light placement.
Make the Light Box Larger
If your template allows scaling, you can enlarge the design to create a larger decorative piece.
When changing the size, keep the proportions of the template consistent so the tabs and connecting sections still have a chance to meet correctly.
For a larger version, check the assembled shape before permanently attaching all of the panels.
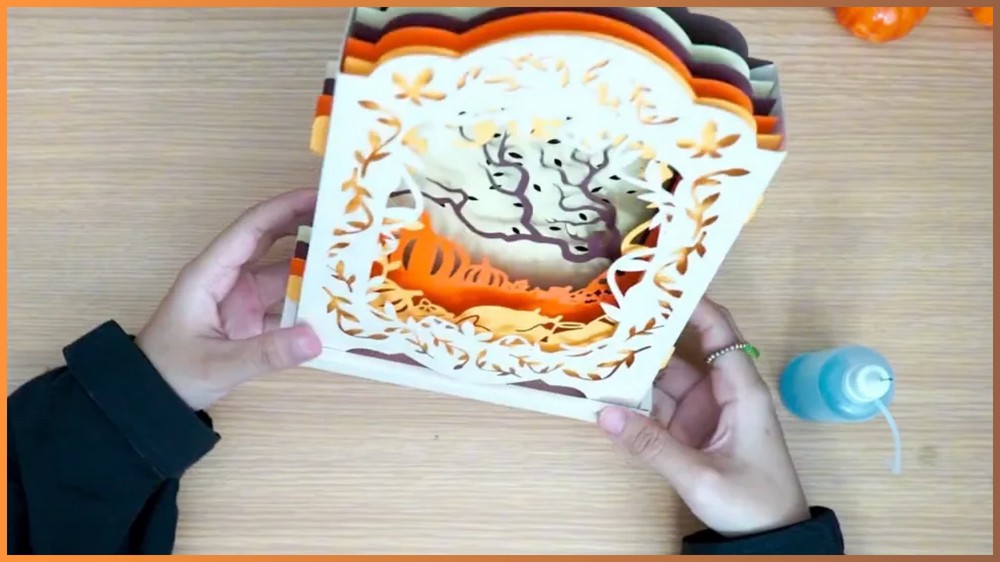
Note: If you face any hurdles in creating this project, then you can watch the tutorial here.
Add Seasonal Details
Additional paper decorations can give the light box a more personal Thanksgiving appearance.
You might add simple seasonal shapes or cutouts to the outside, keeping the details positioned so they do not interfere with the folds, tabs, or light source.
The paper color, pattern, and decorative details can all be changed while keeping the same basic folding and assembly method.
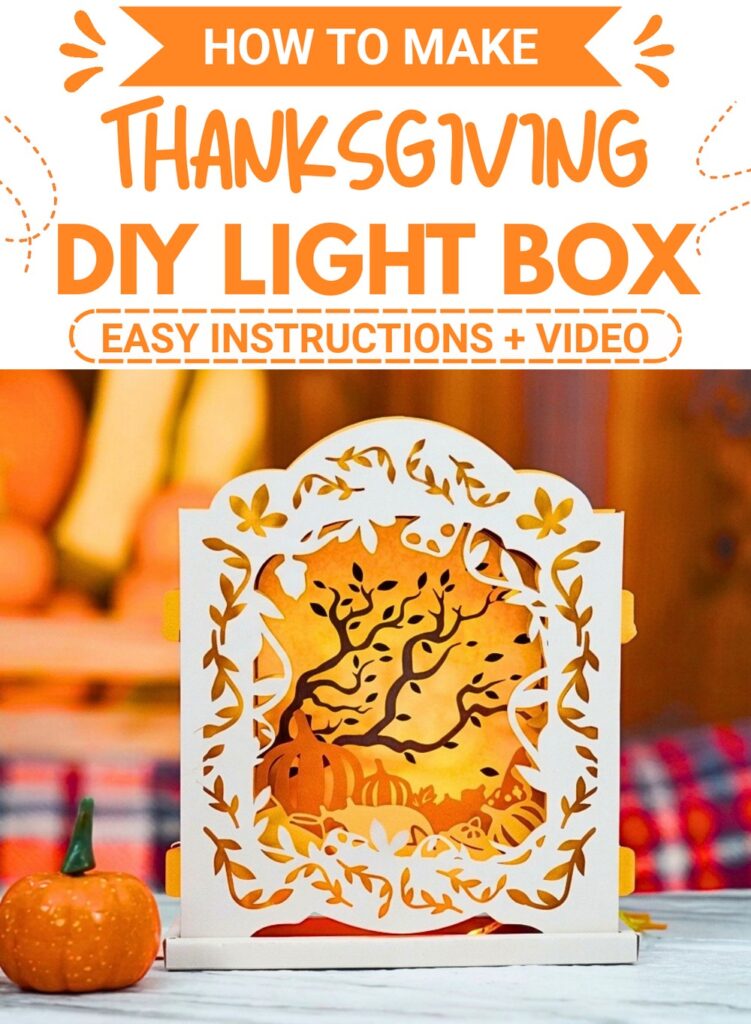
Save this pin for future!

[…] Thanksgiving decorating can be as simple as turning a sheet of paper into something colorful and cheerful. This easy paper turkey combines folding, cutting, and a few basic shapes to create a decorative bird with a large fan of patterned feathers. […]