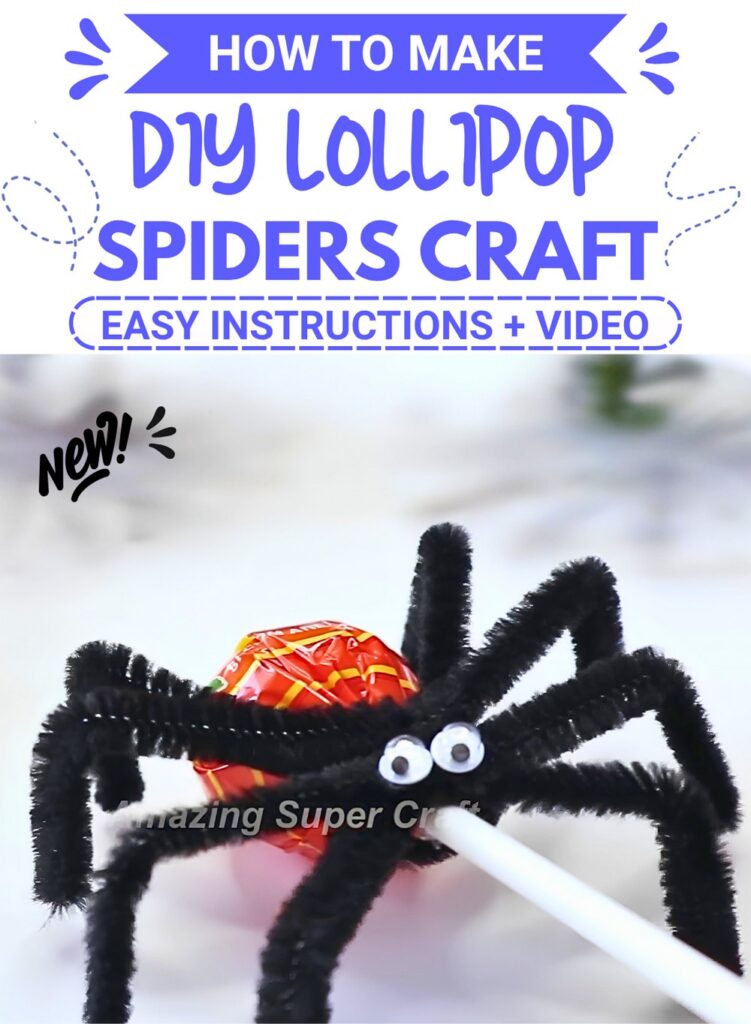
Turning everyday lollipop candies into cheerful spider treats is a wonderful activity for party favors and playful table decorations. A colorful candy ball instantly becomes a silly, fuzzy bug that brings smiles to kids and guests alike. It is a fun project to brighten up any festive gathering.
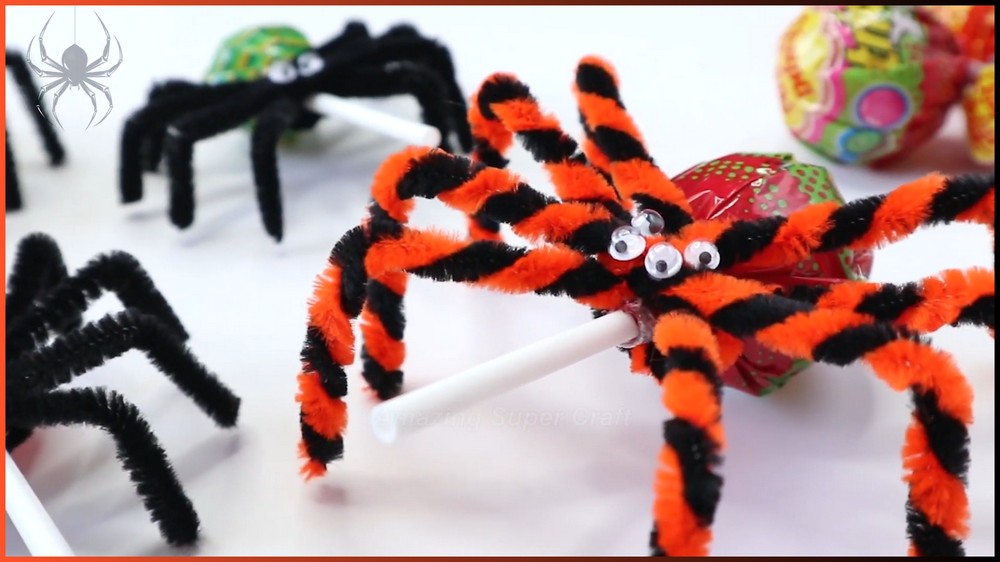
DIY Lollipop Spiders Craft
Bringing these adorable crawlers to life takes only a few basic supplies. By wrapping soft, fuzzy pipe cleaners around the lollipop stick, you easily form sturdy legs. Bending the ends gives your new friend a lively stance that can balance on any flat surface.
A pair of small googly eyes glued right on top gives each spider its own charming personality. You can stick to traditional black stems or mix bright orange and black fuzzy wires together for a bold striped look. Every single candy bug can look unique and full of joy.
These sweet handmade treats double as playful desk toys and delightful gifts for friends. Kids can enjoy crafting them for school events or sharing them as party favors. Once the fun activity is complete, everyone gets to enjoy a delicious lollipop surprise hidden right inside.
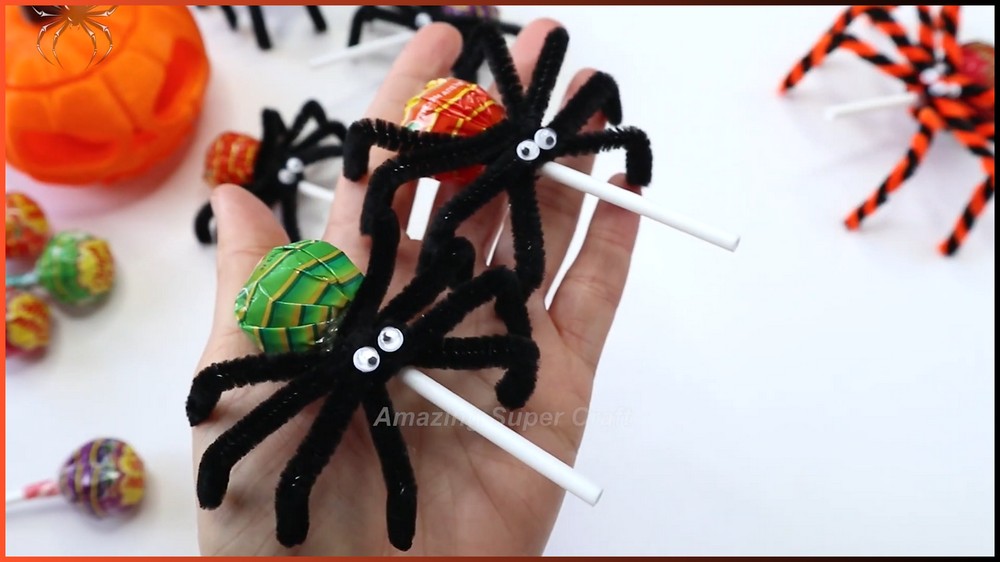
Things that you need before crafting:
Instruction note: This craft can be adjusted for any standard round lollipop (such as Chupa Chups or Tootsie Pops). It is easily removable so kids can enjoy the treat while keeping the spider toy.
Gauge: Not applicable for this project; adjustments depend on the size of the lollipop head.
Lollipops: 1 round lollipop per spider (Chupa Chups recommended for their classic spherical shape).
Googly Eyes: 2 to 4 small plastic googly eyes per spider.
Adhesive: Hot glue gun with glue sticks (or strong craft glue).
Tools: Wire cutters or scissors, and tweezers for placing small eyes precisely.
- Pipe Cleaners (Chenille Stems): 2 standard 30 cm black pipe cleaners (or 1 black and 1 orange for a striped Instruction variation).

This Project credit goes to Amazing Super Craft.
Key Instructions & Construction Features
Quick Assembly: Takes under five minutes per spider, making it perfect for party prep or classroom favors.
Twist-and-Wrap Technique: Easily creates eight poseable spider legs centered around the lollipop neck.
Non-Destructive Design: Leaves the candy wrapper completely undamaged, allowing the candy to be eaten while keeping the spider intact.
Customization: Simple to personalize with different colors, striped leg variations, or multi-eye arrangements.

How To Make:
Step 1: Preparing and Cutting the Stems
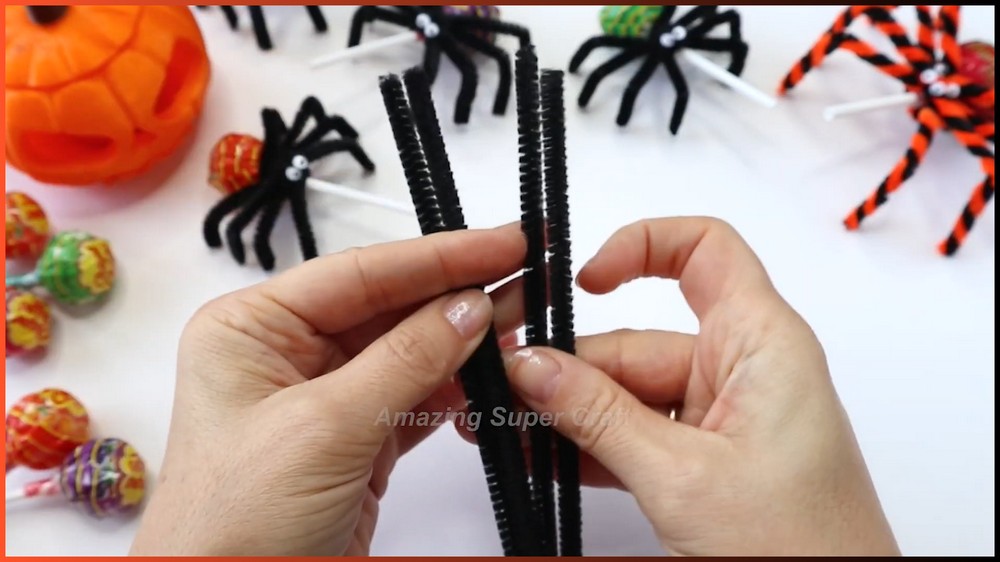
Take two 30 cm pipe cleaners and fold each of them precisely in half to mark the center point.

Using scissors or wire cutters, cut along the fold line to yield four equal pieces measuring approximately 15 cm each. Align all four cut pieces side-by-side into a neat parallel bundle.
Step 2: Forming the Central Leg Hub
Grasp the four-piece bundle right at the midpoint. Twist the center of the bundle around itself one or two full turns to lock all four pieces securely together.
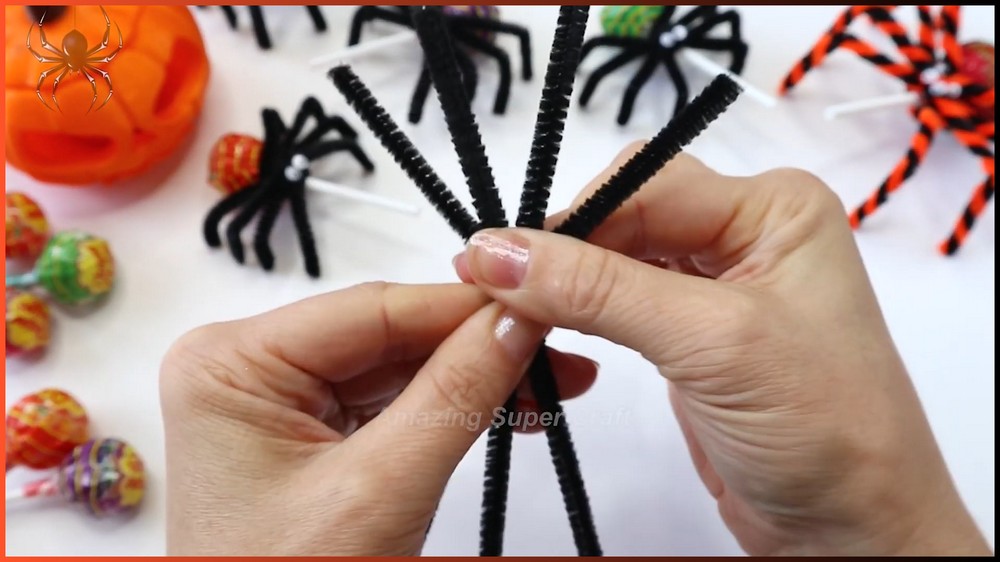
Once twisted, spread the eight protruding ends outward like spokes on a wheel radiating from the central twisted hub.

Step 3: Securing the Hub to the Lollipop
Position the twisted center hub directly against the neck of the Chupa Chups lollipop, where the wrapper gathers around the stick.

Take two opposing leg strands from the hub and wrap them firmly around the neck once, creating a tight collar around the stick without requiring any glue on the candy wrapper itself.
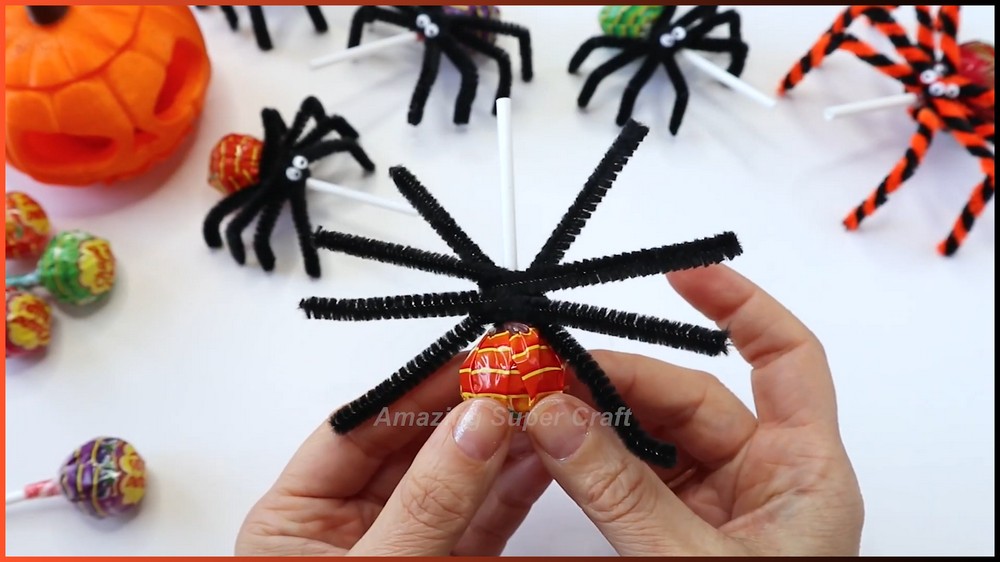
Step 4: Shaping and Balancing the Legs
Fan out the remaining eight legs evenly around the round head of the lollipop.
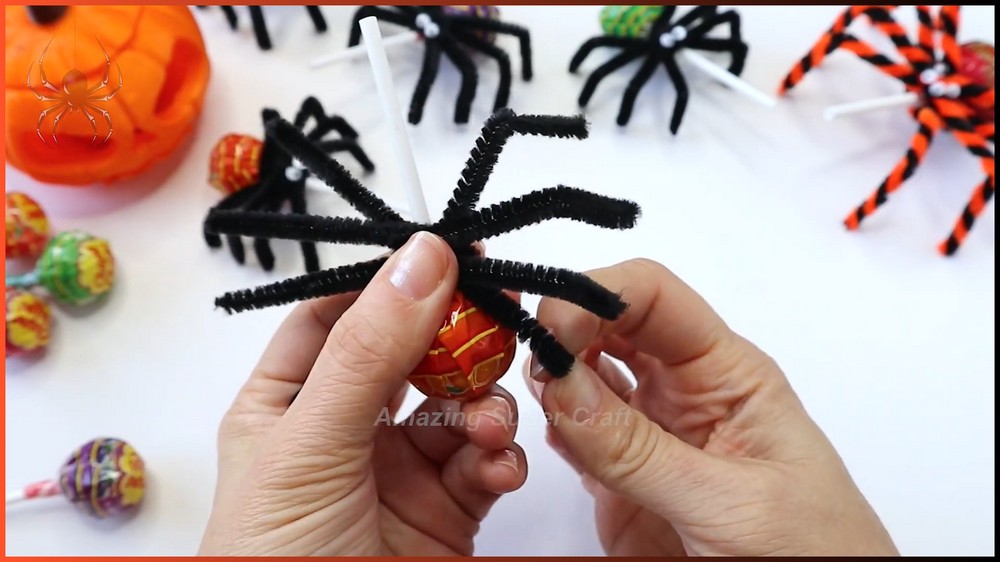
Bend each leg outward and downward to create jointed knees halfway down each stem, then add a small outward hook at the tip for the feet. Adjust the leg angles until the spider achieves a stable, balanced round stance capable of standing upright on any flat surface. Trim any uneven leg tips with wire cutters if necessary.
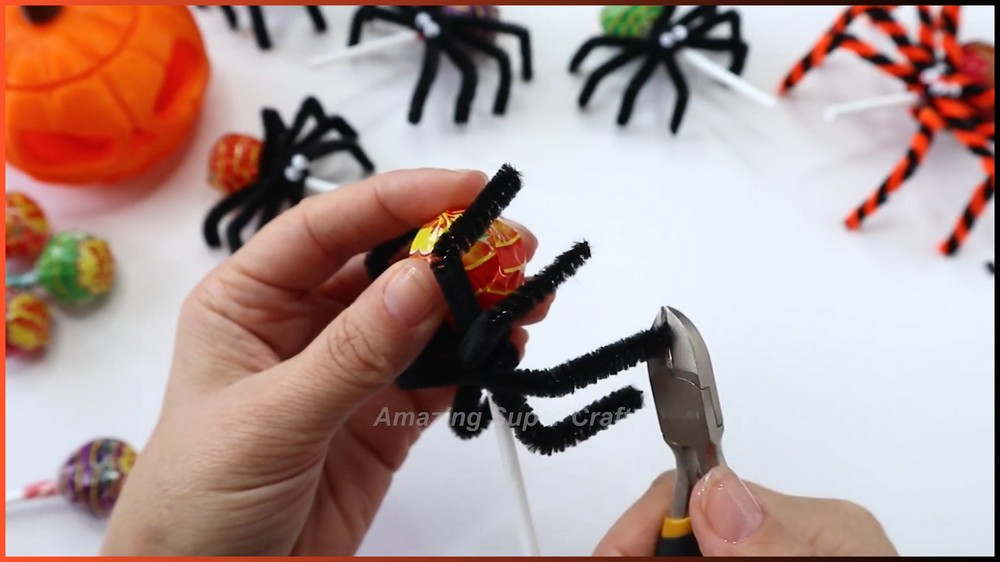
Note: If you face any hurdles in creating this project, then you can watch the tutorial here.
Step 5: Adding the Facial Details and Finishing Touches
Apply two to four small dots of hot glue to the front of the pipe cleaner hub right at the base of the lollipop head.

Using tweezers, carefully press the googly eyes onto the glue dots. Allow the glue to cool and set completely to give your spooky sweet creature its final, expressive character.

Save this pin for future!