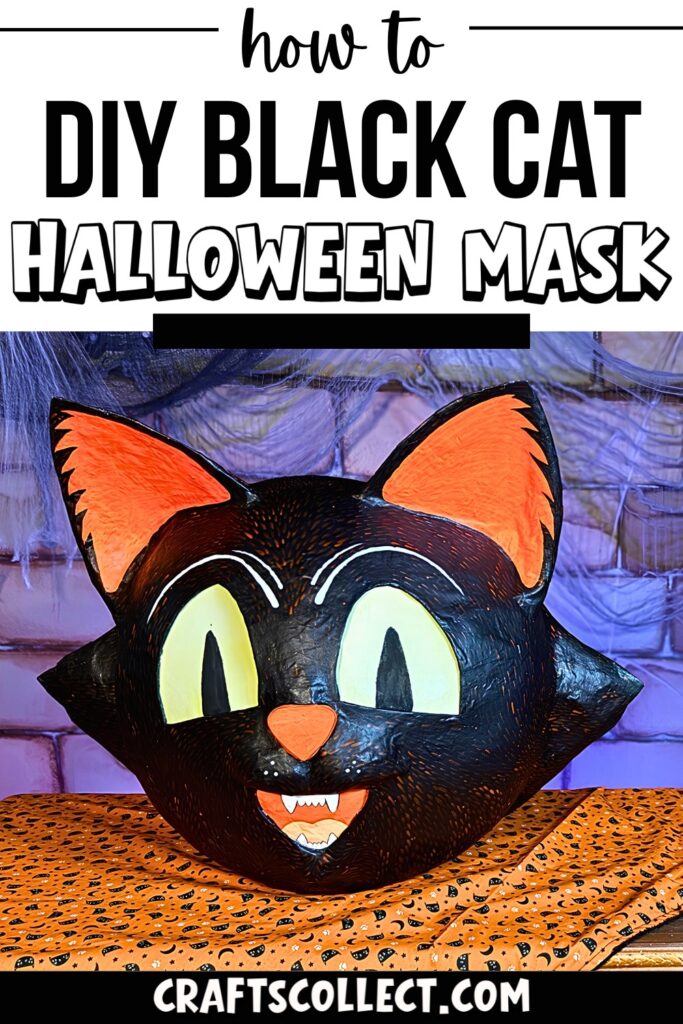
Make your Halloween extra special with a giant vintage-inspired black cat mask. This oversized design is perfect as a costume accessory or spooky home decor. It’s simple, unique, and brings that nostalgic charm to life with just paper, paint, and a little creativity!
Vintage Cat Mask DIY: A Fun Halloween Craft
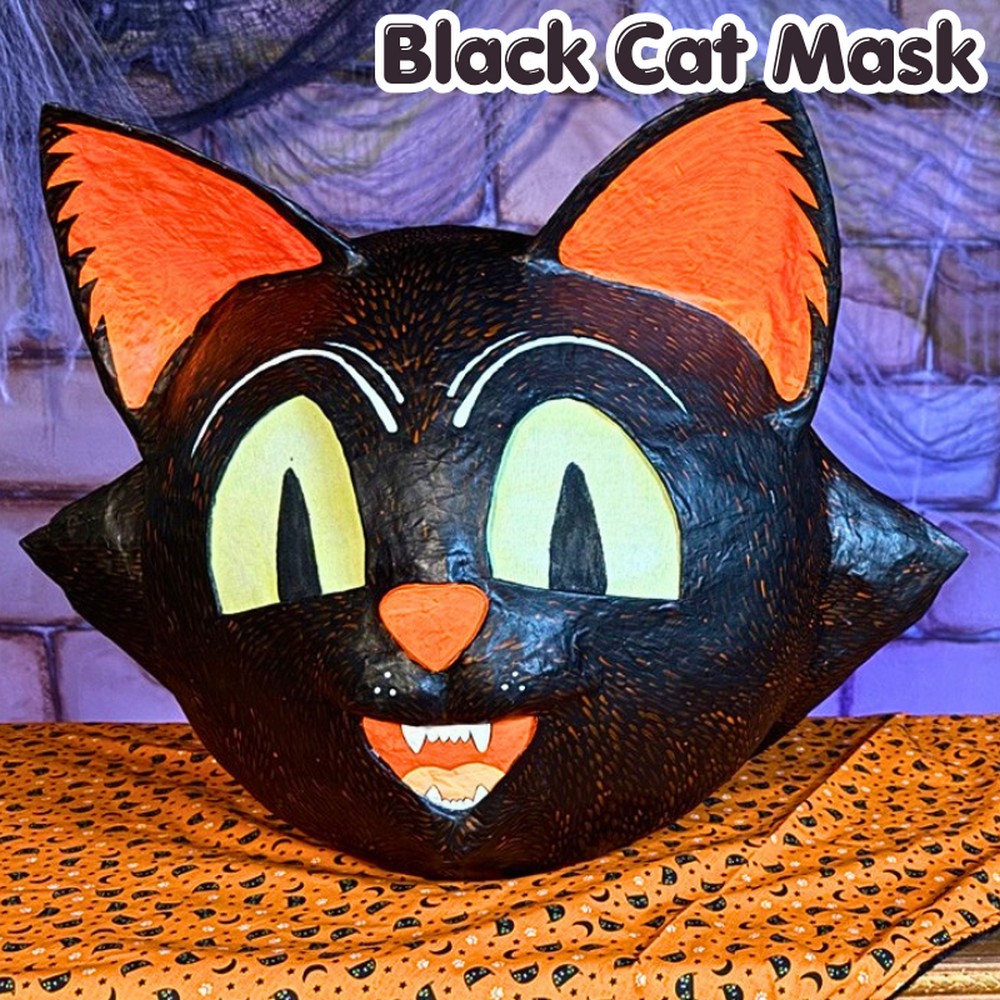
This mask is made using papier-mâché, ensuring it’s sturdy but lightweight. From layering paper bags to adding details like ears and glowing paint, every part of the process lets you create a piece that’s truly yours. Best of all, you can make it with materials you likely already have!
Credit Mythical Makers Workshop
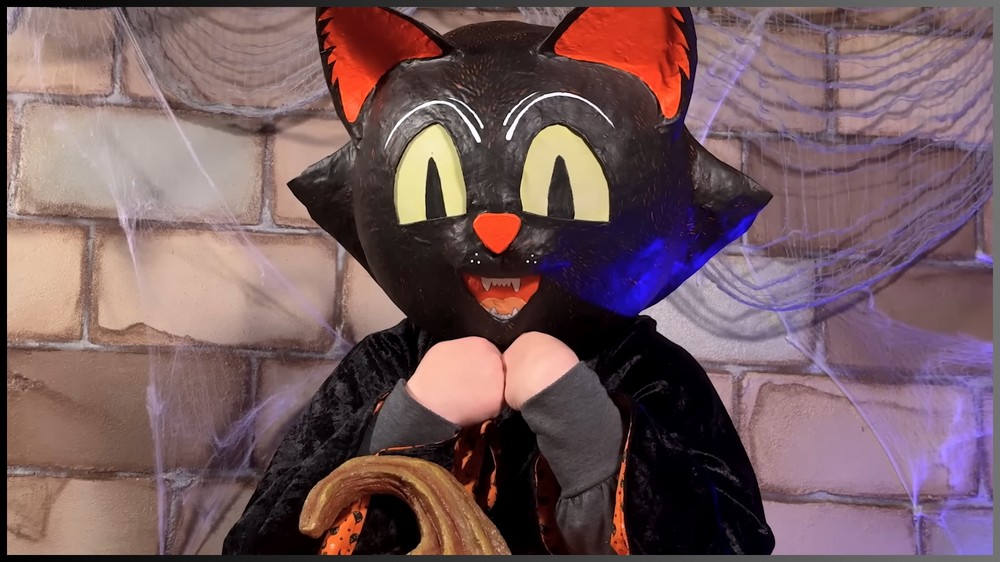
You can wear this giant mask for Halloween parties, trick-or-treating, or even stage it in your home as a playful centerpiece. Its delicate balance of “cute spooky” makes it versatile for kids and adults alike and a fitting addition to any celebration.
The painting process is where the magic really happens! Simple acrylic paints combined with glowing accents and dyed fabric for the eyes bring this black cat to life. Add your finishing touches, and you have a piece that’s both fun and hauntingly beautiful.
Required Materials:
- A 20-inch beach ball (for shaping the mask)
- Paper bags and newspaper (for papier-mâché layers)
- PVA glue and water (for the papier-mâché paste)
- Cardboard (for structural support and the head harness)
- Upholstery foam (for comfort inside the mask)
- Masking tape (to secure and shape areas)
- Paperboard or cereal box cardboard (for creating ears and other details)
- Acrylic paints (in black, orange, green, and other Halloween colors)
- Gesso (primer for painting)
- Matte medium (optional, to reduce shine)
- Fluorescent paint (optional, for a glowing effect)
- White see-through fabric (for covering the eyes)
- Fabric dye or watered-down acrylic paint (to color the fabric for eyes)
- Hot glue (for assembly and securing details)
- Scraps of EVA foam (for tracing the head opening)

Important Notes:
- When applying papier-mâché, make sure layers overlap to ensure stability.
- Always allow adequate drying time between each layer of papier-mâché to achieve sturdiness.
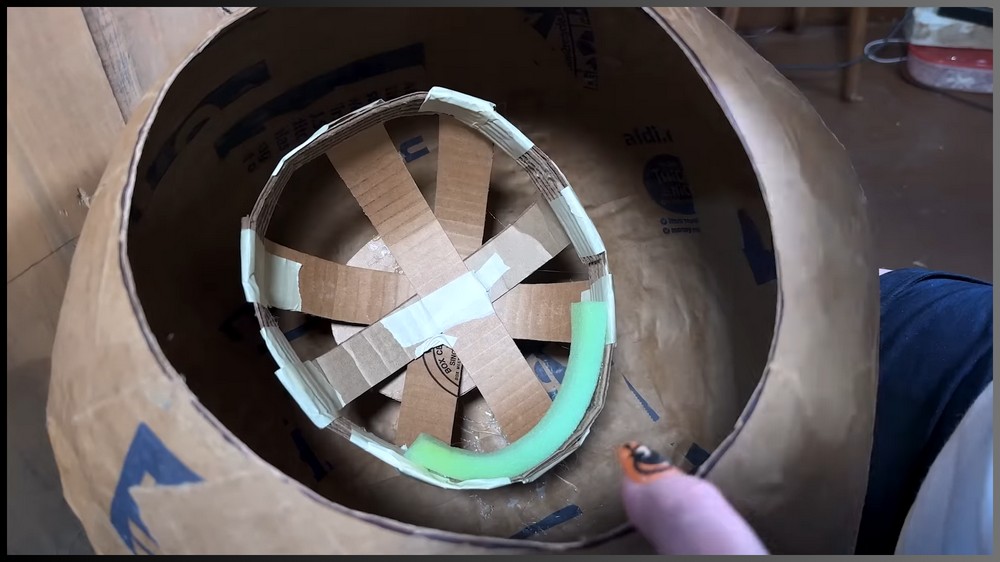
- Use a head harness inside the mask to ensure it fits securely and stays balanced.
- Double-check the design and fit with a mockup before moving on to final details.
- Most materials used in this project are recycled or reused, making it a sustainable and budget-friendly craft.
- Add a protective coat of gesso before painting and matte medium after painting to preserve the mask’s finish.
- Use fluorescent paint for a glowing effect under black light to add extra Halloween flair.
Instructions:
1. Design and Prepare the Mold
Start by sketching the design of your mask, aiming for a charming, vintage-inspired Halloween vibe. Inflate a 20-inch beach ball to use as the mold for shaping the mask. This will provide the rounded base structure to work on for the face.

2. Make Papier-Mâché Paste
Mix PVA glue and water in equal parts to create your papier-mâché paste. It should have a consistency similar to heavy whipping cream. This paste will bind your layers securely.

3. Apply Papier-Mâché Layers
Rip paper bags into strips and apply the first layer to the beach ball, ensuring pieces overlap for durability. Let the layer dry completely before adding more. Continue applying six layers of papier-mâché for a sturdy base.

4. Cut the Mask Opening
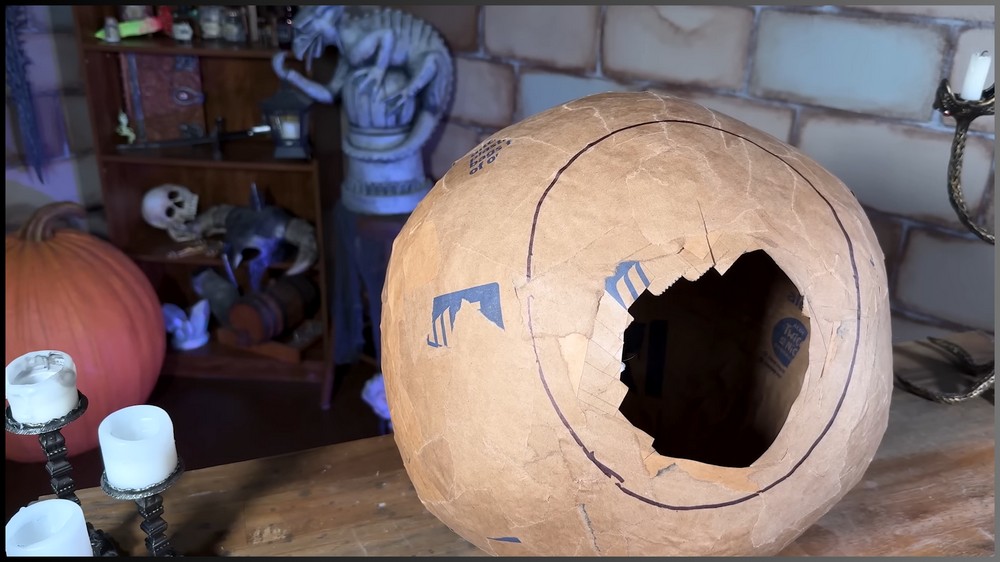
Once the papier-mâché base is dry and firm, cut an opening large enough to fit comfortably over your head. This will serve as the entrance to the mask.
5. Create the Head Harness
Design a custom fit ring for your head using strips of cardboard. Attach the ring securely inside the mask, reinforcing with foam or additional cardboard to ensure comfort and stability when worn.
6. Build Visual Features
Use cereal box cardboard to create mockups for the cat’s ears and attach them temporarily with tape to test proportions. Once satisfied, secure the ears and other small details to the mask using hot glue. Add additional papier-mâché layers to smooth the transitions and strengthen these attachments.

7. Prime and Paint the Mask
Once all elements are finalized and dry, coat the mask with gesso to act as a primer before painting. Use acrylic paints to bring your vintage cat mask to life. Black is ideal for the main body; orange and green work well for accents such as fur details and eyes. Apply fluorescent paint if you want glowing effects under black light.

Note: If you face any hurdles in creating this project, then you can watch the tutorial here.
8. Create and Attach the Eyes
Cut eye openings in the mask and cover them with white see-through fabric. Dye the fabric green using watered-down acrylic paint or fabric dye to maintain flexibility. Attach the dyed fabric securely inside using hot glue. As an optional step, add layers of darker, see-through fabric for the iris or pupils to give depth to the eye design.

9. Add Finishing Details
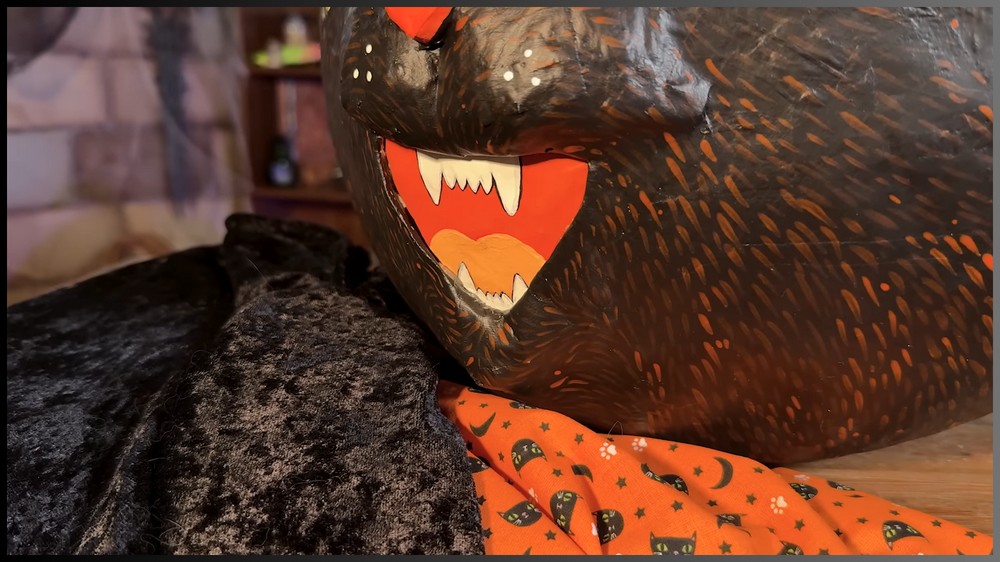
Finalize small details, such as painting the cat’s mouth or other accent features. Keep the mouth simple if aiming for a vintage aesthetic. Double-check all paint and glue layers to ensure everything is secure before use.
10. Enjoy Your Mask
Once all components are completed and the mask is dried, wear your oversized papier-mâché cat mask and enjoy its nostalgic charm during Halloween festivities.